


Another furniture tutorial, but this time a little different as we take a look at some modern designs.
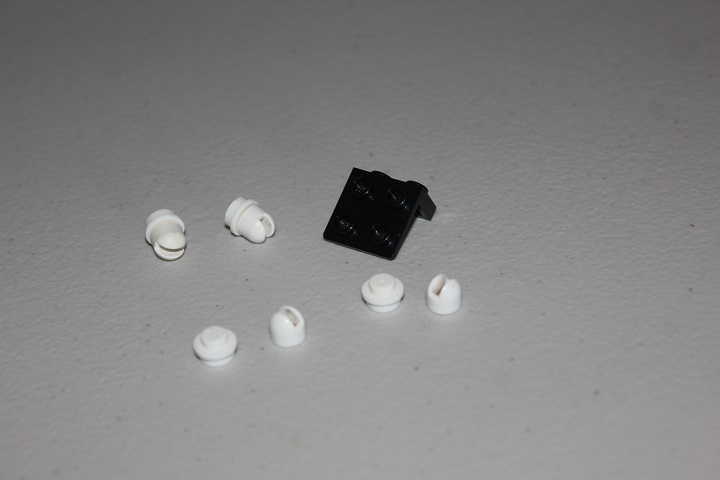
We’ll start off with a neat little chair. A 2×2 bracket is used as the core, and the legs are made of 1×1 round plates with lever bases on top.
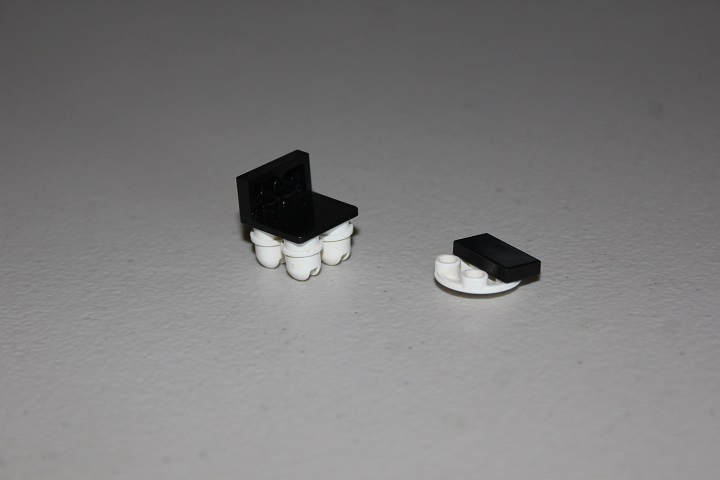
A 2×2 boat tile will then be used to attach a 1×2 black tile.
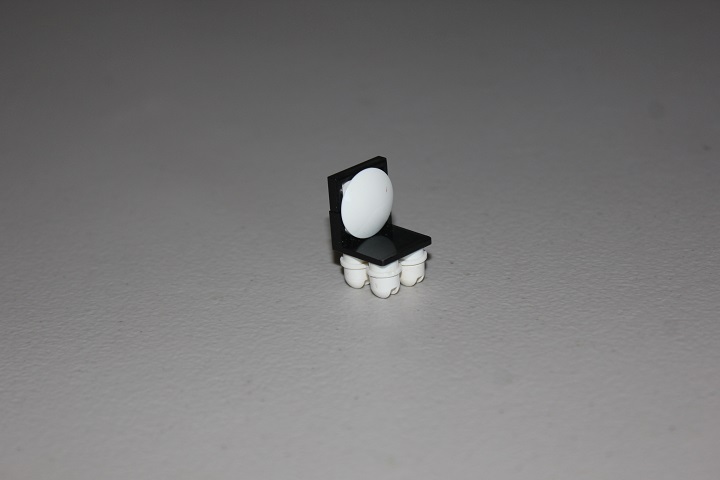
And here is the completed chair.
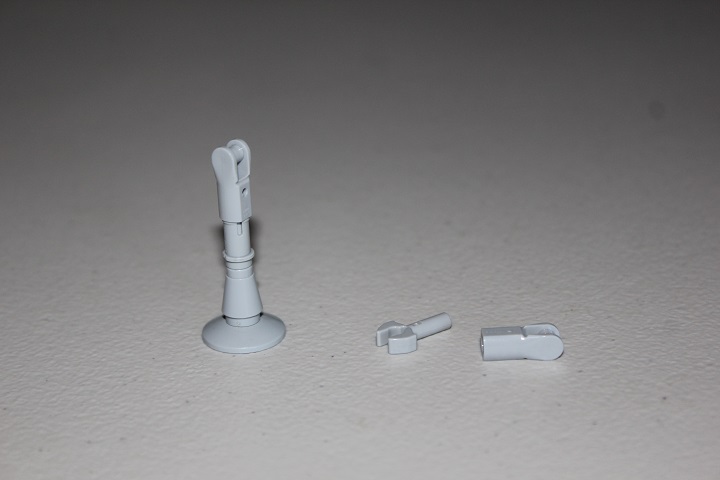
Next is a floor lamp, which uses various bar and clip elements to get some flexibility.
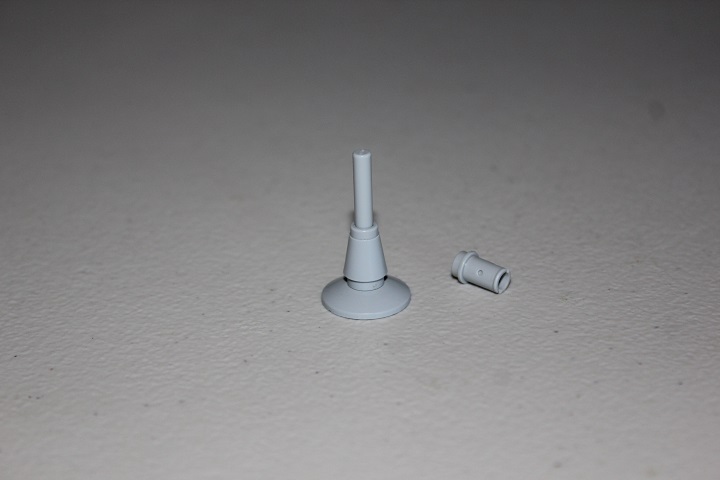
The half pin shown above is slid onto the bar, and the new handle element goes on over it.
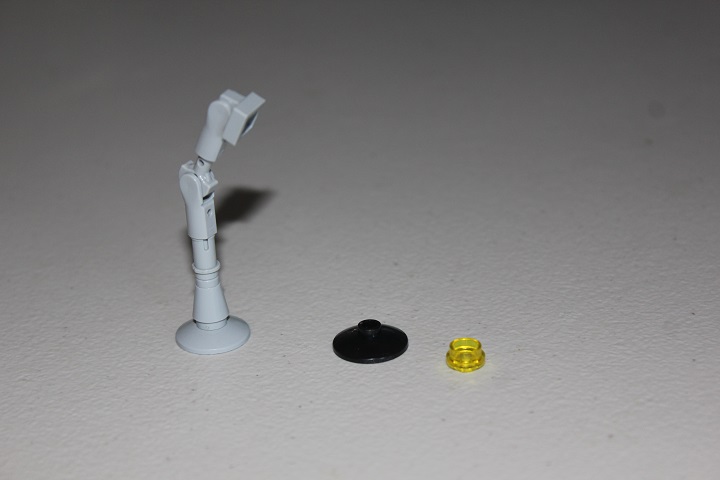
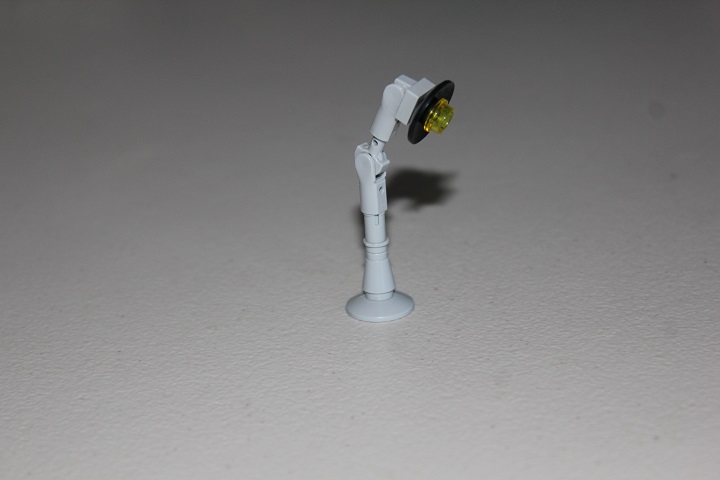
A 1×1 tile with clip is used to attach the lamp’s light, which consists of a black 2×2 dish and 1×1 round plate in trans yellow.
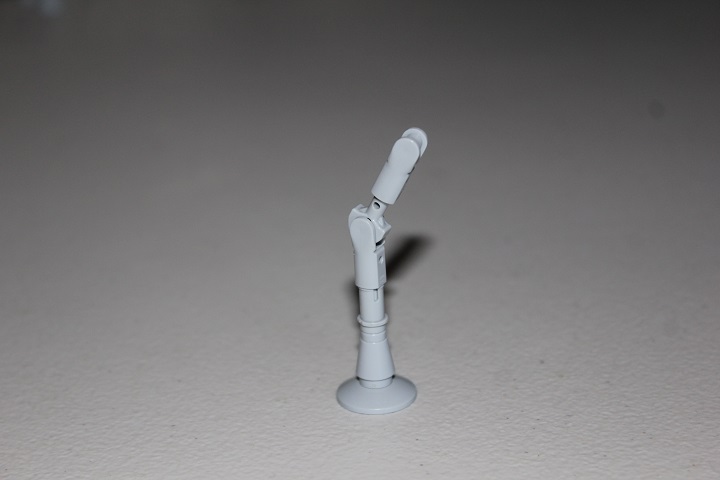
By shortening the light post, you could also use this as a desk lamp.
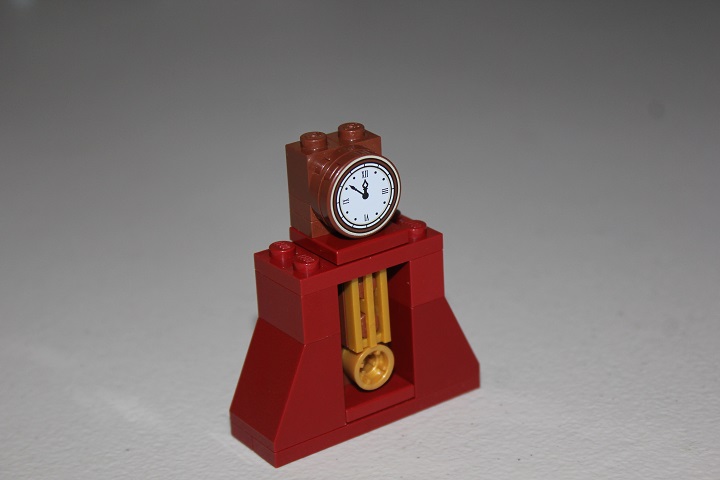
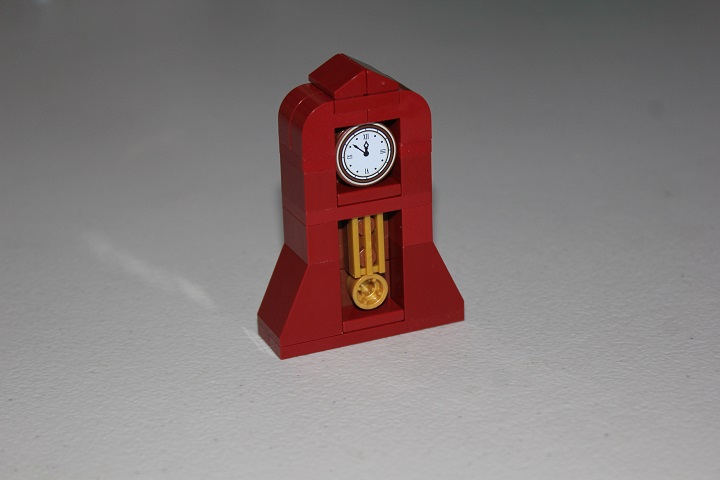
A grandfather clock adds a unique look to your interiors. This one starts off with a 2×6 plate in dark red.
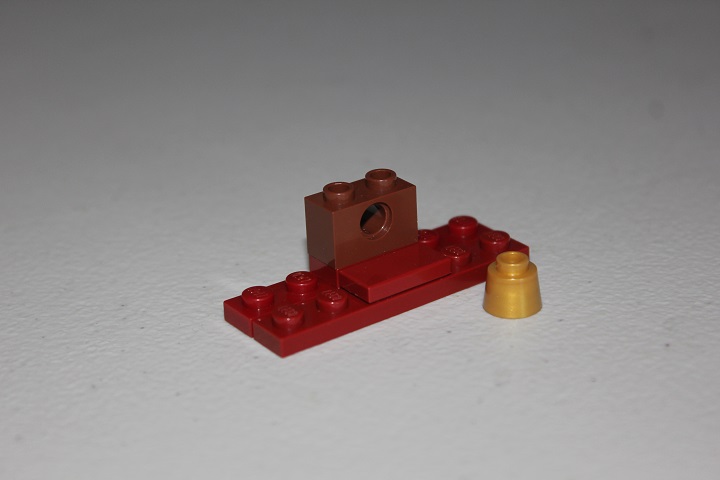
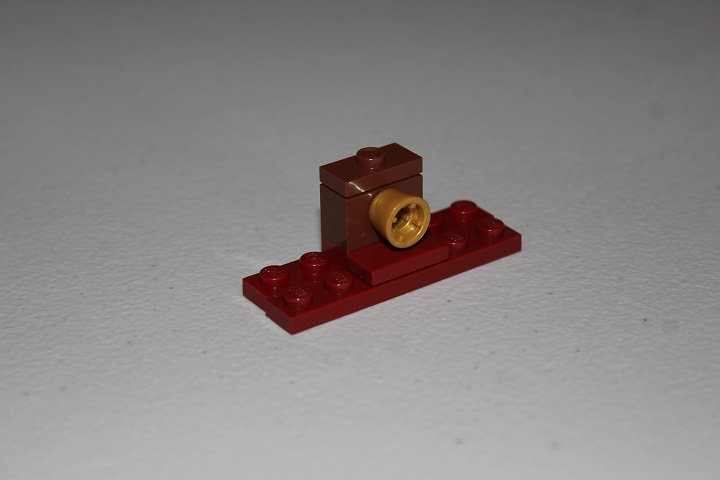
The gold fez is plugged into the technic brick, which then has a jumper plate added on top.
The pendulum weights are made from a gold grill tile, and reddish brown 1×2 plate.
These two parts are then hooked onto the technic brick with technic half pins inside.
On top of the slopes go dark red 1×2 bricks with a 2×4 plate holding everything in place securely.

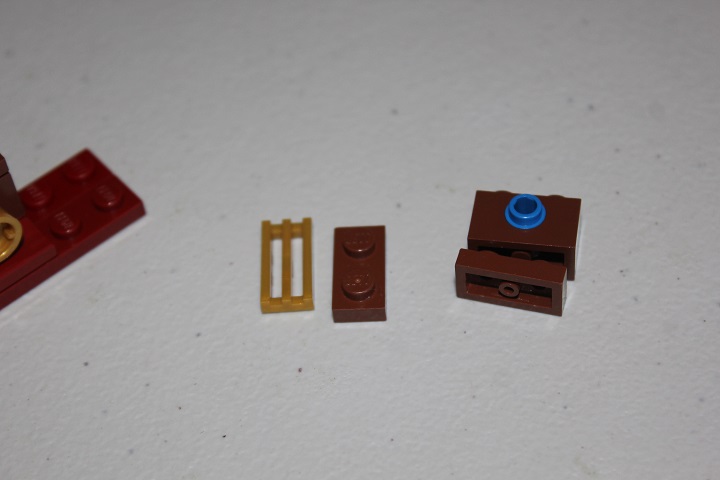
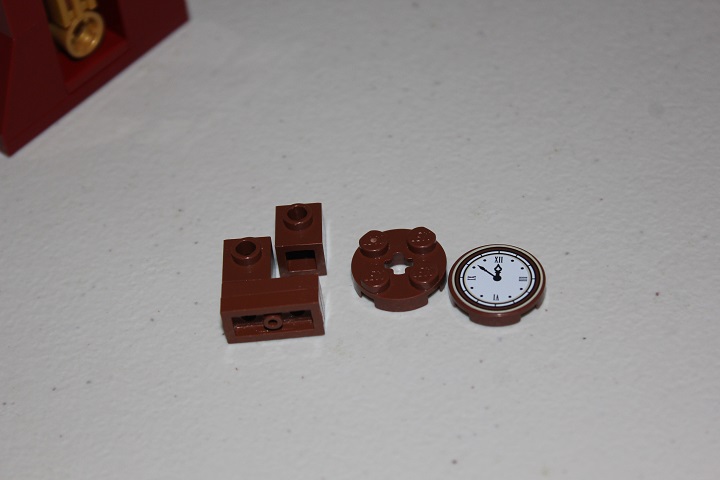
Two 1×2 plates, two brick with stud on side, a 2×2 plate, and the lovely printed tile make up the face of the clock.
Which is added like so.
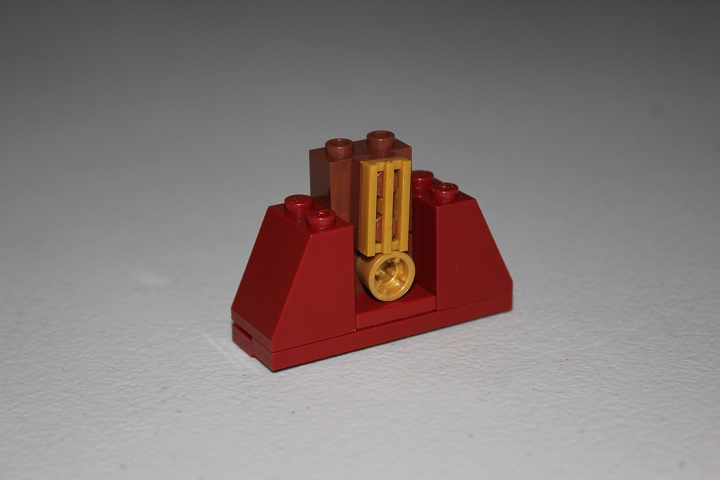
Some more 1×2 bricks and 1×2 plates are stacked on either side.
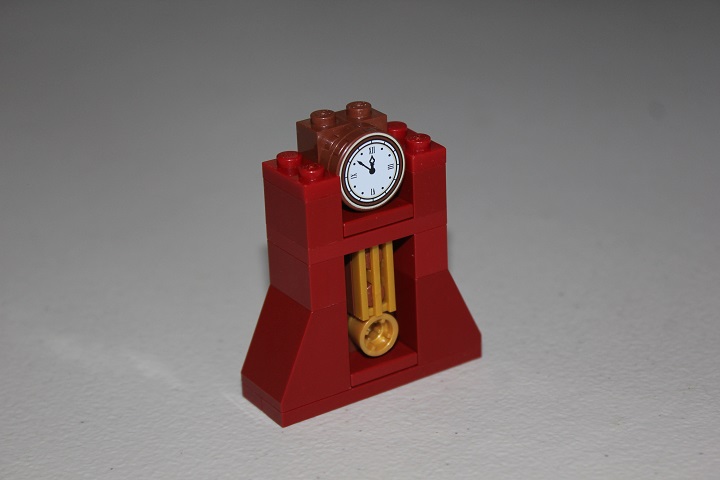
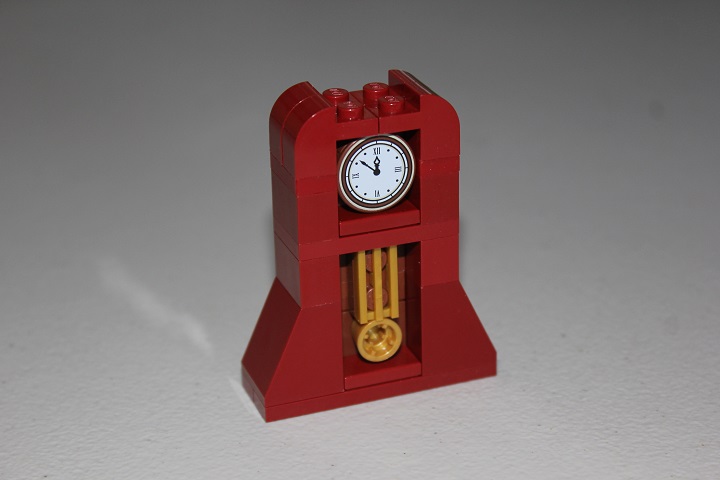
And finally some dark red bows up top nearly finish the clock.
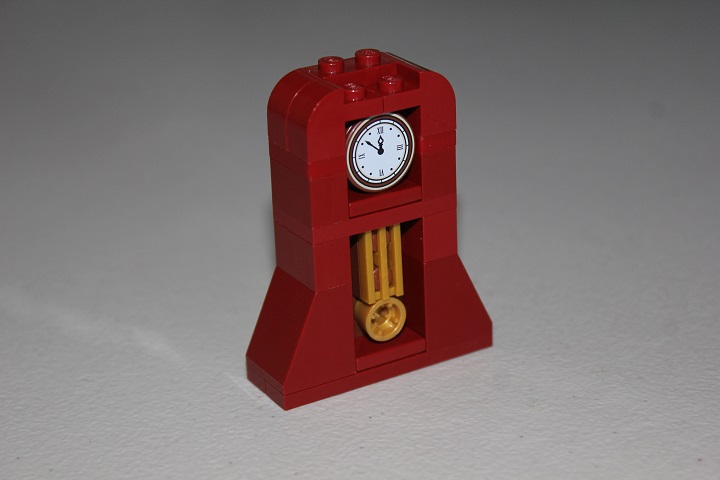
The 1×2 plates topped with cheese completes the clock.
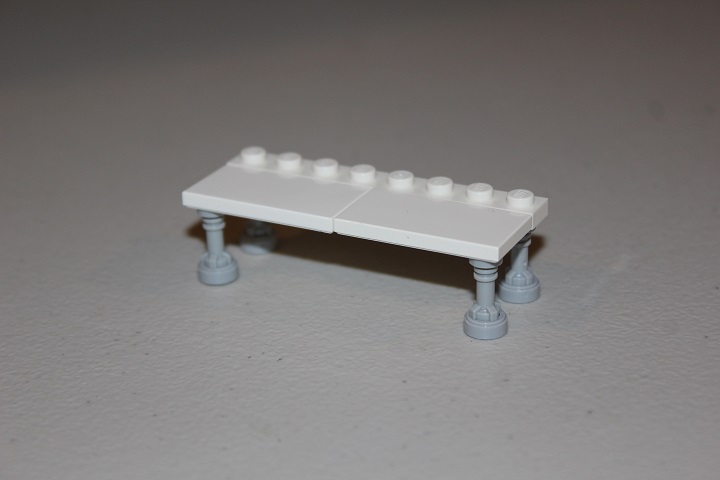
This table uses a 2×2 swivel top to achieve a very thin profile.
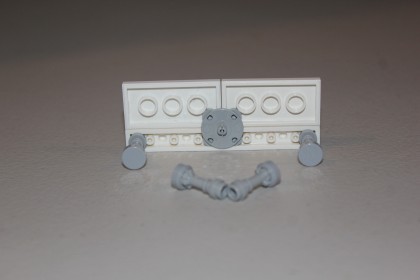
Lightsaber hilts and 1×1 round tiles make up the legs.
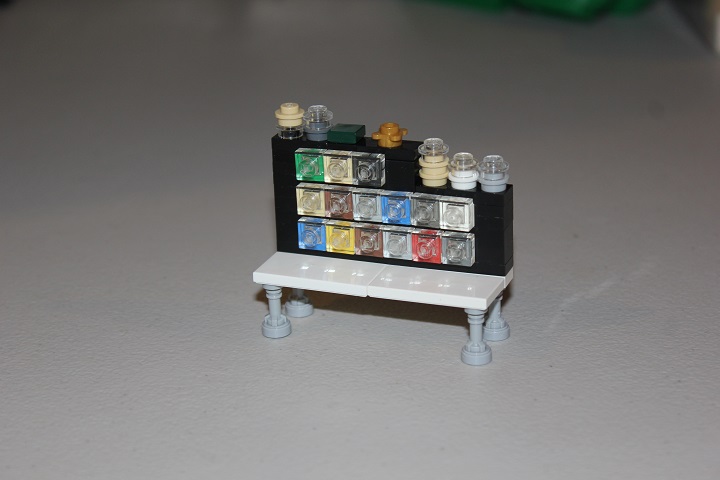
And on the back 8 studs we’ll add some miniature LEGO sorting drawers. Various color headlight bricks on their sides with trans clear 1×1 plates facing out gives a very cool drawer unit look.
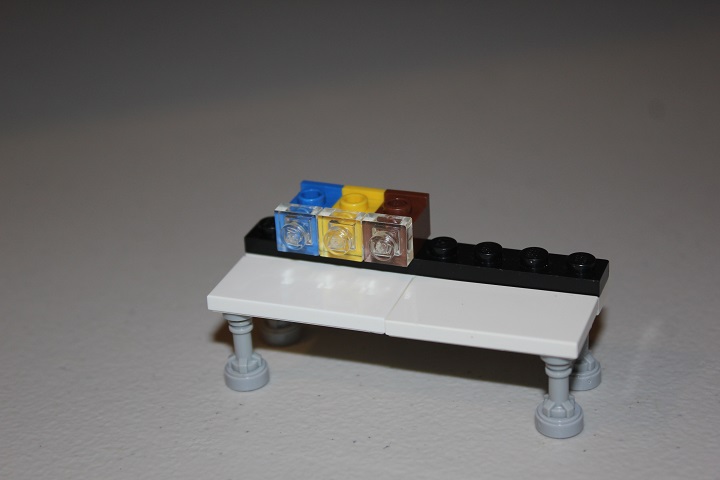
A 1 wide black plate goes between each layer of headlight bricks.
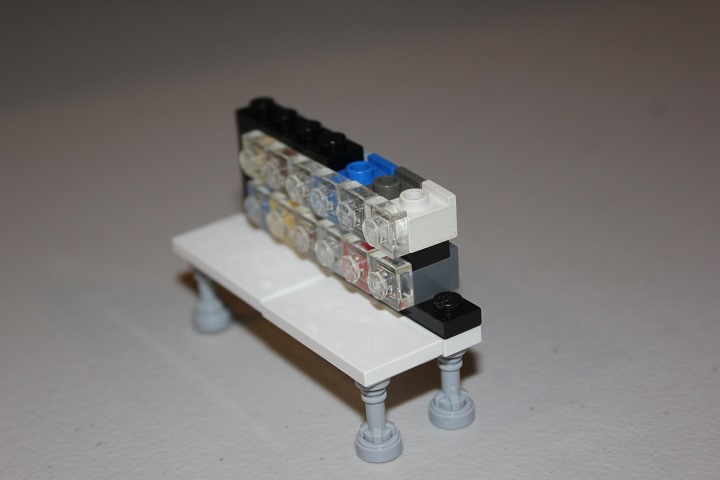
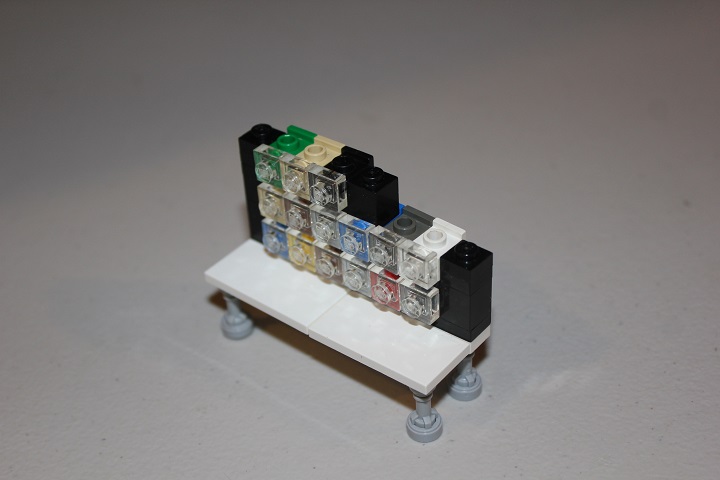
I had one end of the unit higher than the other, but you could use the techniques for any configuration you like.
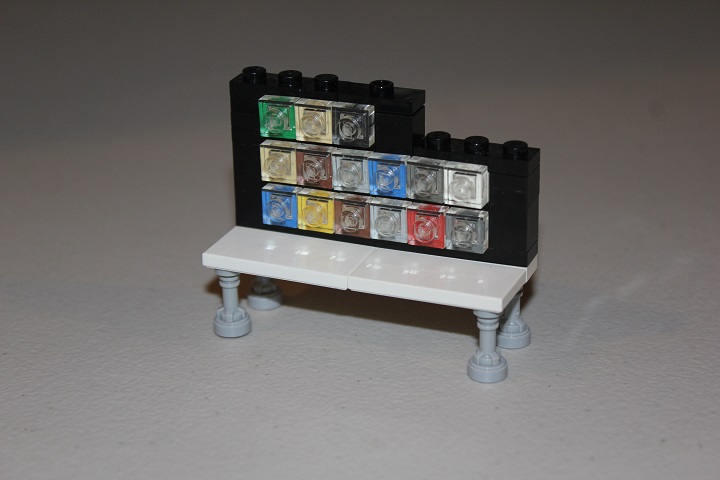
Top it off with some other micro scale containers (mostly PaB cups in this case), and you’re set to go!
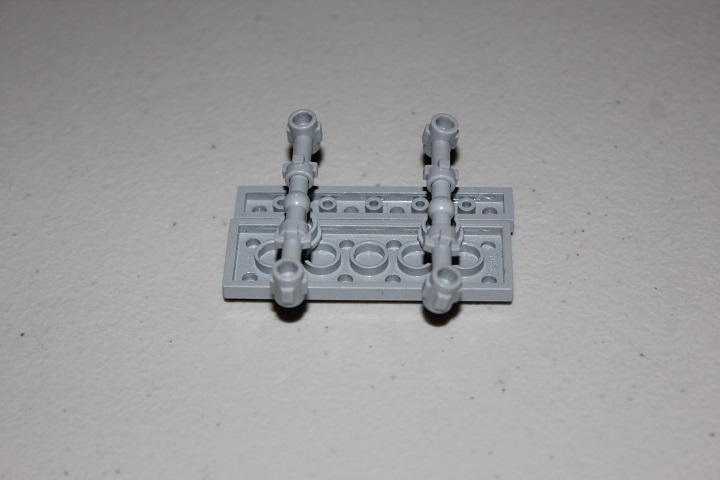
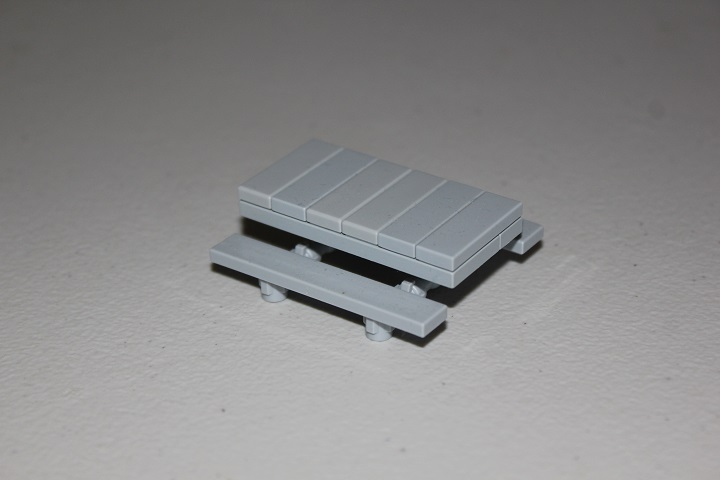
Isaac came up with this picnic table design for his Easter Egg Hunt model. The t-bars are connected to 1×1 round plate with hole.
Which then hook into the bottom of a 2×6 plate.
Tiles across the top hold the 1×6 and 2×6 plate together.
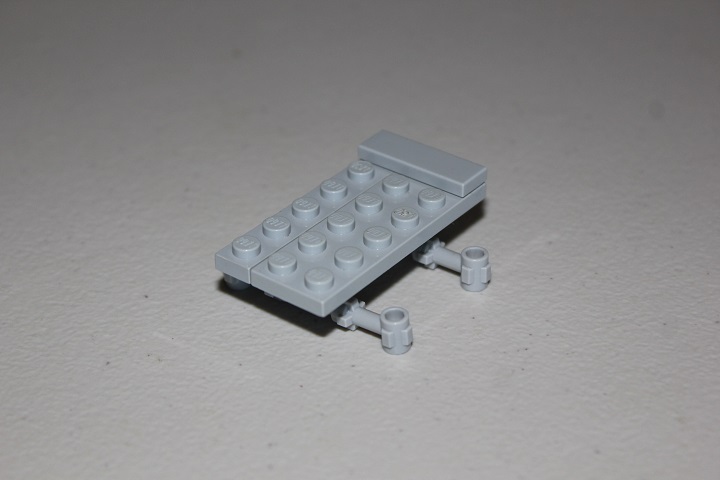
And then a few more tiles make the benches.
We hope you’ve enjoyed this tutorial, and apologize for the lack of new content lately. Isaac and I have both been busy with school and other activities, but should have more tutorials and build logs up in the near future.
As always, leave a comment if you have any thoughts on other designs we could cover in tutorials!


Nice! I really like the picnic table! Looks very realistic! Also gotta love the Lego table! Great tutorial!
Thanks Roanoke, we’re glad you liked this modern version of our furniture tutorials 🙂
A lot a great techniques here! Really like the 2 tables!