


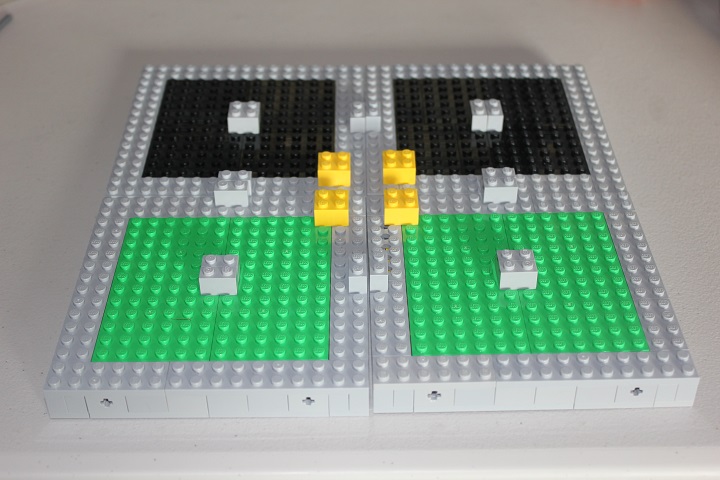
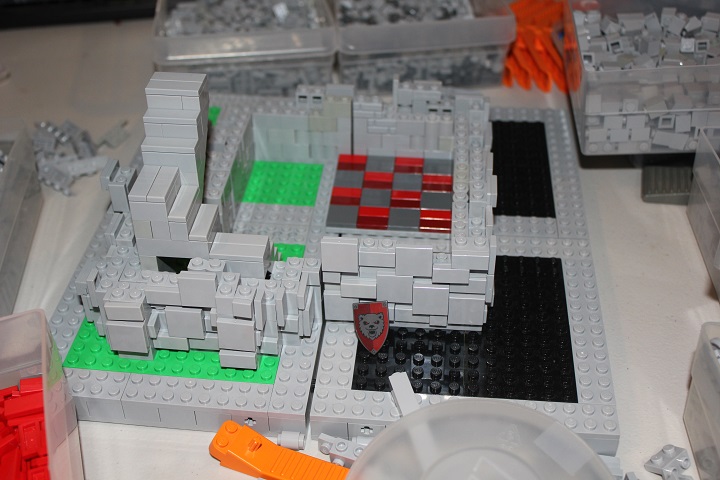
The build approach for this particular model was significantly different than usual. I started off with these four modules, and marking out where the walls needed to be at each module intersection (denoted by the bley 1×2 bricks) in order for the modules to allow rearranging.
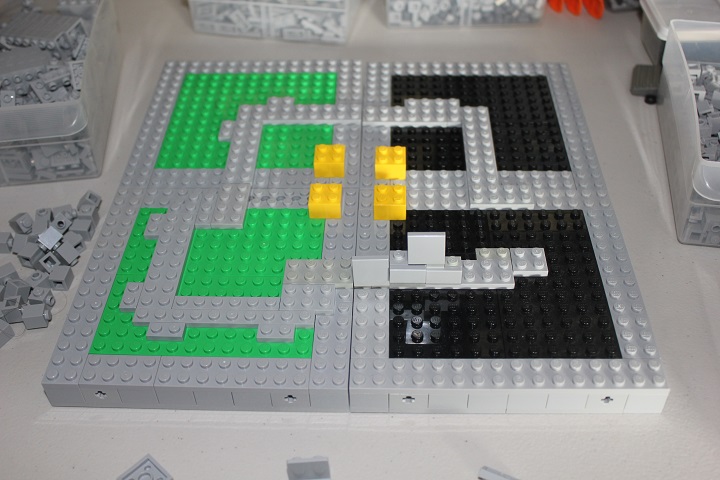
After that, I started figuring out the actual building layout while working around the intersection constraints. The basic square shape seemed to fit well for a Scottish styled castle, which was something I had been planning on building for some time. I roughed out the footprint with bley plates. One significant change I made from this version, was removing the doorway from the bottom right module, in favor of a second story entrance.
Next it was time to start building some walls! Implementing brackets in addition to brick with stud and headlight bricks was another idea that I had been waiting to use.
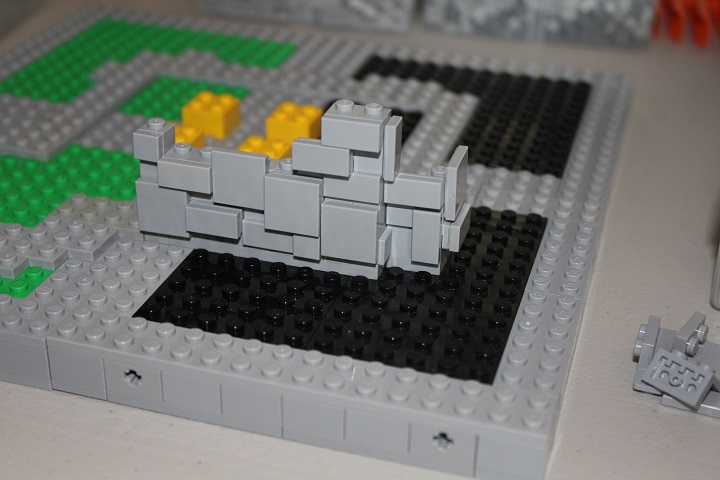
Everything was kept bley to start with, as I knew I could easily swap out some of the SNOT tiles for other colors later.
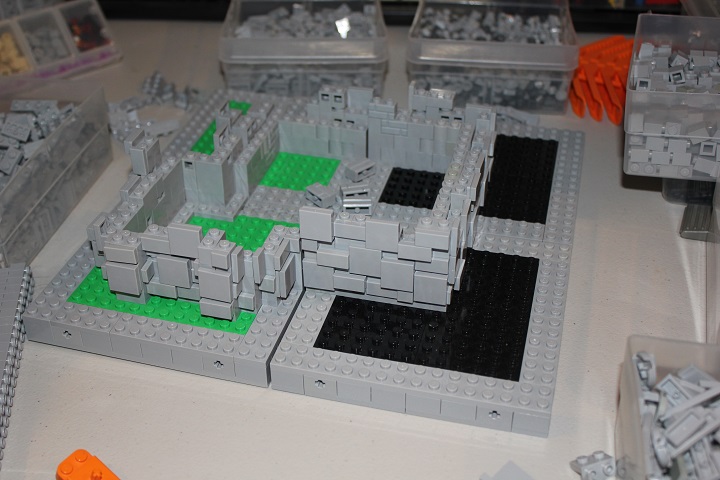
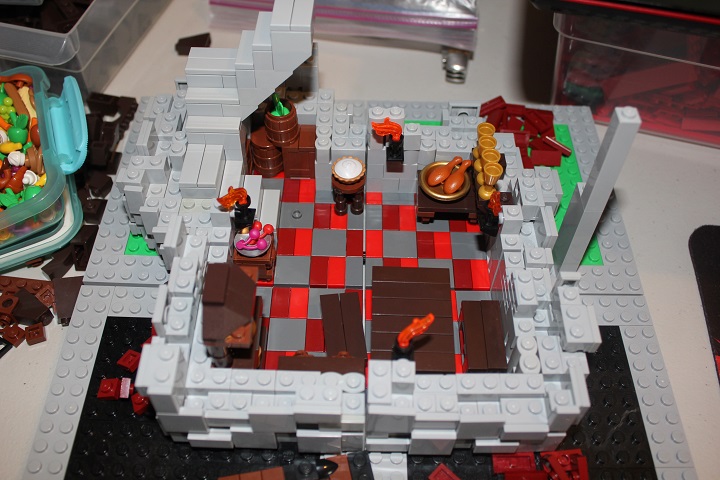
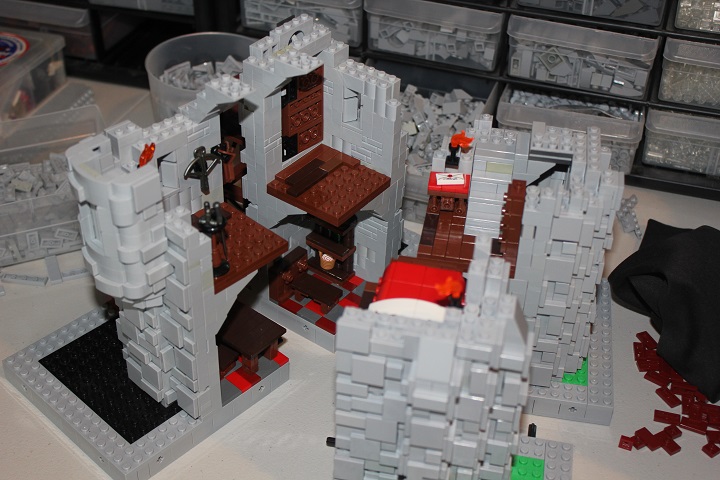
Once I had a good start on the walls, I figured I should start doing the interior before making it hard to reach inside. This led to another question: what faction would live in the castle? After looking through our shield collection for sigils we don’t often use, and had several of, I decided on the bear shield from the Frightening Knight Collectible Minifigure. Once that was decided, I came up with floor pattern that matched the shield’s colors.
Plenty of furniture was added next, some of which will be featured in a tutorial soon. The staircase incorporated into the tower was finished up to approximately second floor level as well.
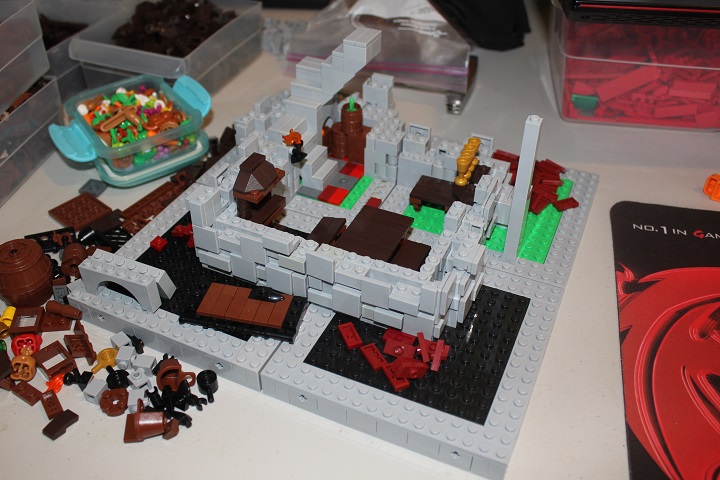
After I had decided what items of furniture I needed, I could attach them and finish off the floor tiling.
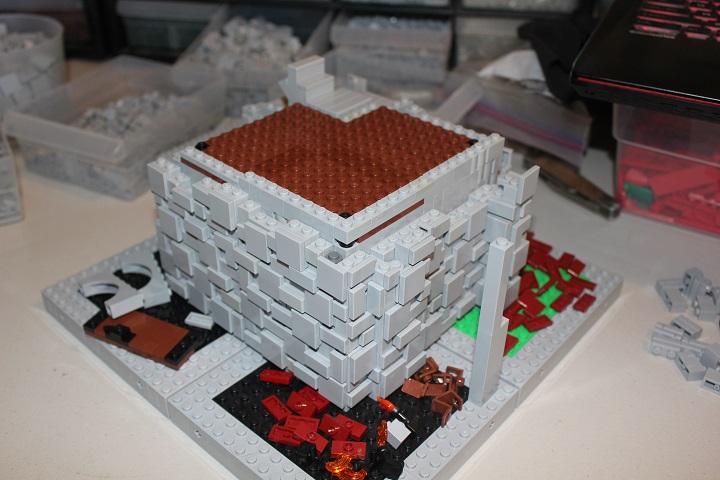
Getting the walls for the first floor finished was the next priority. Inverted slope arches gave a very sturdy foundation for the next floor.
Second floor in place! I overhung the reddish brown plates into the inner stud of wall when possible to make things even sturdier. By this time the front wall looks awfully boring, but that will be fixed shortly.
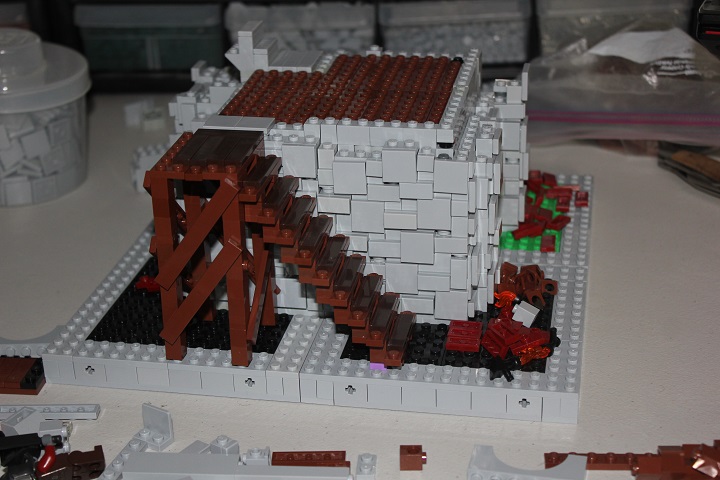
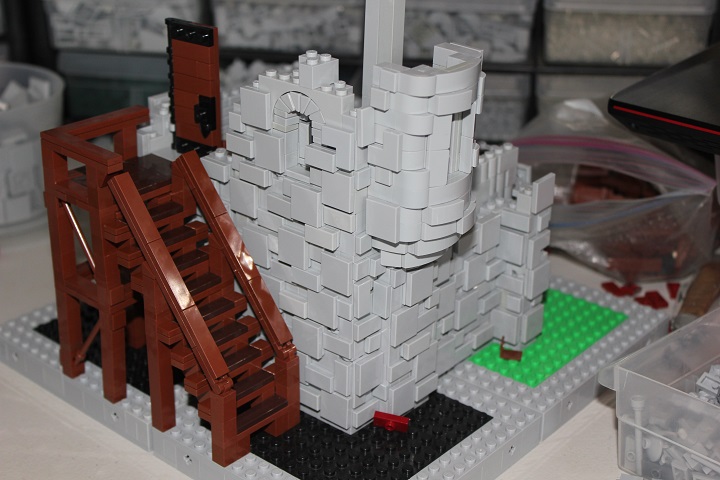
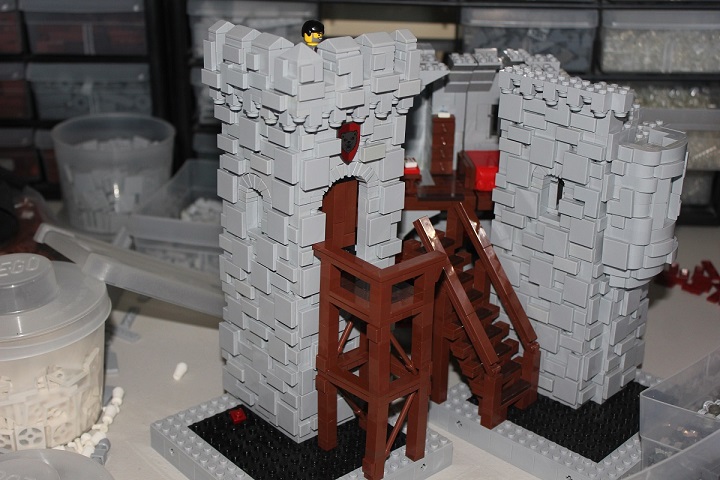
Wooden stairs were my first and only choice, both for the sake of being historically accurate, and also adding some much needed color contrast. This scaffolding design looked pretty terrible, and didn’t even fit around the flight of stairs properly so I refined it next.
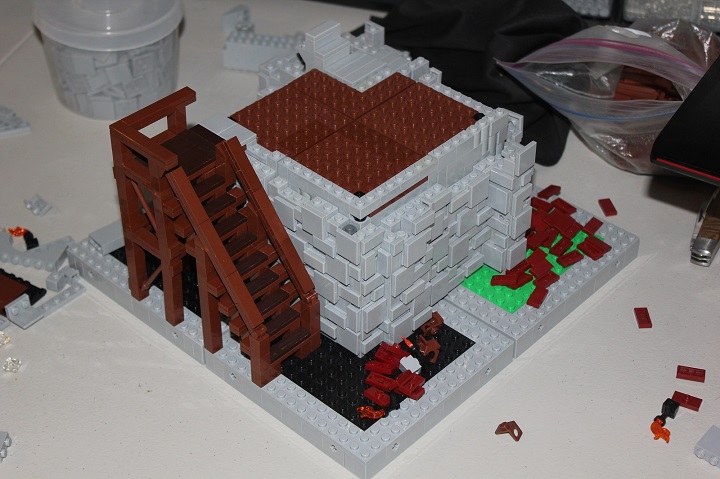
Bars resting in headlight bricks ending up working much better than the SNOT tile option I first tried.
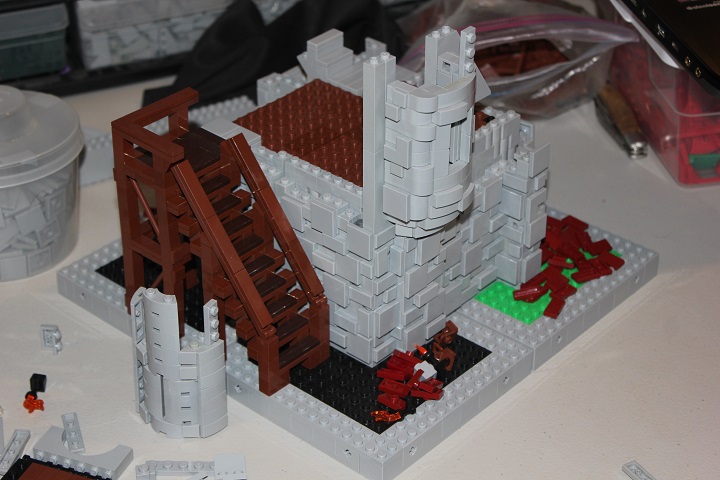
The round turret came together a lot easier than I had expected. A 1×4 section of wall sticking out a stud served as an extra support below it, and SNOT curved slopes captured the round shape quite nicely. Down on the left you can see another early attempt I had made using macaroni bricks and curved slopes.
Windows started to be incorporated on the second floor, featuring a lovely brickbuilt arch design that John figured out for me. While it takes a little patience to assemble, once it’s in place the assembly is quite solid.
More windows were placed next, along with still more wall building.
Furnishing the second floor went pretty quickly.
First corbels in place! This design was borrowed from LL’s models, and fit the style of the castle perfectly.
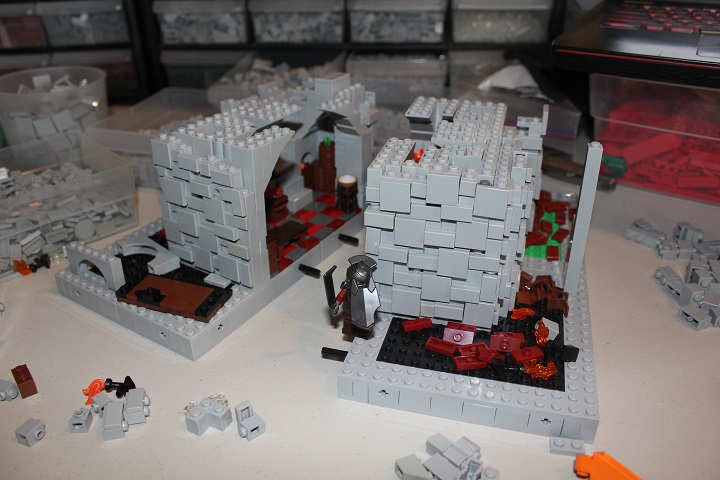
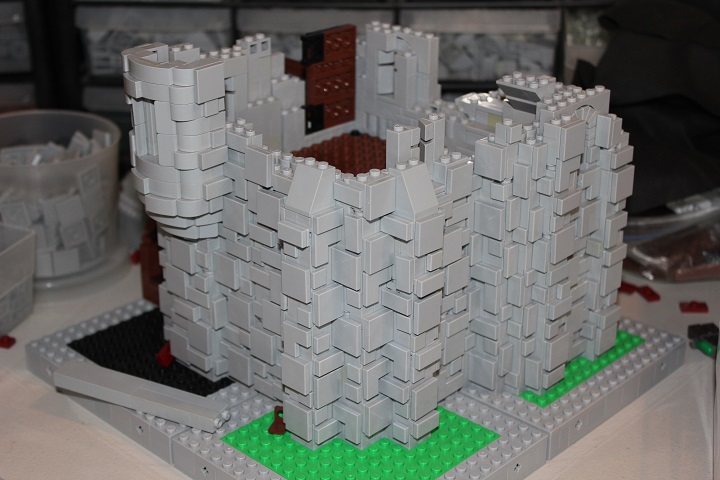
The modular aspect of the castle made it easy to work on individual sections when needed.
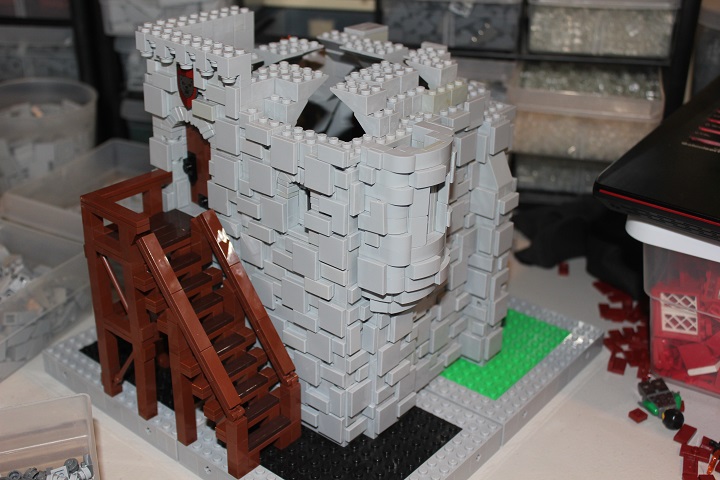
I was imagining the turret ending in battlements originally, but continuing it up a little farther and roofing it turned out to be a much better solution.
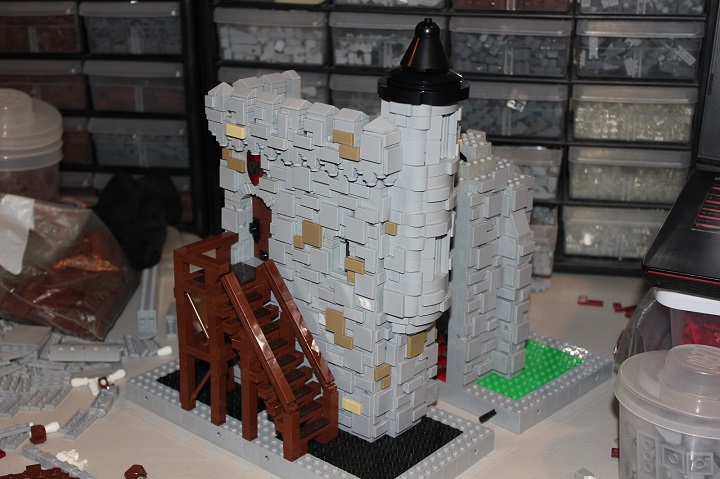
After the front two modules were done, I had to figure out how to finish off the back. Strangely the tower’s third floor took way more time and experimentation than any other area of the build. It started off with rounded corners and large windows. I tried probably 4-5 different windows with this setup before realizing square corners fit better aesthetically.
Dark red tudor was my first idea for the wooden addition, but dark red didn’t fit well with the dark tan so I switched to a dark brown and reddish brown building.
The steepness of the tower roof was lowered from the version shown below as well.
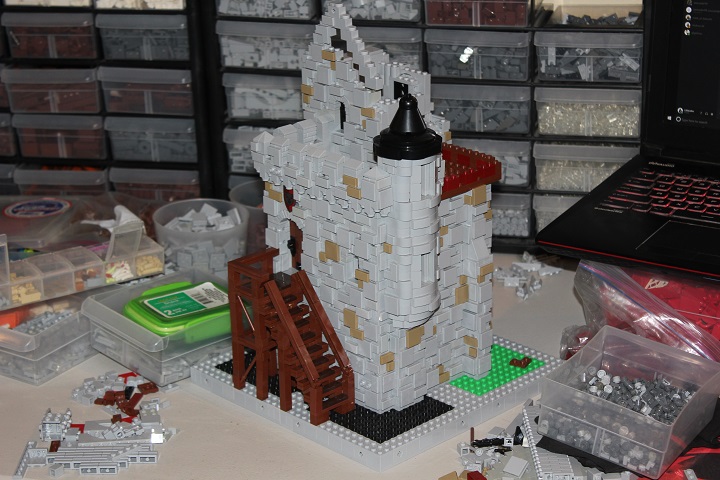
Just about done! I added some figs and dark tan bushes, and switched the dark green leaves out for olive so John could use the dark green in his Gondolin build.
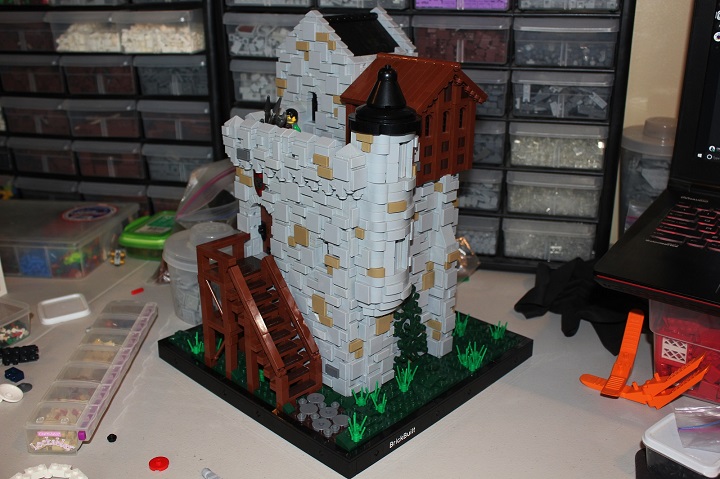
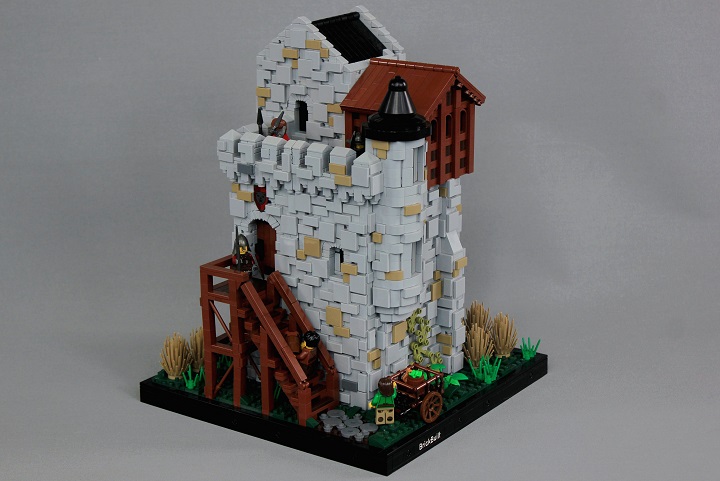


Love it all! My favorite parts would have to be the turret and wooden sections though 😉
Awesome! Really cool to watch this build come together! It really makes you appreciate that great stonework a lot more! Keep it up Isaac! 😀