


This tutorial explains how I built the 45° roof of my Riften Watchtower, and also shows the method I used to make the plank siding underneath the roof-line.
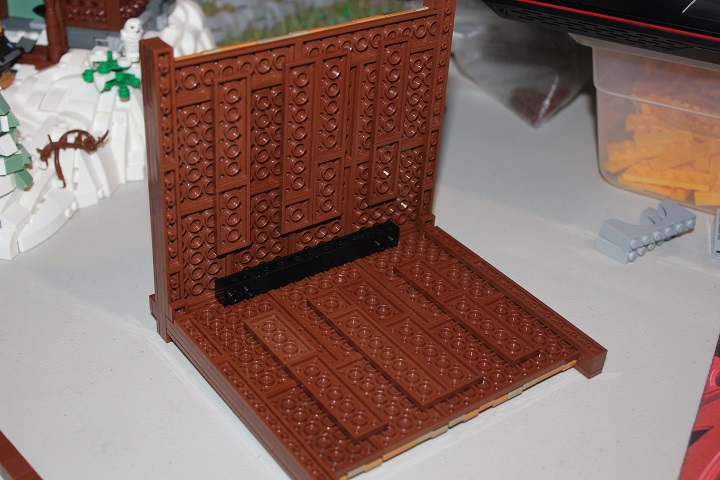
For the gable wall section, I first set up some tiles which will then have sideways plates and tiles built over them.
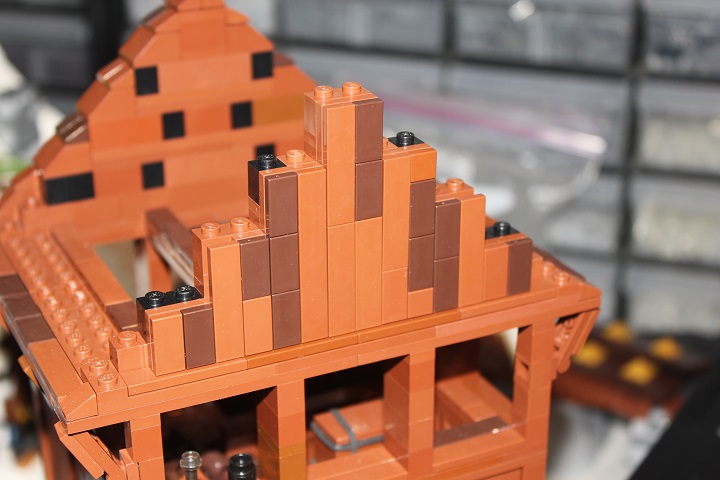
Then I built up a standard wall of bricks plates, and some brick with stud to attach the SNOT portion. Every 5 plates high, the wall section steps in 2 studs from either end.
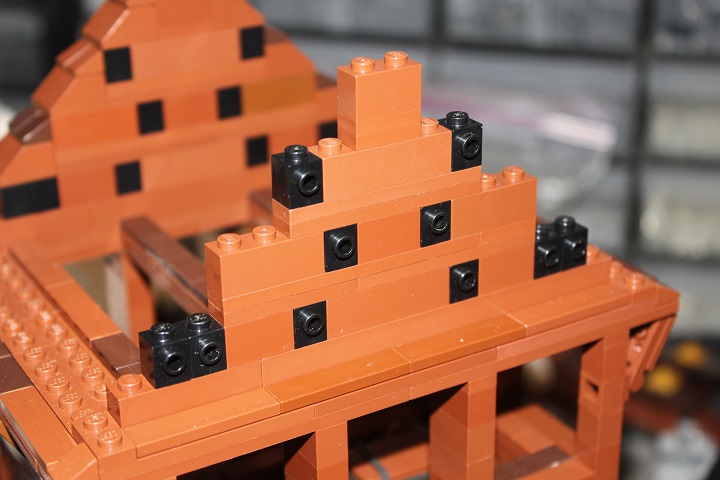
So that the plates fit on as shown below.
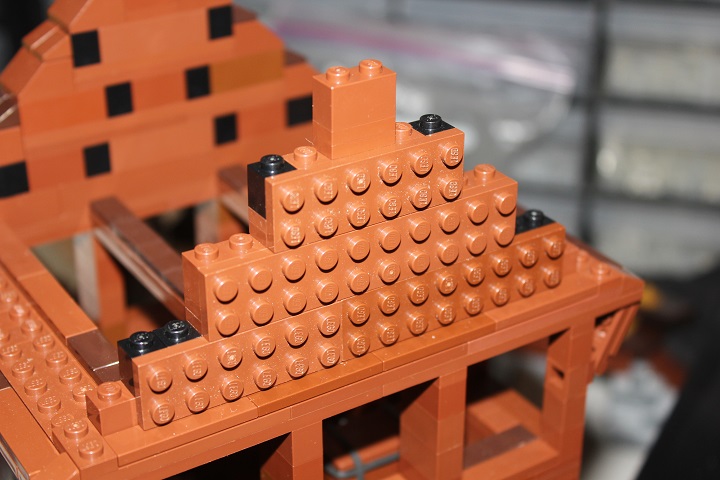
Tiles are then added to give the appearance of wood planking, and a few longer tiles also attach the top 2×2 plate (which could also have been held on by more brick with stud on side).
The finished planking looks like this, but obviously those steps are a bit blocky for a roof to fit smoothly over.
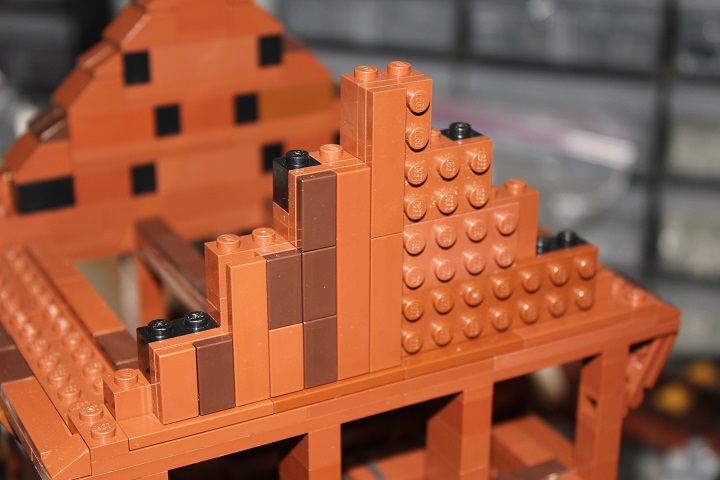
So I then used 2×2 slopes capped with cheese to smooth out the slopes. Since this parts combination is 5 plates tall and uses primarily the 45° slopes, it will match nearly perfectly with the 45° roof still to be added.
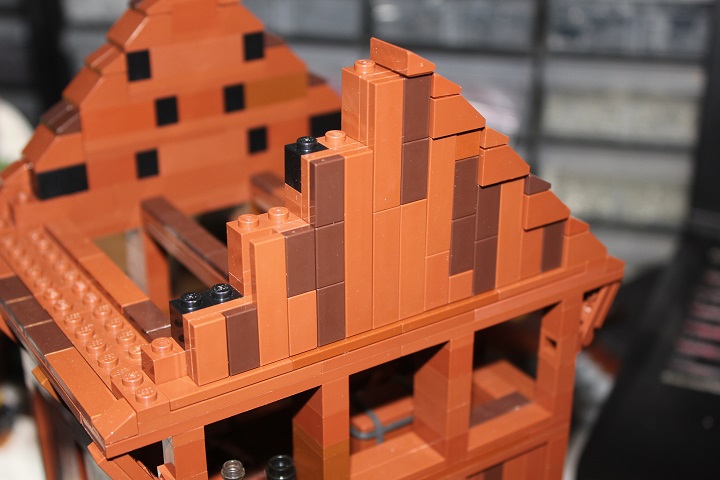
Here the slopes have been all added. A 45° ridge slope would be perfect for the top, but since I didn’t have any in brown some cheese worked near enough. There’s no reason for the bottom slope to be only one stud wide, except that in my specific model, the 1×12 brick I used underneath the first brick with stud stuck out too far for a 2×2 slope to be used.
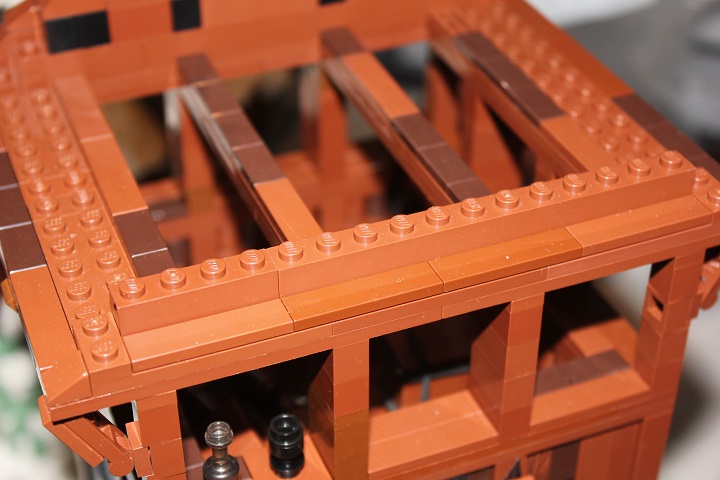
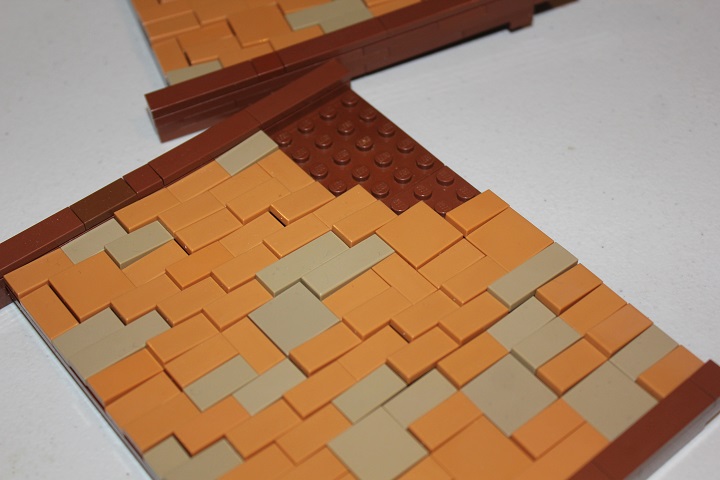
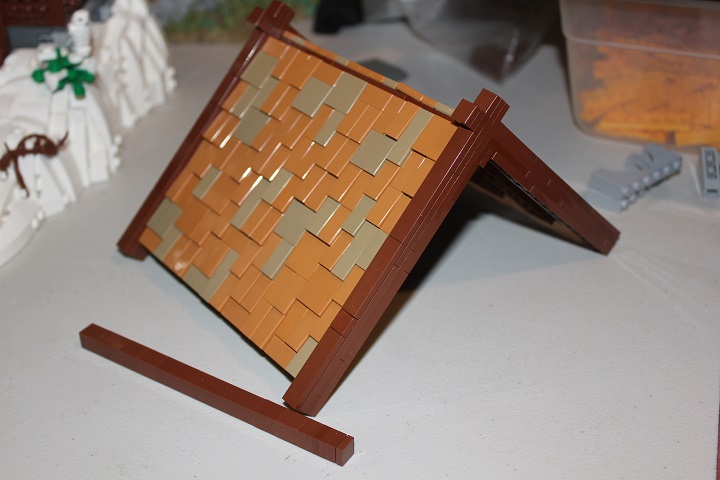
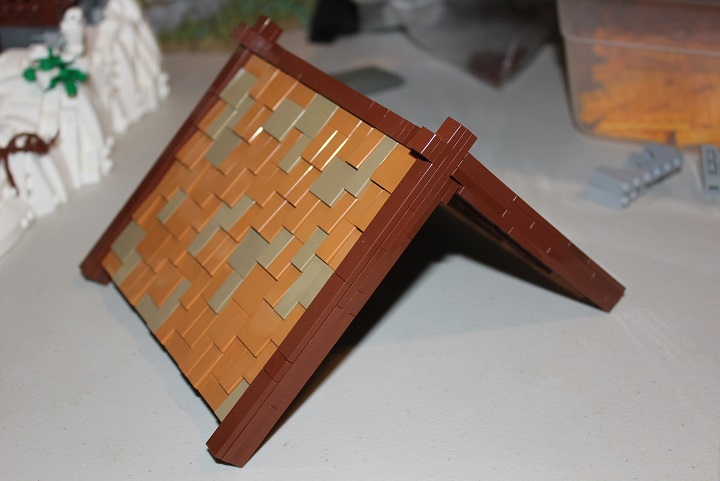
Next the roof is built. By holding up plates to the slope you have already established, you should be able to easily figure out how long your roof section needs to be. I used my shingle roof design for the main portion of the roof. Though I mixed in some tiles of varying sizes for a little more variety.
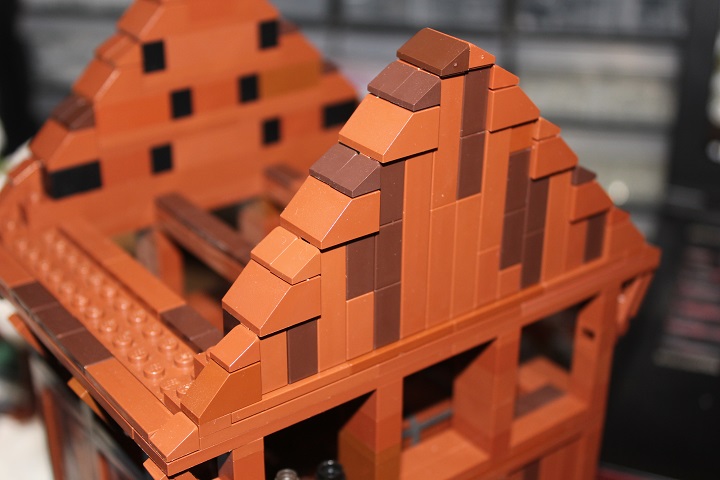
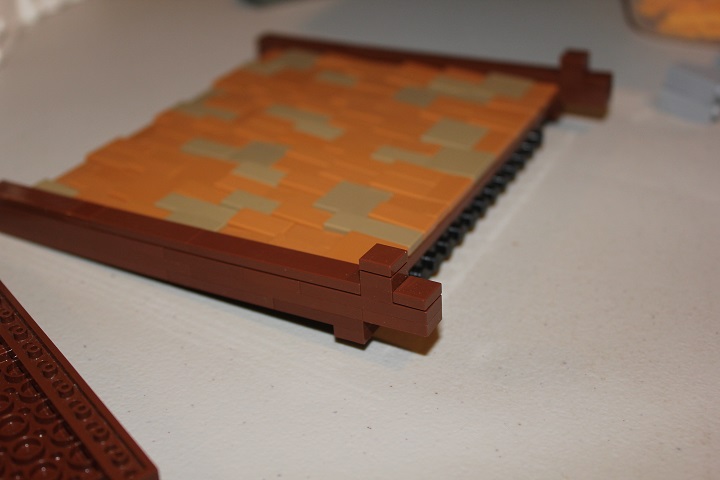
The roof ends consist of some 1 stud wide reddish brown plates and tiles.
Here it is also easy to see how I achieved the crossing joint of the roof beams: on one side of the roof (shown here) the plates of the beam extend 2 studs past the roof end. And on one of those studs I simply added a couple 1×1 plates capped with tile. Which when rotated 45° will give the illusion of being the other side’s roof beam continuing.
A very simple way to make sure your roof is exactly 45° is to just use brick modified with stud to attach the two sides.
I attached some of the reddish brown one wide plates at the roof ends, underneath the main roof plates to hide any small gaps that might occur between the wall and roof.
Nearly complete! I used a stack of standard 1×1 bricks and plates for the ridge of my roof, as that best fit the large rough hewn plank look. 1×1 round bricks also often work well for the ridge.
Ridge in place, and at this point you just need to set the roof down over the wall.
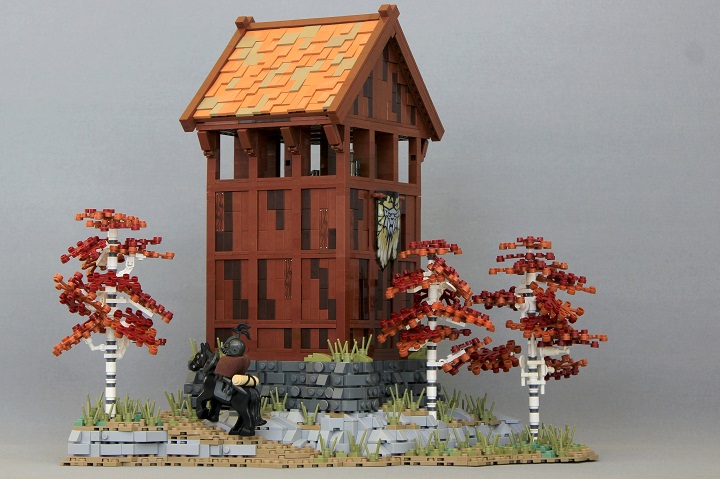
And here is what the final setup might look like:


So clean and polished! Awesome work as usual Isaac! 🙂
Very cool! It looks super nice in the final build. I may have to use some variation off of this design in one of my builds at some point. 😉
Thanks Mark and Michael 🙂