


We’re back with another furniture tutorial! It’s been quite a while since we’ve done one, so we’ve got lots of designs to share with all of you. Let’s take a look!
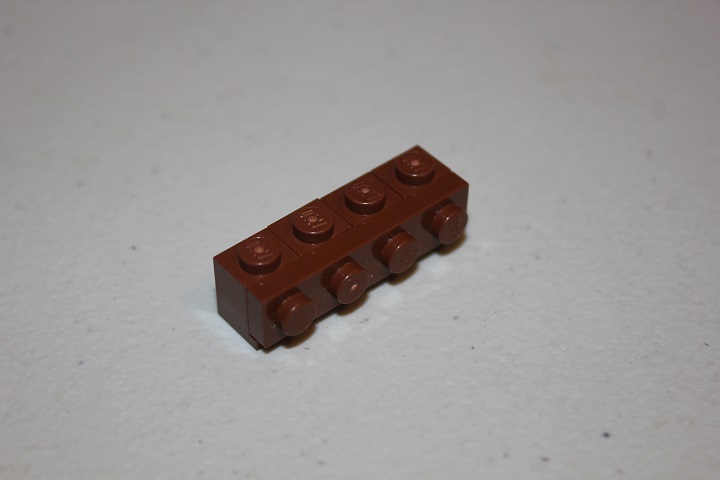
We’ll start out with a produce stand that I used in my Fortress of Al-Danah build. The base consists of several headlight bricks, and a 1×4 plate to connect them.
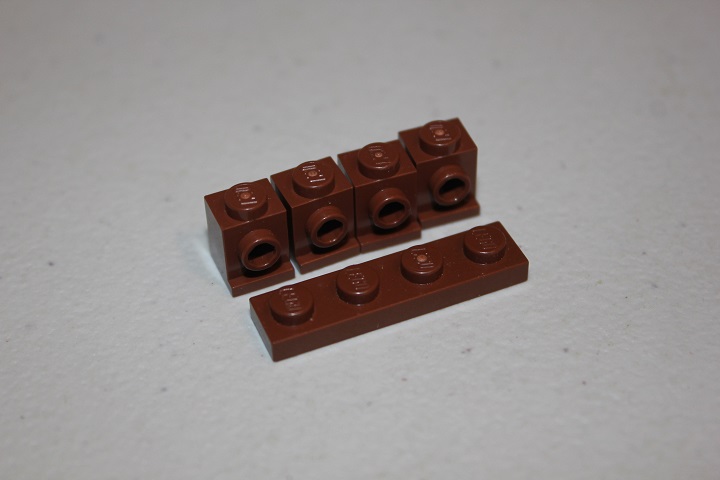
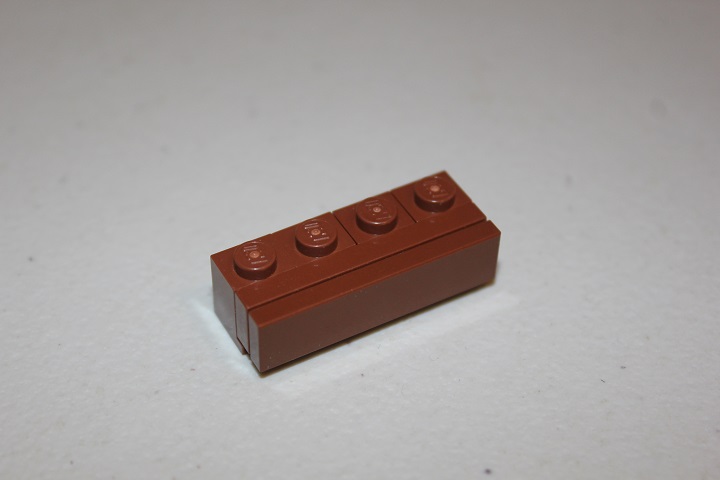
Next add a 1×4 tile to the previously mentioned 1×4 plate.
Now comes the more interesting part: attach two 1×2 plates with handle to the top of the assembly. On top of those, add two 1×2 tiles with handle.
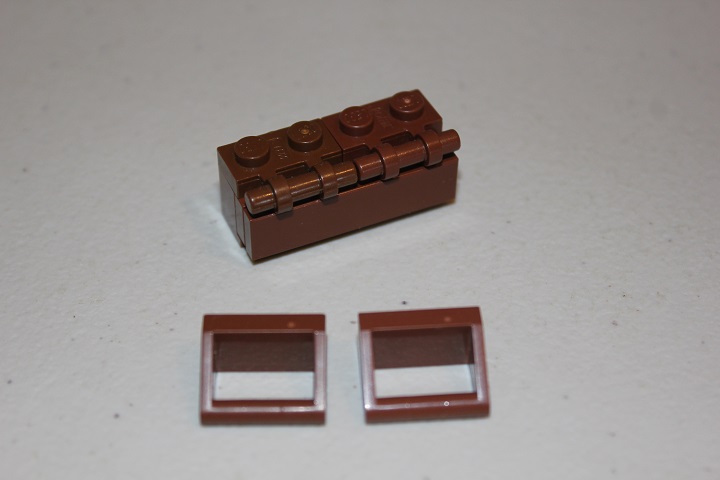
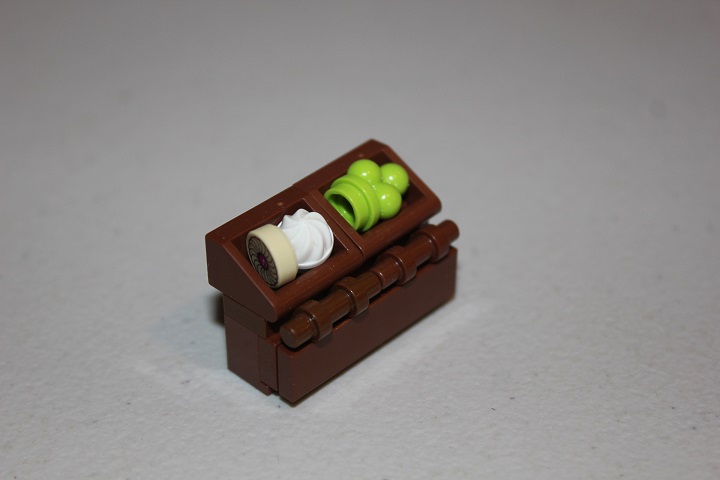
And it should end up looking like this:
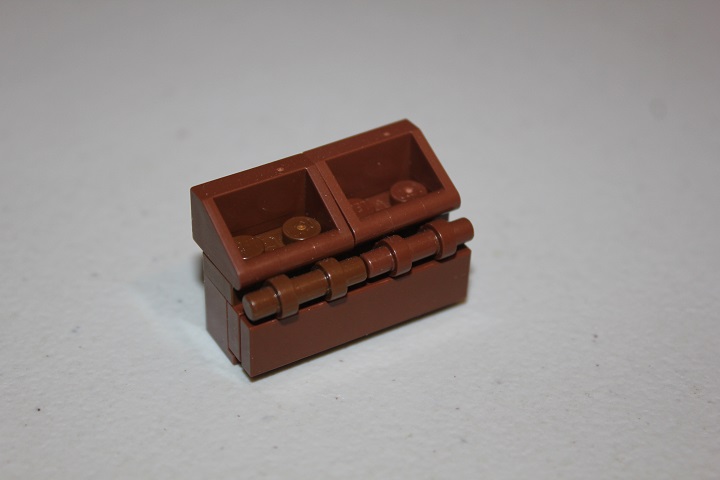
Then you just stick whatever type of food or other products you want in it, and you have a nice little vendor stand!
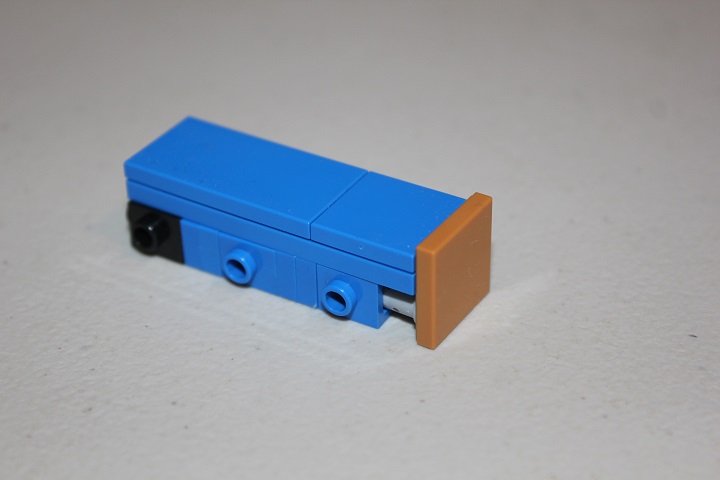
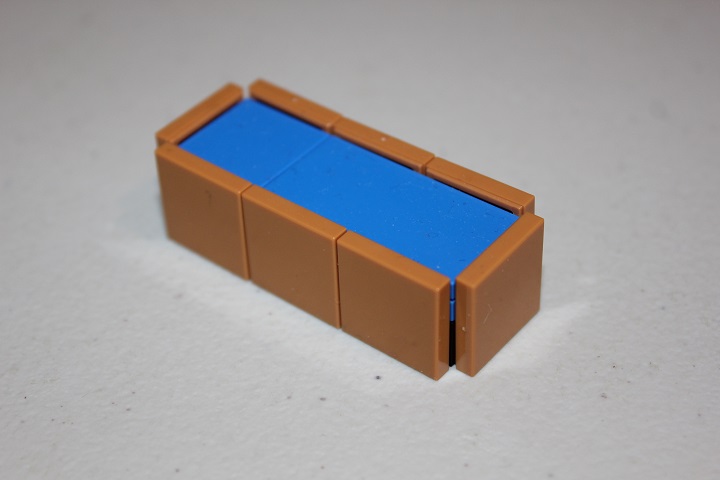
Next up we have a water trough. The core assembly is made up of 1×2 plates, brick modified with stud, and a couple technic half-pins. The blue plate and tile assembly you see behind that will cover up the core when we’re done.

On the end with the technic half-pins, attach a 2×2 tile. I used medium dark flesh, but you could use another color if you want.
Then just add tiles all the way around the edges.
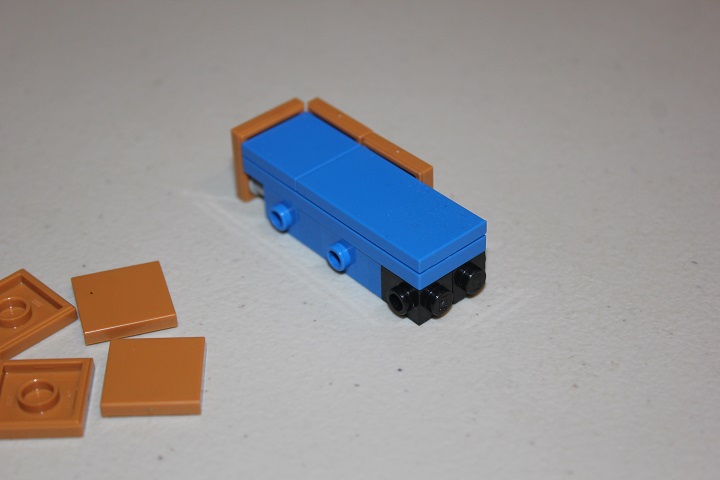
And it should end up looking like this.
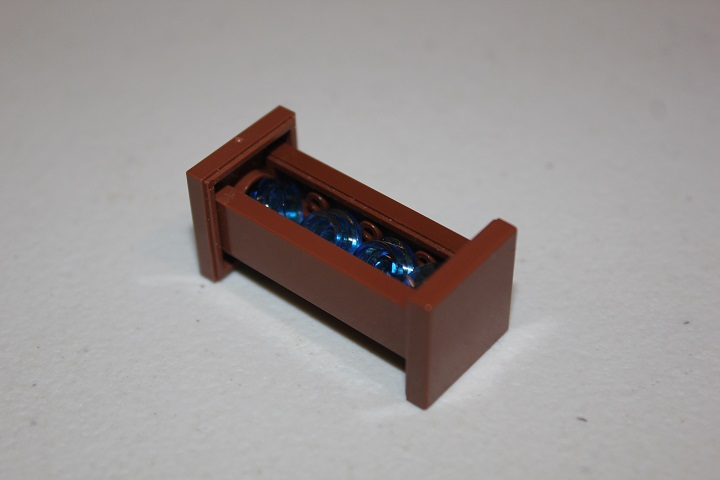
This water trough is a bit smaller, and again uses sideways tiles for the sides.
Instead of connecting the tiles to bricks with stud however, the 1×4 tiles are slid into the 2×2 tiles.
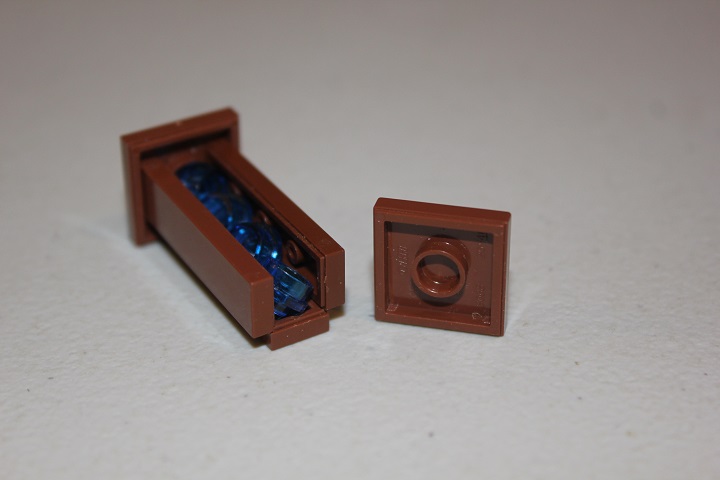
After which 1×1 round plates to represent water can be slid in. This designs gives a very compact trough for smaller livestock.
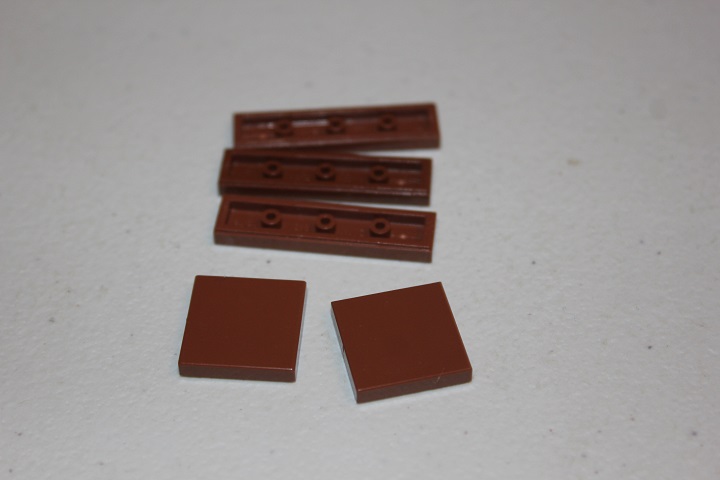
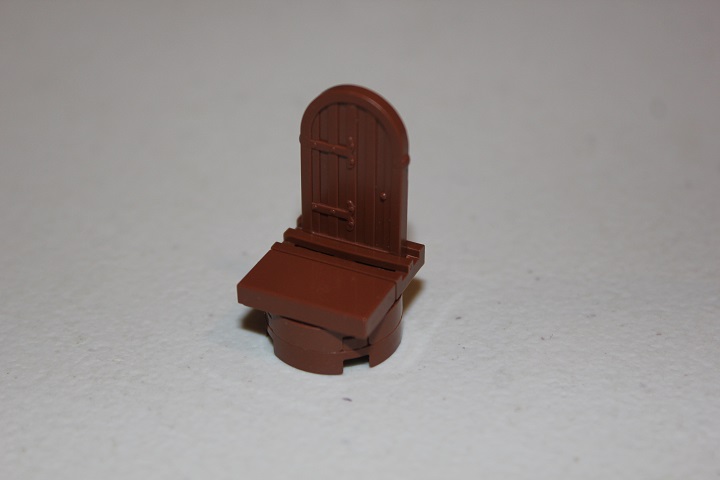
Next up is the first of the three chairs in this tutorial. Below are all the parts necessary.
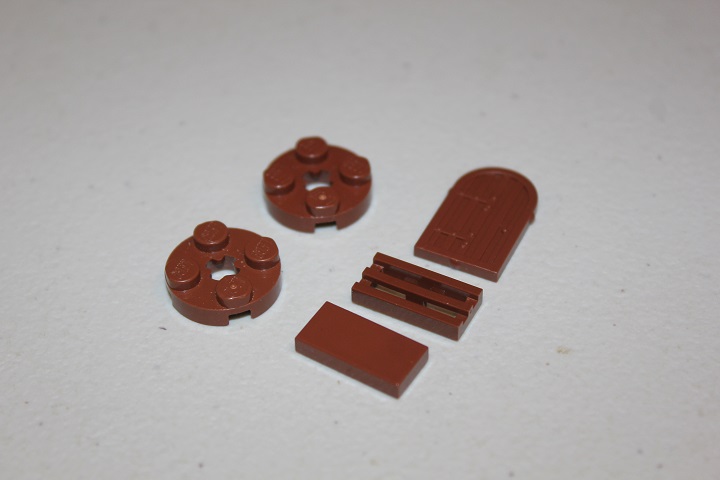
Using the grill tile allows the window shutter to be attached as the back of the chair.
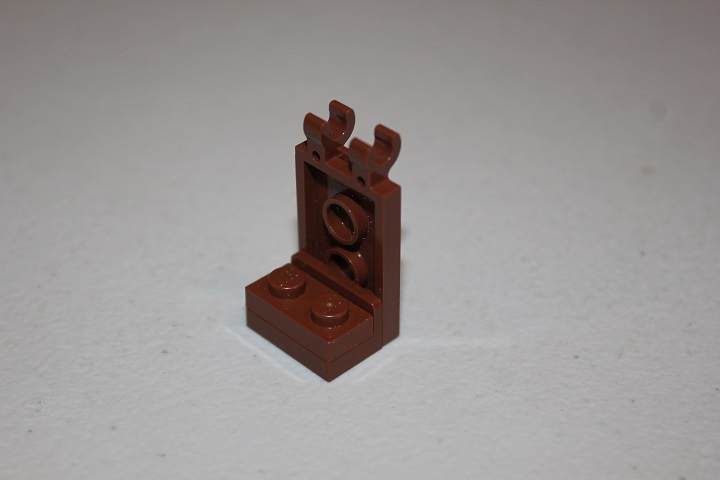
For this next chair a 1×2 bracket is the key component.
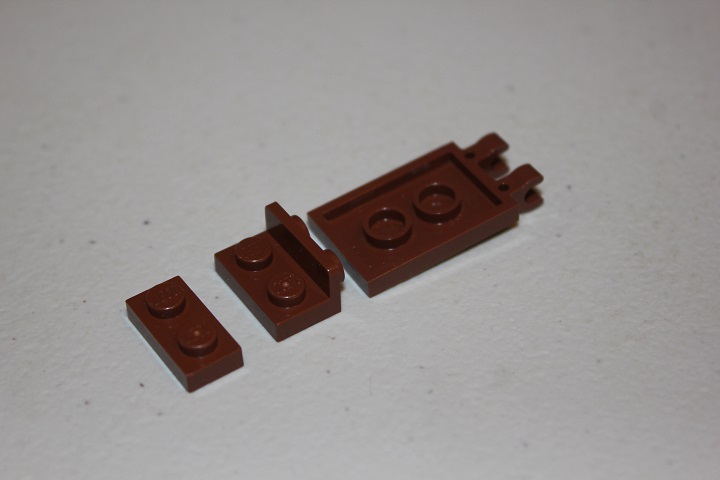
Which then connects to the tile modified with clip. You’ll notice the chair seat looks a bit shallow, this is to allow for a minifigure with a brickbuilt dress to fit on nicely.
Some curved slopes replicate a dress shape.
And a standard torso is attached to the slopes.
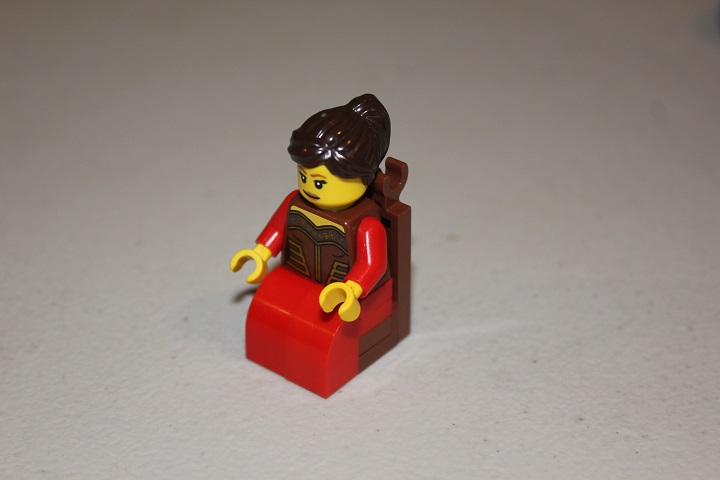
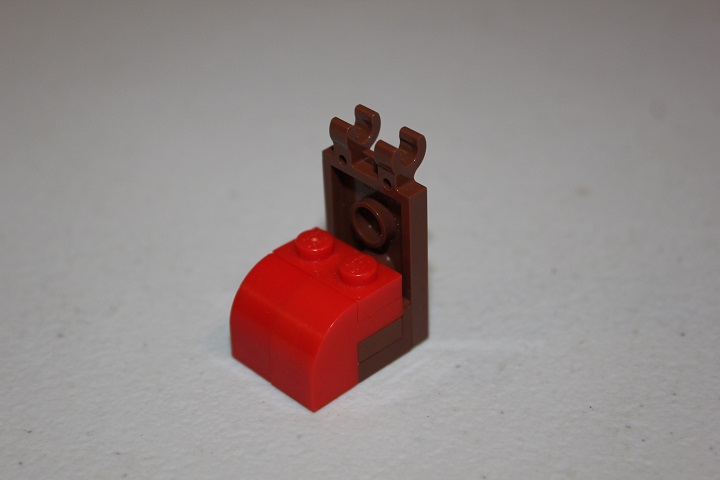
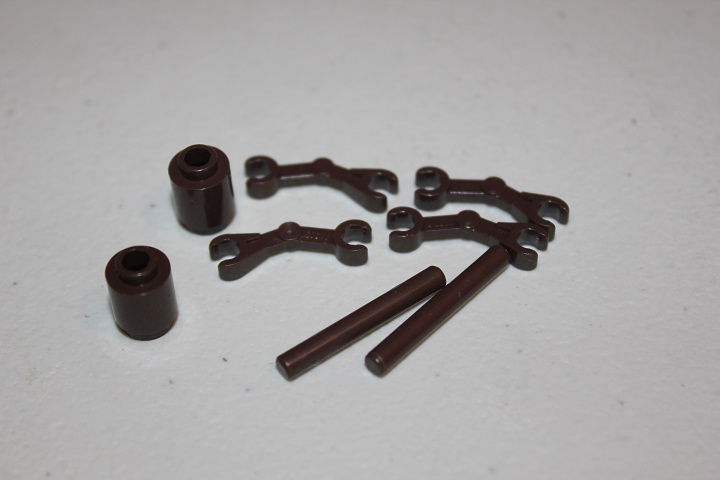
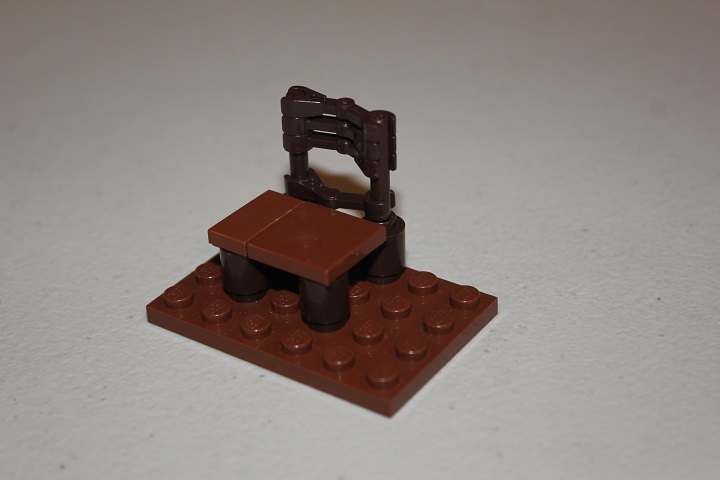
Our last piece of furniture for this tutorial is a chair Isaac used in his Riften Watchtower model. Dark brown brick rounds, droid arms, and 3 long bars are all used in the chair.
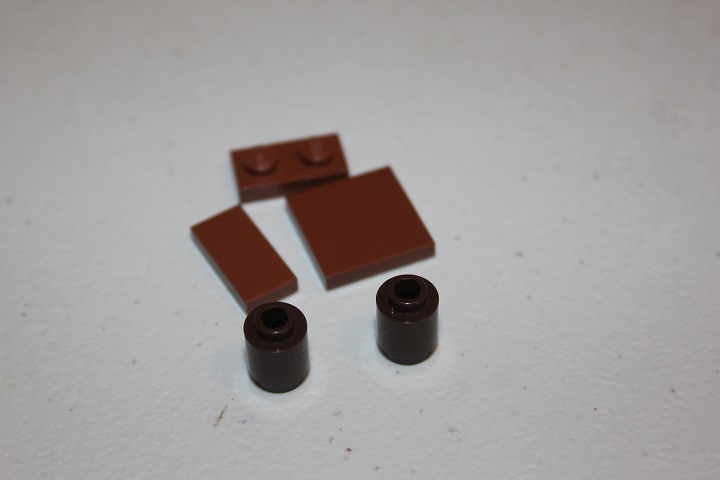
With reddish brown tiles and a 1×2 plate for the actual seat of the chair.
The chair is not fully attached to itself, but you can get everything to stay in the proper location with a plate underneath.
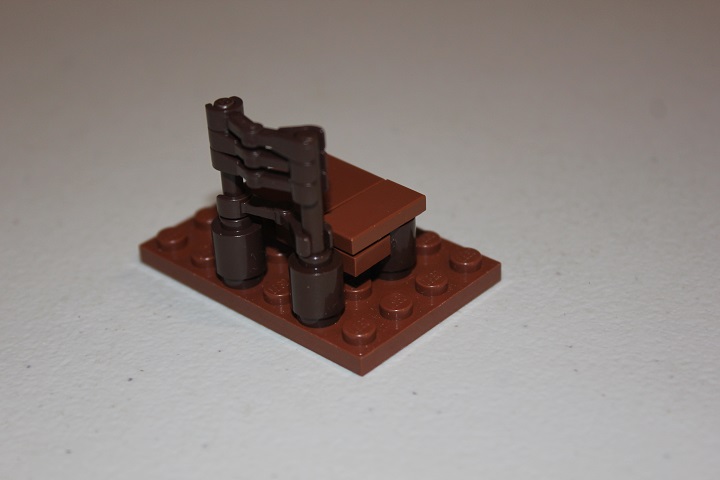
The 1×2 plate isn’t visible from the front side like shown below.
And there are 6 more designs that you can hopefully find useful in your own models! If you liked this tutorial, you may enjoy our past furniture tutorials as well.
If you have any questions about the designs, or would like to request a tutorial on a specific design, please comment and let us know.


Dude, these are amazing designs and will be so useful in some of my new Mocs! You are an amazing builder!!!
Thanks Sean!
Awesome! I love that market stand, might have to use it sometime, as it isn’t necessarily an indoor item. 😉 Anyways, congratulations Isaac on winning MB!! 🙂 It was well deserved. 😀
Thanks Roanoke! And yeah, John came up with that stand idea, which works really well 🙂