


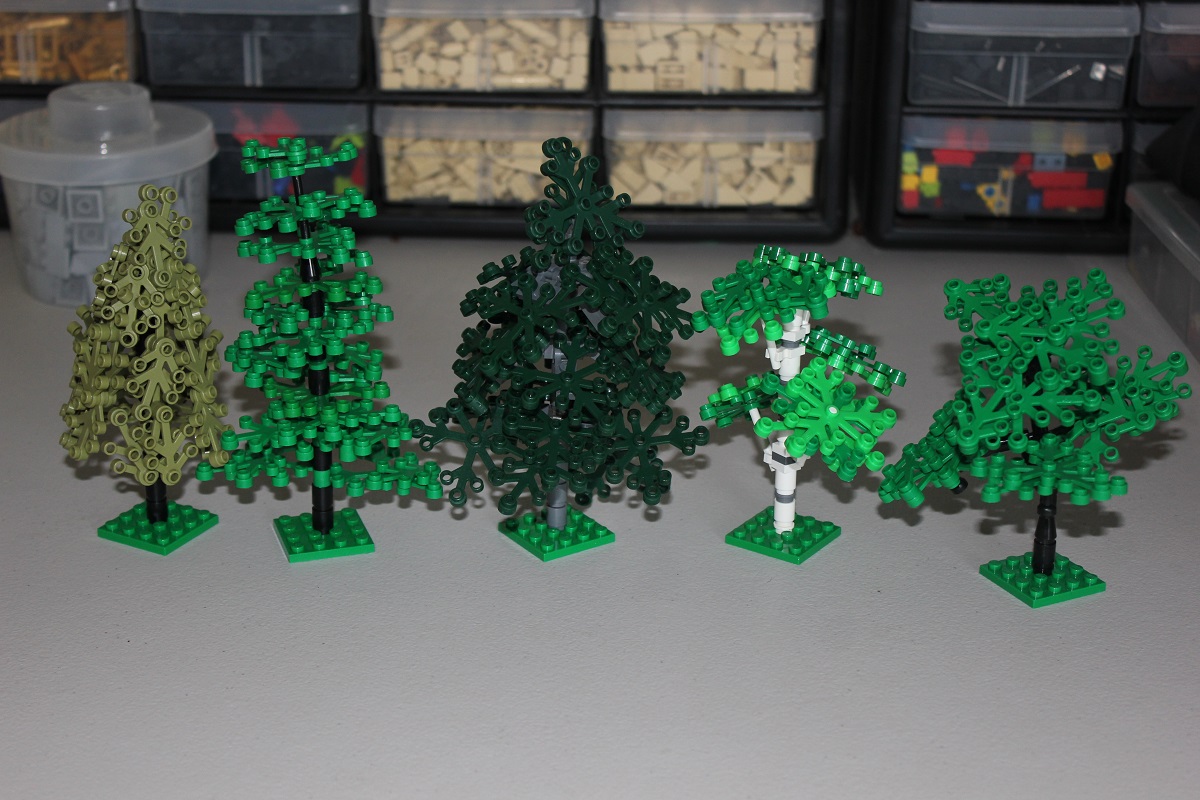
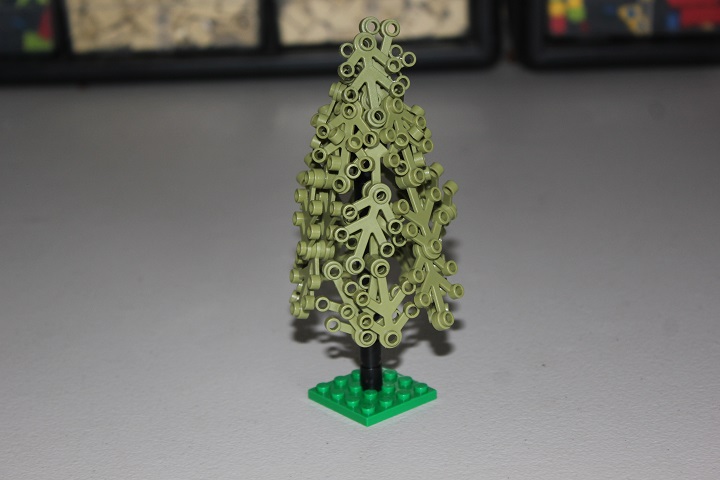
We often find that good looking trees are one of the hardest things to build with LEGO, so this tutorial covers 5 designs we have found to be useful. All of which were also featured in John’s Amon Hen build.
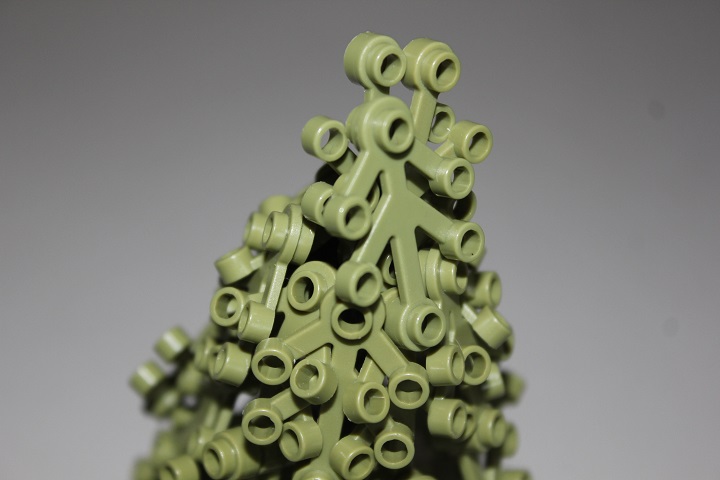
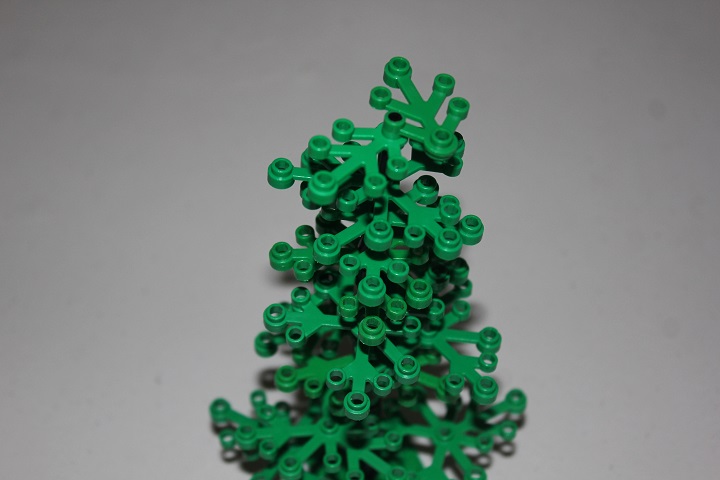
Let’s start off with a large pine tree. The basic design was heavily influenced by Thorsten Bonsch’s fir tree design, which I highly recommend you check out. The trunk is very simple, consisting mainly of 1×1 round bricks, with a few travis bricks to attach the branches. I recommend putting the first travis brick on after the 3rd or 4th round brick. You can either attach 4 more travis bricks off of the central one, or do like I did here, and use a headlight with 1×1 plate with horizontal clip for two of the sides. This gives a little more variation in how the leaves are angled.
Next attach leaves to the top two sides of the angled travis bricks, and insert the center of the leaves into the 1×1 plate with clip. This will give them a slight downwards angle.
After attaching all the leaves of the bottom layer, continue building the trunk with a few 1×1 round bricks, until you reach the height at which you want the next layer of leaves. For this second layer I use a travis brick as the core again, and 1×1 tiles with clip and 1×2 plates with handle to attach the leaves securely.
Build up the trunk a little more and then attach another travis brick and more hinges. You can use all 1×2 plate with handle, I just ran out of them and had to use the other type here. Also notice the bar slid almost all the way down into the travis brick and 1×1 round bricks. This will hold the clip that connects the top leaves.

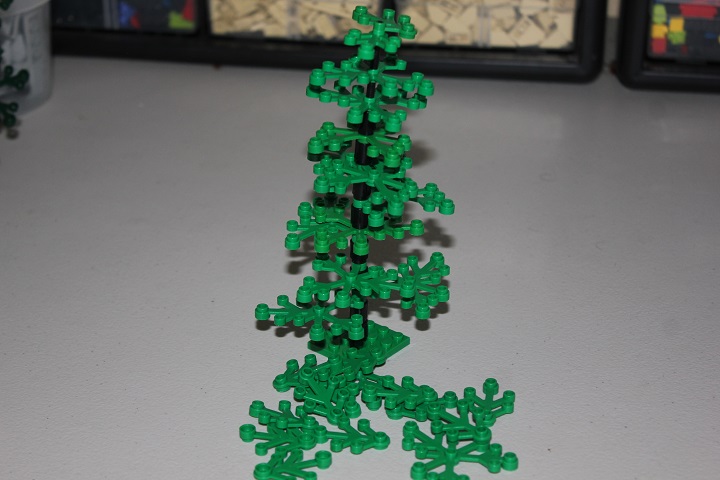
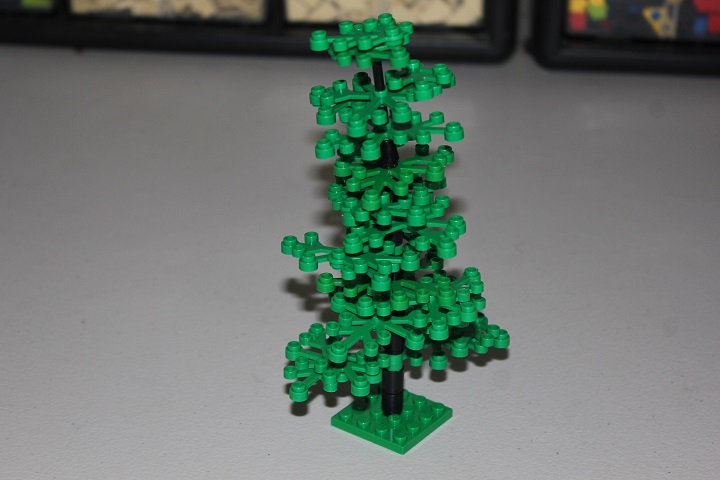
Add some more leaves, and clip one on vertically as seen below, and you’re almost done!
Then just add a few more leaves wherever it looks a little sparse. And there you have a nice pine tree!
Next up is the birch. Once again, the trunk design is very simple, with 1×1 round bricks and plates, and a few clips to attach the branches.
You can use either 4 or 6 long bars for the branches, though I generally use 4. I find it easiest to attach the leaves to the stick first, and then connect the entire branch into the clip, rather than putting the clip on and trying to add the leaves afterwards.
Just keep adding branches until it looks good to you, and then top it off with a few more over the center of the trunk. You don’t have to use this technique for a birch tree either, as long as there are bars and clips in the color you want to use, you can build it.
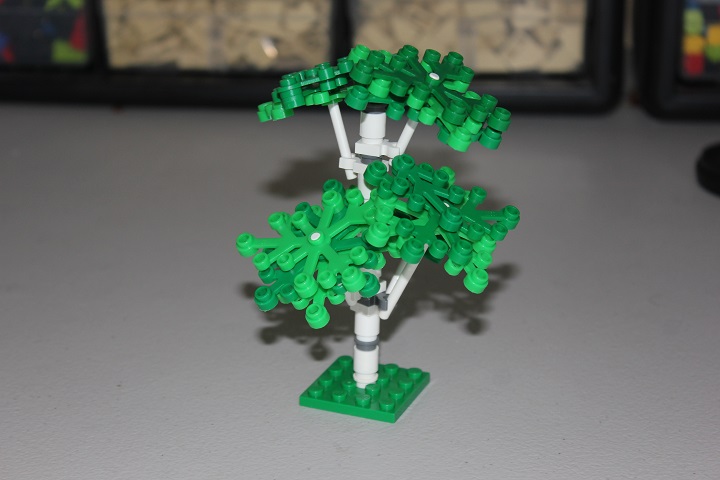
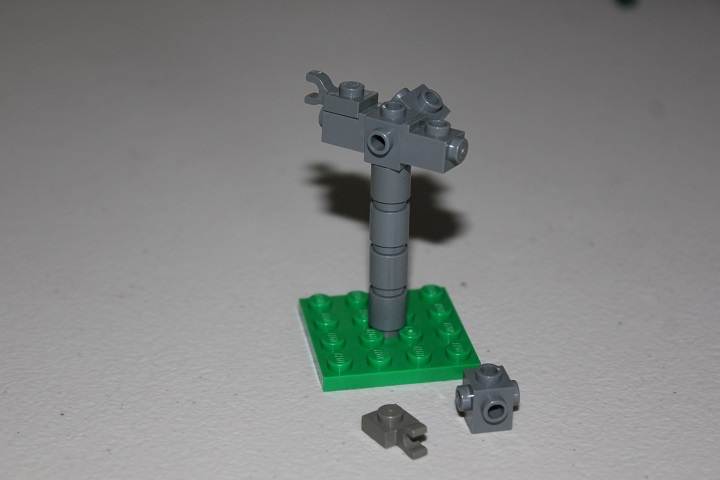
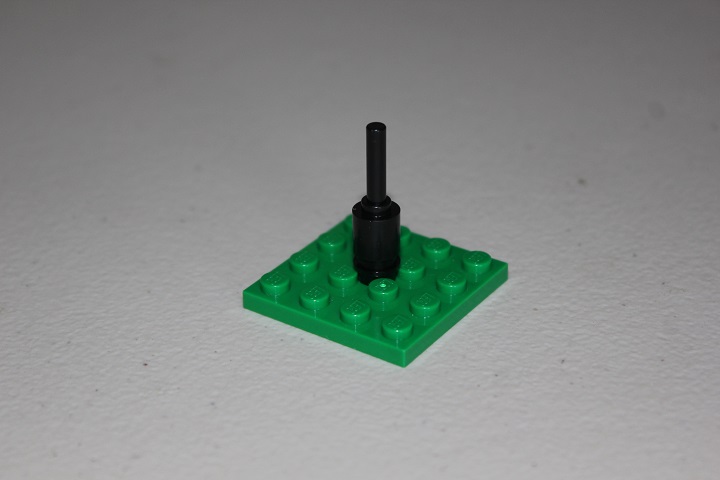
This next tree is based off a design Legopard came up with, but slightly modified, once again due to our lack of the correct parts. Start off with a 1×1 round plate with hole, and a 1×1 round brick with a 3-long bar through them.
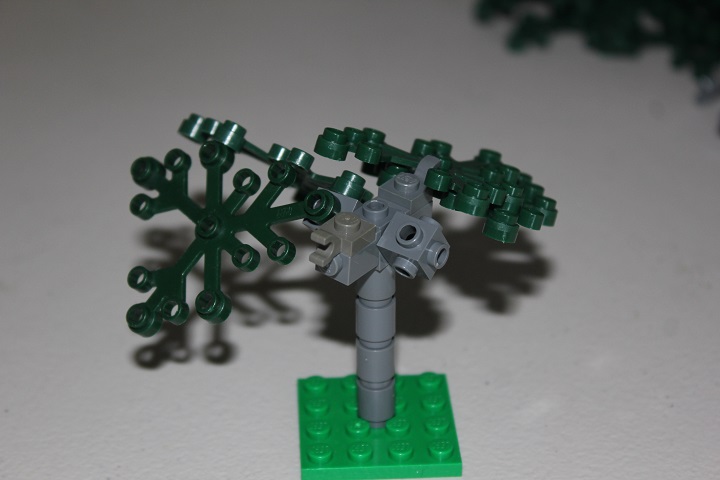
Add a cone, and then one of the new bar holder with handle. Those and bar holders with clip are two of the main parts needed for this design. Then add a T-bar; this will allow you to add branches.
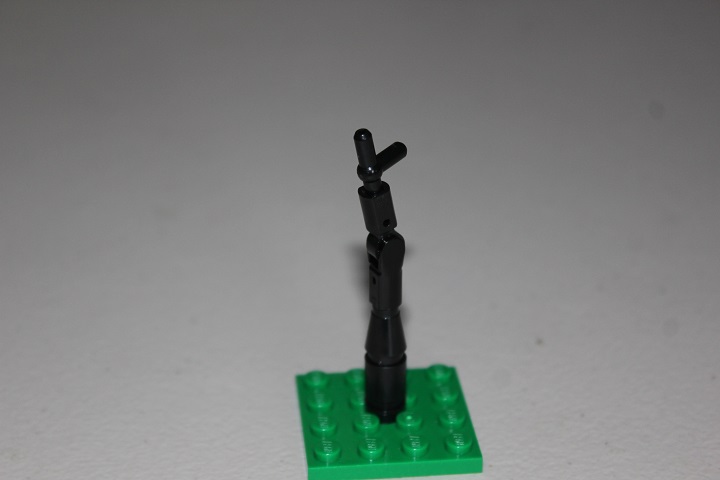

We don’t have many of the T-bars, so I also like to use the bar with clip piece to add branches.

Attach the main trunk parts off of all the protruding bars; these parts allow the tree to bend in almost any way you want.
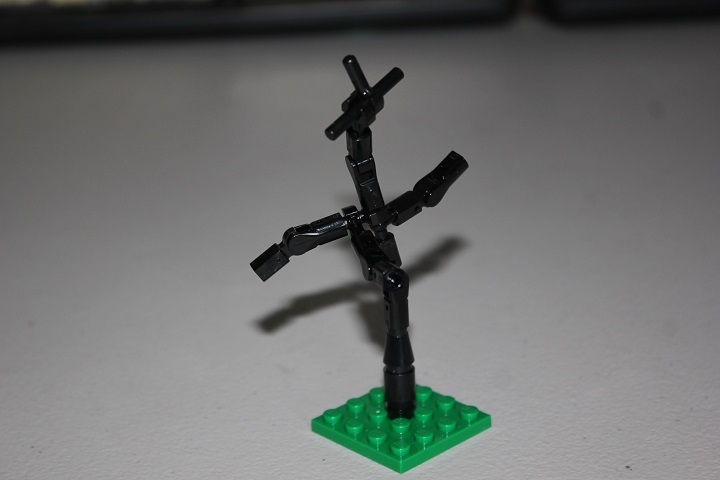
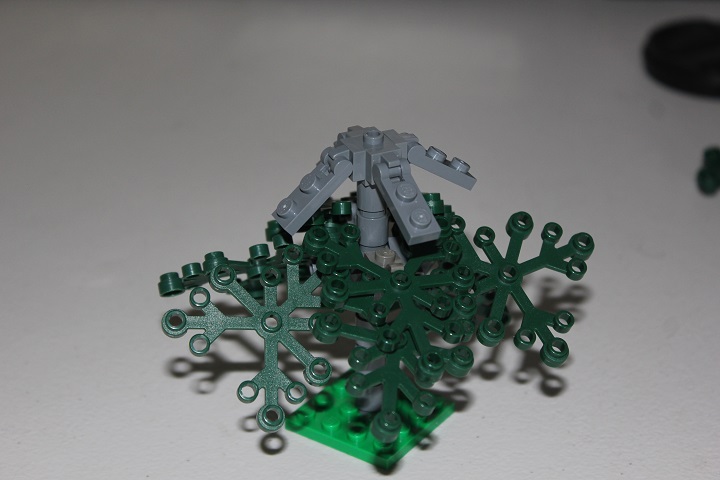
Once you reach the height you want, I use a few bar with clips and a 3-long bar for the leaf attachment on top.
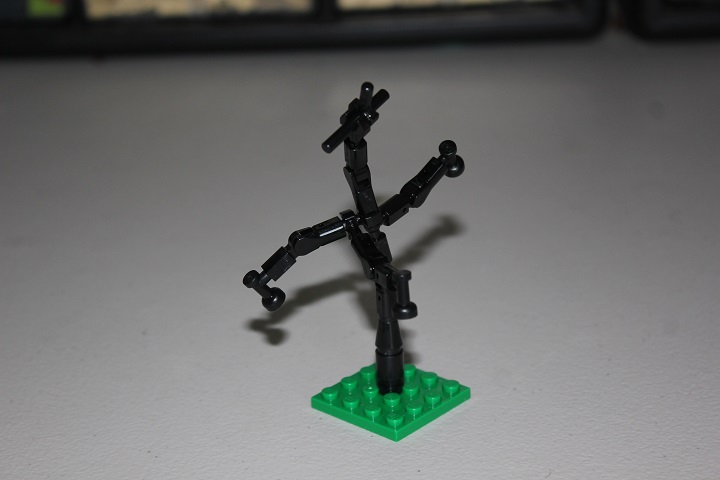
For the other branches, nozzles work fairly well.

Then just add the leaves, tilt them however you want, and you’re done!
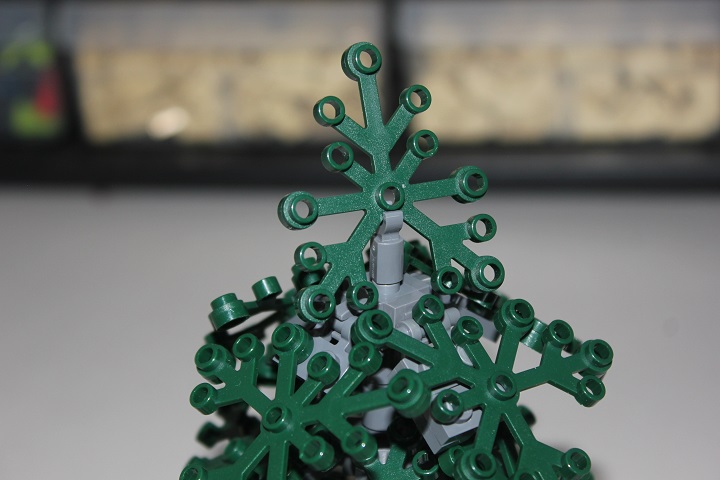
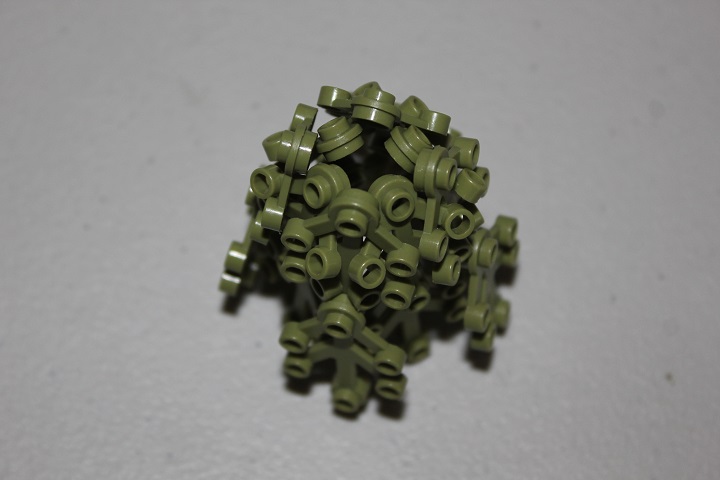
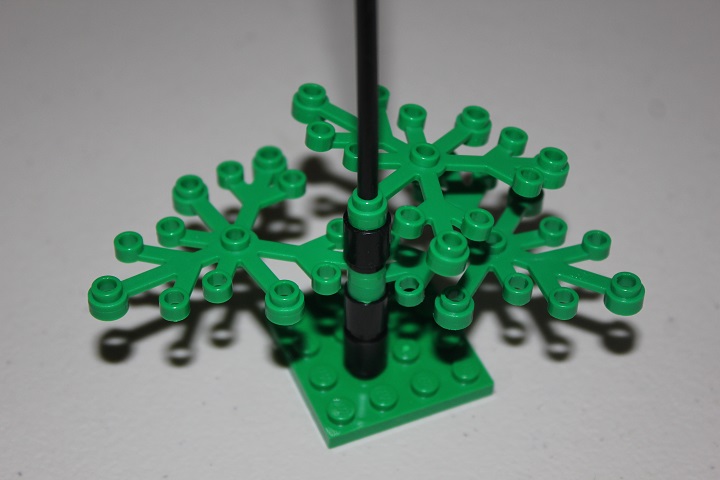
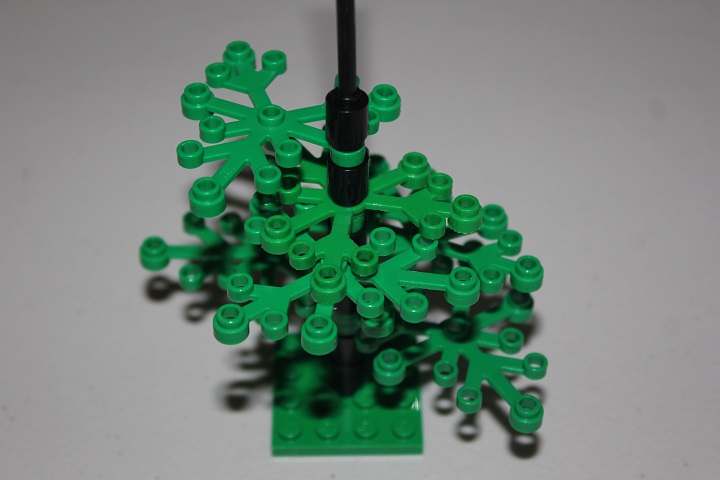
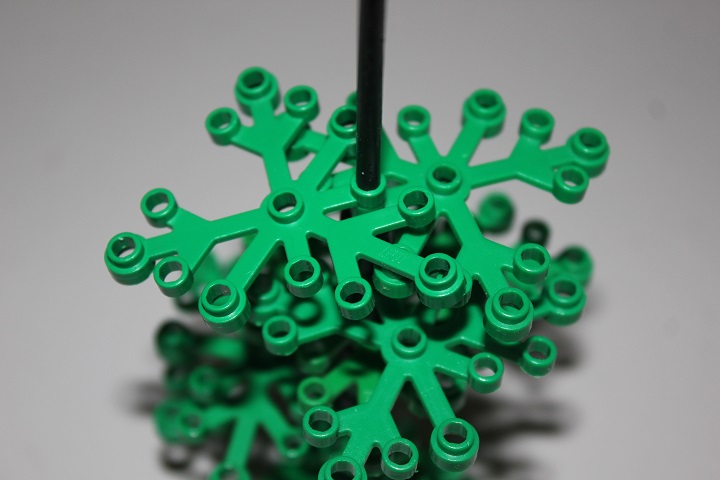
Here is another pine tree design, in which the core is based off of Katie Walker’s leaf weaving design. Small leaves are woven together like shown below.
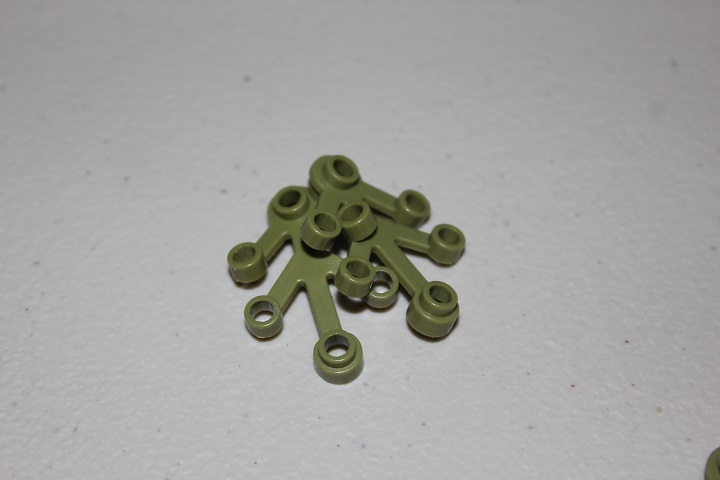
You alternate weaving a leaf below one, and then above one to keep the weave equal.
We usually make a circle of 8 leaves, but you can add more to make a bigger diameter.
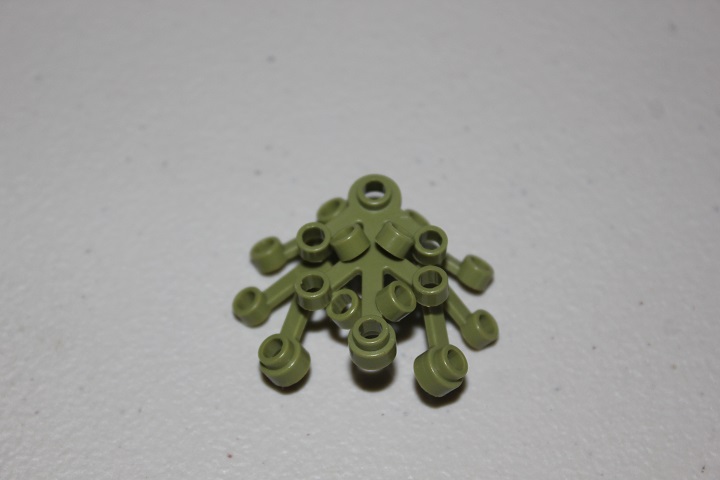
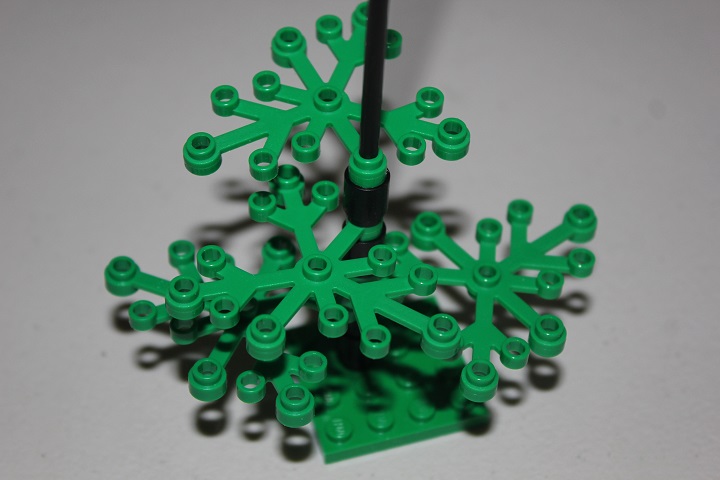
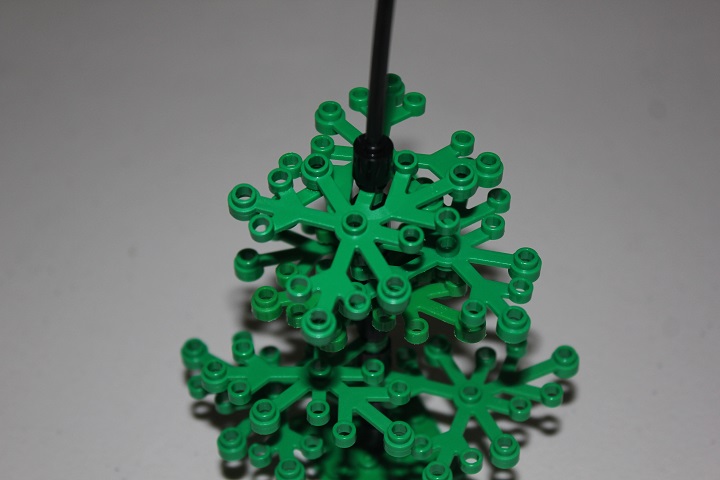
You can then build off of that center core to develop the tree.
We usually add one to two layers of leafs below the woven ones, but it all depends on how big you want the tree to be.
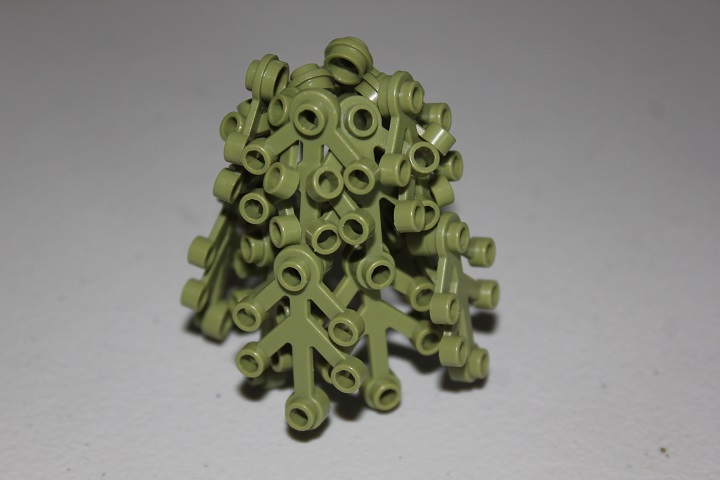
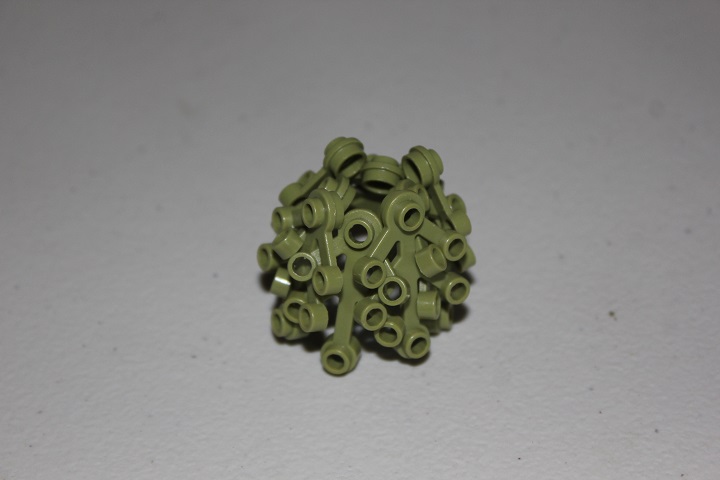
The trunk consists of 1×1 round bricks, with a 2×2 round plate centered on top. The leaf assembly of the tree then slides over the trunk.
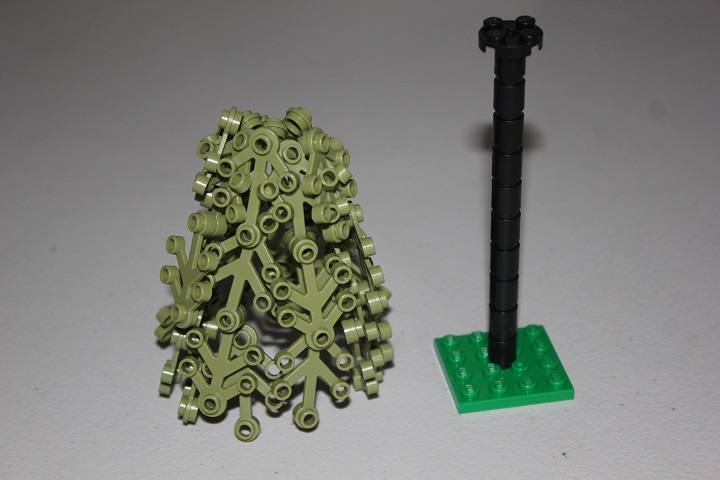
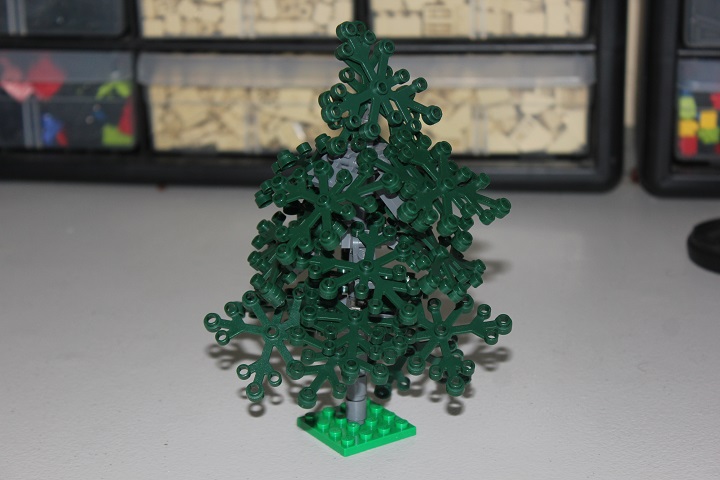
As you can see here.
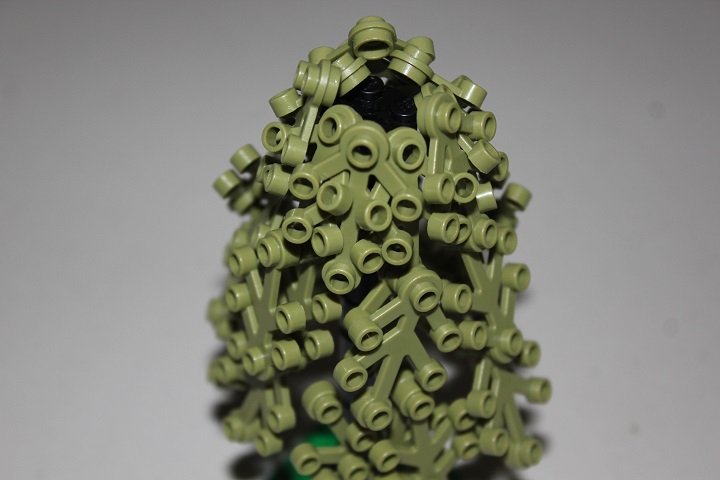
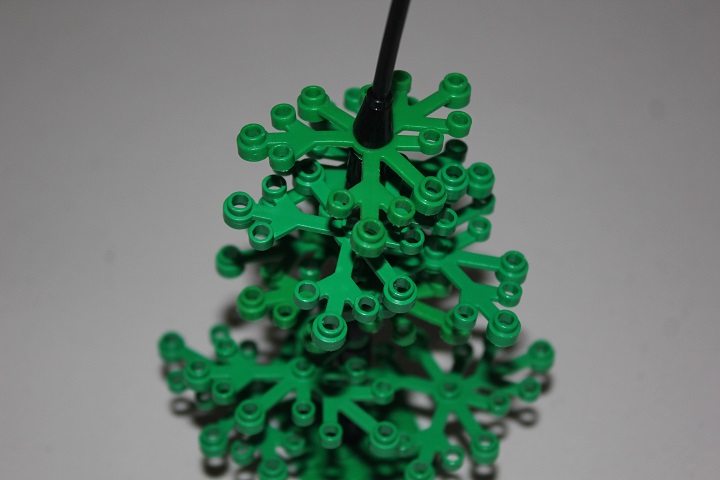
A couple more leave to top it off, and your pine tree is finished!
You can also add snow to the tree easily, like John did in his Sleigh Ride build.
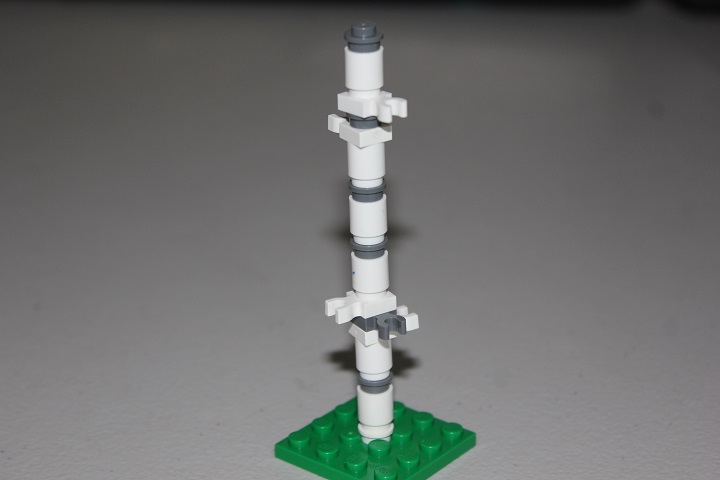
This last design is one of the simplest and sturdiest designs we have found. Flex tubing is the key component, though you could make do without it if needed, the tree would just be much weaker.
A few 1×1 round bricks again serve as the trunk, and once you have a few bricks set up you can start adding leaves. The leaves are threaded onto the flex tubing and thus can be connected via any of the hollow studs.
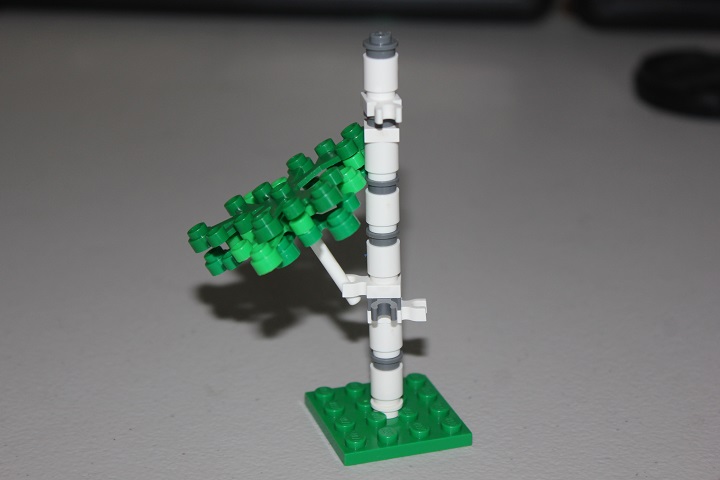
One brick between leaf layers works nicely, and you can alternate how many leaves you attach at each layer.
Attaching the leaves through the center stud, or a side one instead of the corner makes the tree taper slightly from the bottom.
Keep attaching leaves alternating with round bricks.
Once you start to reach towards the top of the tree you can use a cone to taper the trunk itself to just the flex tubing.
The continue adding some more leaves.

Small leaves usually work best for the very top.
At this point the tree is still rather sparse, so you then go through and add more leaves (especially small ones) to the various branches to give more depth where needed.
And here is what a finished tree looks like.
Hopefully you found these designs useful, and perhaps even gained some inspiration for how to improve or make your own tree design. As always, let us know if you have any questions or suggestions for future tutorials.


Wow! Awesome! I really, really want to try some of these… BL here I come for some of them… 😀 I am especially lacking in all the black bricks… Keep it up guys! This is gonna be really useful! 😀
Great tutorial and thanks for all the help you provide us!
I agree with Spyros! This is an awesome and very useful tutorial 😀
Thanks guys, very glad you all found it useful! 🙂
Awesome, thank you for these.
Great as always!
I just have to ask for help: i could not find the parts number for the flex tubes. I ow some from set 7018, but could use many more, and the manual does not contain a parts list 🙁
Best regards
Martin
derEselausErgste
Thanks Martin! Here’s a link to various flex tubes on Bricklink – different lengths have different id numbers.
Thanks a lot Isaac!