


Today we’ll be taking a look at what went into creating an older build of mine, Katoren Monastery.
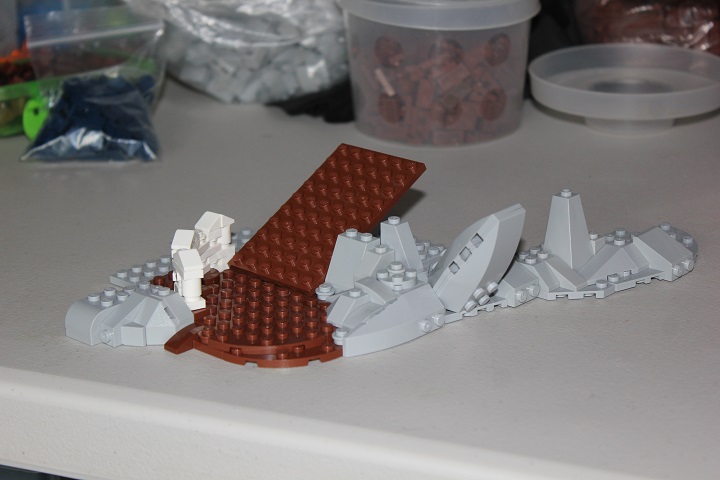
One of the main things that inspired this build was tiberium_blue’s gorgeous Castle Palamar. The winding paths, low curving walls, and the light bley rockwork/boulders all made me want to try something similar. I started out with the front corner of the build – specifically the path, and a small curved wall section. I wanted to keep the build relatively small, so I implemented an angled plate for a portion of the pathway, giving more height to the path in a shorter distance than stepping plates would.
Continuing up the path, I incorporated a small flat section for a turn in the road, before angling another small section of dirt.
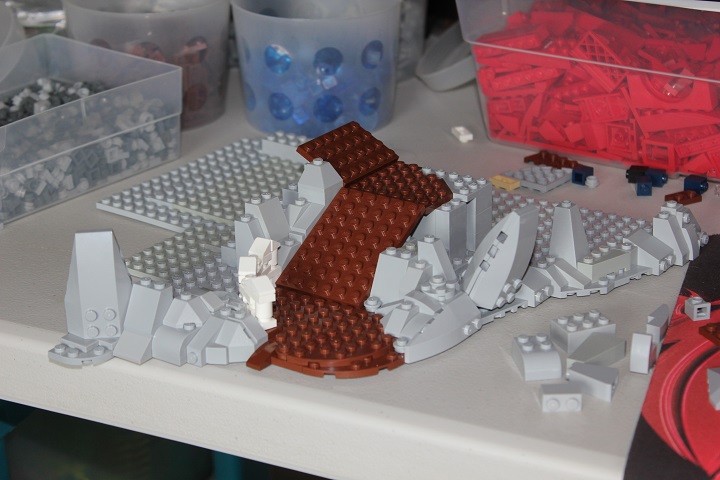
The entire base of the build is together now, with a space left open of the left side so that I can incorporate a waterfall. I also added another white section of wall around the turn in the path.

With much of the rockwork and the path completed, I could move on to the buildings! A small 6×6 tower would connect to the main building via a bridge. I wanted the architecture to be pretty simple and clean, so I used mainly regular bricks for the walls, with just a few buttresses and a little bit of decoration toward the top to break things up. The other big thing added here was the pool in the courtyard. To give it a nice rounded shape, I used SNOT bricks and slopes.
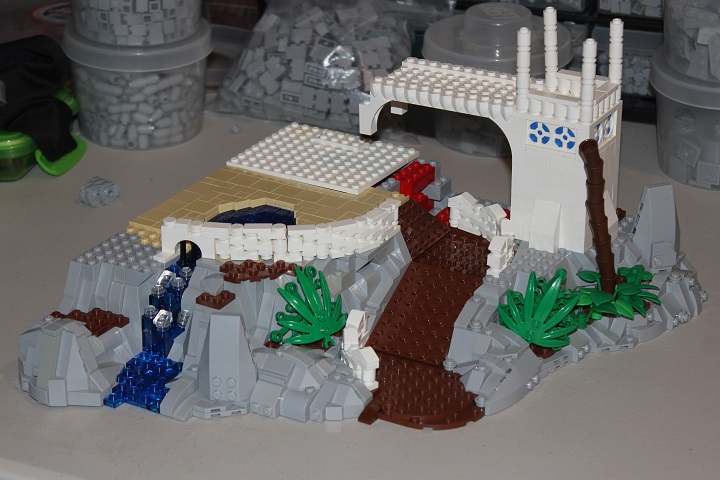
I was a little bit stuck on the small tower, so I decided to work on the other buildings for a little while. Another 6×6 structure on the left was added, this time a small storehouse. I liked how the dark tan looked here, especially with the white and tan checker pattern incorporated into it. The first story of the main building was also completed, with some round columns and dark blue cheese patterns making up the walls.
Another stripe of the white and tan checker pattern was added to the dark tan warehouse, nearly completing it. I ended up adding a few 1×1 white cupcake pieces at the corners, in addition to the 4×4 dome. With that building done, I once again turned my focus to the main structures. I wanted something to show the transition between the first and second stories, but wasn’t satisfied with how the tan plates I have here looked.
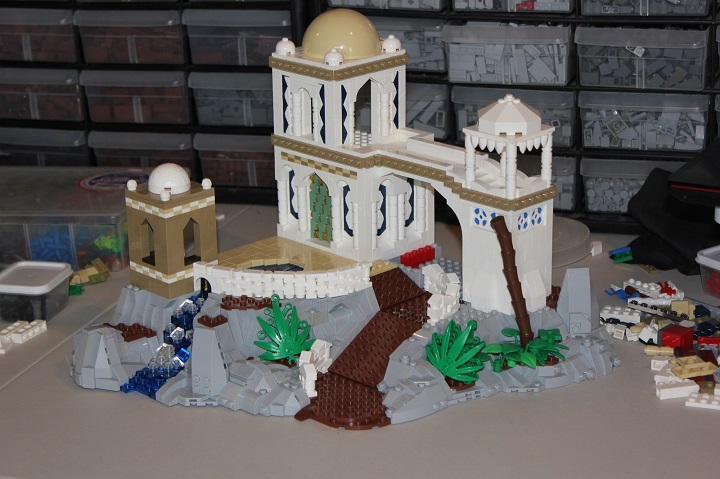
I decided to raise up the first story another brick, so that it was level with the bridge. After that, I tried a dark tan plate stripe, which I thought fit much better than the regular tan did. Then it was just a simple matter of finishing off the second story walls, and adding the roof. Sounded simple enough to me. After all, how hard could a roof be, right? As it turned out, pretty hard. I tried many, many different designs, but I wasn’t truly happy with any of them. One of my first attempts can be seen below.
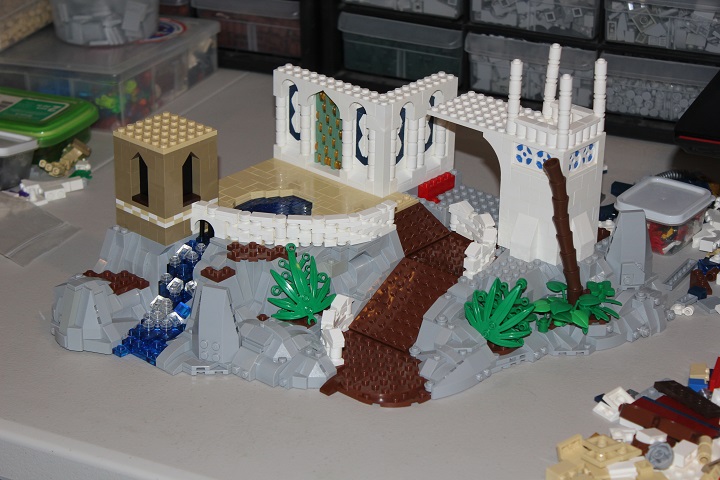
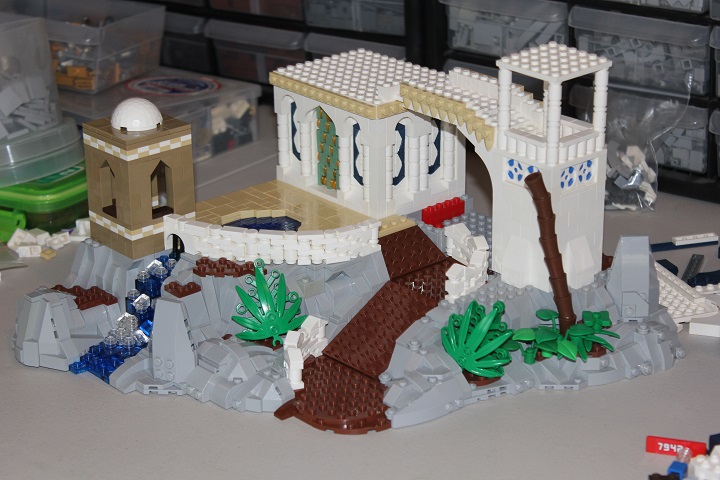
Several changes can be seen on the small tower here – the roof was updated to use a dark tan dome instead of a white dome, the regular blue plates behind the white turntables were switched to dark blue, and I added some arches and inverted slopes to support the roof. And of course, finishing touches like texture on the path and foliage were being added.
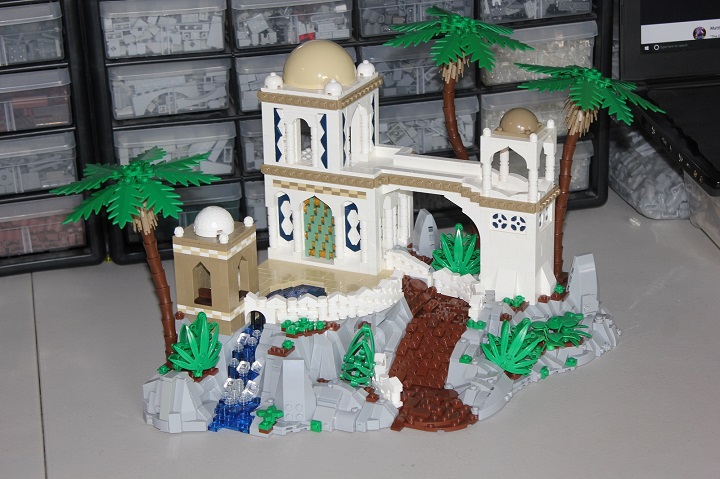
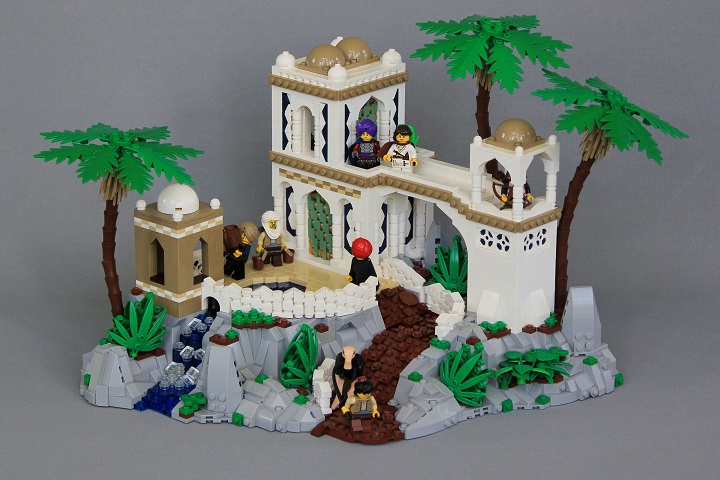
The finished product! This was quite a fun build, despite the many challenges involved in building it. Unfortunately we weren’t able to get particularly nice pictures of it, but besides that, I’m very happy with how it turned out.
We hope you enjoyed this build log, and if you have any questions about a particular part of this build, don’t hesitate to ask us about it!

