


This week’s tutorial focuses on some small carts. If you’re looking for even more designs for carts and wagons, you can see our previous two tutorials on these subjects:
Wagons and Carts Tutorial
Wagons and Carts Tutorial #2
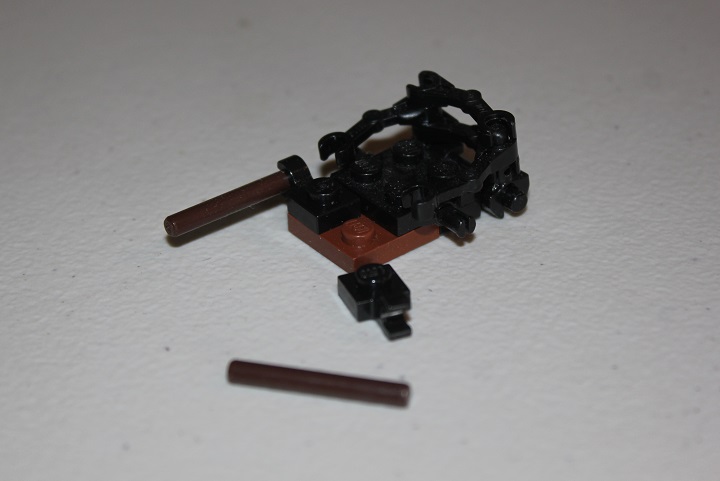
The first design uses a lot of various bar and clip elements.
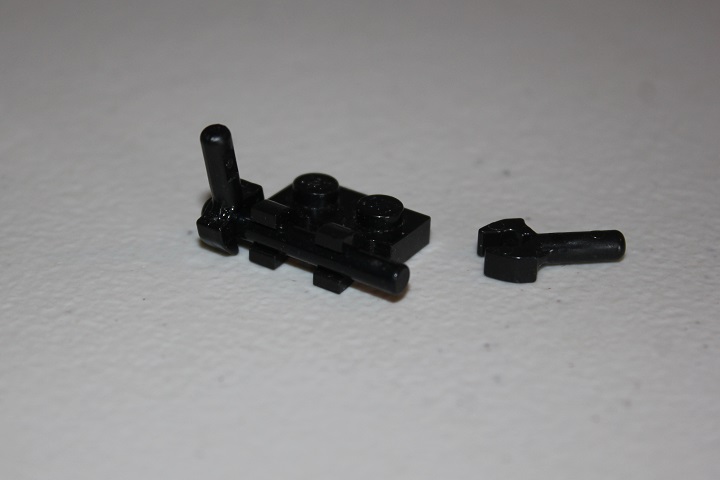
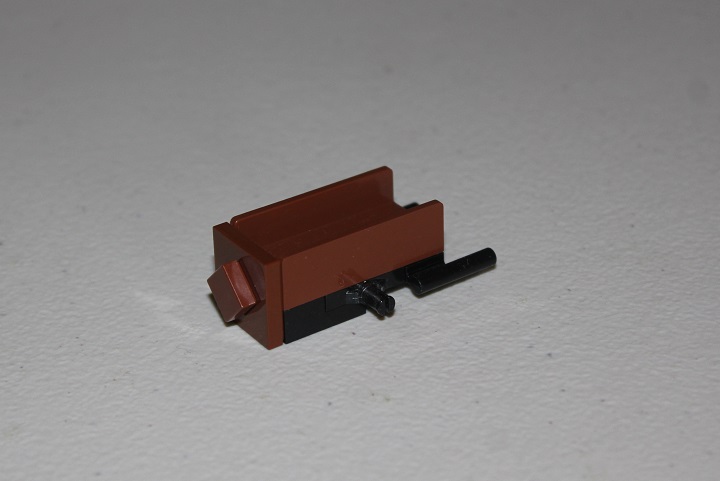
This little assembly will form the front of the cart.
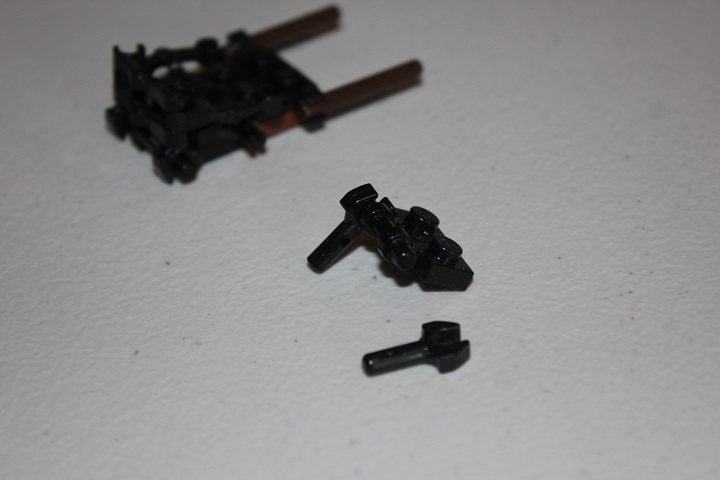
More droid arms are clipped onto the bars with clip.
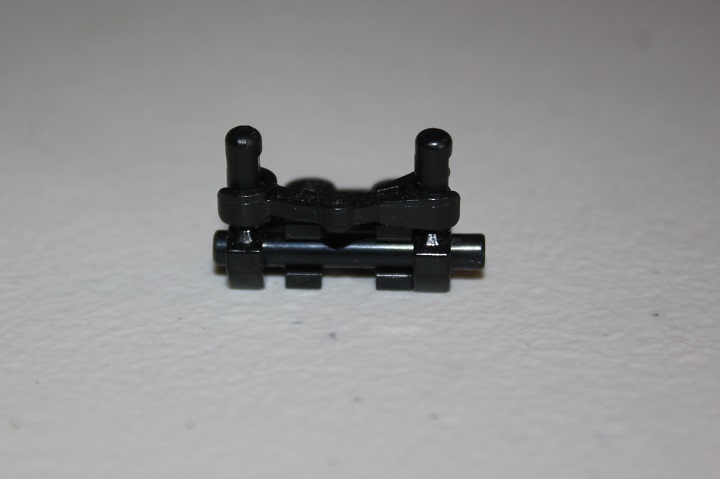
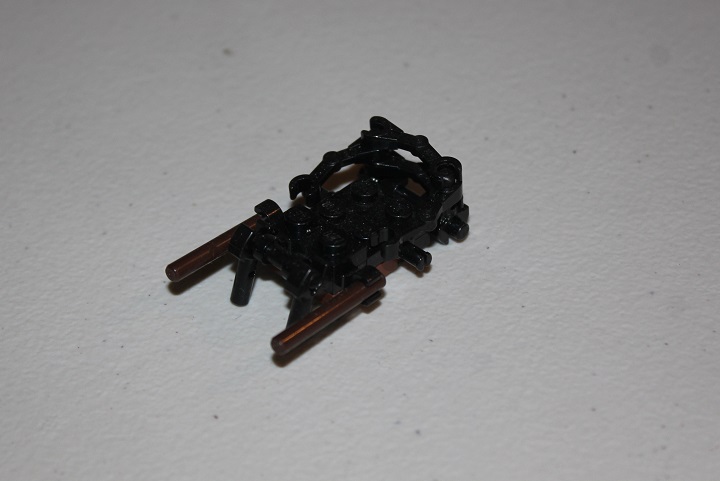
Next we can add the cart’s axle.
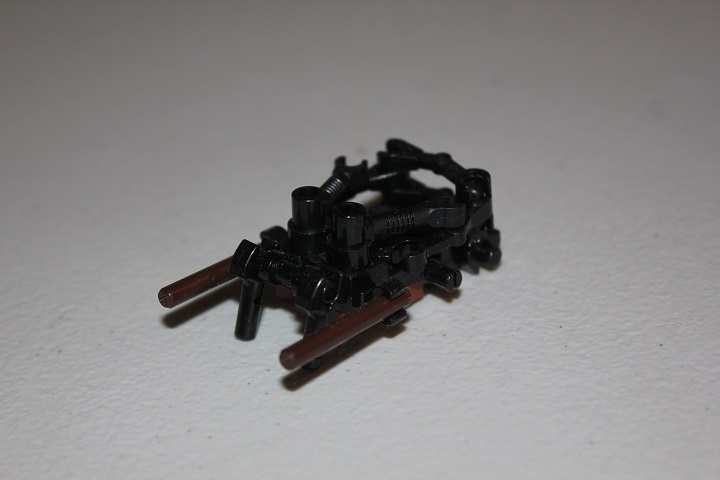
A few clips with three long bars make up the handles.
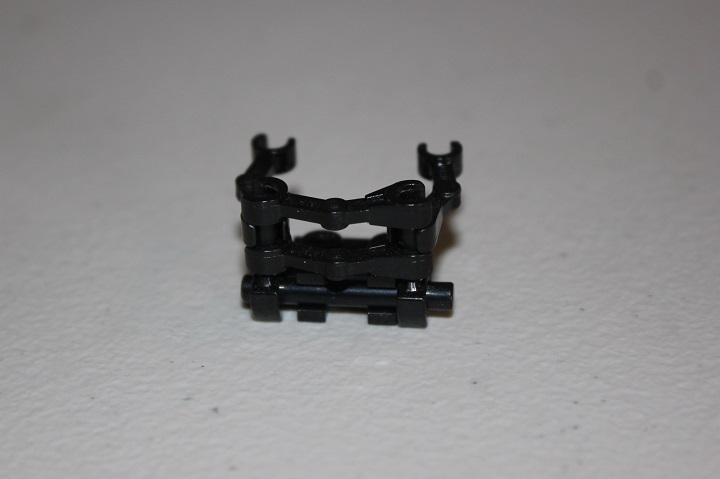
And if you would like a kickstand to keep the cart upright when not being used, another plate with handle and 2 bars with clip work well.
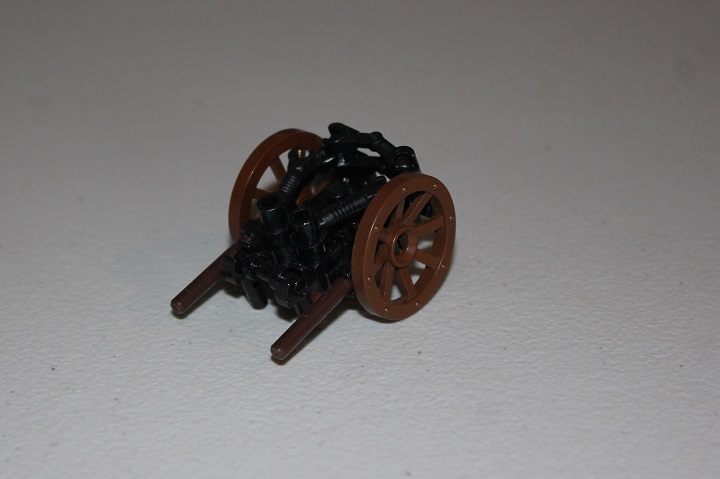
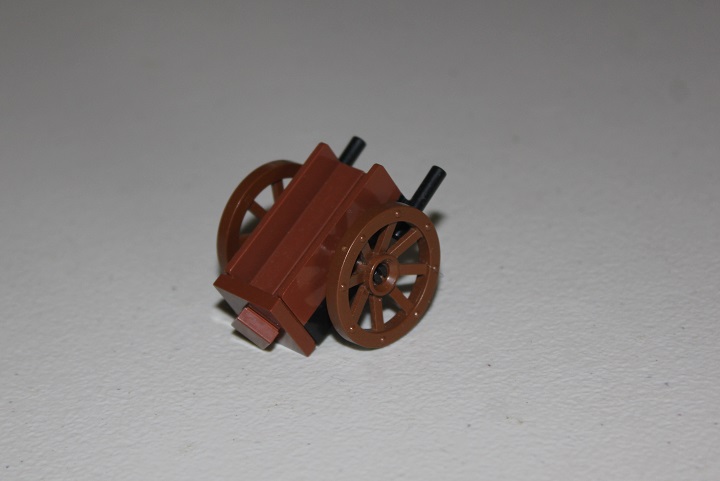
Looks a little messy at this point, but it gets better!
A couple more clip/bar type pieces finish off the sides.
Wheels on, and set to roll!
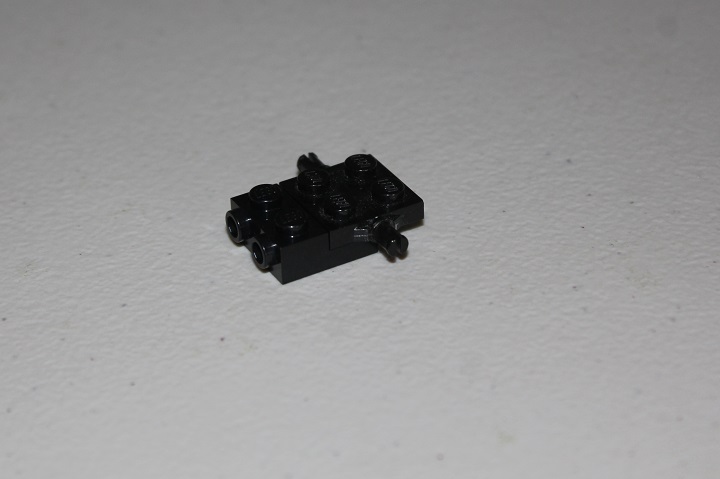
The next design is one that we have used in many of our builds over the years.
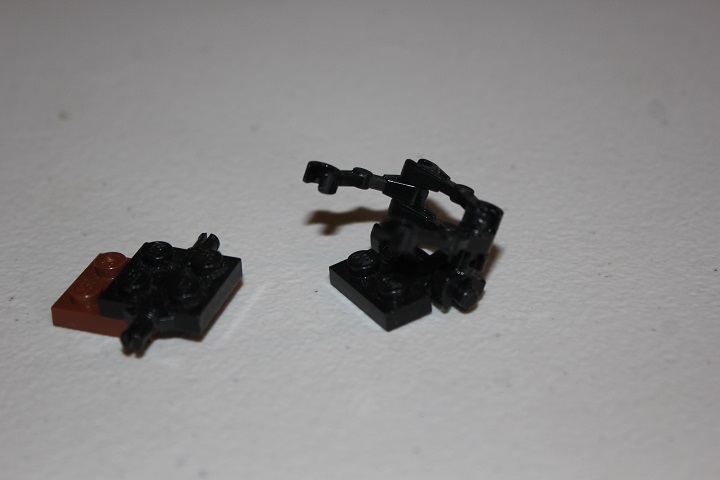
An axle and 2×2 plate with studs make up the base.
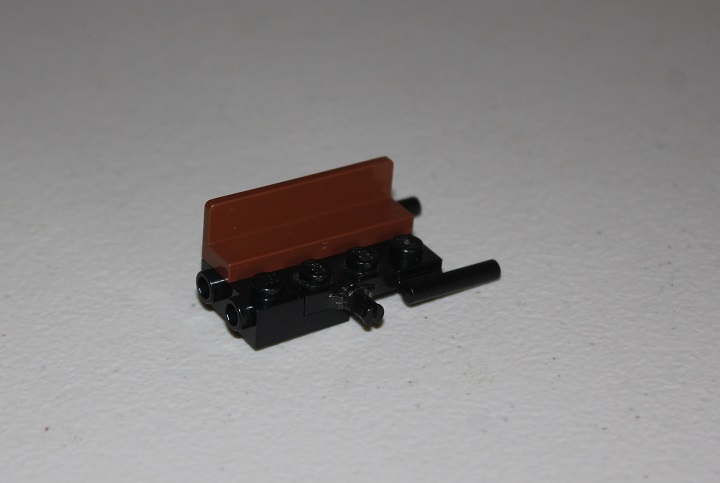
Then 1×4 panels are used to make the sides, and attach the handle element.
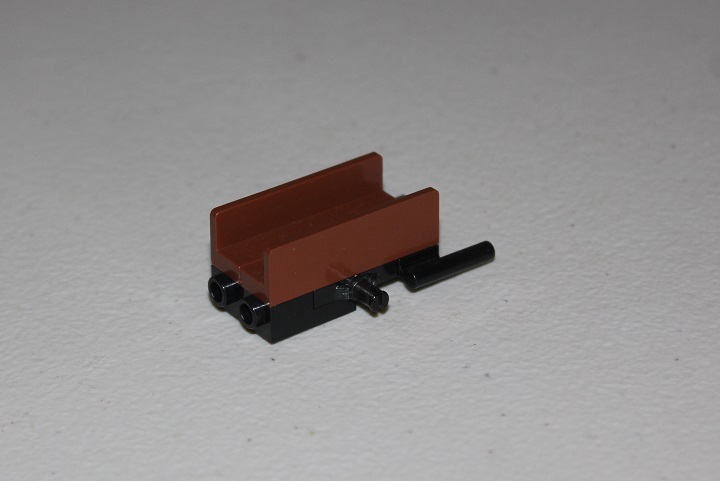
A 2×2 tile, or 2×2 jumper with 1×1 tile as shown here, finishes off the front.
Giving a very small and piece efficient cart that still has a good amount of space for carrying cargo.
We hope you found this tutorial useful.
And we’re always looking for ideas for new tutorials, so comment below if you have any suggestions.


I really like the second one, I will definitely use it some time. Well done!
Thanks for the comment, we’re glad you found it useful 🙂