


There are lots of tudor building designs in the LEGO community, in a plethora of different styles; some are very textured, while others are very clean, and still others fall somewhere in the middle. Today we’ll be taking a look at one of my personal favorite designs that gives a more tidy and clean effect.
The base parts you’ll need for this are:
– Tiles in whatever color you want the tudor to be.
– Tiles in whatever color your wood is.
– Brick modified with stud on side.
– Basic 1×2, 1×4, 2×2, and 2×4 plates.
– And a variety of basic bricks.
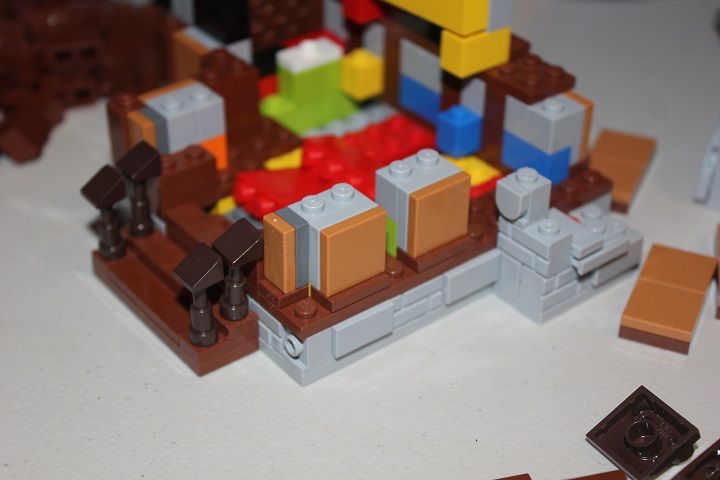
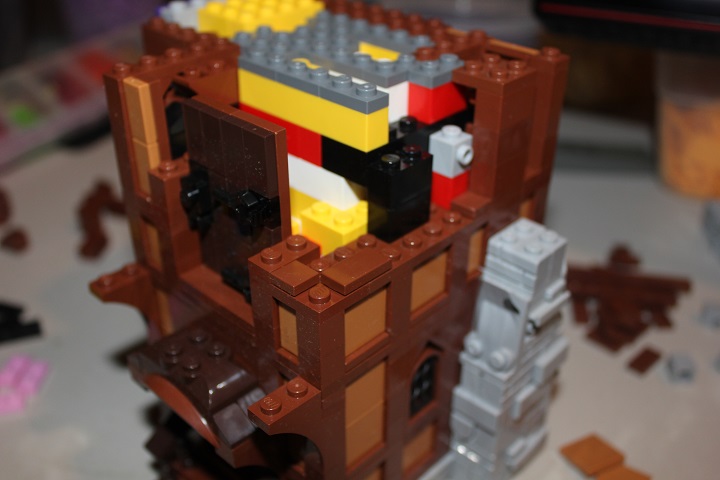
We’ll start by figuring out the spacing of the tudor sections, which will vary depending on the size of your building. Once you have that figured out, put down some brown 1 wide tiles in the wood color where the tudor will be. Right behind those, attach some basic bricks – these can be any color you want, as long as you aren’t including an interior. On top of the bricks, we’ll add brick modified with stud. These are what the visible tudor sections will attach to. Then, depending on the width of the segment, attach either a 1×2 plate or a 2×2 plate to the brick modified with stud. Slap some tiles on to the plate, and there you go! It should look something like what is pictured below.
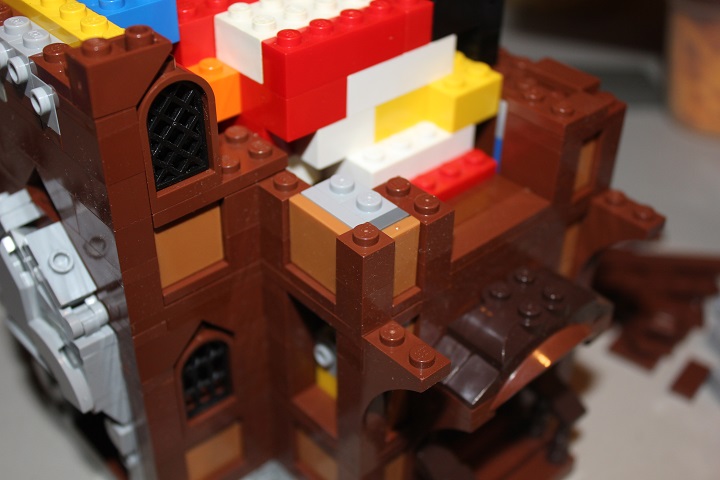
Another look at what it’s like behind the tudor. This picture also demonstrates how to handle corners using this design. Standard bricks in your wood color are used between the SNOT portions.
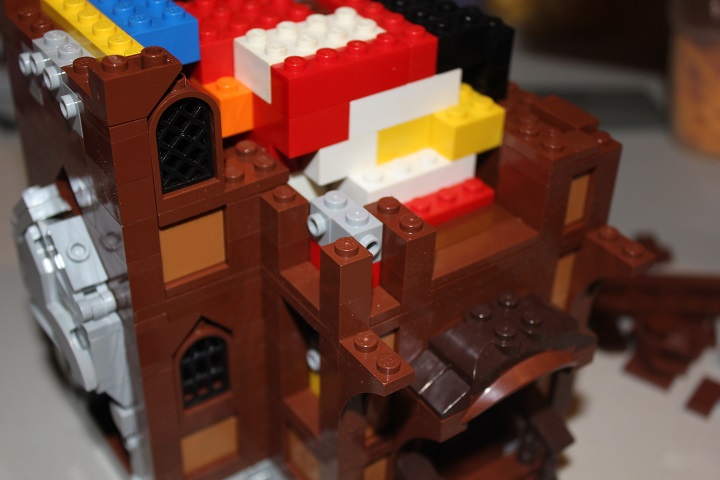
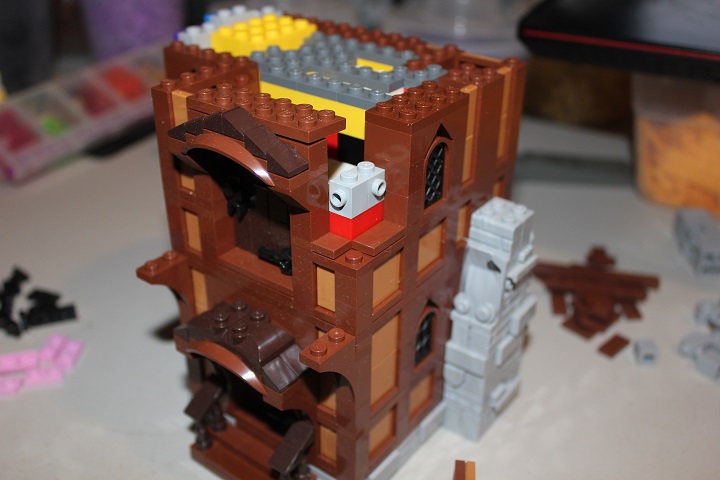
While plates and more tiles give horizontal division between tudor sections.
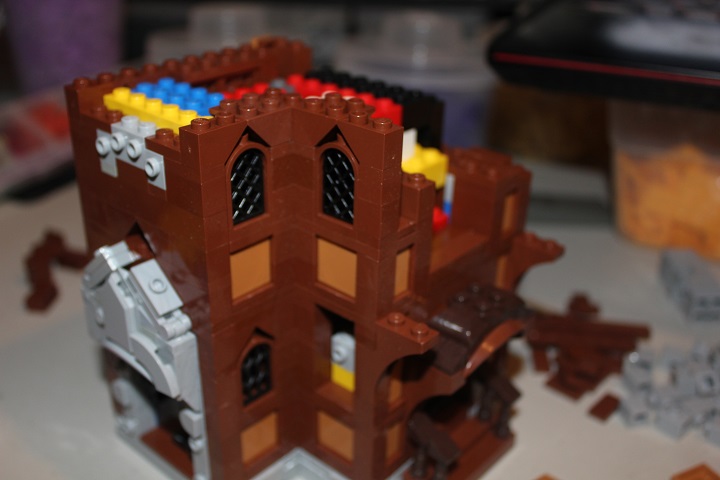
And of course, what would a building be without windows? This is a very simple design that I think works wonderfully. Just put on some prefab windows with whatever lattice insert you think looks best for your specific building, and then top it with some inverted slopes. Arches work just as well too, if you have more of those (unlike us!).
Doors are also very easy to incorporate when using this design (good thing too – who wants a building they can’t get into?). First, pick a door design that you like, and then just leave a 4-stud-wide section where you want it to be placed. Continue building up around it just like usual.
And it’s up to you of course how you top the doorway. Here I chose to use some inverted slopes to make an overhanging arch, but you could also incorporate a more two-dimensional arch.
Then you just have to finish the tudor around it!
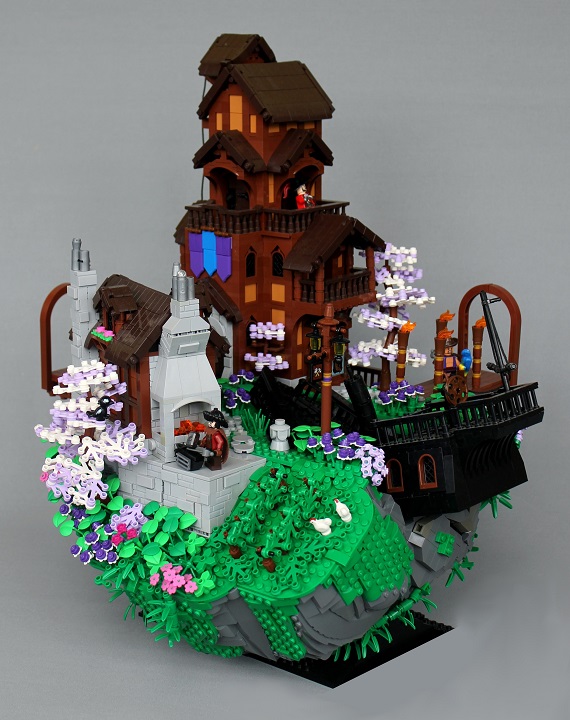
Here’s an example of what this design looks like in a build. The subtle offset between the SNOT plate and tiles, and the studs up bricks around them gives a nice texture.
Hopefully this tutorial is useful to you, let us know in the comments if you have any questions about it, or you have suggestions for other tutorial ideas!

