


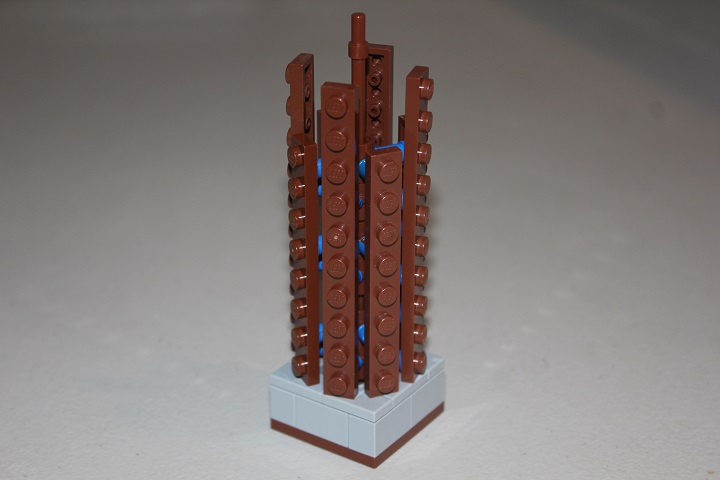
Here is the overdue tutorial for the tower design I used in Lichtenstein Castle. Small octagonal or round shapes are tricky to deal with, and I found this technique to give a good amount of flexibility while also being quite solid.
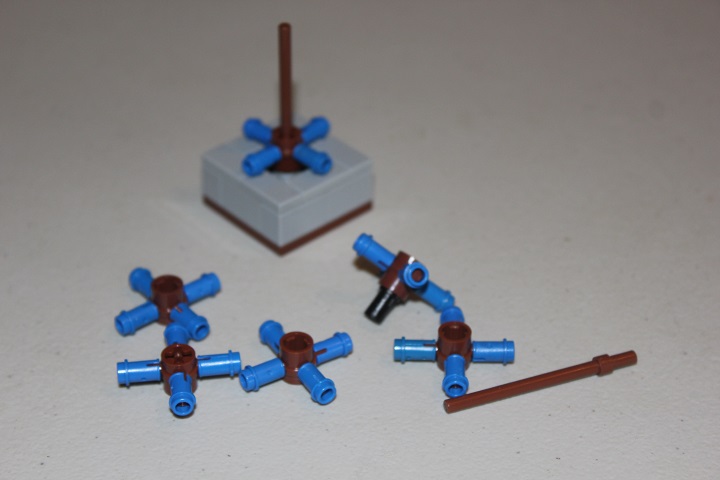
We’ll start with a simple base for the tower. A 2×2 jumper plate topped by 1×1 round plate with hole will give us a good way to attach the core of the tower.
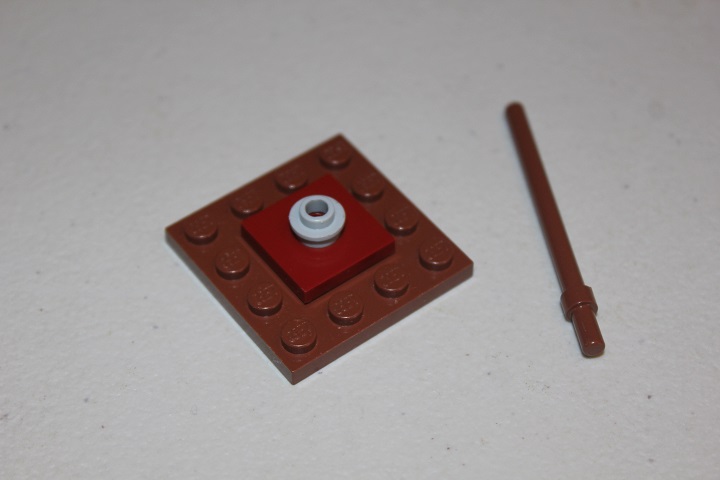
Next some basic bricks and tiles are added around the jumper plate to give a nice flat surface for the tower to rest on.
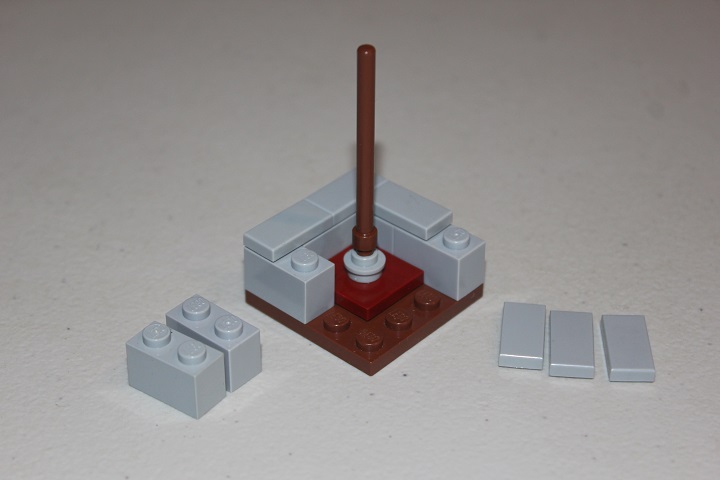
And this element with technic half pins on each handle is the primary component of the design.
Fitting it over the bar as shown will give the tower a flush fit against the tiles below.
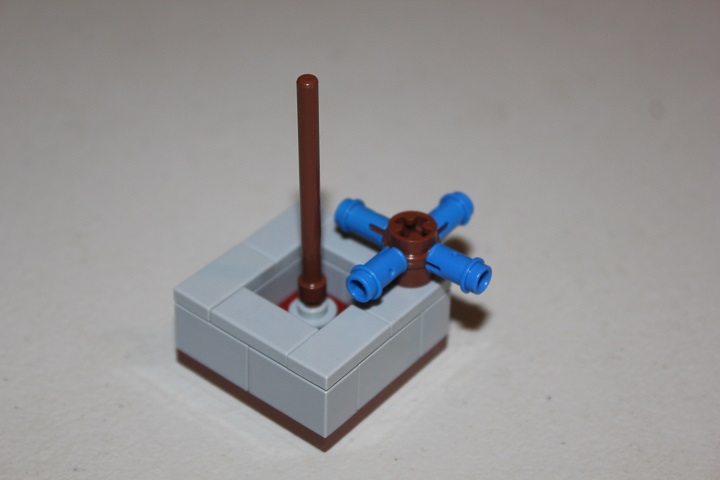
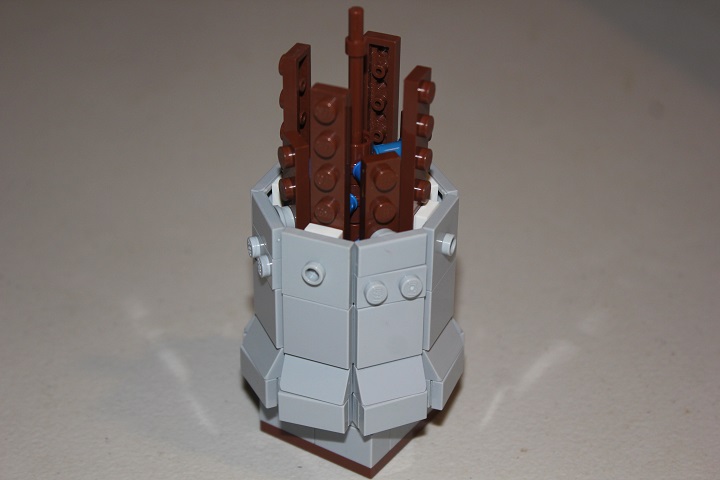
Quite a few more of the axle connector hub will be needed. Another six long bar and standard technic pin will be used to extend the core of the tower.
You’ll need to alternate which direction is up on the axle connector hubs and use a plate to test the spacing.Here you can see how the technic pin fits inside the connectors and bars giving an easy way to lengthen the core whenever needed. Of course, using flex tubing could eliminate or lessen the need for joints. In my tower which was quite tall, I used two pieces of flex tubing so only one joint was required.
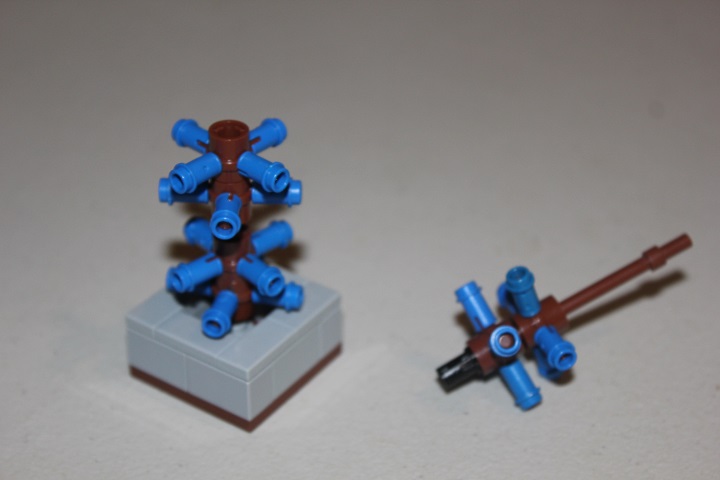
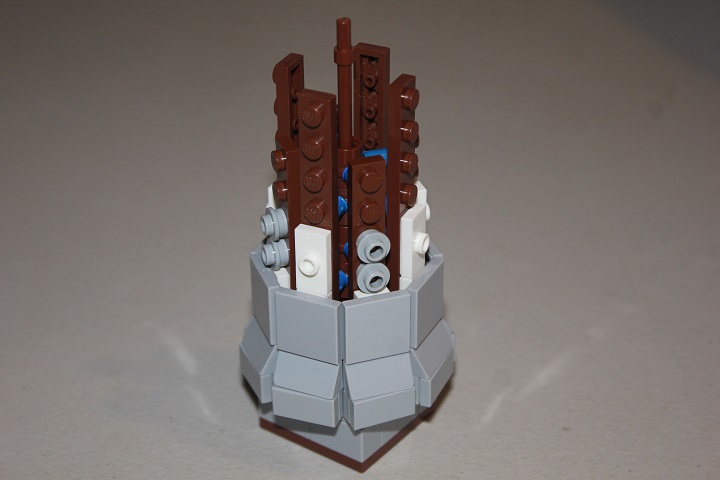
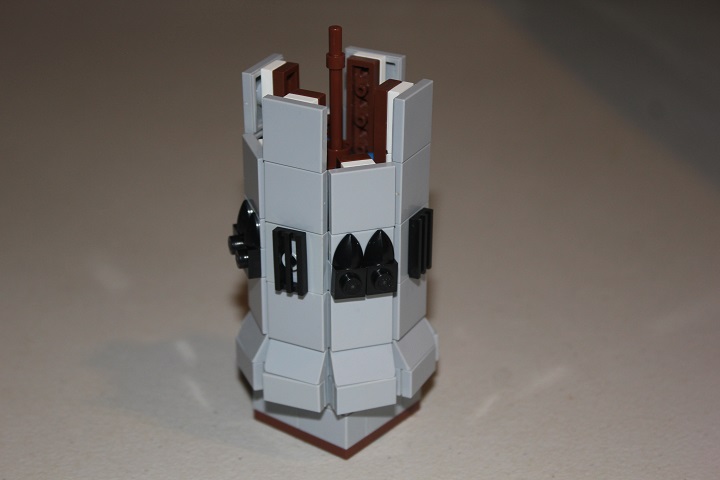
And with such a tall tower, I used 4×4 round bricks at the base to allow the core to extend down several bricks and prevent any chance of the tower tipping over. For smaller structures like this example, the simple 2×2 jumper plate and plate with hole are quite sufficient.
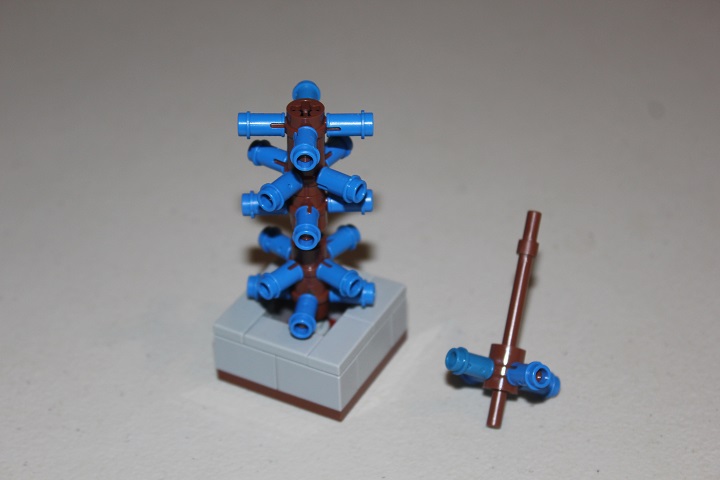
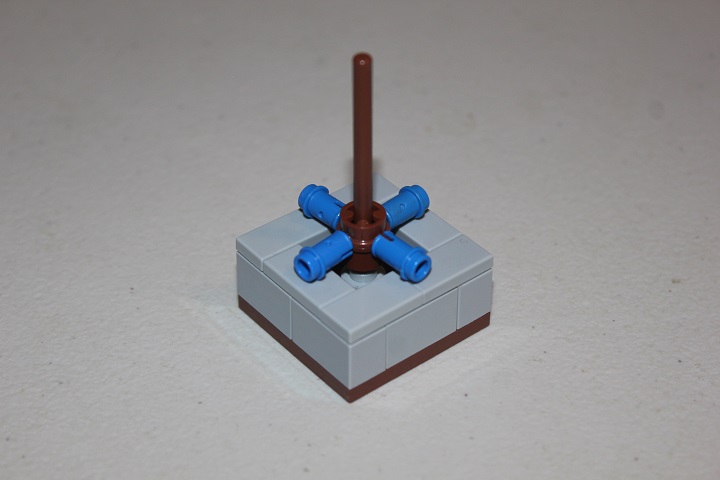
I’ll only go 8-10 studs up here, so that’s enough of the connectors.
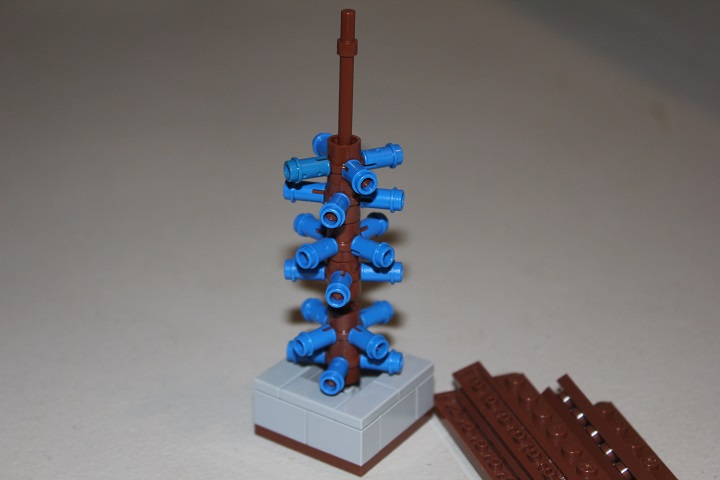
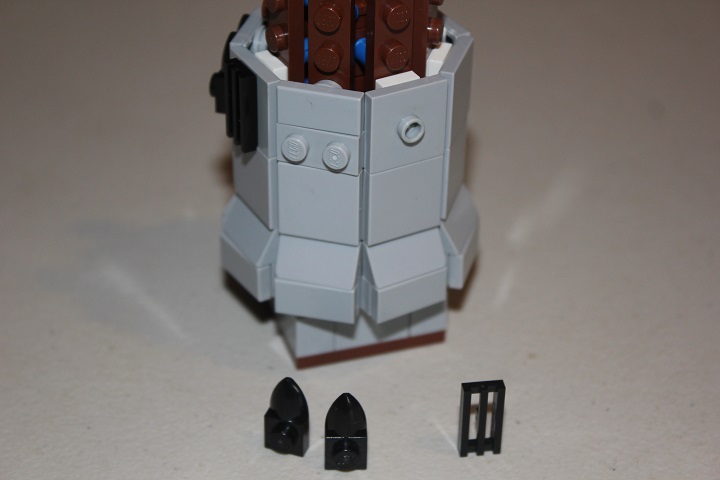
Now we’re ready to attach some one stud wide plates to the technic pins. I recommend having each plate connect to two or more technic pins whenever possible.
We need to transition the one stud wide sections to two studs wide for the tower faces, and to do this we’ll use either 1×2 jumper plates or 1×1 round plate with hole.
The plate with hole allow for 1×2 parts to be centered, while the jumper plates work with 2×2 size elements.
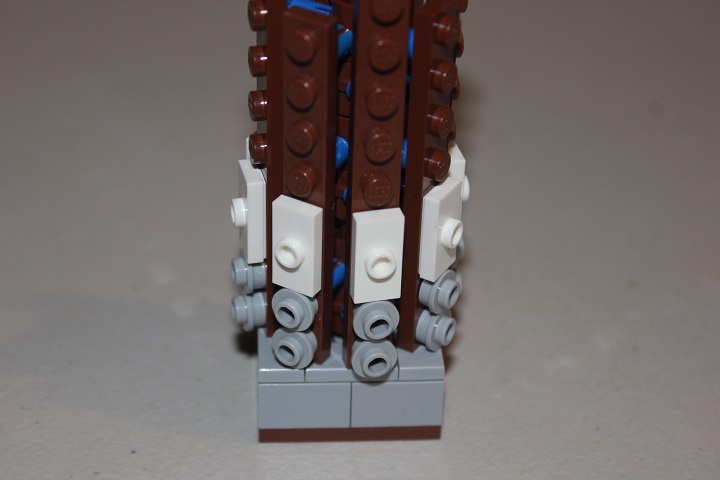
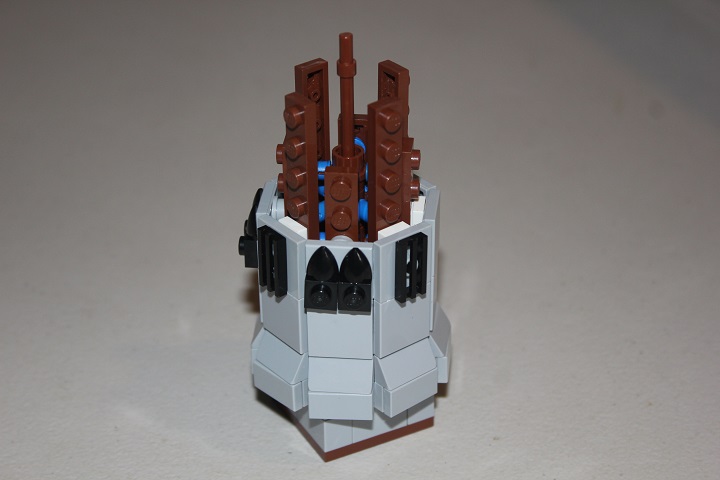
We’ll add a reinforced foundation to the tower by using some cheese slopes, plates and tiles.
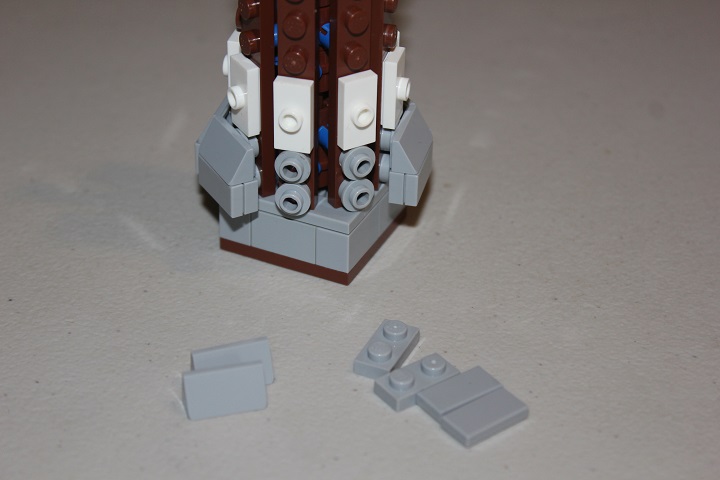

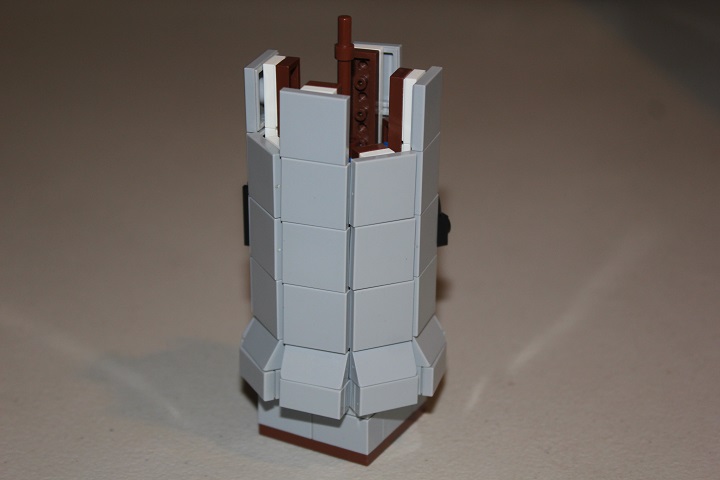
The standard walls are made up of 2×2 tiles. On the next layer you’ll notice I’ve alternated plate with hole and jumper plates. That’s to show a couple ways of adding windows.
2×2 jumper plates go on the 1×2 jumper plates, while 1×2 plates and 1×2 tiles go on the plate round with hole.
Then you can easily use grill tiles or tooth plates for windows.
I haven’t shown how to to finish the top of the tower in this guide, but by following a similar method to what was done at the base, you can add crenelations, and a 4×4 dish fits well as a floor or roof.
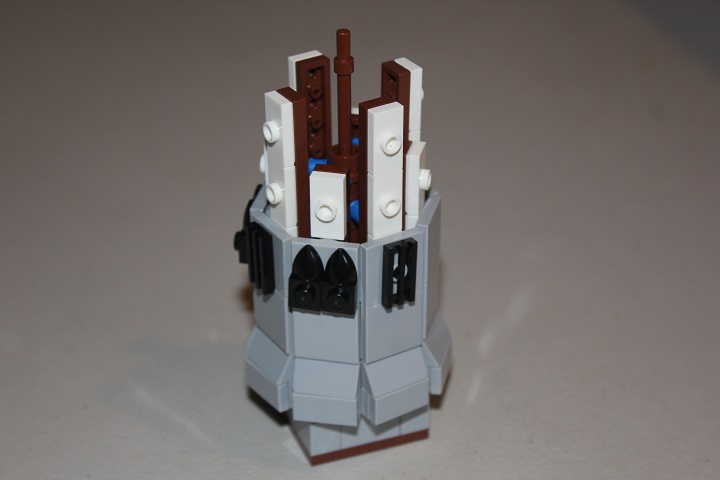
More 2×2 tiles continue the walls.
And here’s how it looks when incorporated into a complete build.
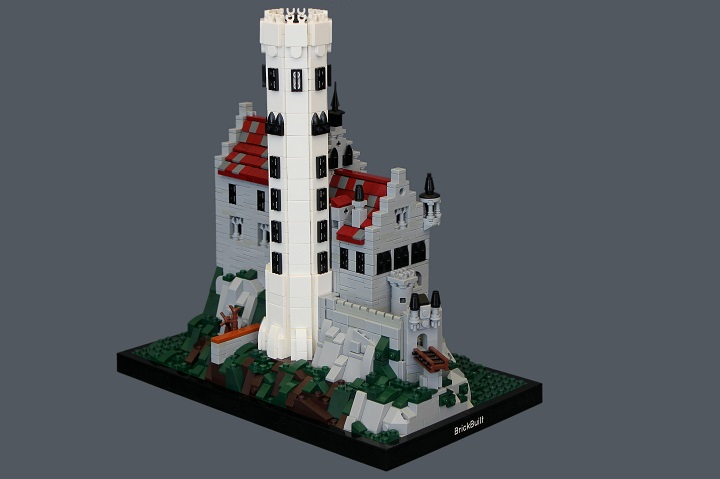
I think this is one of the most useful designs we’ve covered yet, so hopefully you all enjoy trying it out!


Nice design here, I’ll have to keep it in mind! Now I just need more of those axles…
Thanks Carter! Fortunately those are fairly cheap and common parts, we would like to get some more ourselves.
This design would be useful for climbing trees!