


We’re back at it again! It’s time to take a look at some more of our furniture designs! Because you guys are never going to get tired of these, right? Well, hopefully not anyways…
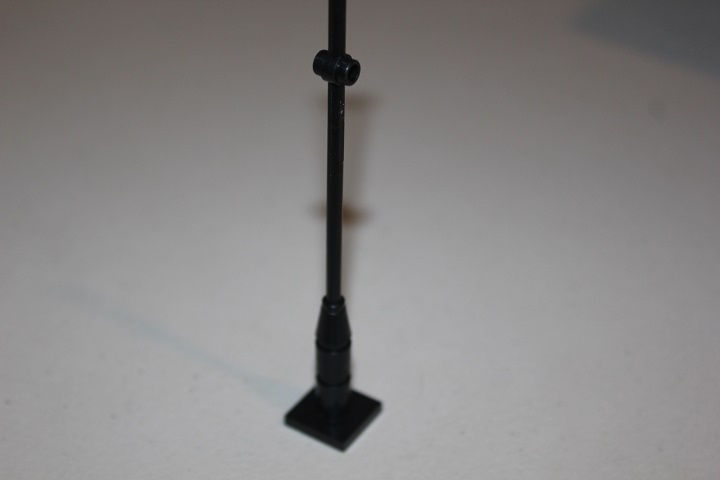
The first design is a lamp post that we used in one of our Isles of Aura builds. The core part is a boat mast.

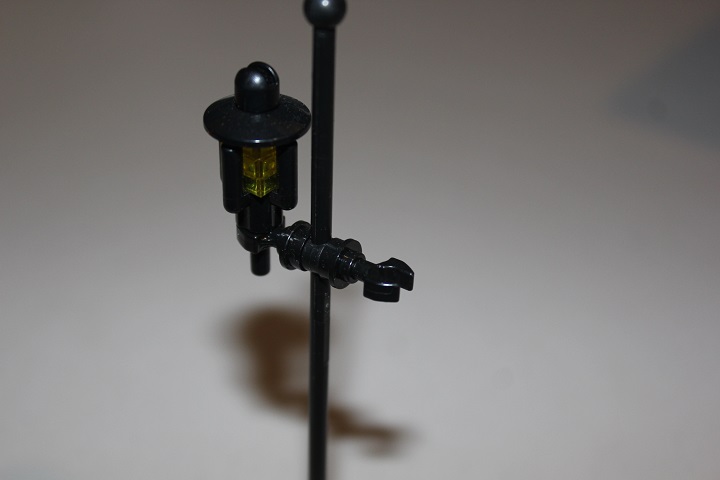
Next we’ll make the lamps that will attach to that. Several stacked trans-yellow 1×1 plates, a black palm tree top, 2×2 dish, and lever base make up the lamp itself, while a bar with clip and 1×1 round plate with hole will allow it to connect to the boat mast.

To give it a nice sturdy base I attached a couple 1×1 round bricks, a 1×1 cone, and a 2×2 jumper plate to the bottom of the mast.
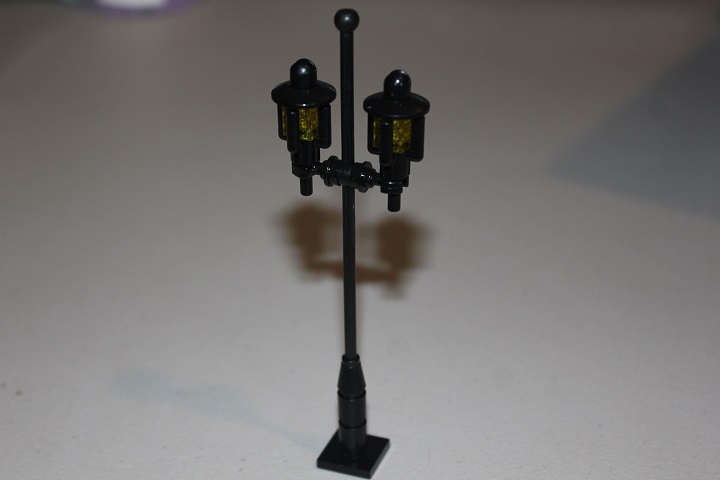
Then you just need to attach the lanterns.
And it should look like this.
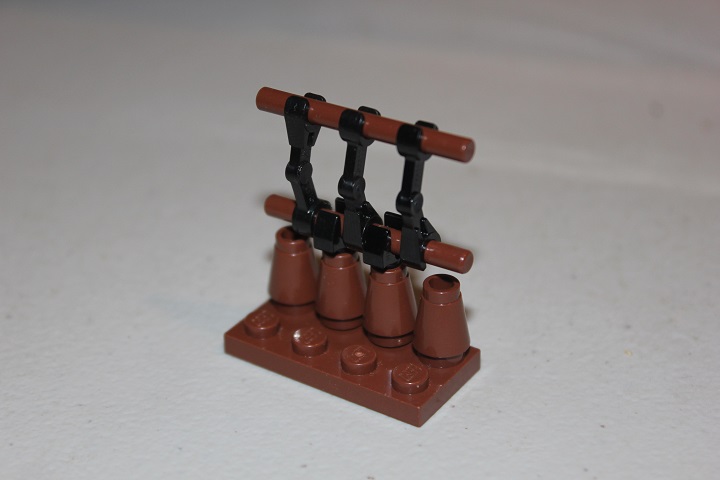
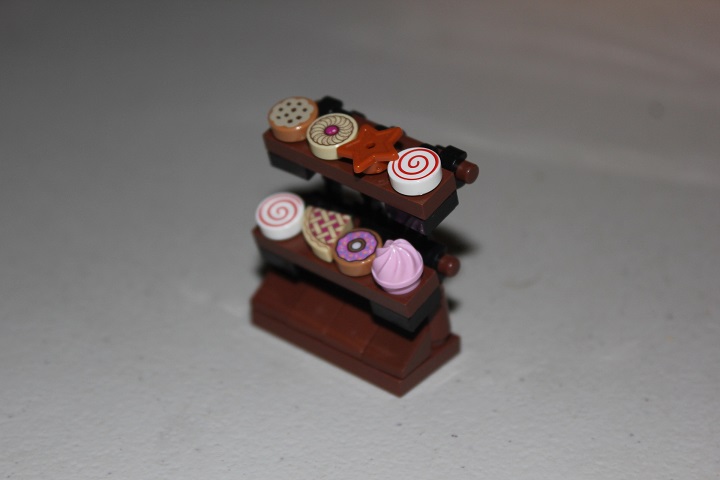
Next up is a pastry holder. Reddish brown cones, bar with clip, and a 4-long bar connect to a 2×4 plate for the base.
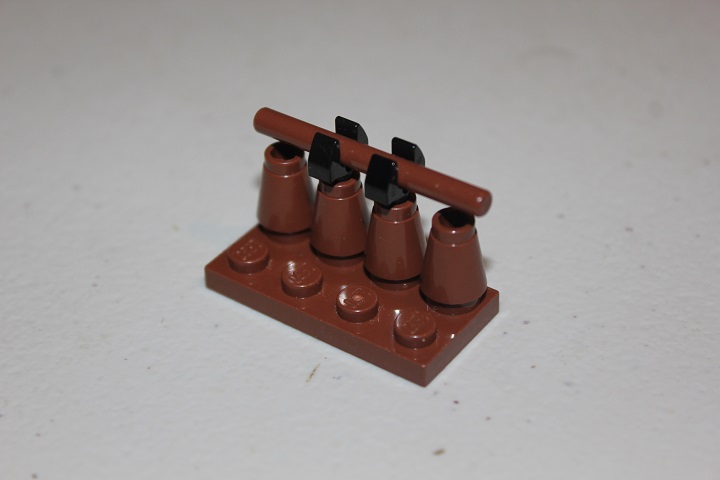
Things get a little more interesting now. 3 black droid arms connect another 4-long bar.
To each of the 4-long bars we’ll attach a 1×4 plate with horizontal clip at either end. Some cheese slopes finish off the base nicely too.
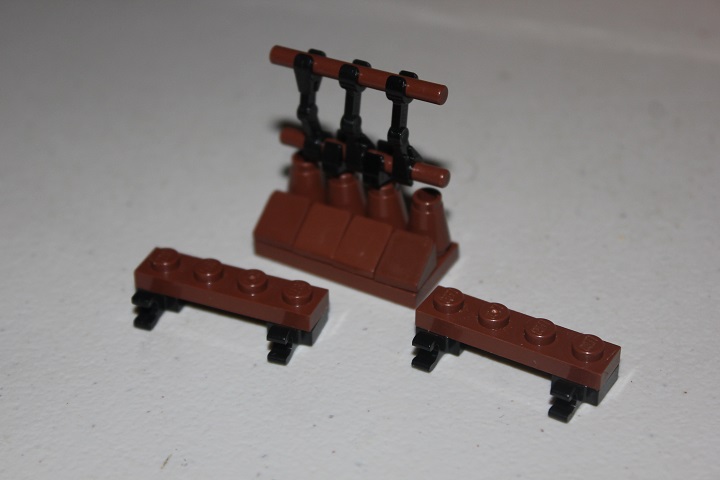
The clips allow the 1×4 plates to sit at a slight angle perfect for displaying baked goods.
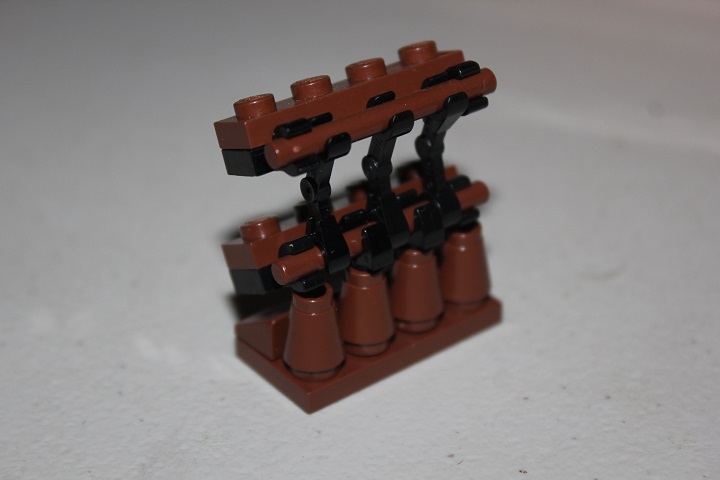
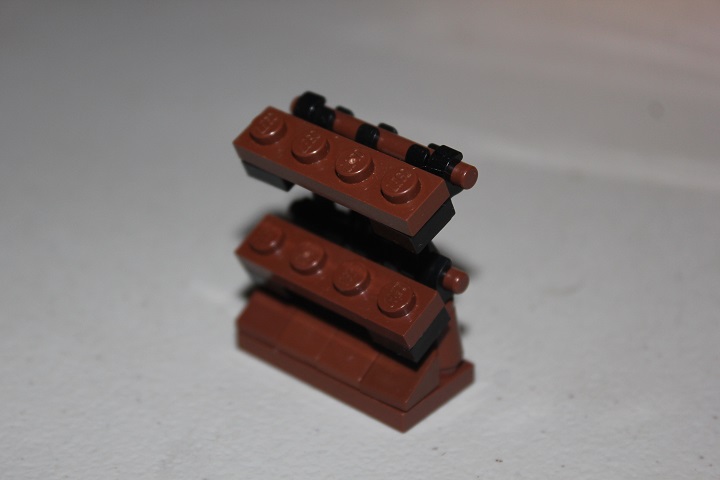
Now you just add whatever items you want to the shelves!
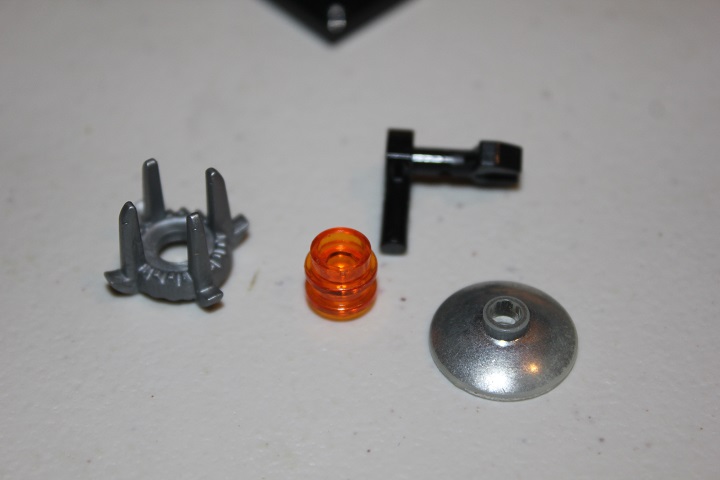
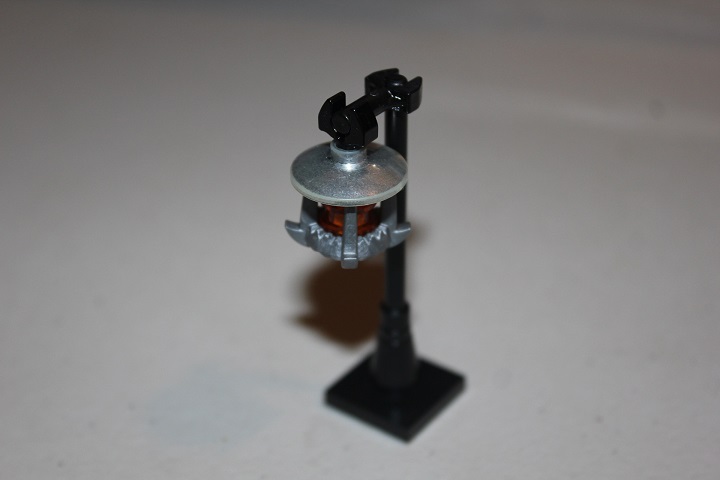
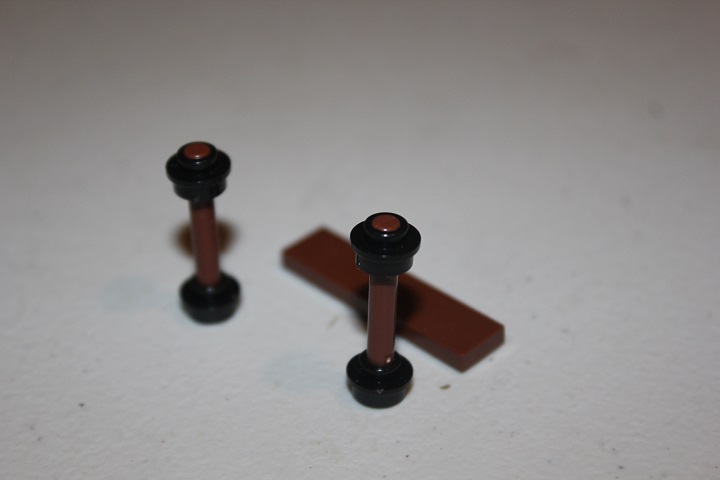
Our third design is another lamp. The witch-king’s headpiece works nicely to give a fancier looking lamp, and will be capped with the 2×2 silver dish. It’s important to note here that the trans-orange 1×1 round plates are the type with a hole through the middle.That allows one of the two bar with clip elements to slide down through the middle of the lamp.
A 2×2 jumper, cone, and 6-long bar make a nice simple post for the lamp to hang on.
And lastly we have a kitchen cabinet. The legs of this are made of 1×1 vertical clips in black, and a 1×1 plate with vertical clip of brown. You can also see in the back of this picture that a 1×4 bracket and a couple 1×2 jumper plates combine to make the drawers of the cabinet.
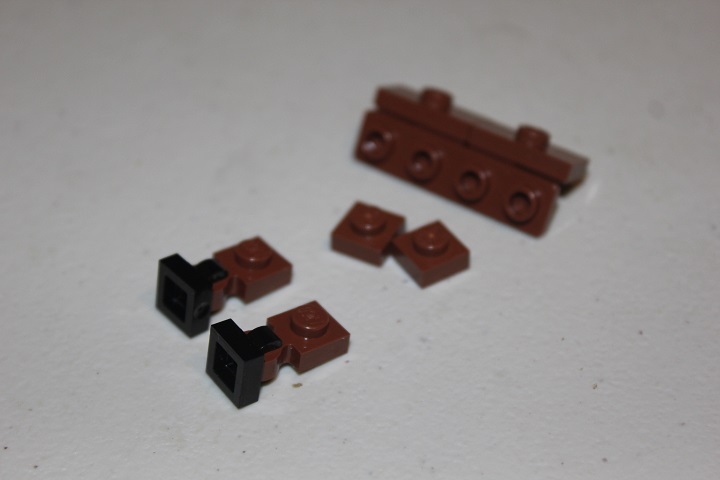
Attach some 1×1 plates to the ends of the jumper plates, and then you can add the legs.
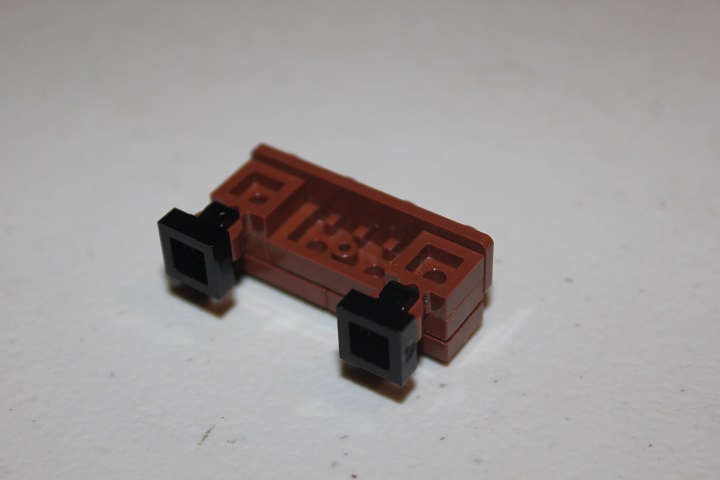
The bracket gives a switch back to studs up building for the top half of the cabinet.

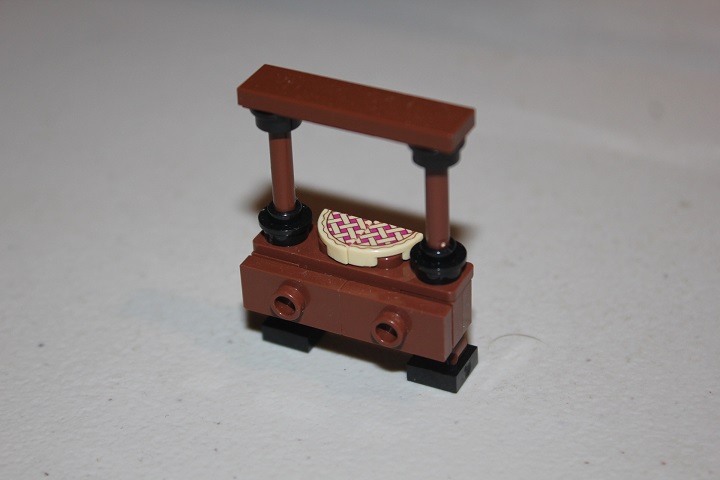
Next we’ll add two 3-long bars in brown, which will be connected across the top by a 1×4 brown tile, and 1×1 round plates with hole in black.
And you’re done! You can put whatever you want in the middle shelf, but for this example we used half a pie.
Hopefully you enjoyed this tutorial, let us know in the comments if you have suggestions for future tutorials!


Nice techniques here! I especially like the lamp post, I’ll have to keep it in mind for the future.
that first lamp is perfect!