


This tutorial explains my brickwork technique for Gardar’s Cloth Goods. As mentioned in the description of that build, I’m hardly the first person to use a design like this.
The whole technique hinges on the use of bars and clips to allow for flexible offsets. So you will want to have plenty of these pieces:
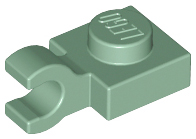
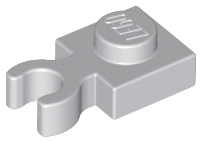

Three and four stud long bars, standard 1×1 bricks, plates, tiles, and cheese slopes are also required.
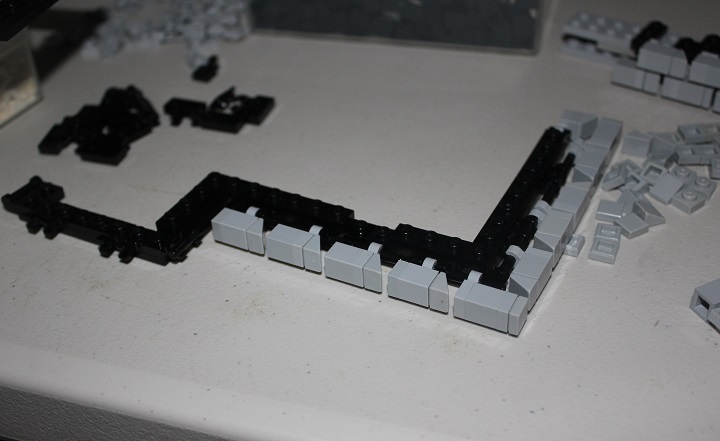
To start the wall you will want to use some black plates (I used one wide plates here as I would be adding an interior later) and then lots of plate with handle and plate with clip in black. The plate with clip will have black four long bars put into them. Individual ‘bricks’ are made up of at least one of these clips in bley, plus a 1×1 brick, plate, tile, or combination of these to get the desired size.
You’ll notice that I used a lot of cheese slopes at the ends of each ‘brick’, as we happen to have more 1×1 cheese than 1×1 tiles in bley. At the corner the ‘brick’ will need to be a little larger than usual and always have a 1×1 tile at the end, as its face is visible at the corner.
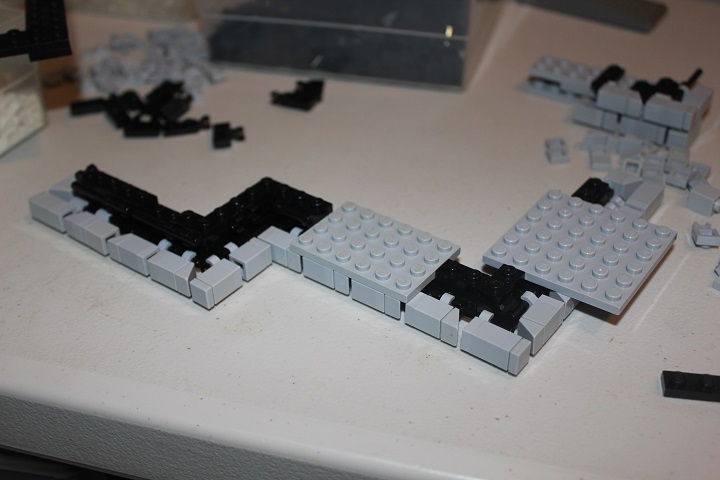
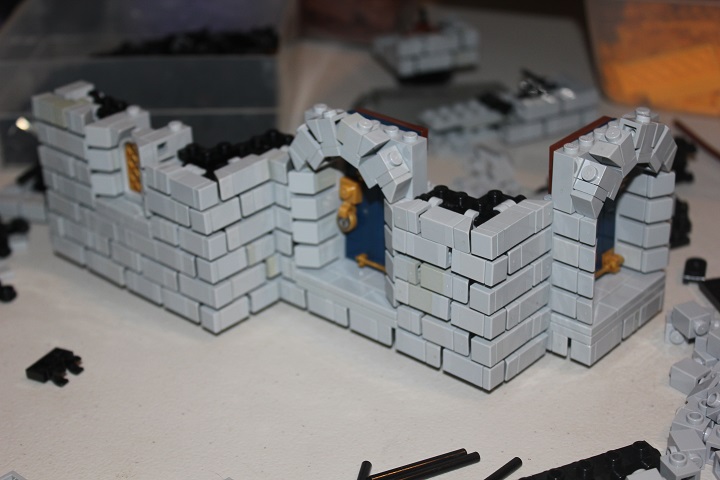
Due to the plate with clip – bar – more plate with clip assembly method, the wall is three studs thick. Between each layer of clips and bars go two regular plate layers. Something I found interesting about the design is that standard studs elements fit flush over the top of each brick layer.
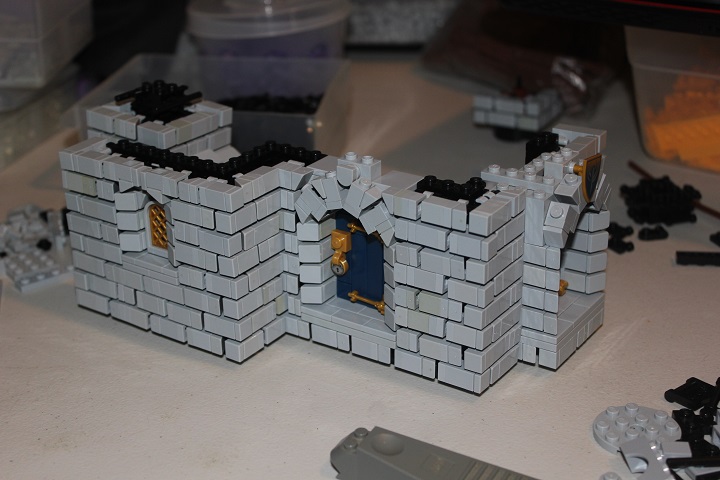
Which is useful if you want to include doors or windows. I did exactly that with the 4×6 and 6×6 plates here.
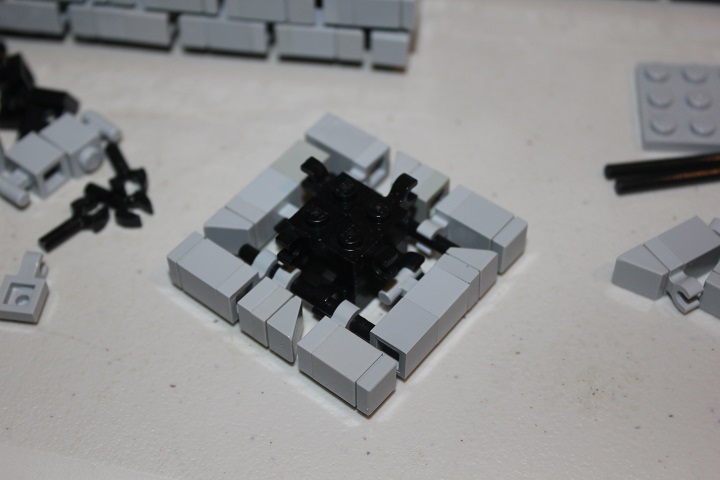
Here’s a look at the underside of the first layer of brickwork. Gaps between each ‘brick’ are about a half plate thick and I usually used ‘bricks’ that were one brick, two plates, and a tile long. With shorter or longer assemblies where needed to make the spacing work properly.
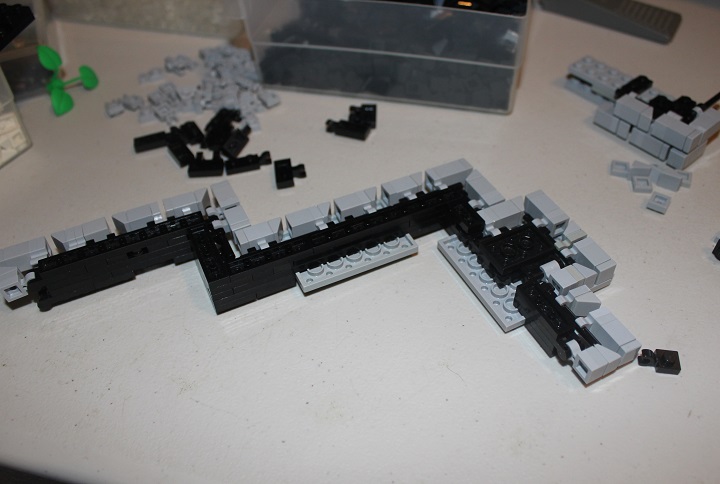
It doesn’t matter which direction the studs of the brick assemblies point, that is determined by where you can easily clip onto the black bars and make the spacing work nicely. As you can see, convex and concave corners both work easily enough with this technique.

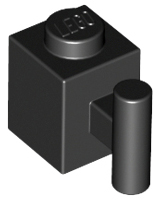
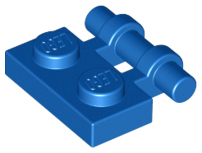
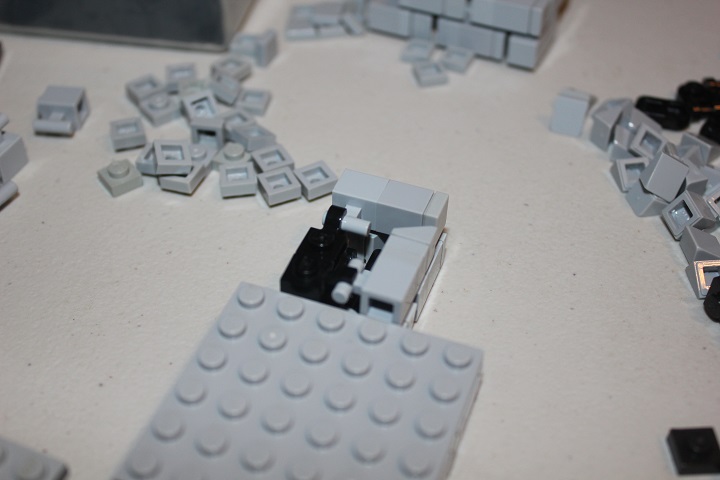
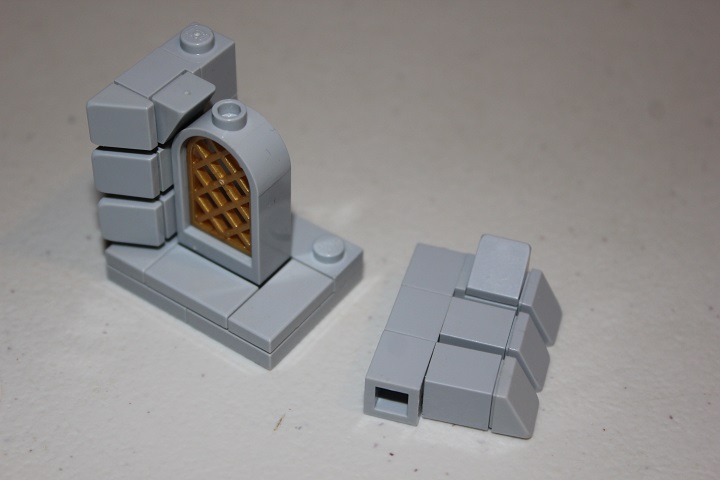
Sometimes brick with handle attached directly to plate with clip work better for tight areas. As demonstrated at this little corner section by a doorway.
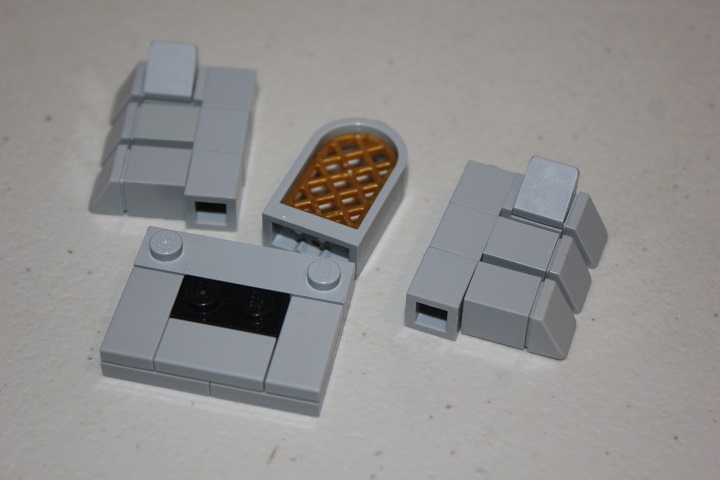
Another thing that’s really neat about this method of brickwork, is that stacked 1×1 brick with stud with SNOT parts attached match the offsets.
This is especially useful for doors and windows.
Here’s a close up look at how I accomplished the windows.
Using black for the main support system gives a nice sense of depth to the cracks between bricks, but I think dark bley could also work very well.
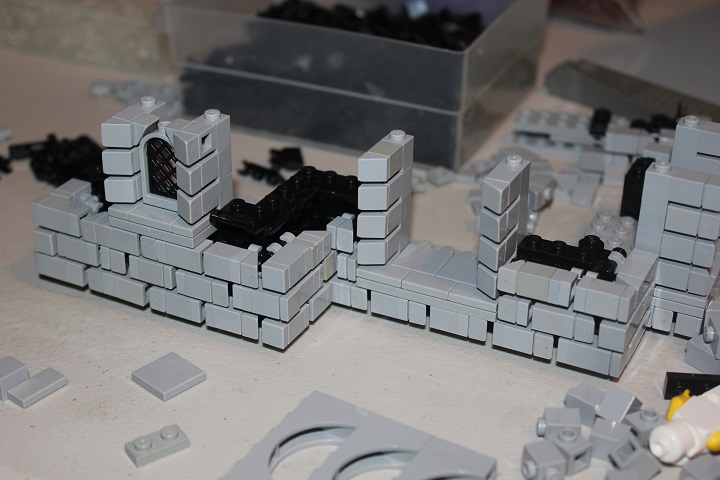
Just continue using the methods described above to add more layers to the wall.
And if you want to have an interior, you can just build another wall behind the black plates.

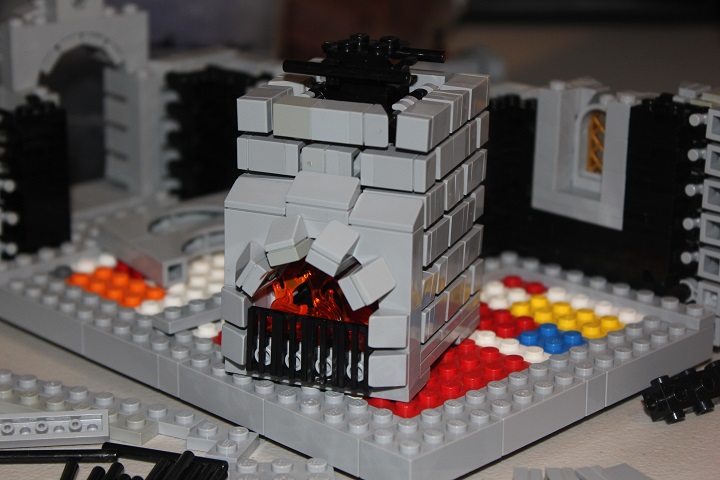
For the chimney I used this assembly to build the brickwork in just a 6×6 stud area.
And then a two stud wide plate in bley embedded into one of the two plate thick layers between clips and bars allowed me to hook on the fireplace front.
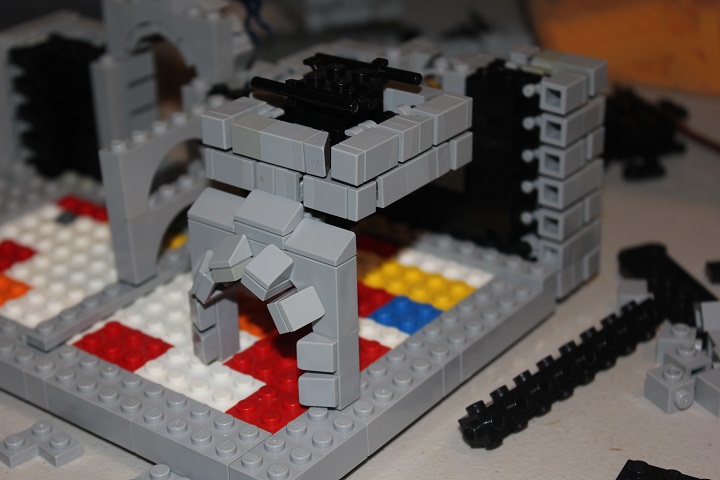
You can still catch a glimpse of the brickwork core here.
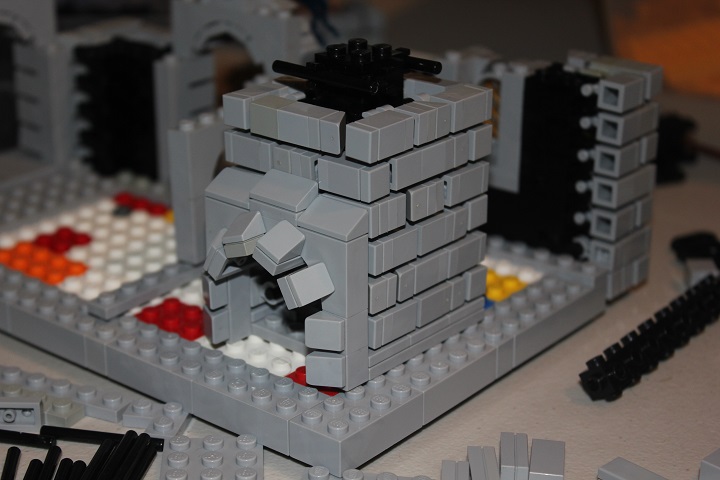
So I added flames and a grill to hide those elements.
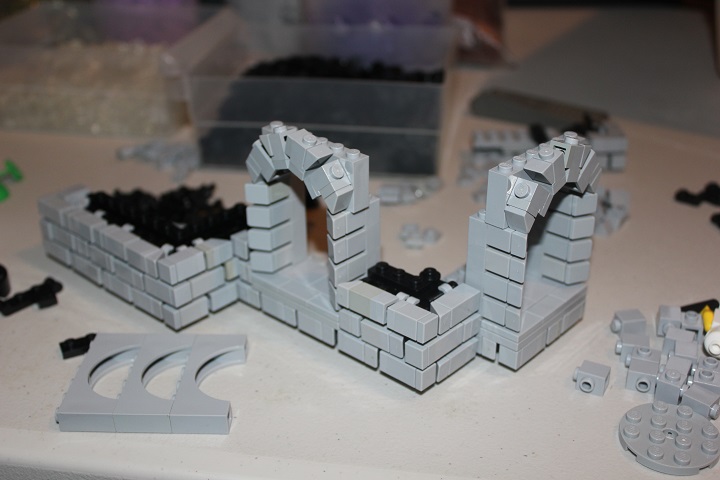
And that’s the basic idea! The basic idea of this design could even be applied to curving walls pretty easily.
It’s one of our more complex tutorials, and the black elements don’t show up real well in pictures (kind of the point I suppose), so let us know if you have any questions on the technique!

