


We cover 6 more designs in this installment of our furniture tutorials.
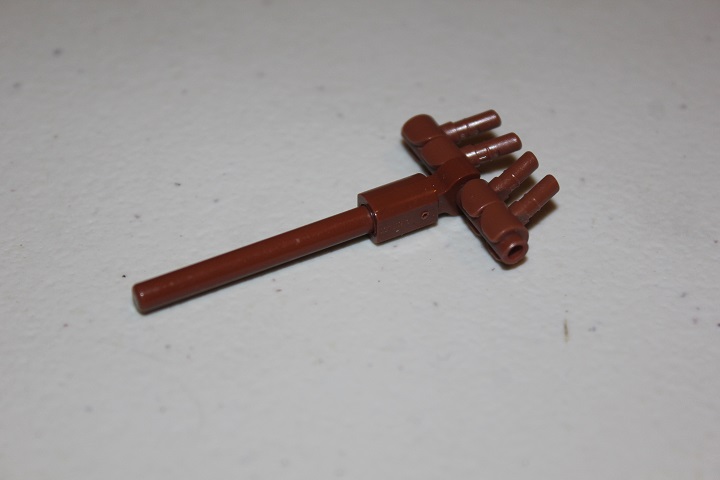
First up is a brick built pitchfork. LEGO makes an official, pre-fab pitchfork, but if you want something a little different, this is a good option. A 3-long bar with 4 brown hands make up the prongs.
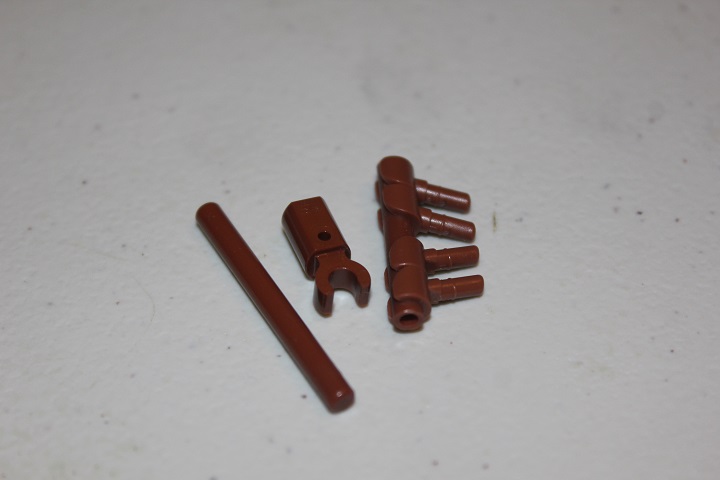
A reddish brown bar holder with clip and 3-long bar finish the assembly.
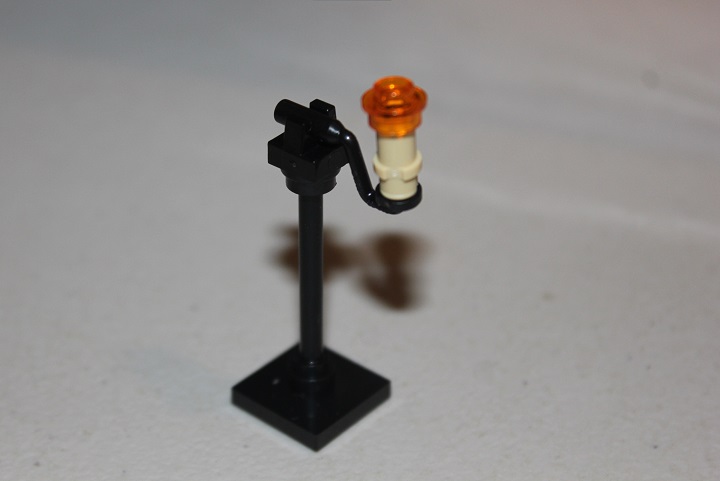
It’s always nice to have a wide variety of candle holder designs up your sleeves to fit whatever build you may be working on at the time. This one utilizes a paint roller handle as one of the key parts. A tan technic 3/4 pin and trans-orange 1×1 round plate make up the candle, and a 1×1 round plate with hole and 1×1 tile with clip in black also are needed.Alternatively, you could replace the 1×1 around plate with hole and 1×1 tile with clip with the same element used to attach the head of the pitchfork above.

A 4-long bar and 2×2 jumper complete the candle holder.
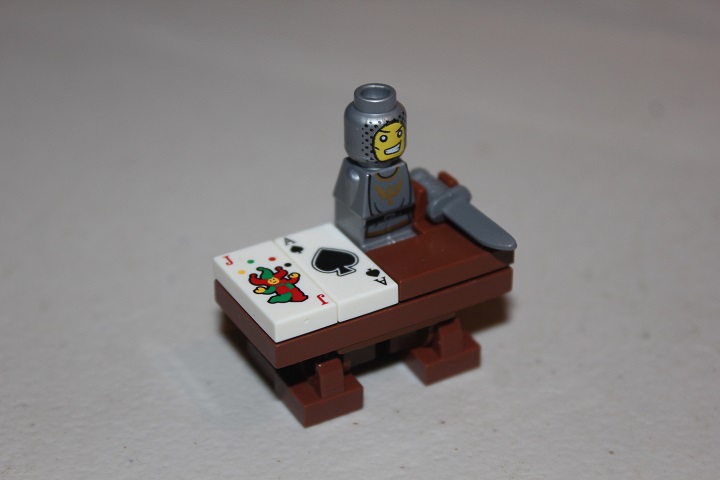
Next up we have a simple little table. The legs are the most interesting section here, being made up of 1×1 tile with clips and 1 x 2 hinge brick tops.
Attach them on top with a 2×4 plate, and finish off the table with whatever you want on top!
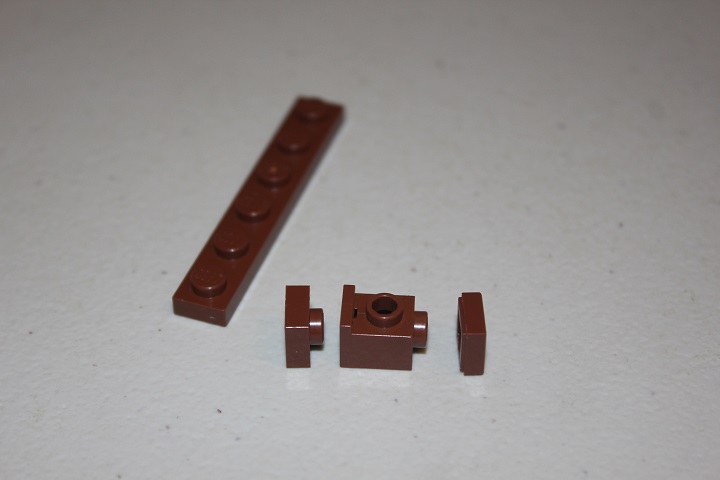
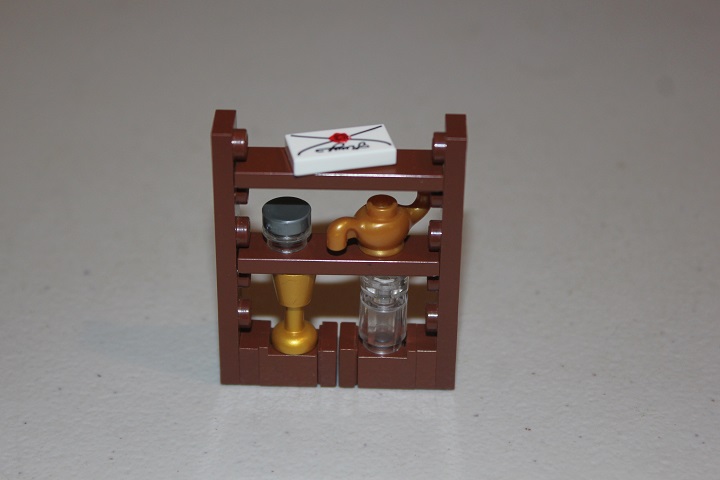
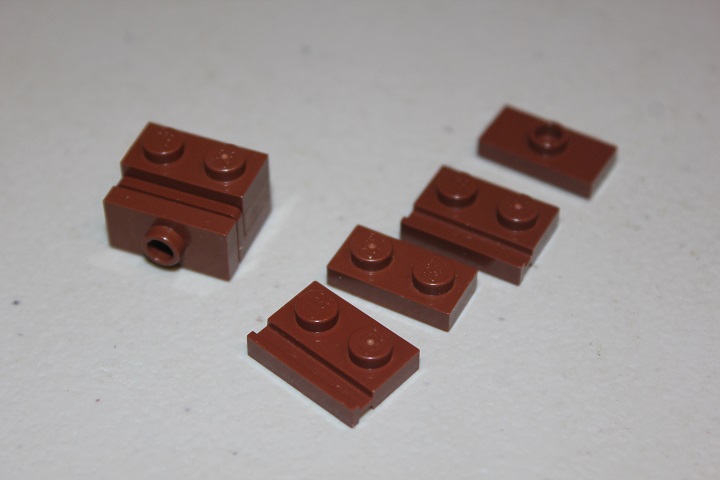
Here we have a shelf design that Isaac came up with. Start off with a 1×6 plate, 1×1 plate, 1×1 headlight brick, and 1×1 tile, all in reddish brown.
A couple 1×4 tiles will be stuck in between the studs of the 1×6 plate to make the shelves.
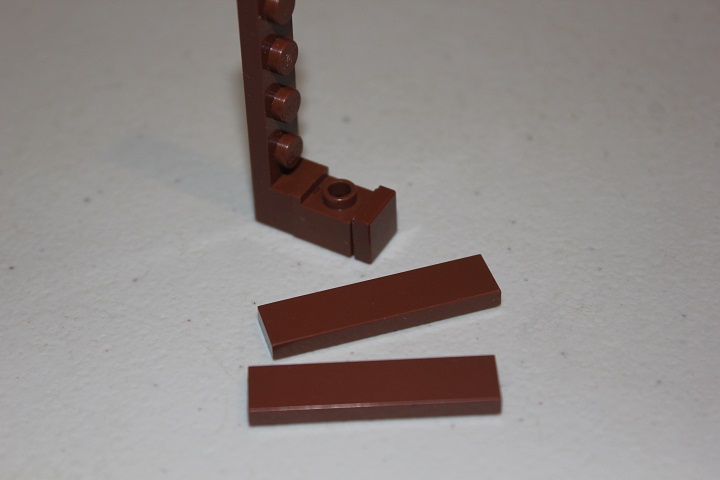
Like such. Then just copy the assembly for the other side. The tiles connect the two sides while the headlight bricks on the bottom give an easy way to attach the shelf to a studs up floor.
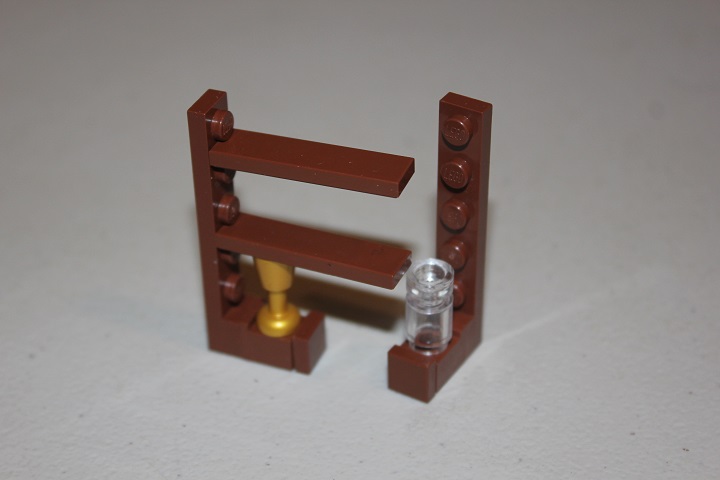
And fill the cabinet with whatever items you want.
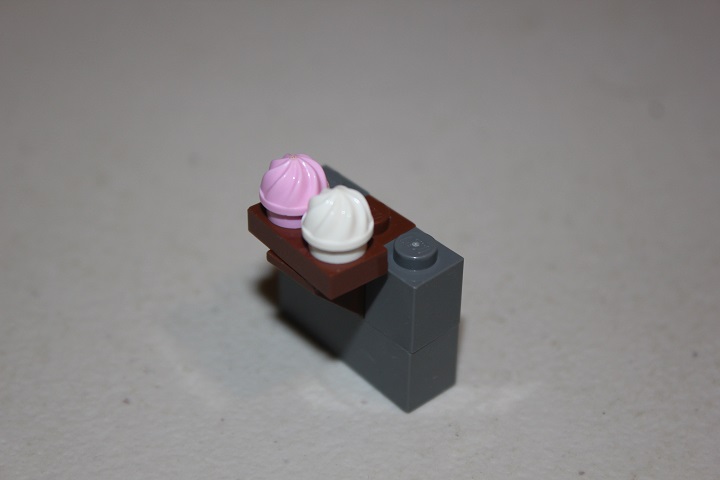
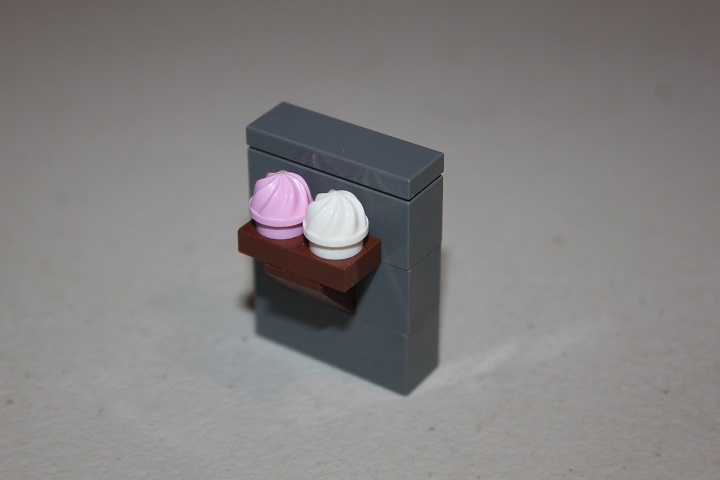
Here’s a simple design for a small wall mounted shelf. A 1×2 reddish brown inverted slope is the base.

And a 1×2 plate centered on top creates a platform to place some cupcakes, or any other item you would like.
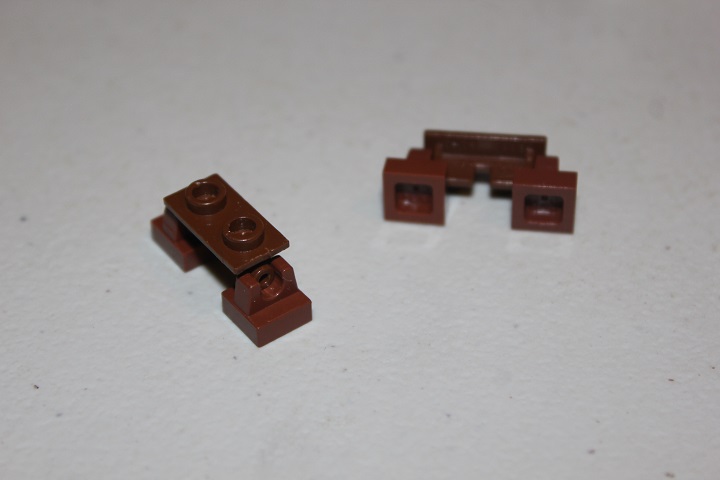
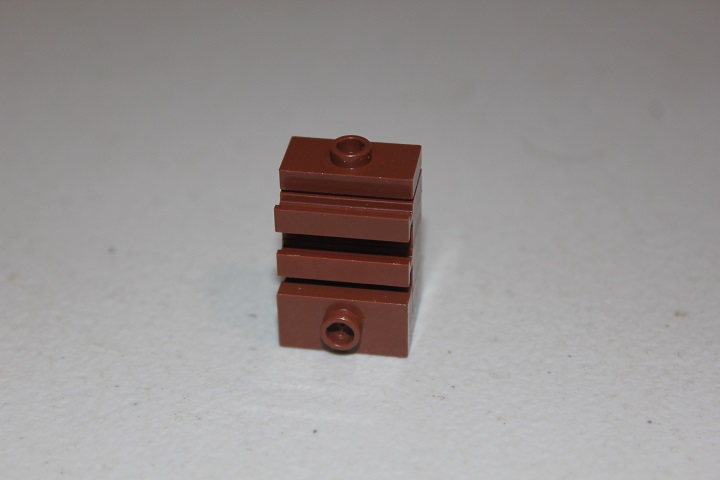
The last design we’ll cover today is a dresser. A 1×2 bracket with 1×2 jumper plate makes up the bottom drawer.

A couple 1×2 plate with rail and a standard 1×2 plate combine to give a different look for the upper drawers.
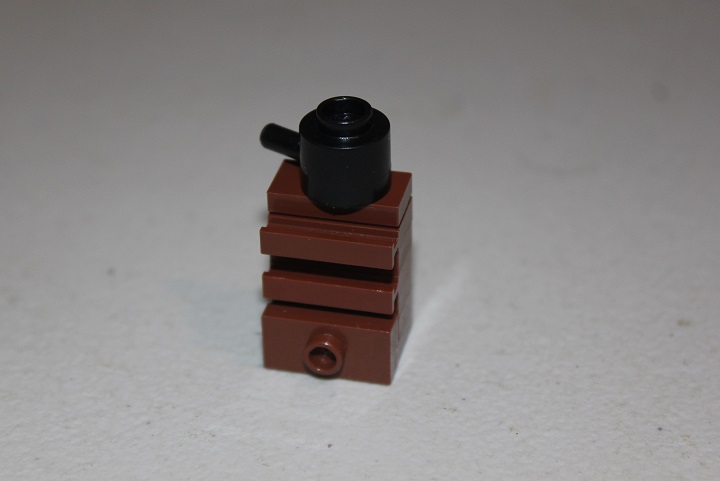
And a jumper plate caps it off. If you don’t want anything on top of the dresser, you could use a 1×2 tile instead.
While the pot isn’t actually attached to the jumper, the exposed stud keeps it from sliding off easily.
Hopefully you find these designs useful, feel free to let us know if you have any questions or comments about them!

