


Some of you have asked about how we setup for photography and our editing process, so here’s a look behind the scenes!
We certainly aren’t expert photographers or editors, but we hope you’ll find some useful tips. You may also want to check out the tutorial Tyler Clites put together some years ago, or this topic on Eurobricks.
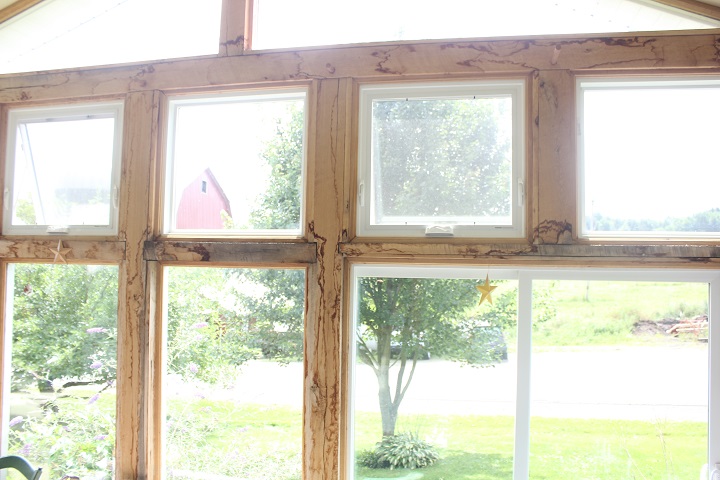
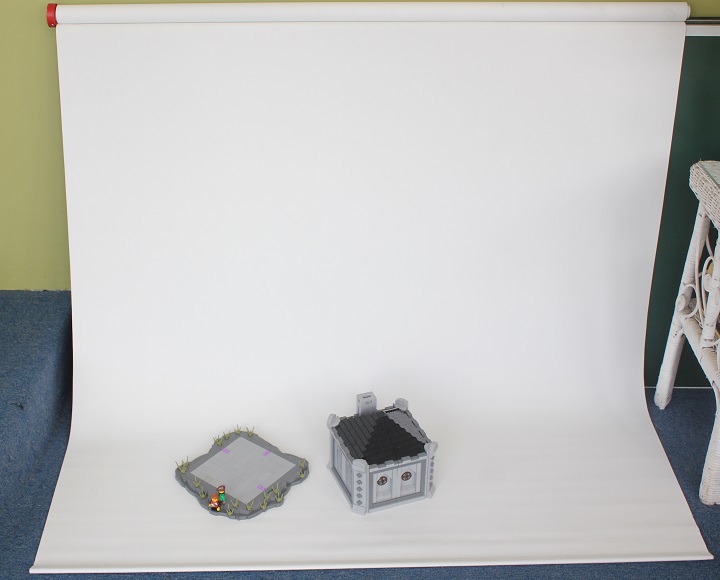
Natural lighting is all we ever use for our photography. We’ve found it much simpler to work with natural light rather than trying to figure out a good artificial setup. And a solar porch makes using natural light pretty convenient. Cloudy days, or shady areas are best to shoot in as direct sunlight causes lots of shadows and glare.
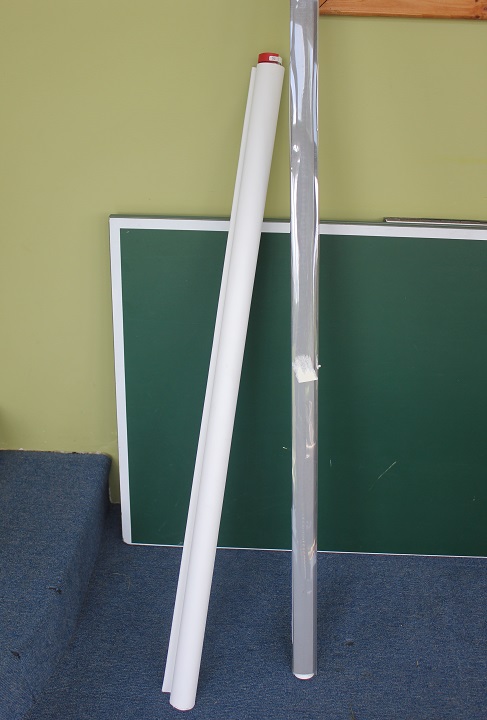
Ikea Tupplur roller blinds make fabulous back drops, and I highly recommend them if you’re looking for a good sized durable backdrop. We started off with just grey, and now have a white one as well.
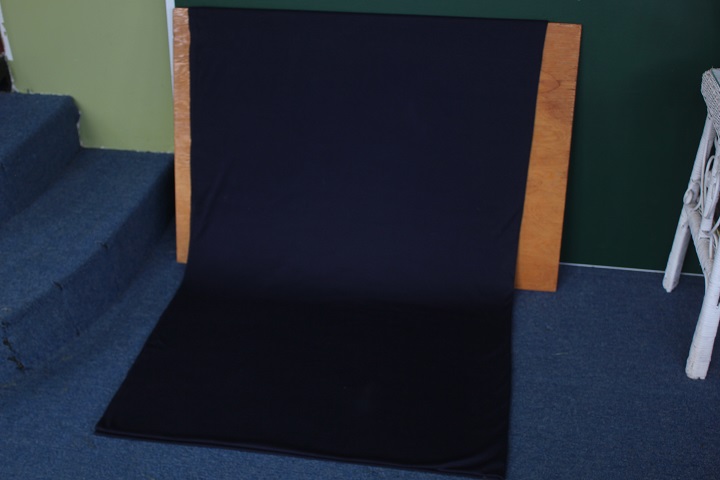
Sometimes we use plain fabric too, particularly the dark blue color shown here.
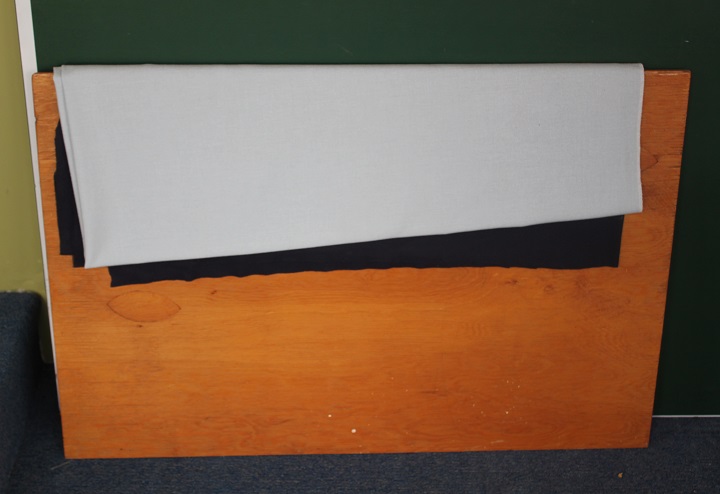
In which case it’s easy to drape over some plywood.
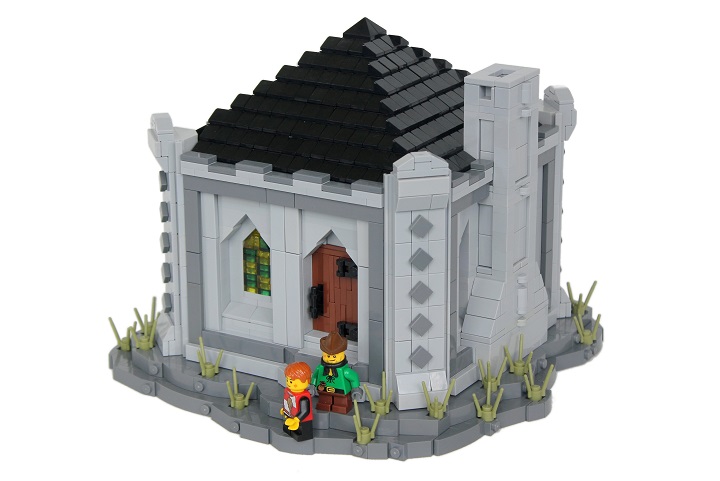
Danyel’s House is serving as the example in this post with the white roller curtain background. Our camera is a Canon Rebel T2i DSLR. I usually shoot in Tv mode so I have easy control over the shutter speed and ISO. 100 or 200 works well for the ISO, and then I lower the shutter speed as much as needed to get well lit photos. If it drops below 50 for the shutter speed, we’ll use a tripod and put the camera on a two second timer. We still shoot in JPG, as we don’t own Lightroom or have any other Raw editing software currently.
Once we’ve taken pictures we’ll narrow them down to the best shots and do some basic editing in GIMP. Of course Photoshop offers all the same functions and more, but isn’t free.
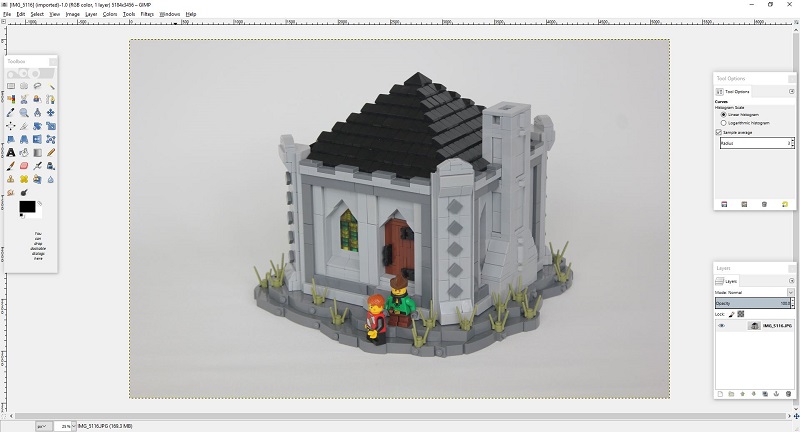
Curves are one of the first things we adjust to get the colors and brightness of the photo where we want.

With our setup photos on the white or grey background tend to have a slight red tint, so we’ll drop the red curves just a little.
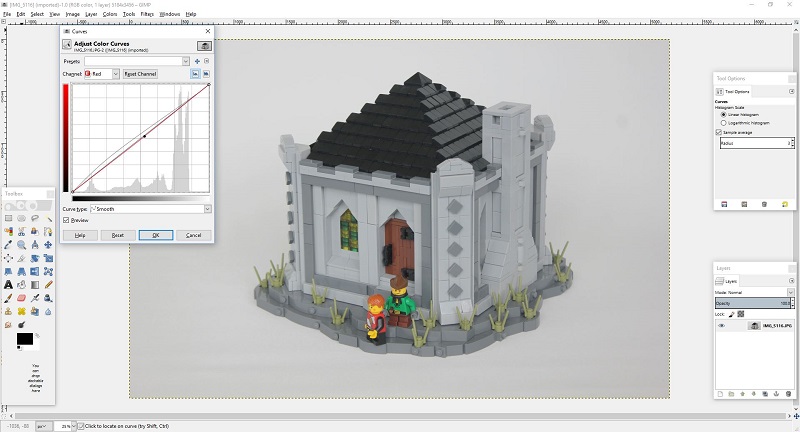
Next we’ll up the contrast a bit.

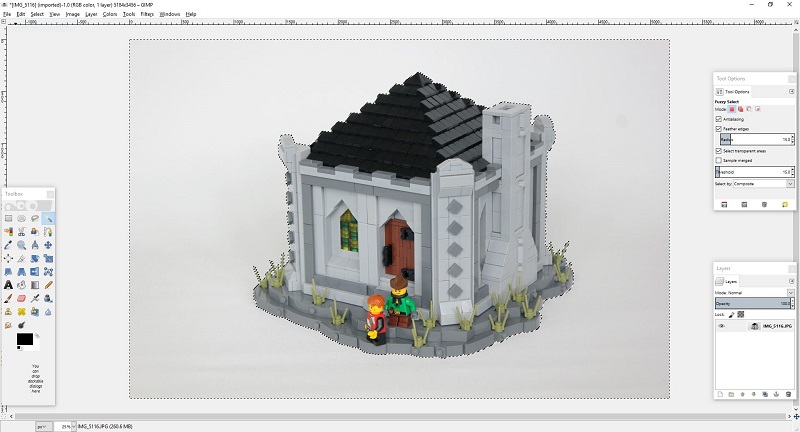
Depending on the colors of the model itself, you can get a nice white background just by adjusting curves. In this case I used the fuzzy select tool and free select tool to get only the background selected and then brightened it and heightened its contrast to get a perfectly white background. I prefer this method to actually deleting the background since it usually gives a cleaner result.
Often pictures need a slight bit of rotation, so we’ll adjust that to make sure vertical lines in the center of the photo are actually vertical.
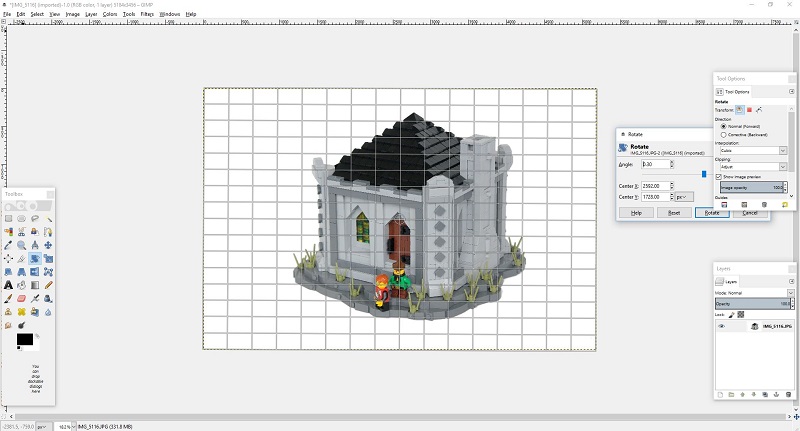
Then all that remains is cropping and resizing as needed. Naturally the editing process varies some from build to build, but that’s our basic method.
We hope you’ve enjoyed this explanation of our photo-taking and editing and if you have additional questions just let us know!


Gotta love Gimp!
The roller blinds are a great idea! Flexible but thick enough to hold a curve, and have a built-in rod. 👍
A COUPLE QUESTIONS
You mentioned the benefit of cloudy days. 👍
But you know how it goes … It’s perfectly overcast for days. But once you’re ready for that important shooting session – BAM! Suddenly cloudless, the sunlight turns a fierce, colour-sapping contrasty glare, and gusts blow shadows about.
Q.1: What do you use to diffuse your daylight on sunny days?
Q.2: Given the necessary close-up and table-height work, do you use a reflector or other fill lighting?
You can get a friend to hold a light sheet of fabric to diffuse bright sunlight, as for reflectors or fill lighting we have not needed to incorporate that so far.