


Time to take a look behind the scenes of my Harburg Kitchen model!
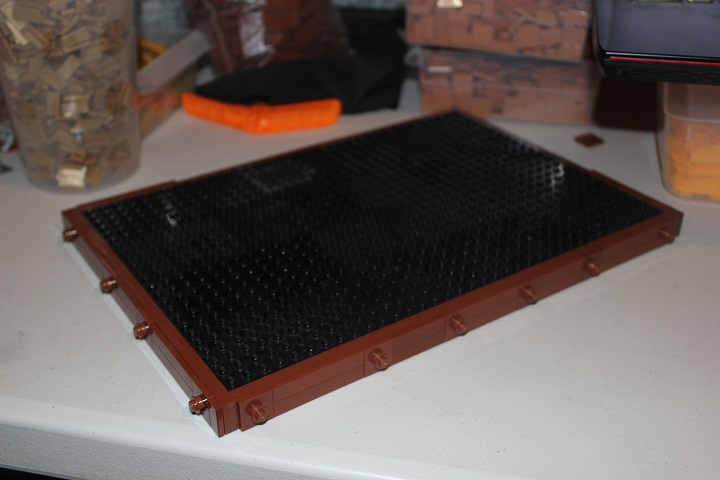
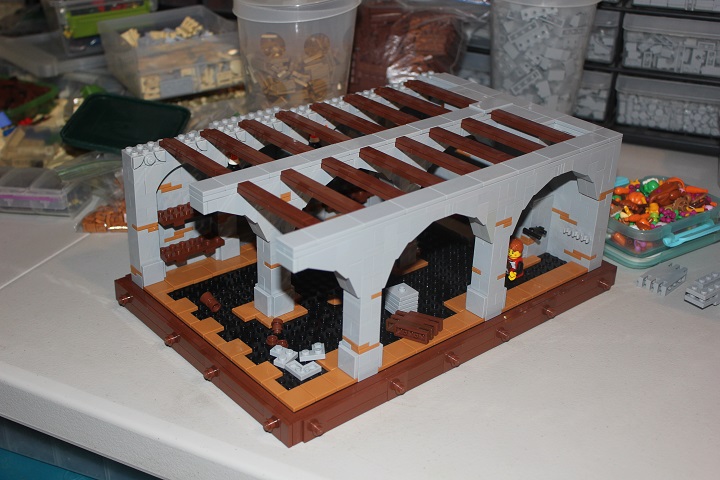
I started off with this plate base that utilizes 2×2 plate modified with stud to attach the SNOT border.

The border itself used reddish brown plates and tiles with a few 1×1 round plates for added decoration.
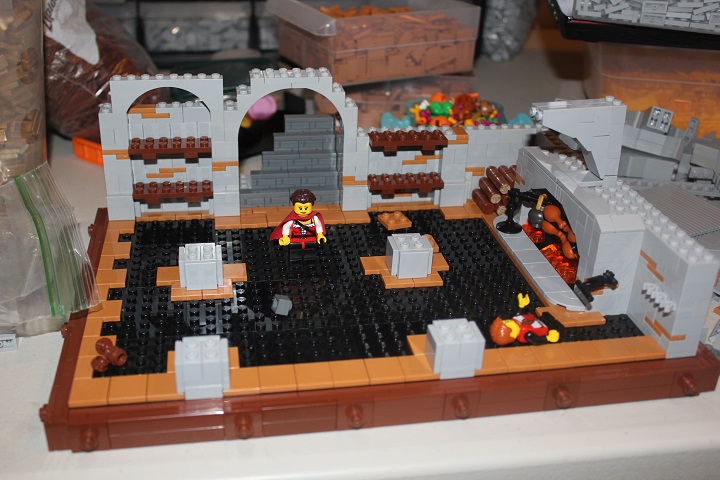
My plan was always to include a series of stone arches, and I settled on this sideways slopes design pretty quickly. They fit nicely with two complete arches, and one half arch at the front end.
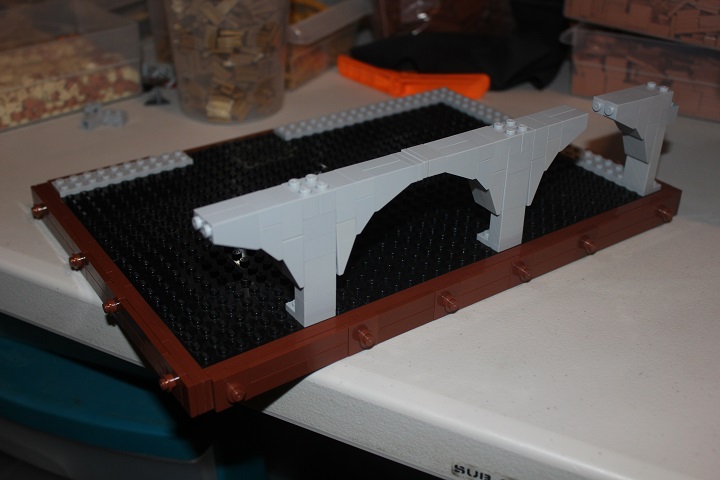
After a little experimentation I settled on having two rows of arches that would be connected in the other direction by wooden beams.
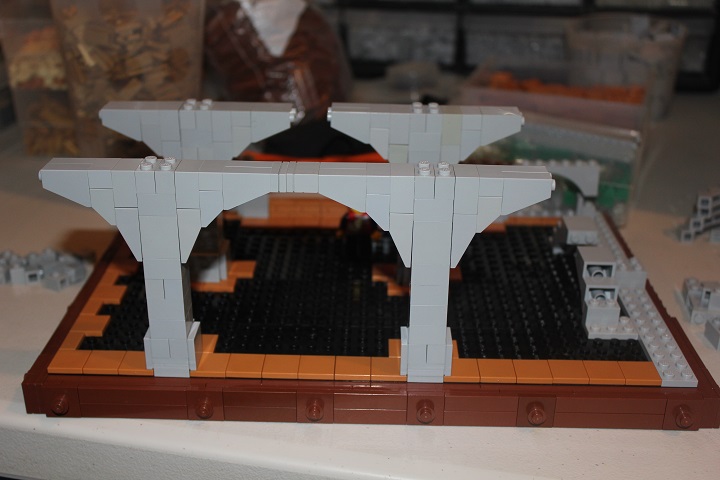
We have accumulated quite a lot of medium dark flesh, so I chose to use that with bley for a more unique color scheme than the typical dark and light bley combo.

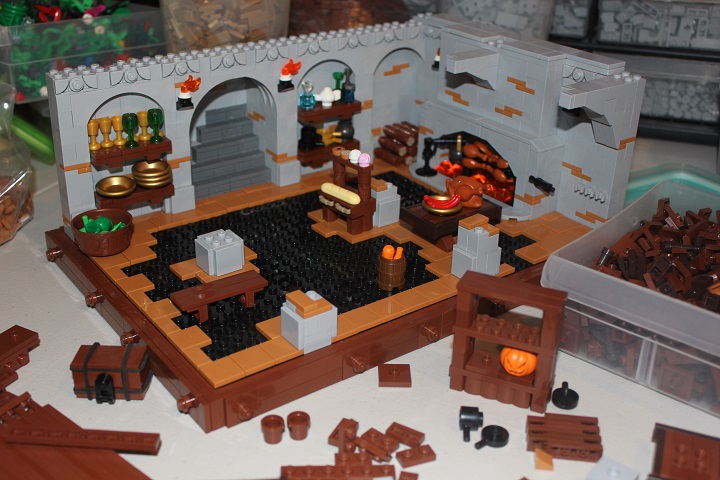
Every kitchen needs a good sized fireplace and I had fun including a large spit with meat roasting and a pot stand for boiling water.
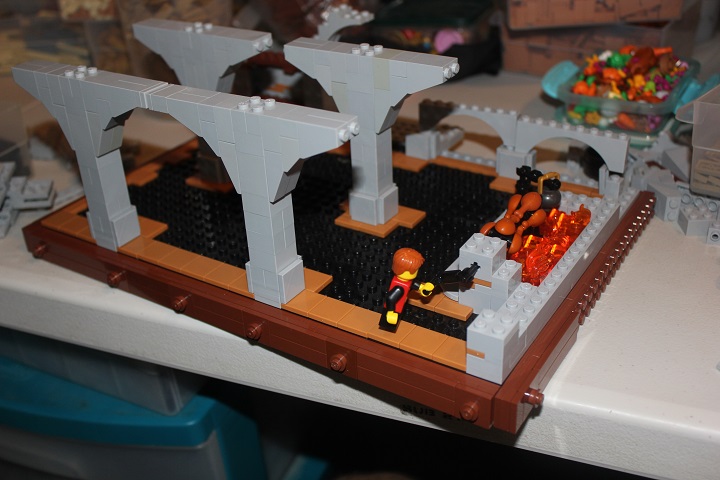
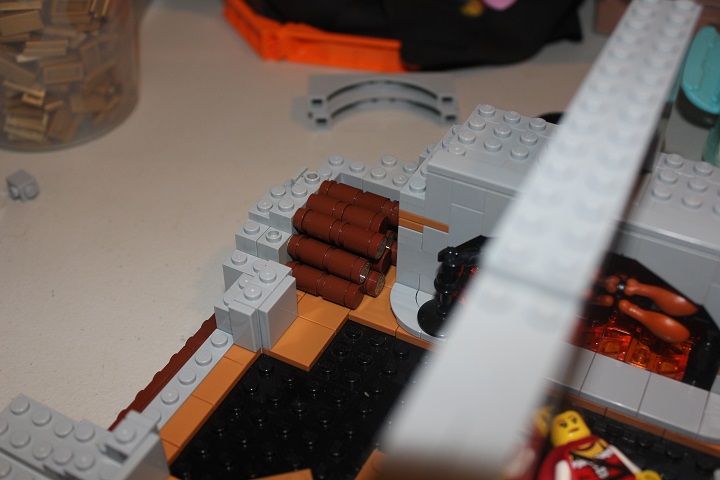
Over in the back corner I added a pile of firewood – each row of of SNOT round bricks being offset by a half stud from the row below to give the proper piled look.
By putting the shelves under the arches I could make them two studs deep and still only have them protrude out into the kitchen one stud.
I did try a few different options for the staircase in the background, but all were based off of the design by Matthew Oh.
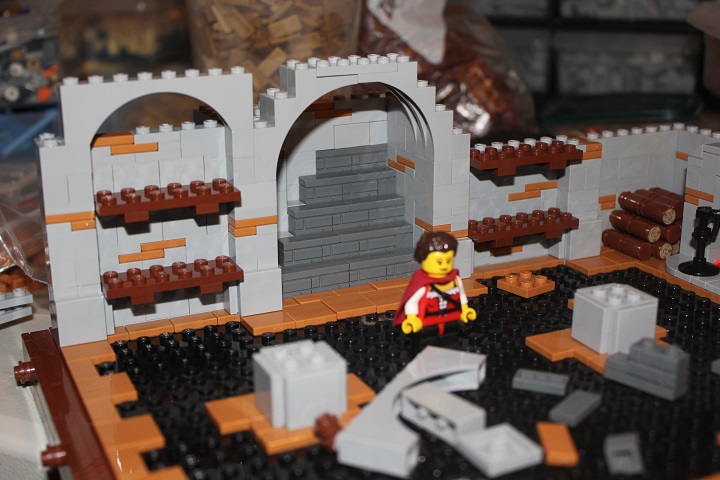
Coming along well here, though there was still a lot of furniture that needed to be added. The torch sconces use this element inserted into the back of a headlight brick.
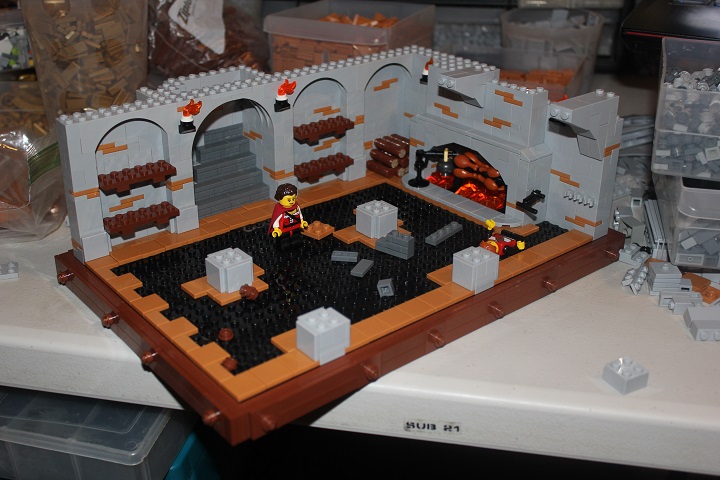
Next was a test run of the ceiling rafters to figure out placement. Later I would go back through and add some hanging details, but not before finishing the rest of the kitchen.
Filling the shelves was fun and gave a good excuse for using a nice variety of dishes. Then I needed to figure out table and cabinet placement
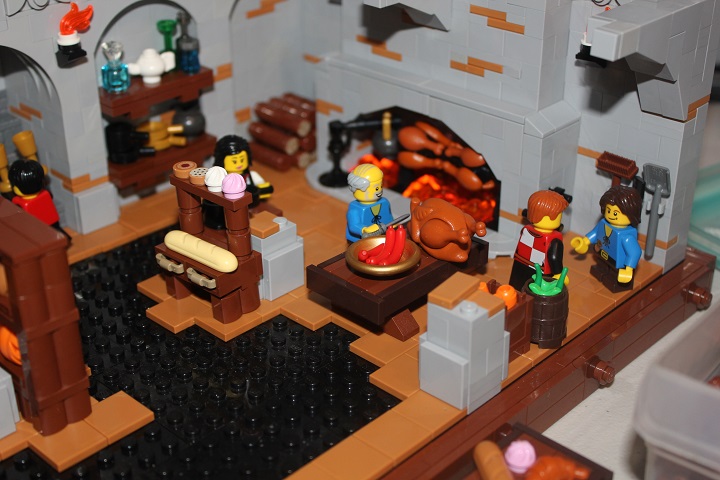
I tried to include plenty of minifigures busy with various kitchen tasks to capture the hustle and bustle that all large kitchens seem to have in common.
After getting the main tables and shelves in place, I added barrels, crates, and pots where ever the scene looked empty
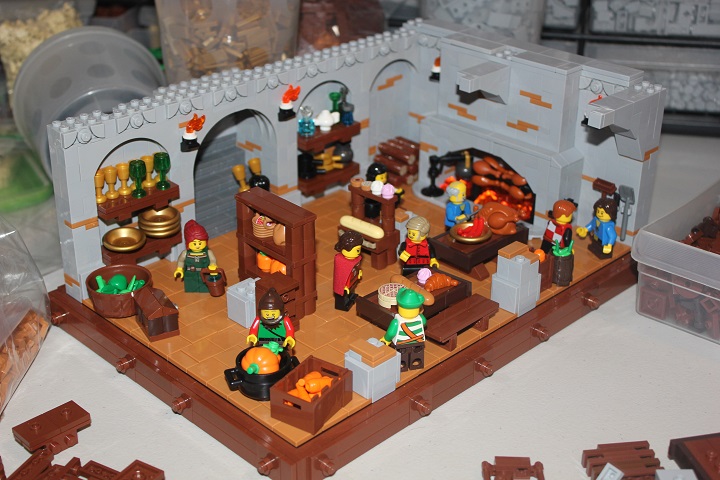
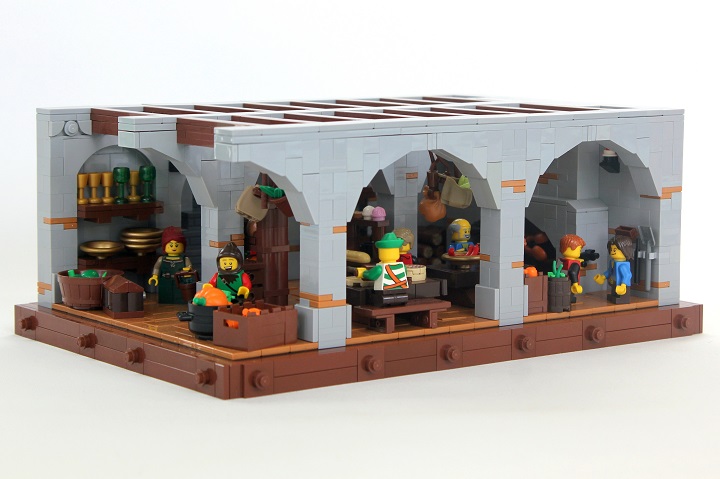
And here is the final result! I’ll have a tutorial for the hanging bags later this year.
As always, thanks for reading, and don’t hesitate to ask us if you have any questions about this build log!


I really like the fact that you connected the firewood, you just earned some bonus respect points from me 😉