


Two more cart/wagon designs are covered in this tutorial.
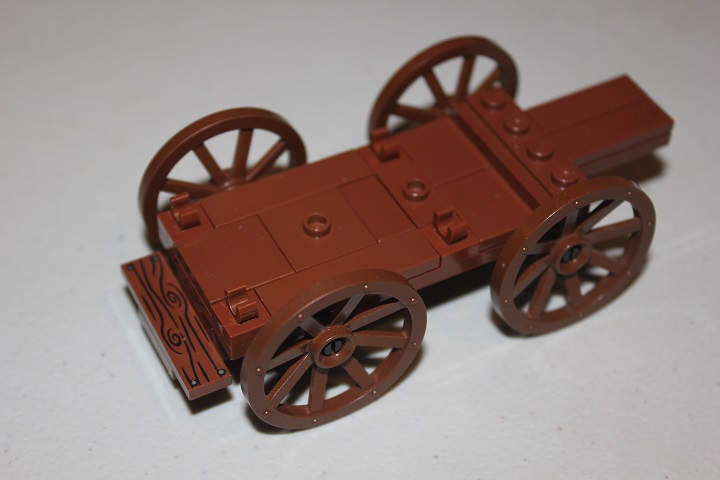
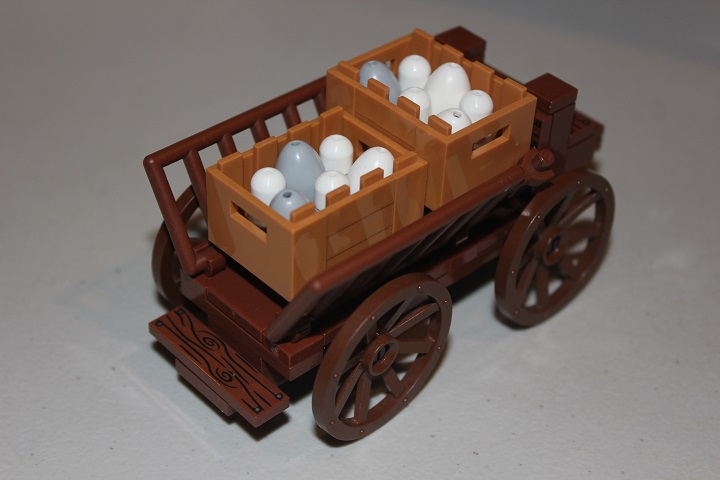
Starting with the design I used in Eggs for Sale. The chassis of the wagon is made up of standard plates.
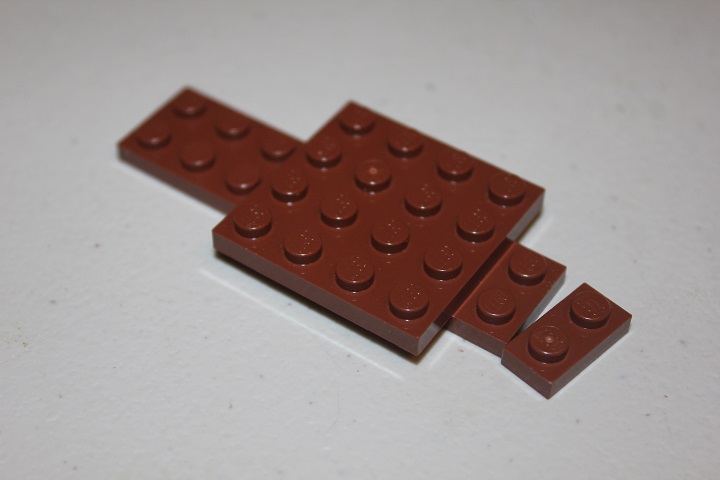
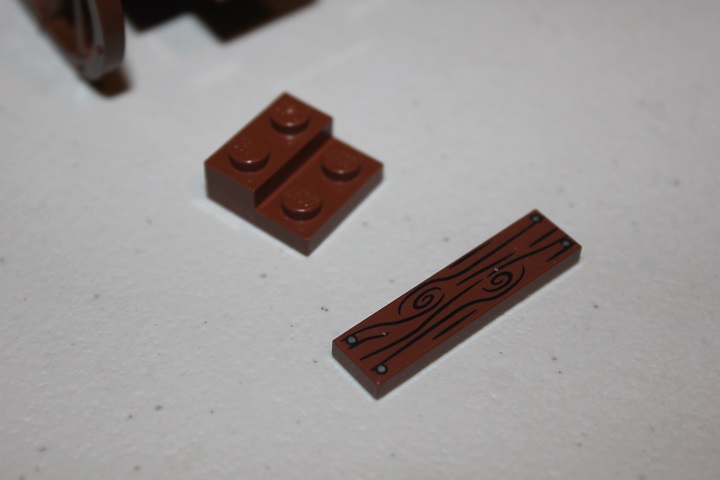
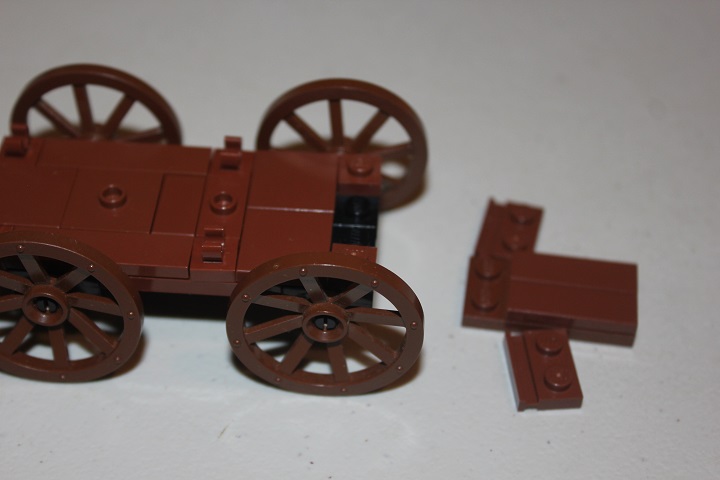
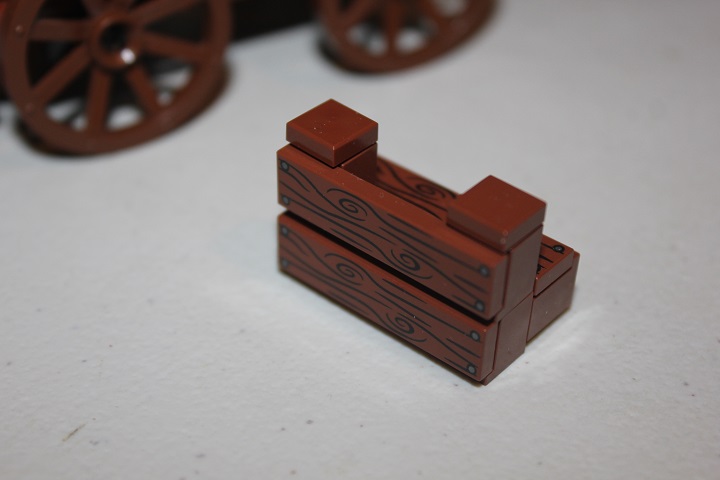
And this simple assembly makes a step at the back of the wagon.
Next it’s time add the wheels.
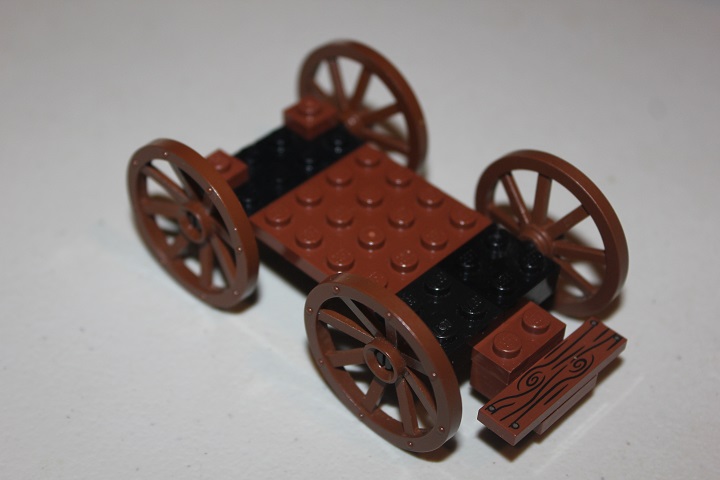
Tiles are and jumper plates are used to finish off the wagon bed, with a few clips mixed in to attach the sides with. The 2×4 plate topped with 1×3 tiles makes up the wagon tongue.
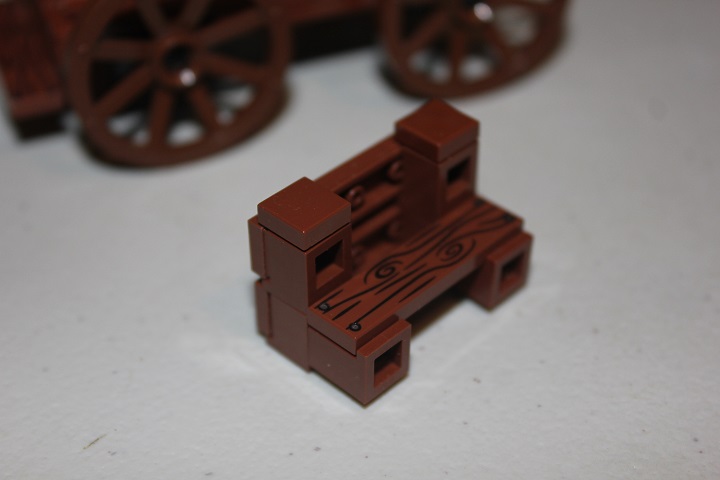
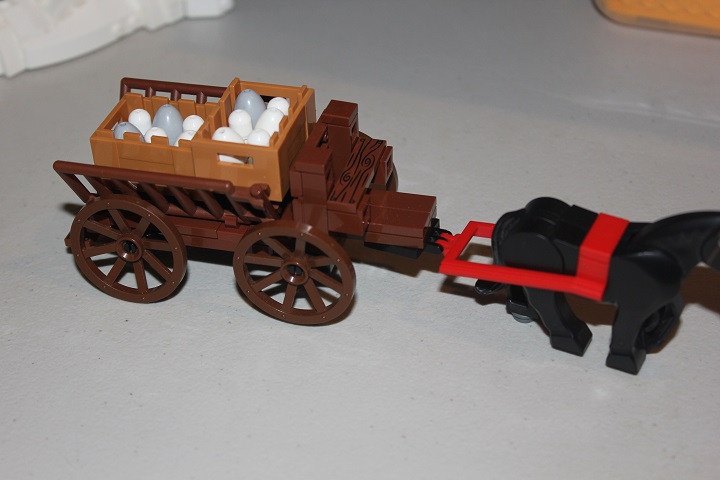
Next is the driver’s bench.
Which is made up of headlight bricks and 1×4 tiles primarily.
The sides consist of ladders with three long bars attached. The round plates and cone here are just to attach some crates full of eggs.
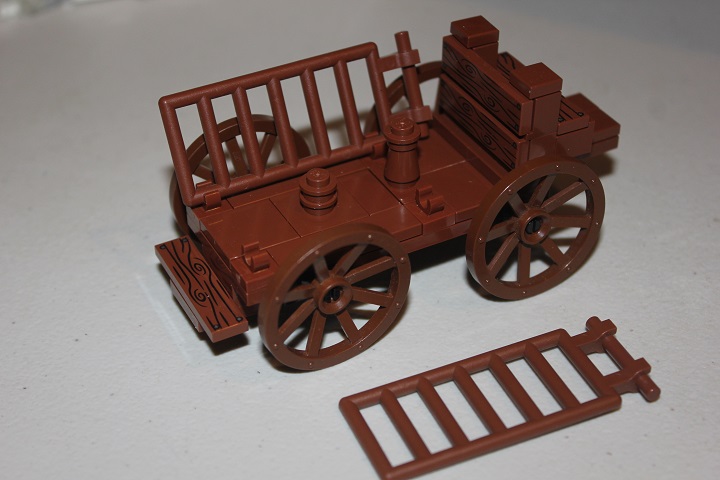
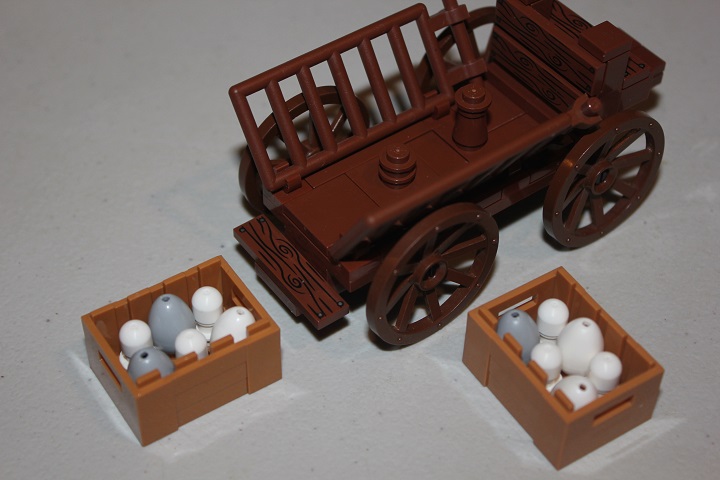
If you preferred you could just set them in place, but I like having things attached when possible.
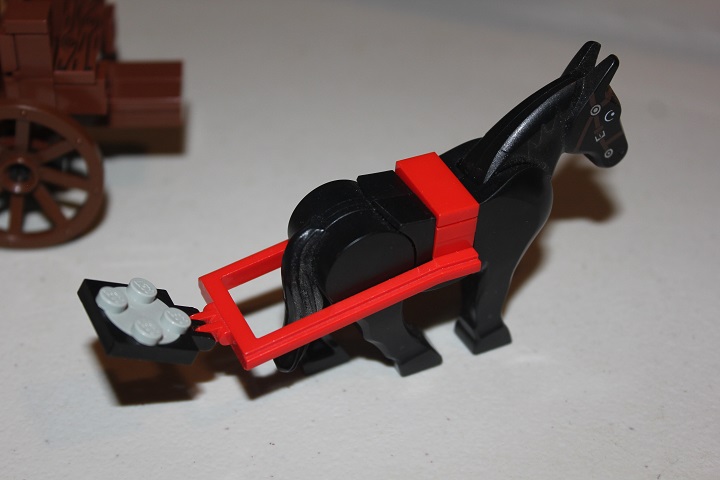
This old harness element works well, but if you don’t have one it would be easy to build a substitute.
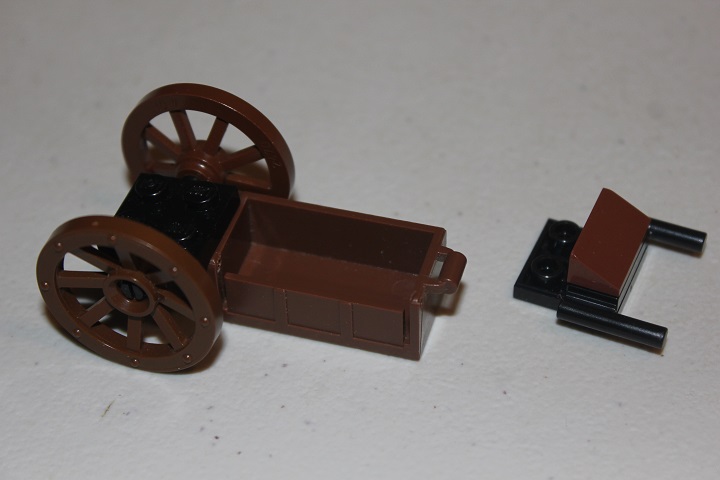
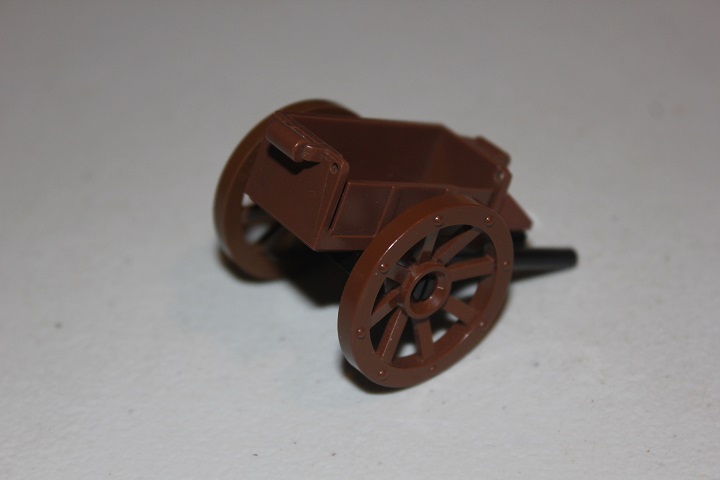
Next is very piece efficient hand cart that uses a chest bottom for the cart body.
Enjoy using these designs yourself, and let us know if you have ideas for future guides!


How is the step connected to the egg cart? It looks like it is just floating.
It is attached to the bottom of the 2×8 plate in the first photo.
Could you add more pictures to the egg cart tutorial for all the steps?
Lex, you need to turn the frame from picture one around before attaching the wheel bases and you will end up with a stud left to put the 1×2 plate on and the 2×2 plate with the 1×4 tile on it underneath. Correct me if I’m wrong Isaac.
Sorry the 1×2 also goes on the 2×2 and then you put it underneath the spare spot of the 2×8