


This build log covers another of my CCC entries from last year.
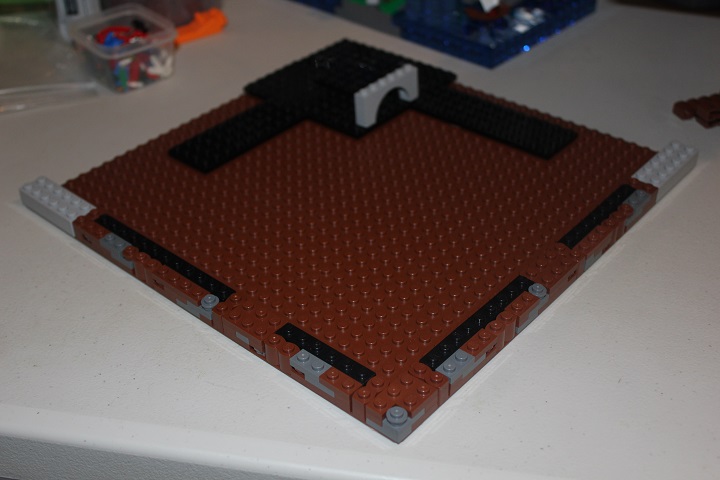
I built the model on a reddish brown 32×32 baseplate, building up a brick to make it more stable. Ground layering like this is one of my favorite way to handle model edges when not including a border.
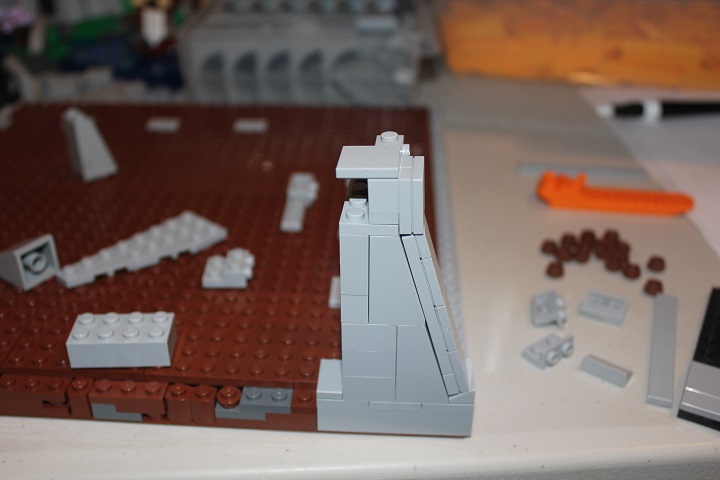
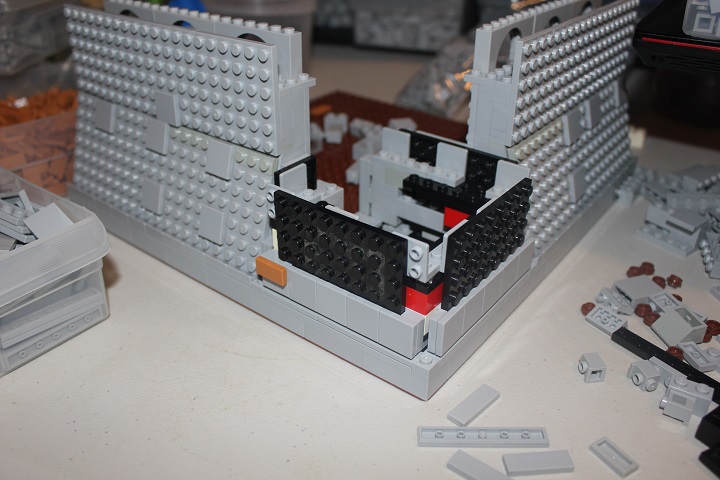
I knew I wanted a sloping foundation on the wall, so I experimented with how to get a smooth fit despite the angle next. This was the design I ended up settling on, and while the angled plate and tiles aren’t actually attached they are held snugly in place.
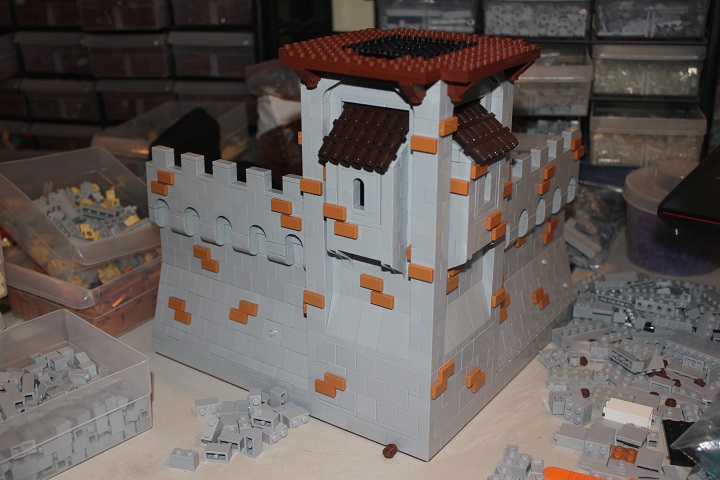
Various portions of the walls were SNOT tiles, while the others were studs up 1×2 bricks. I like experimenting with various color combinations for walls, so I tried medium dark flesh for the stone mottling instead of the the more obvious dark bley option.
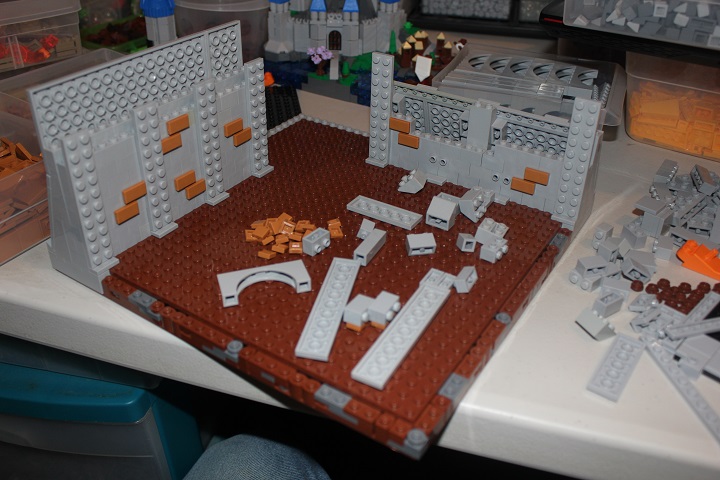
The exterior walls were entirely SNOT tiles, so I started by laying out the plates to a height I thought would work well for the wall.
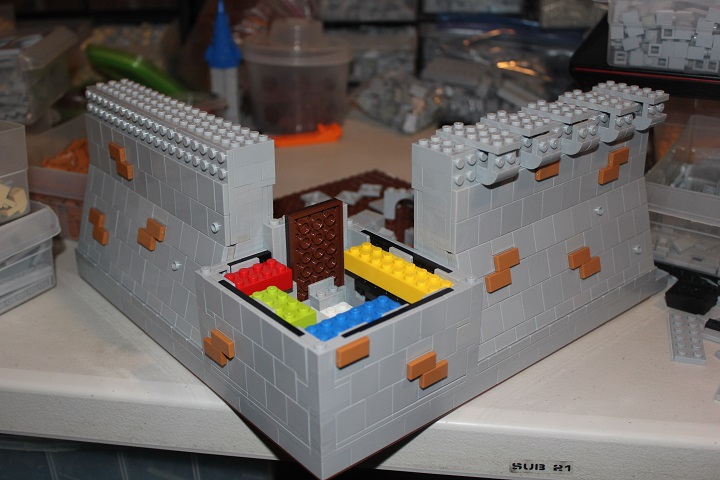
The tower uses brackets with a plate and tile on top to give a flush fit with studs up portions.
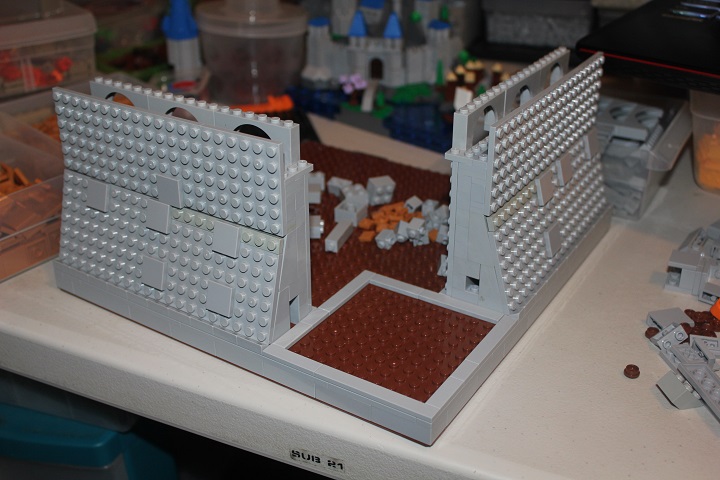
And to handle the corner seams I built studs up sections 5 plates tall that fit in with the tile pattern.
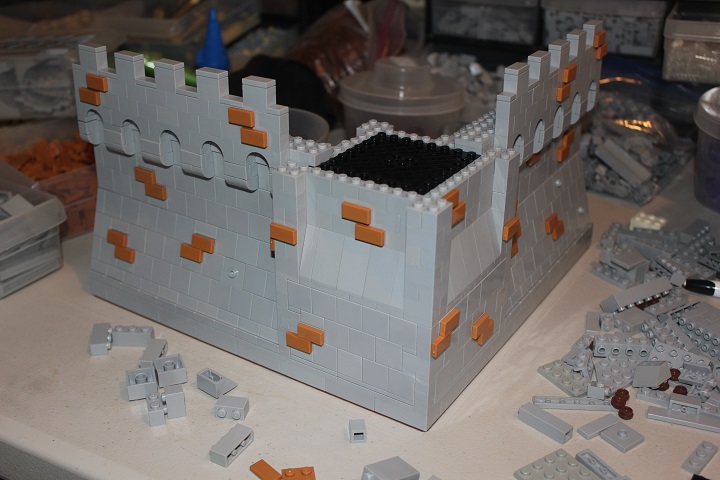
Taking advantage of the SNOT wall design, sideways 1×2 bows gave a clean curved edge corbel design. Keeping the tower walls flat the whole way up would have resulted in an incredibly boring building. So I used some tall slopes to transition the center portions of tower walls back a stud.
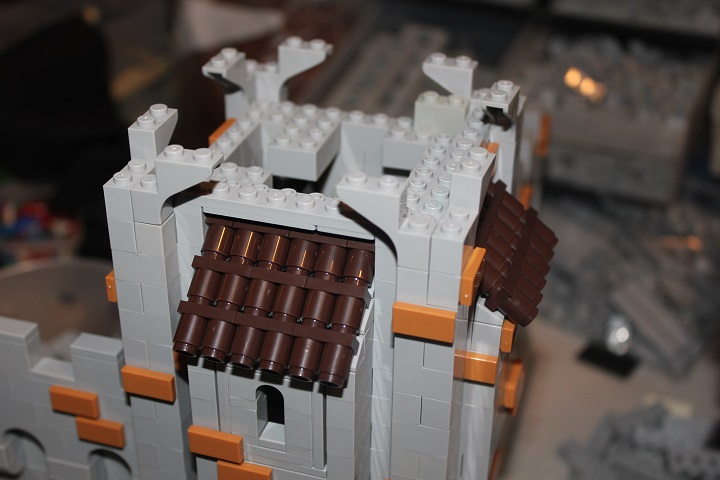
A pair of machicolations topped with dark brown roofs were also added to spice up the tower. Here you can see how those 1×1 round brick roofs were held in place.
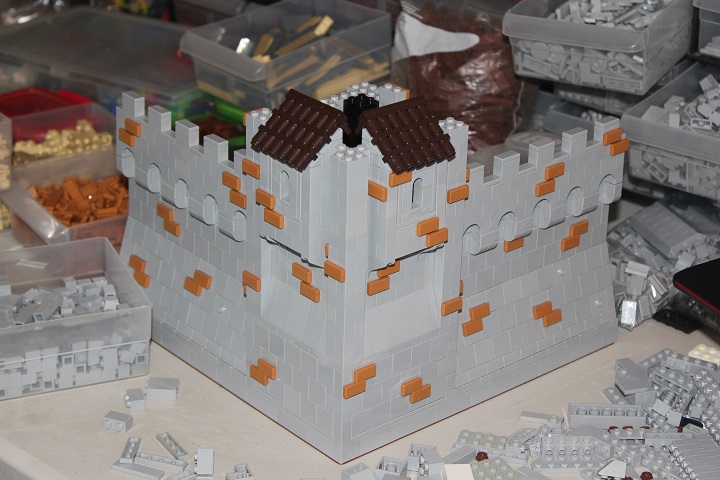
Then I built over the top of the roofs as closely as possible, using brackets to fill in a half plate gap.
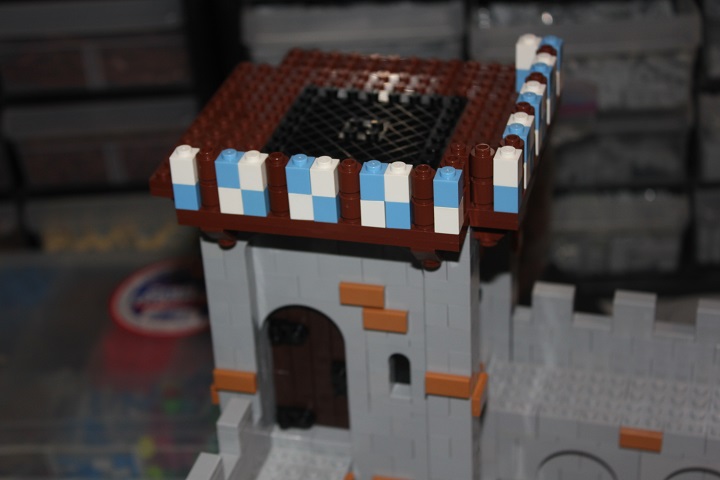
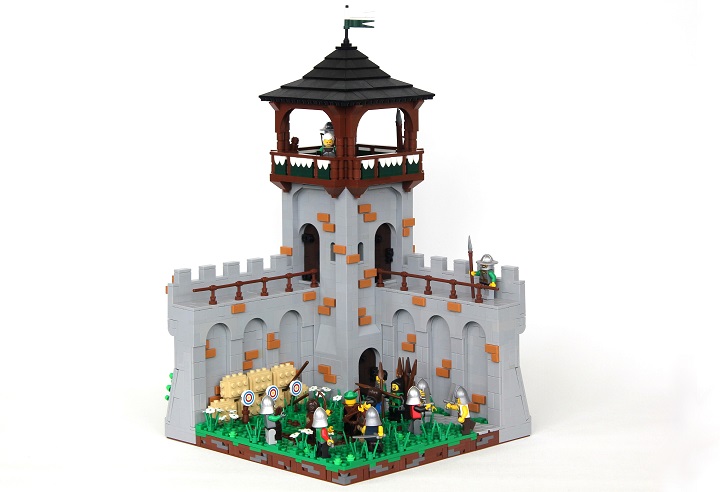
A wooden structure was added to the very top of the tower to break up all the stone.
And while my first thought was this checker board of medium blue and white, I didn’t think those colors worked well enough with the medium dark flesh and bley of the stone walls.
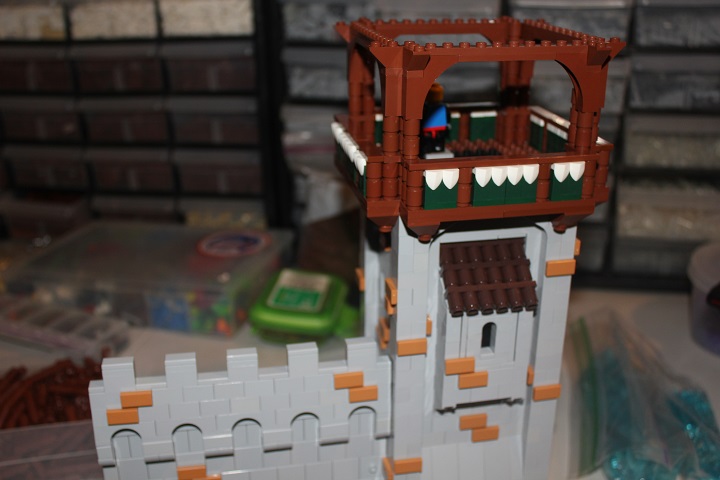
Leading me to switch to dark green with white.
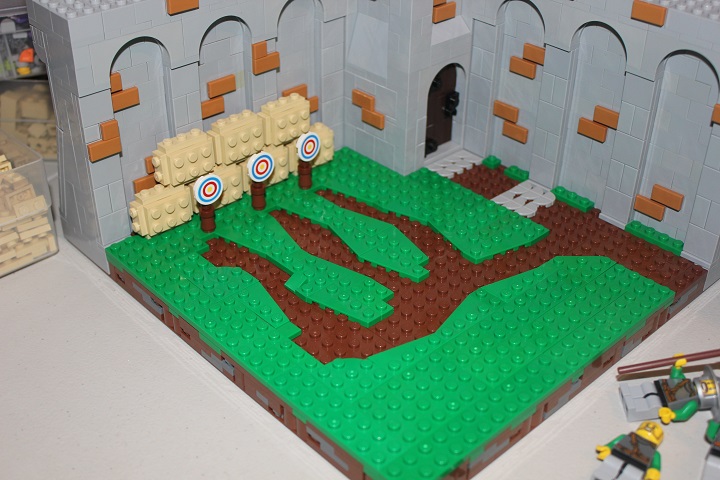
Moving back to the open training yard area inside the walls, I used wedge plates to outline irregular dirt paths worn down through the grass. The straight walkway leading to the door I was planning to tile with quarter circle tiles. You can see two pattern options here, though I ended up using a different pattern in the final scene.
After adding some grass stalks to the landscape, various figs, and a simple wood railing, the build was finished.
Let us know if you have any questions or comments about this build log, and check back often to catch all our tutorials, new MOCs, and build logs.


You two always seem to work at a consistent scale for your buildings and scenes that feels very natural compared to minfig size.
Would you ever considering doing a tutorial talking about some good rules of thumb for thinking about scale at the beginning of the design process?
Ie, Doors should be 5-6 bricks high, 3-4 bricks wide for single doors… One floor/story should be 8-9 bricks high etc…
I’ve been trying to analyse a lot of my favourite builders work in this regard, but it would be awesome to have a little cheat sheet to help define scale at the early stage of the design process 🙂
Thanks for the comment, Ross!
We would be happy to write a post about our basic scale principles 🙂