


This was a requested tutorial and covers not only the basic tower design, but also how to make the floor, arrow slits, and battlements.
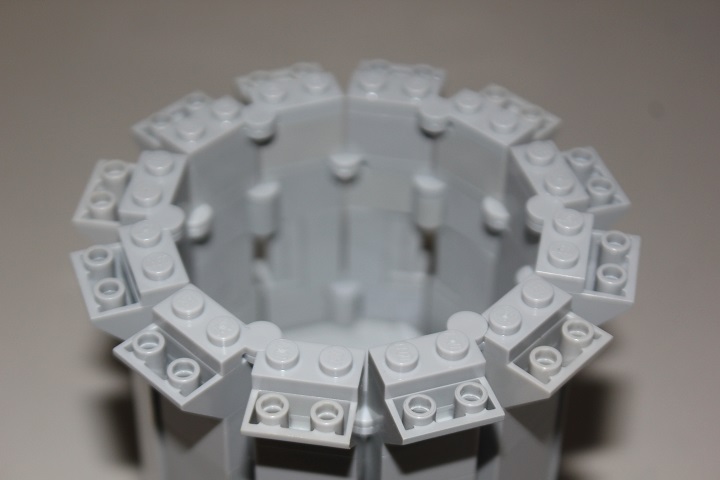
The main structure of the tower is made up of hinge plates and hinge bricks.
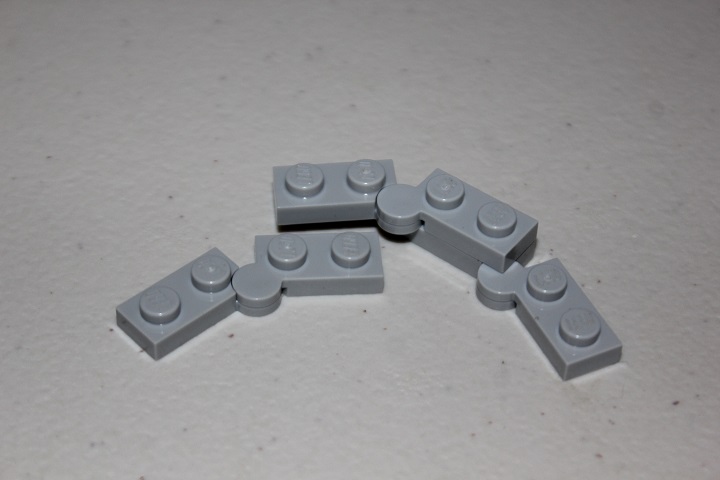
Two layers of six hinge plates make a connected circle.
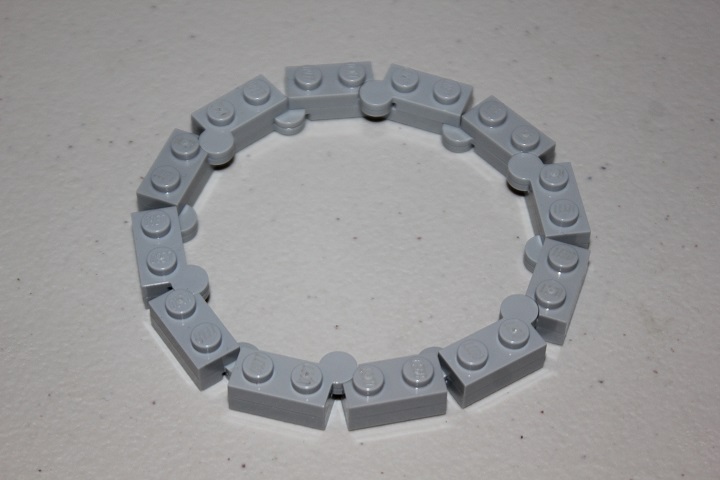
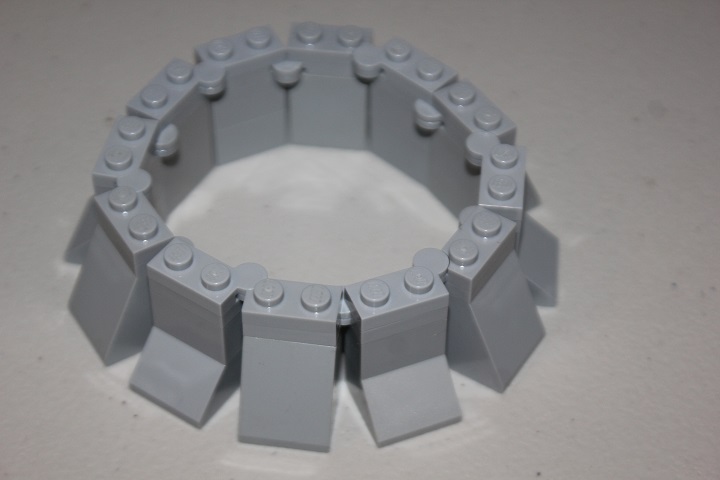
And adding some slopes below the hinges makes buttresses.
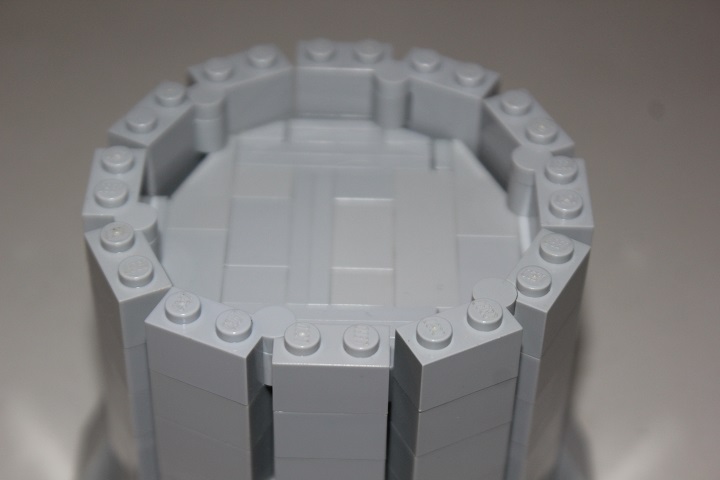
Next a layer of brick hinges is added, with a few 1×2 bricks next to the slots.
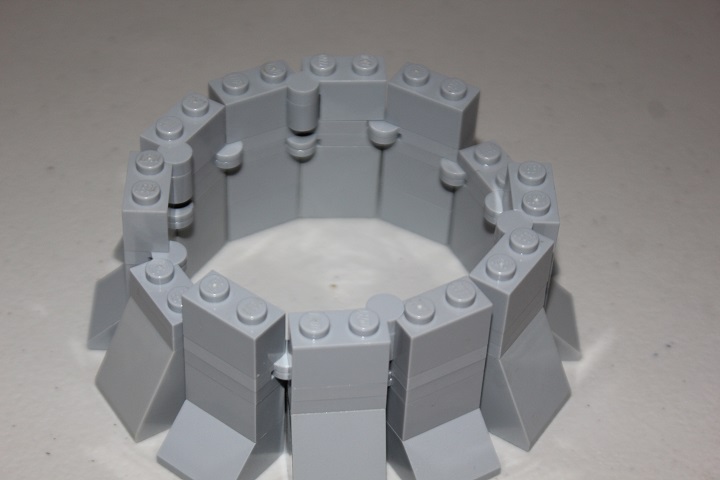
Then a layer of plates is added to each 1×2 segment, except for the lower slots. Those 2×2 plates will be used to attach a cross brace.
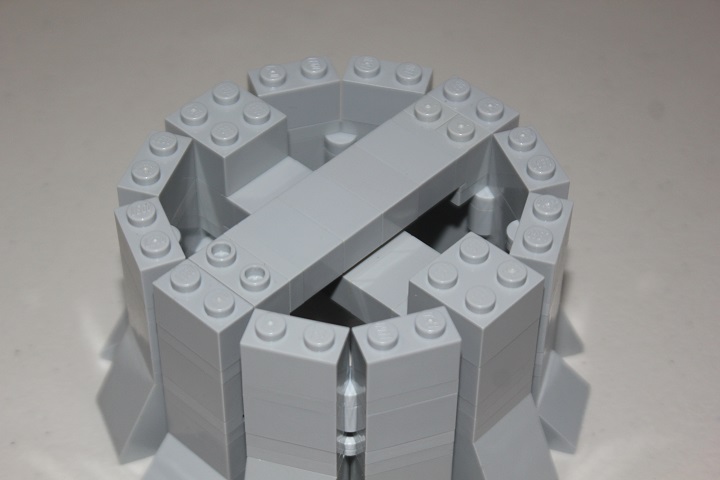
A common issue with towers like this is getting them to maintain a proper circular shape, as without reinforcement the walls can easily shift into more of an oval. This assembly makes a solid cross brace for this diameter tower.
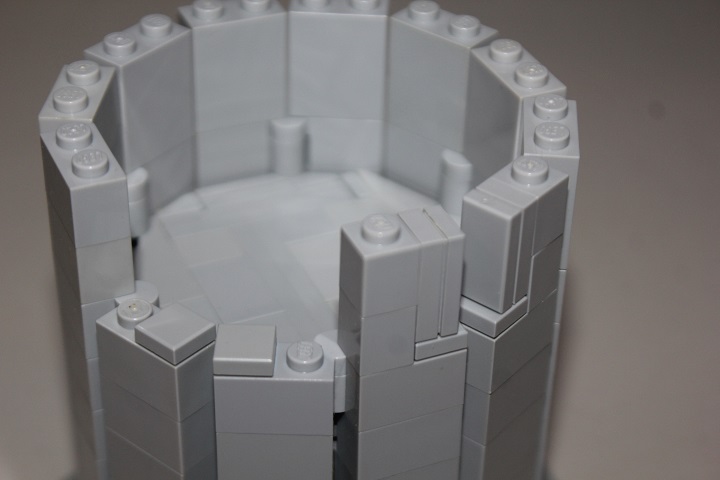
The above assembly is placed in the slots.

While a second identical cross brace assembly running opposite the first makes sure the tower keeps its shape. The 2×2 bricks lock the first brace solidly into place.
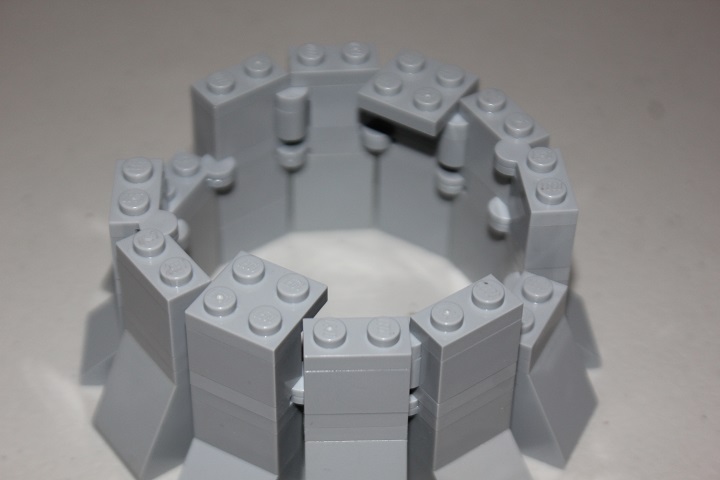
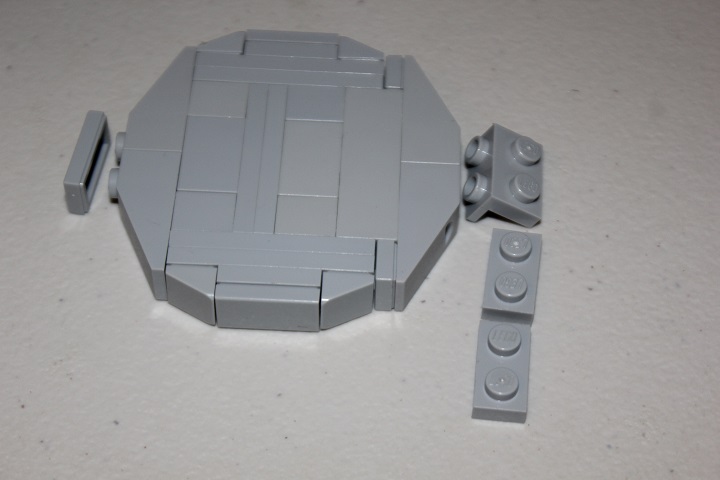
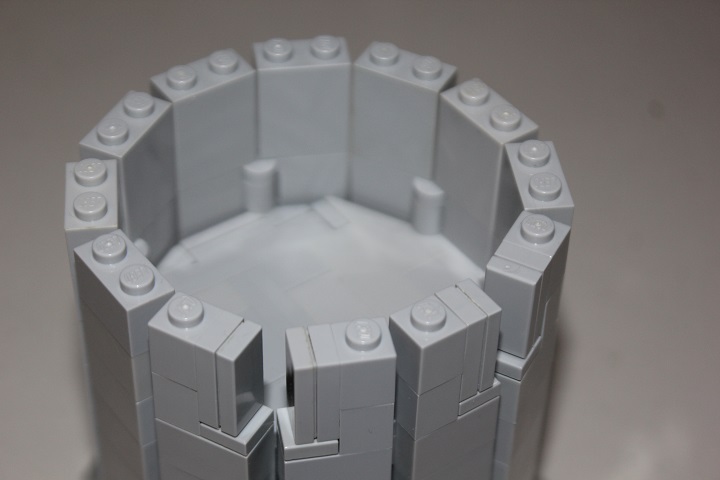
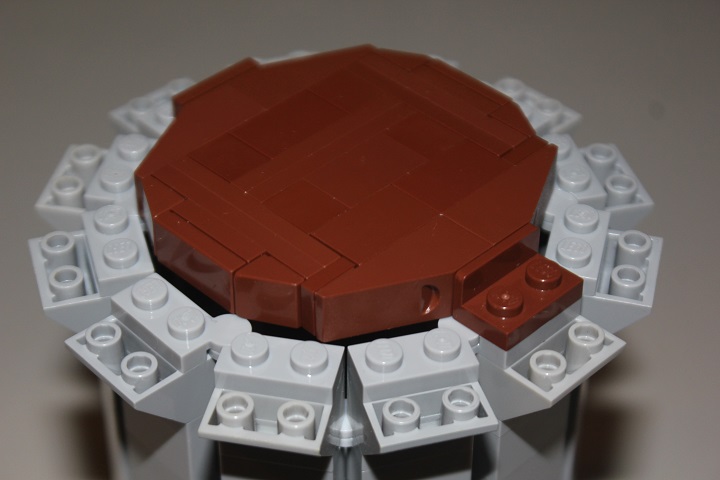
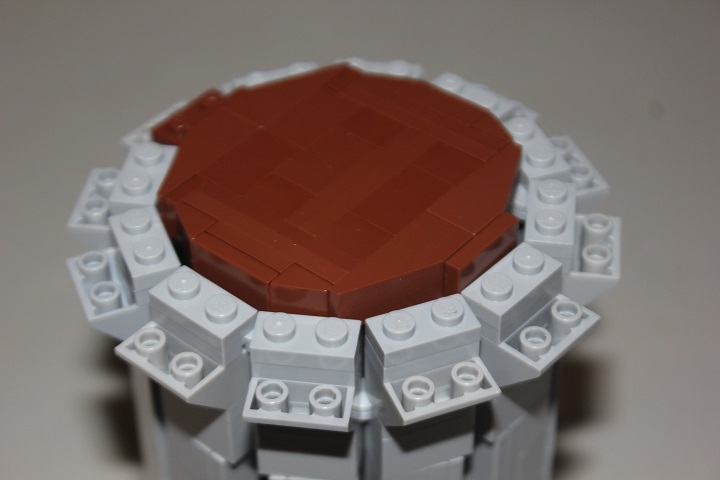
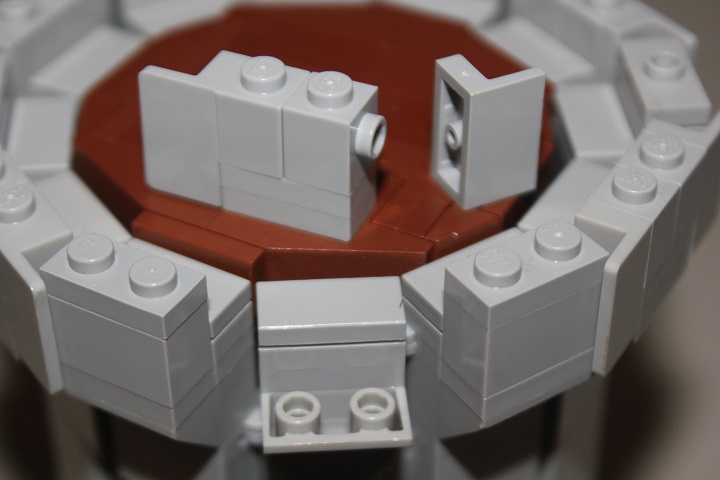
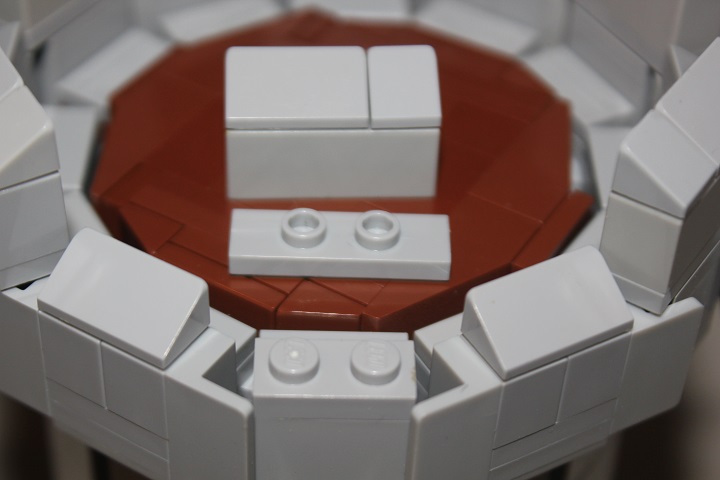
And here is the floor assembly. The 1×2 plates go under the bracket to make it one brick tall. There is a more detailed look at the floor assembly later in the tutorial.
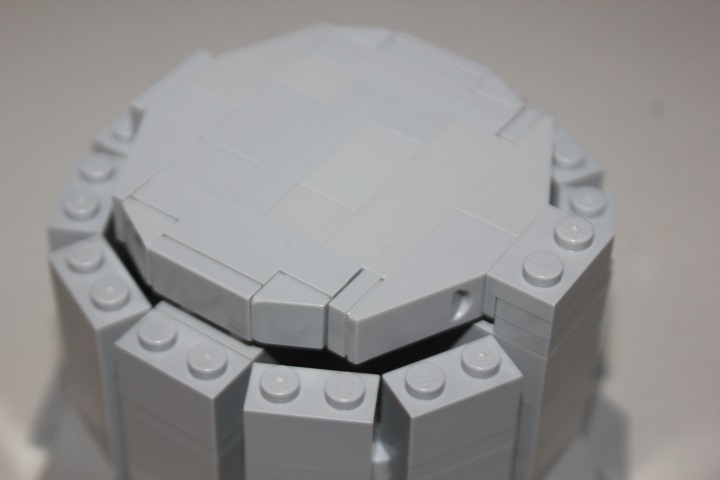
The floor sits in place like this, and rests securely on the studs of the upper cross brace and 2×2 bricks.
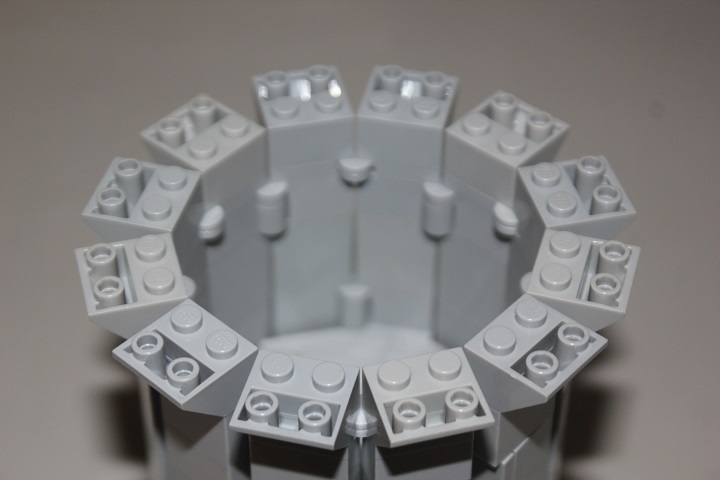
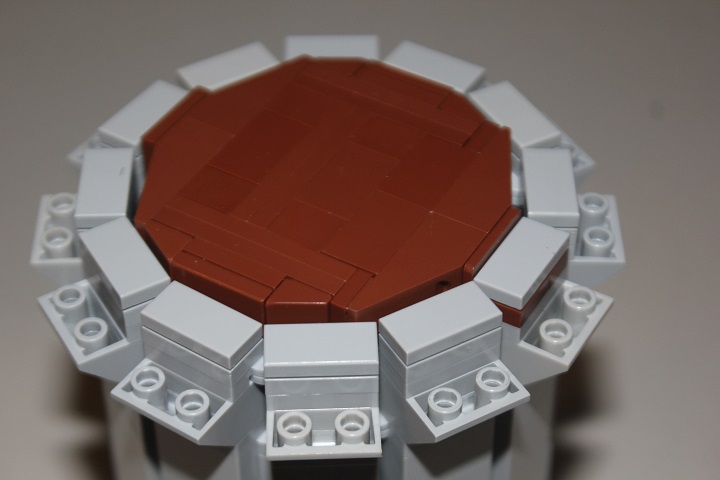
Next more 1×2 bricks are added.
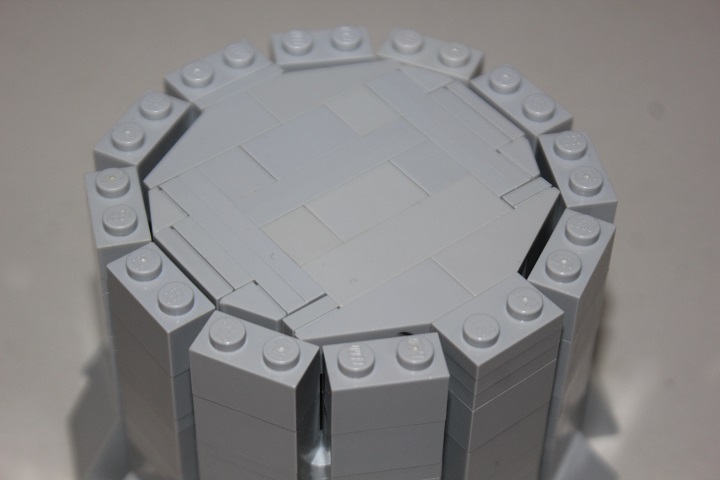
And another layer of hinge bricks.
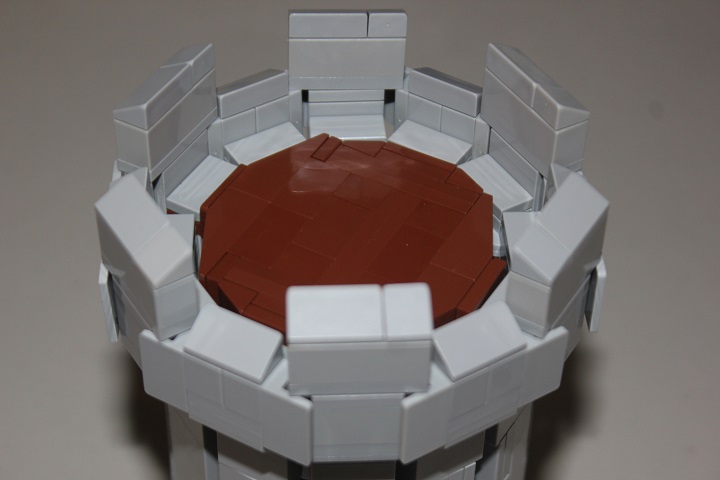
Now we can add some arrow slits.
Which use brick modified with stud, 1×2 plates, and 1×2 tiles.

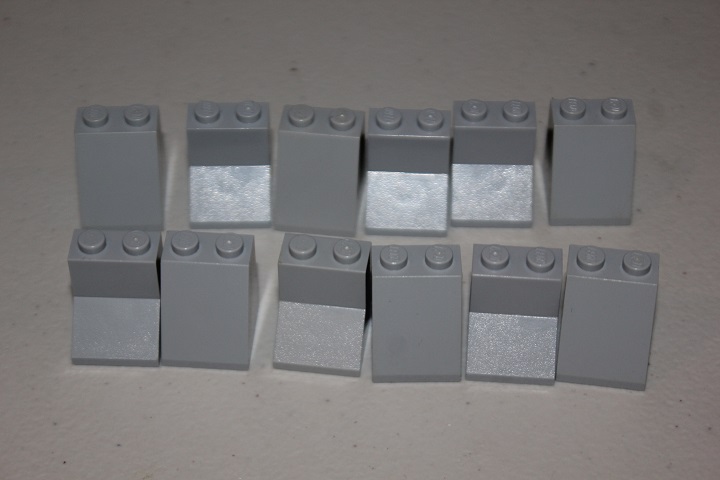
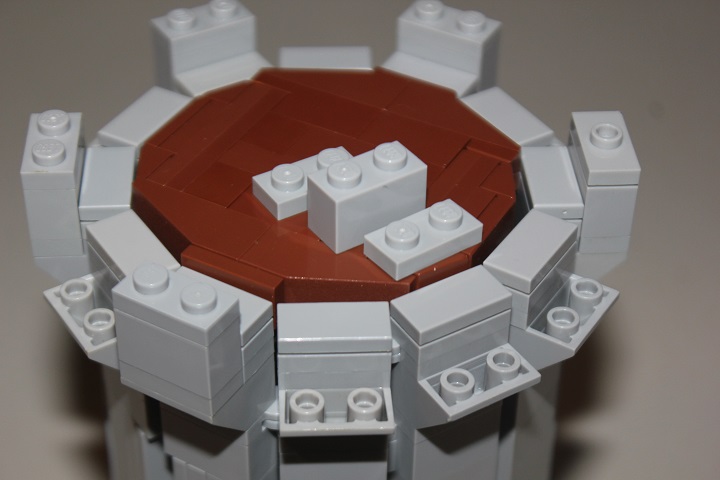
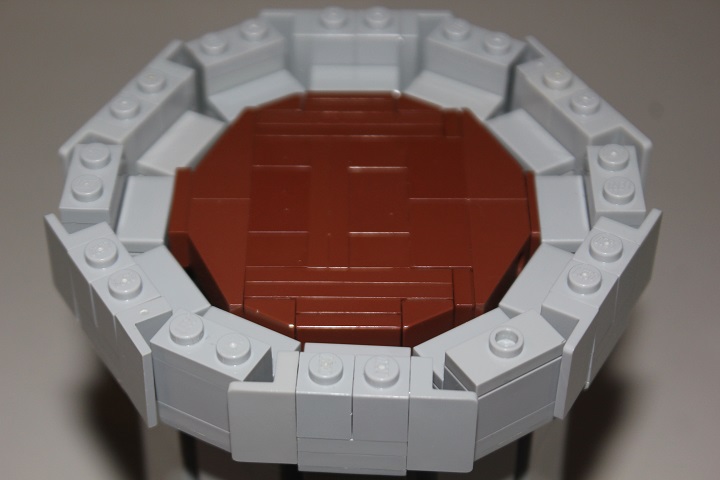
The regular walls have more 1×2 bricks added to get them to matching height.
After which more hinge bricks lock everything together.

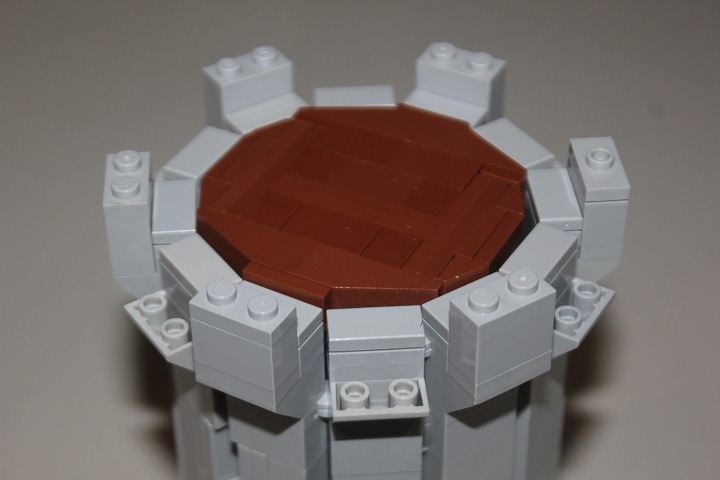
Topped by hinge plates.

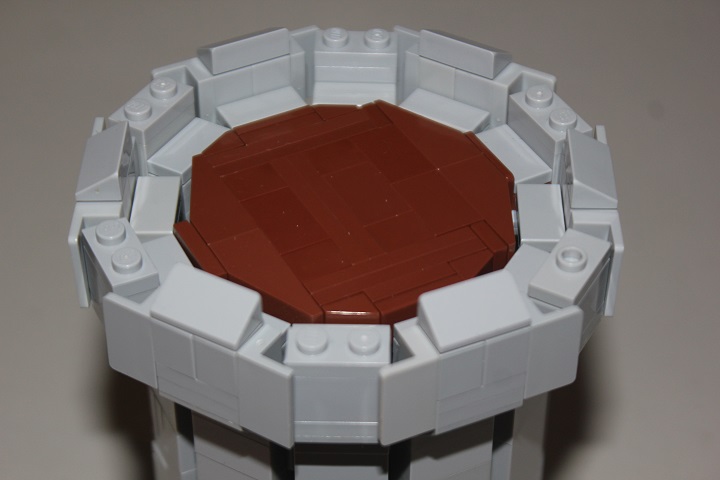
Inverted slopes work well below the battlements.
And to keep things nice and sturdy one final layer of hinge plates is attached.
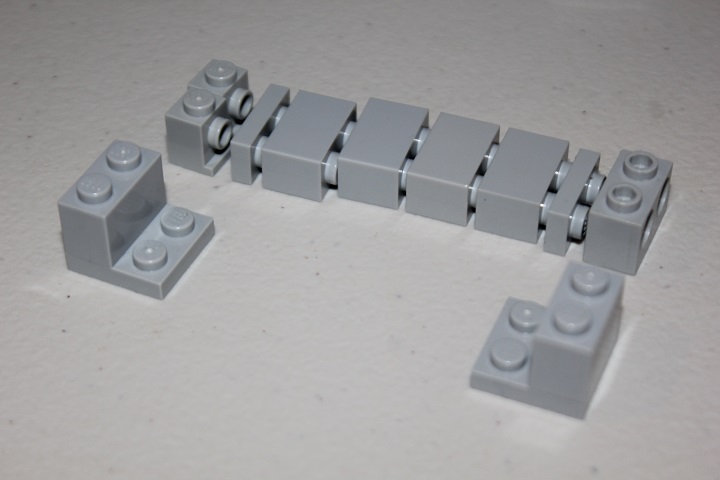
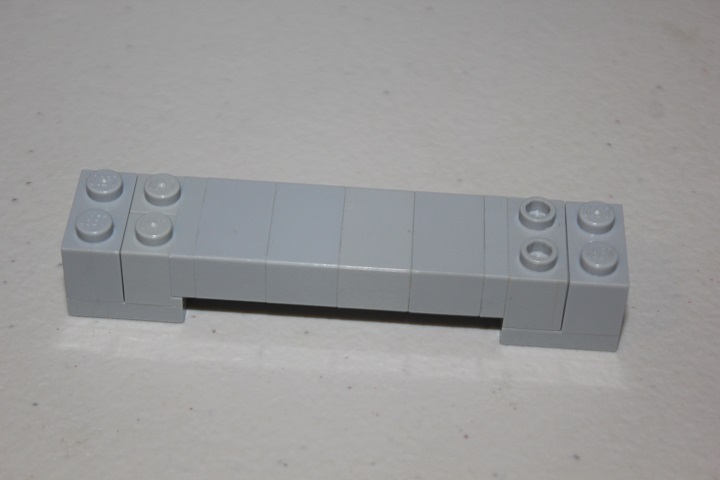
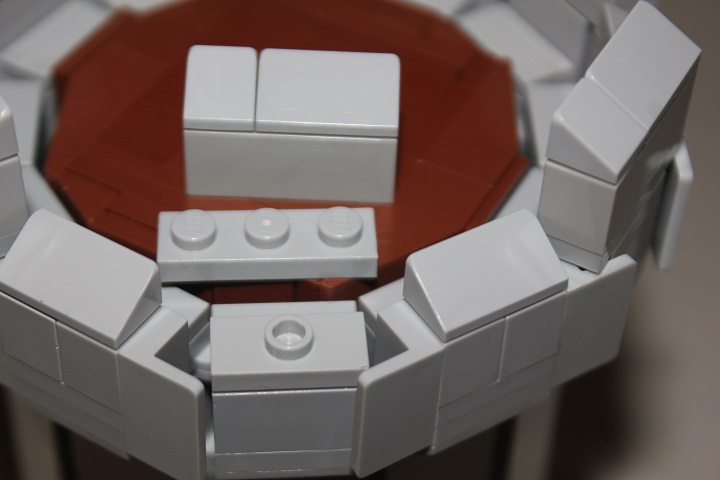
This floor is identical to the first one shown, but built in reddish brown.
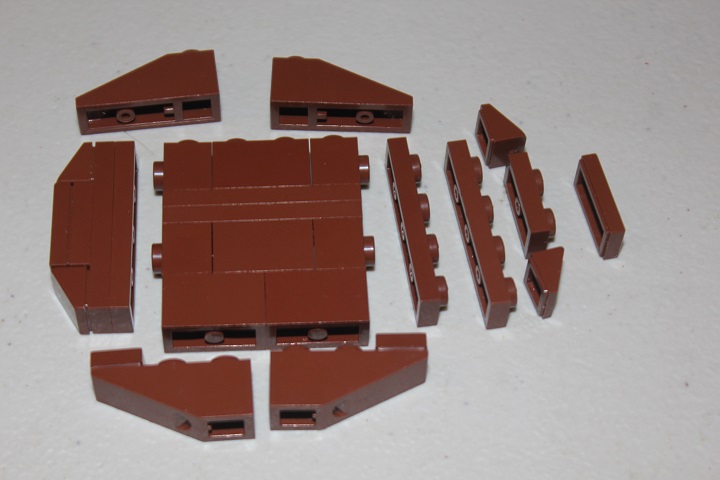
And using the opposite direction of 1×2 bracket.
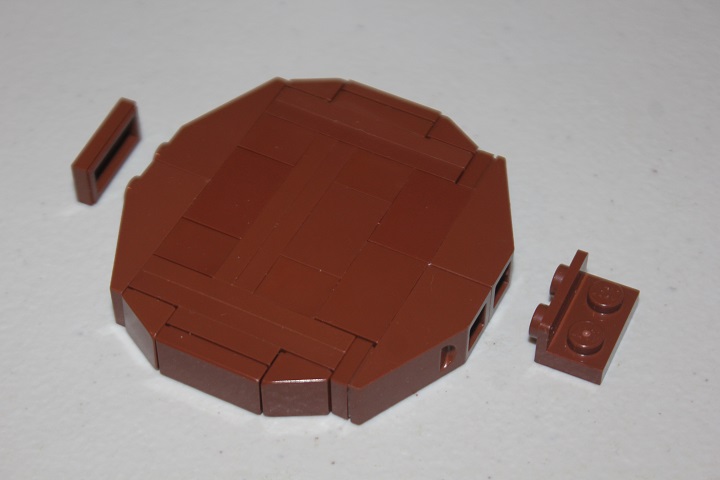
The round nubs of the hinge plates support the floor’s edges.
Add some 1×2 plates in bley around the outside.
And 1×2 tiles.
Every other inverted slope gets an assembly made of 1×2 plates and 1×2 bricks.
Then this group of parts fills the gaps.
1×2 cheese slopes go on top of the 1×1 brick with stud.
If you don’t have 1×3 jumper plates, you can use a 1×2 jumper plate like shown here to attach the three stud wide battlements.
1×3 jumper plates make for a sturdier connection though, as they can be placed over the 1×2 plate and still give a half stud offset.
Which completes the tower.
Of course you would normally make the tower a bit taller, but the same designs can be repeated easily for additional floors.

Enjoy, and we’ll explain more round tower designs in the future!


Thanks for doing the tutorial. This will really help with my castle project. I do not think I have enough parts on hand or in my order, but I should be able to complete the first floor which is the most important because it will act as a guide for the rest. Currently I only have a rough base of the first floor of the main hall which will include an armory, a kitchen, and the dining area. Actually, on second thoughts I won’t need as many parts because the tower will be built into the building for the first two floors and third floor will be a complete circle.
You’re welcome! Sounds like an impressive layout.
If you want I can e-mail WIP photos to you and once I finish the castle, photos of that as well.
That would be great! We always enjoy seeing what fellow builders are creating.
Thanks for the tower structure ideas. I’ll share my tower design in my Flickr gallery in a few weeks (it’s here https://www.flickr.com/photos/harrisavolainen/albums). You’ll spot your influence if you happen to stumble across. 🙂
Cheers,
Harri