


Buckle in for a detailed walk through the design and build process of my Holt Watermill creation.
It was my first build of 2020, and will almost certainly be my largest as it was finished shortly before I moved to Billund. The build was primarily inspired by this 3d model I found online. It had been some time since I made a hinged building with full interior so I was excited to do so again.
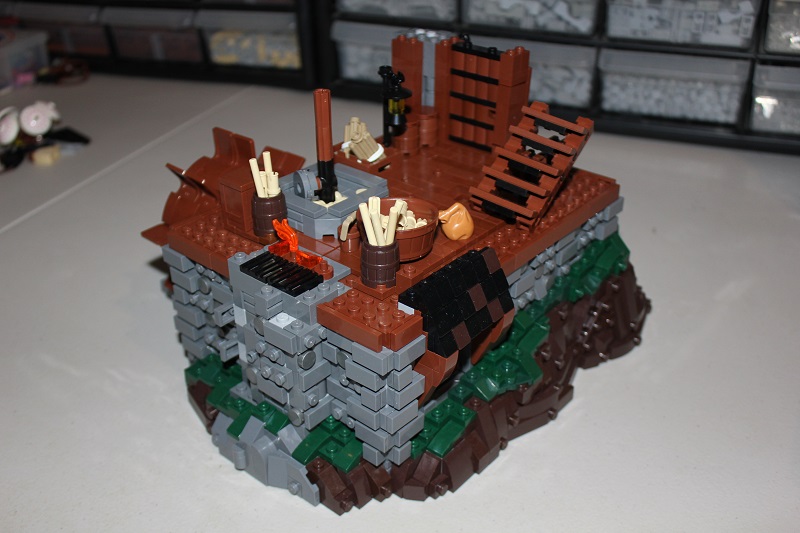
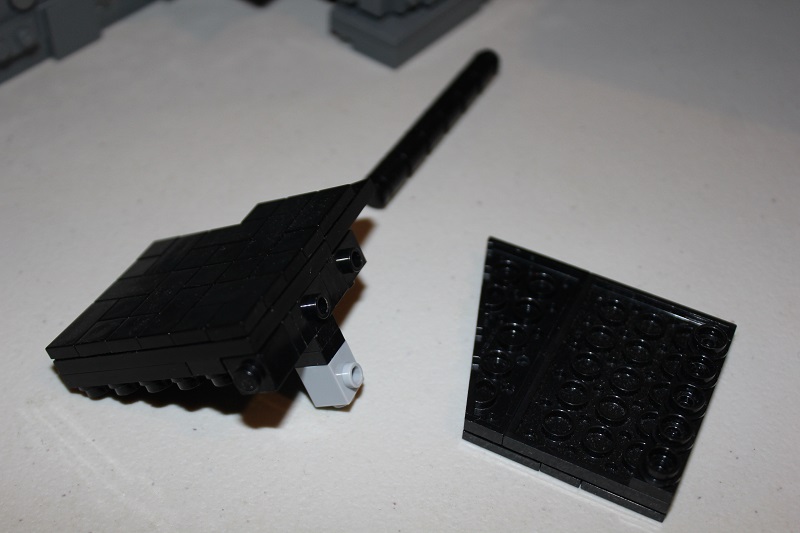
A plate base let me establish the mill size, and hinge placement. The water wheel itself was the first thing to be finished, and I found chairs to be a great fit for its paddles. The small stone column let me quickly trial what style of wall texture I wanted – though from the start I thought my typical skyrim walls would work well.
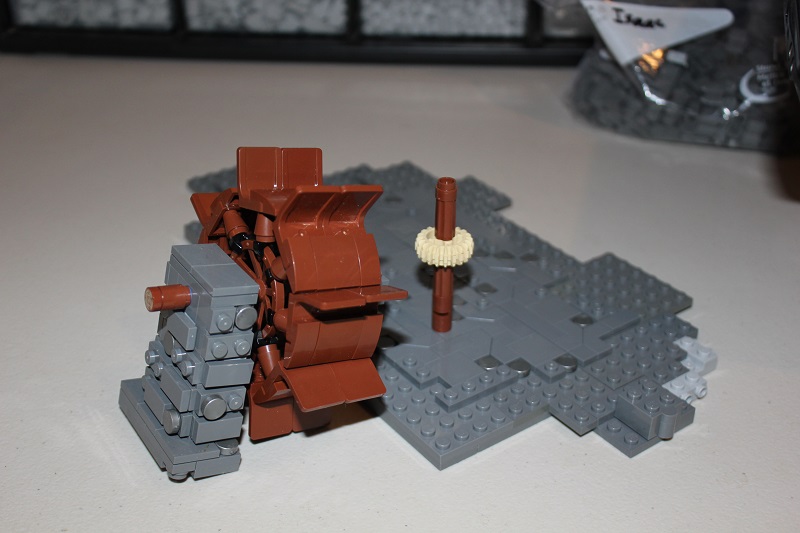
A working mill was the initial plan, but using wagon wheels for the waterwheel core didn’t allow for such things as there was no way to have the wheel’s motion be transferred. So this time it only looked functional.
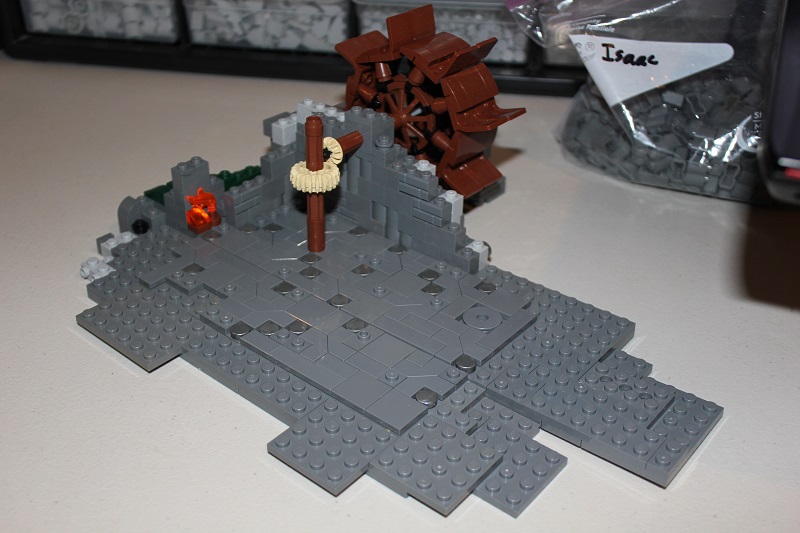
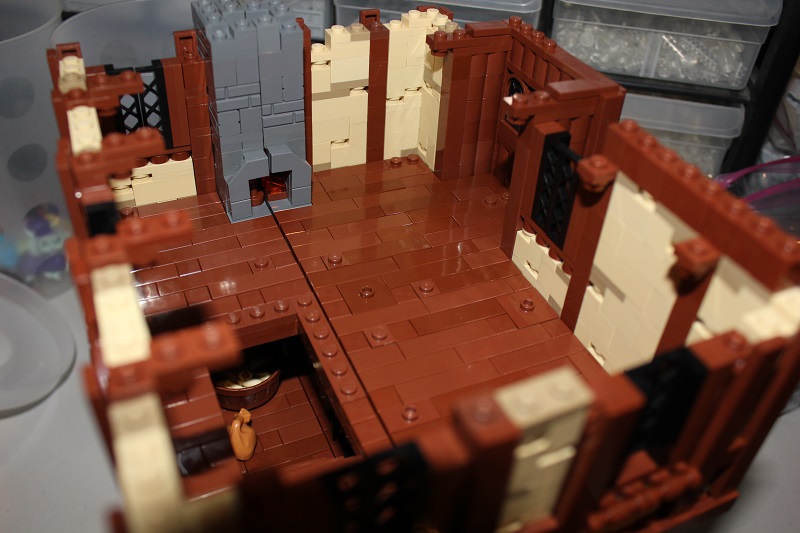
For the stone floor in the cellar I tried mixing in some wedge tiles to give a few non-square joints between ‘stones’, though it didn’t end up being very visible.
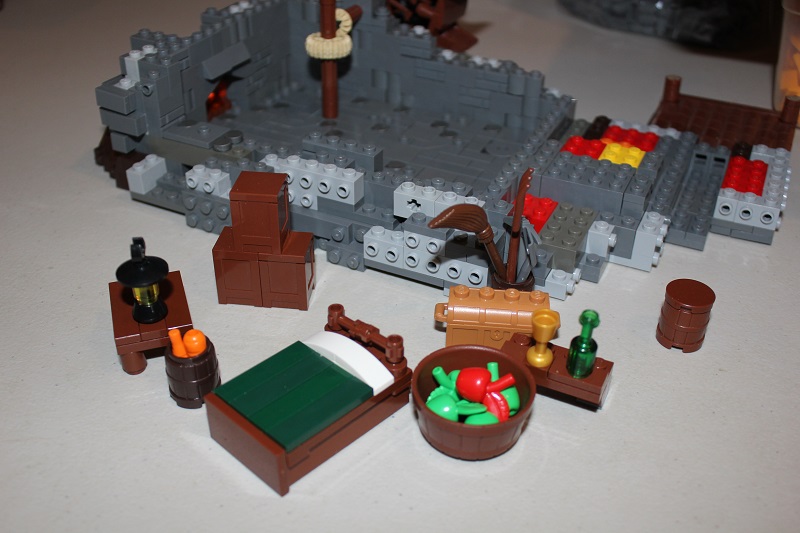
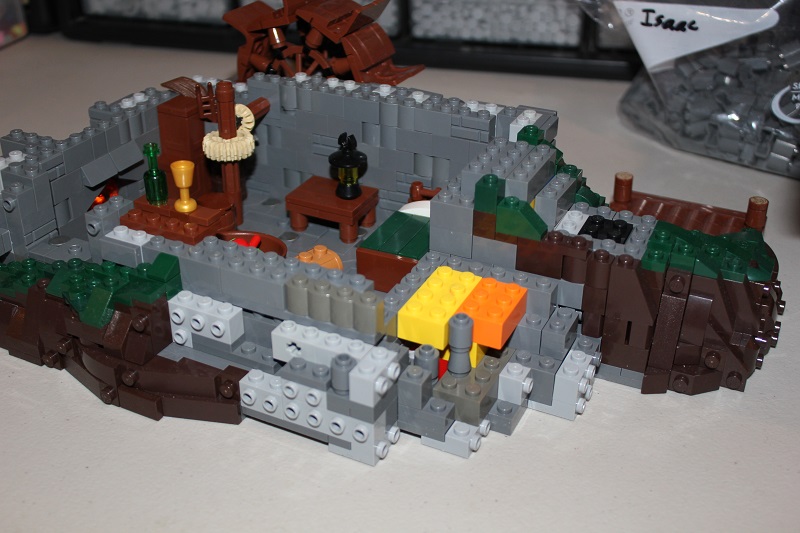
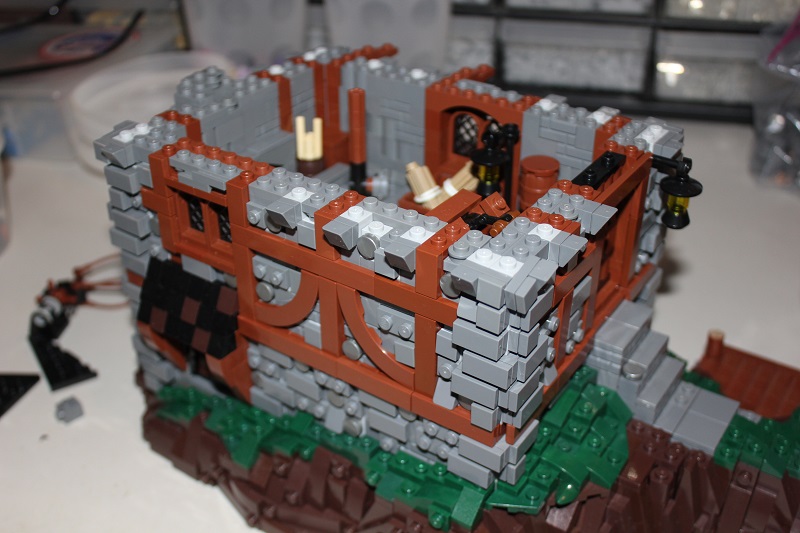
For a while now my standard practice when furnishing interiors is to just make a bunch of furniture and other details that seem appropriate, then incorporate as many as fit. The exposed SNOT studs around the outer edges here would be used later to attach the landscape.
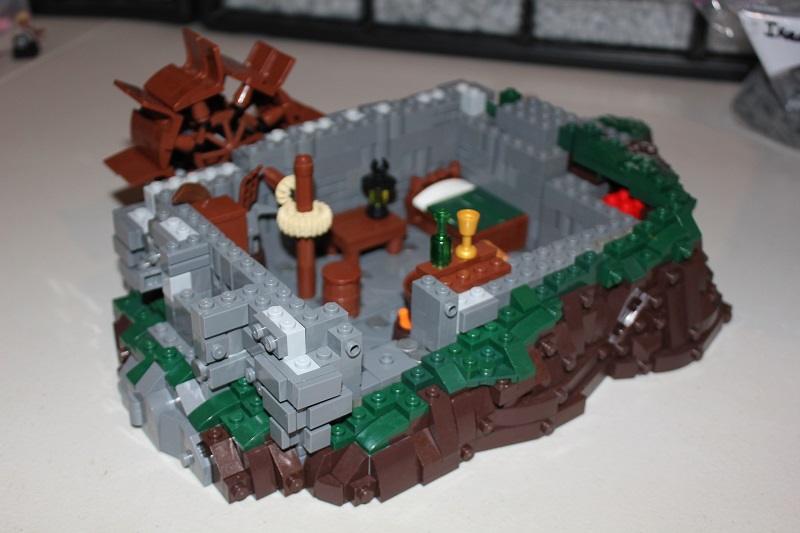
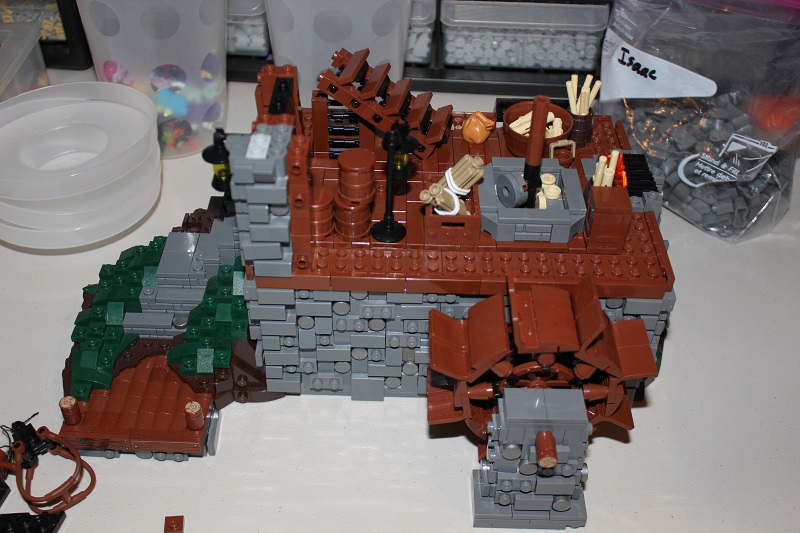
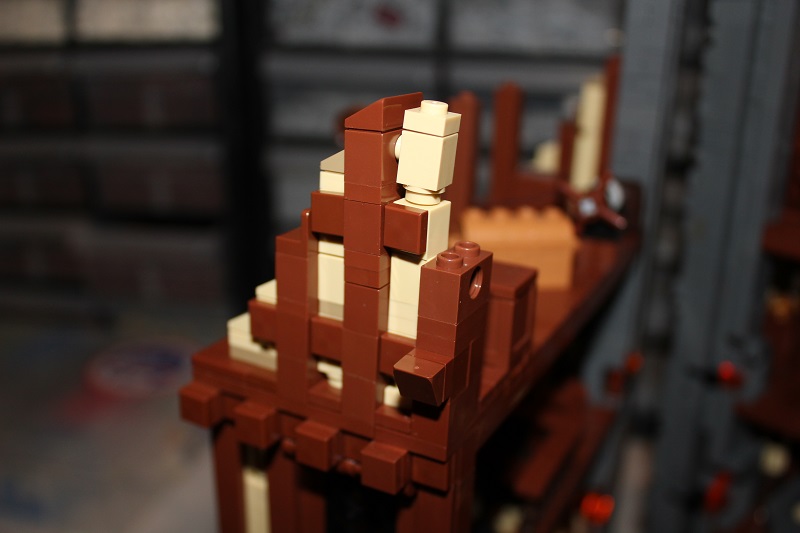
Which you can see begun here. I did modify my skyrim wall style by using this corner block design which ended up being one of my favorite details.
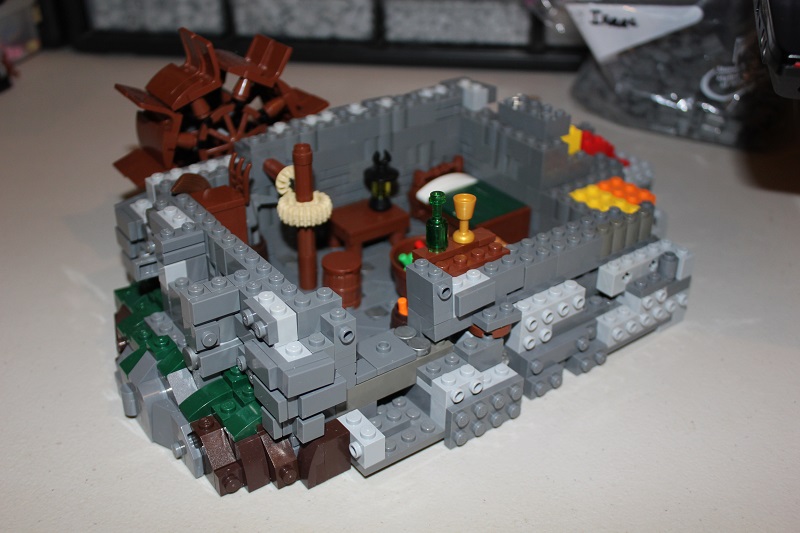
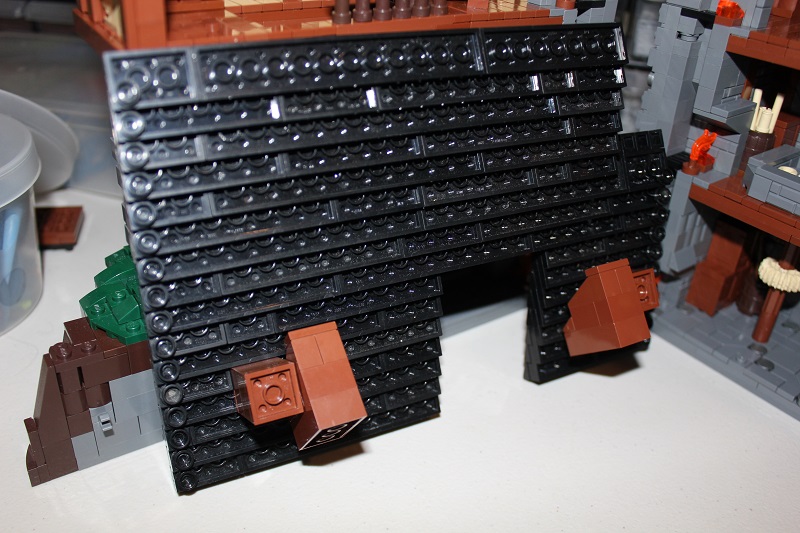
The landscape was exclusively dark brown and dark green, besides a boulder that I used to hide the hinge in (visible in picture above). This base style is actually quite easy to build once you get used to how it works. Similar to rockwork it’s often just a matter of trying out various slopes until you get a nice natural look.
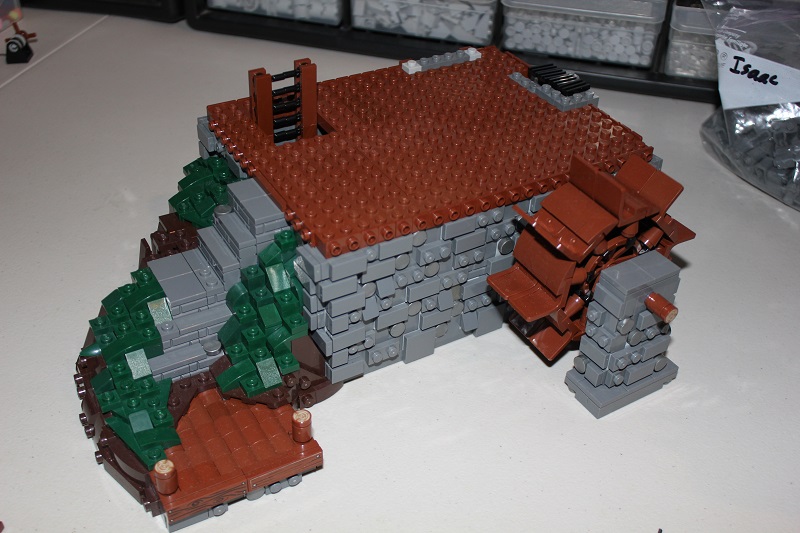
Finished landscape in place. An interesting design note is how the landscape wraps around the building – on the water wheel side there is no ground visible as the river runs right by the mill. But around the other sides is a hill sloping up to the main entrance. While quite a bit more work, this allowed me to have a proper basement level, and I think added a lot to the final look of the scene.
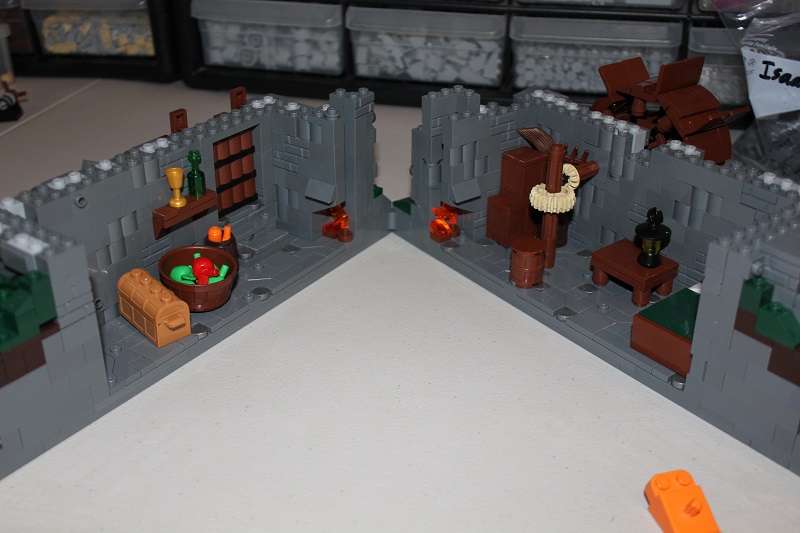
Besides having a full interior I wanted to make sure the mill was interesting to look at from every angle. So none of the sides are plain flat walls. Each has some sort of addition, doorway, chimney, or so on to add visual interest.
Inside the basement is living quarters for the miller’s hired help, along with lots of storage and the water wheel/mill drive shafts. Note the lantern on the table – you can find the same lantern in every single floor of the mill!
The ladder uses lots of 1×1 round plate with handle for the rungs. And while the entire basement level is stone, at the first floor I transitioned to timber supports mixed in with stone. Brackets around the bottom gave a little more depth to the horizontal beams.
Here you can also see the stairs winding down to a dock on the river with a path leading off in both directions from the landing.
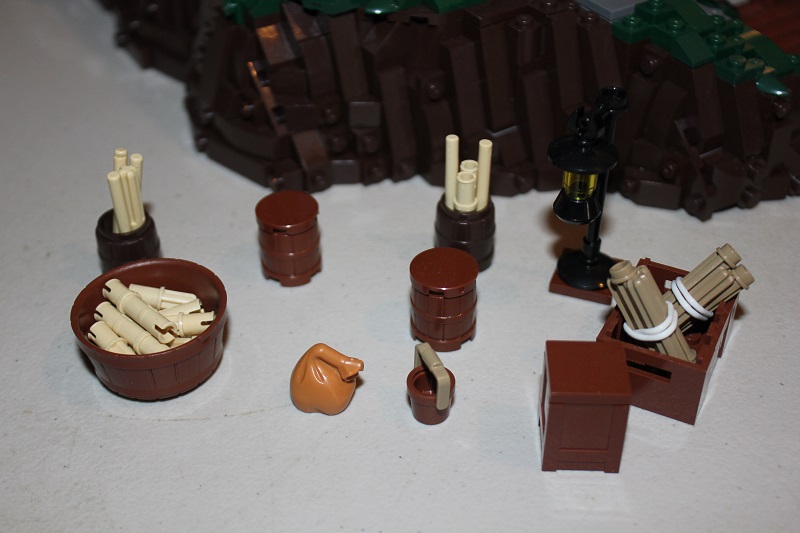
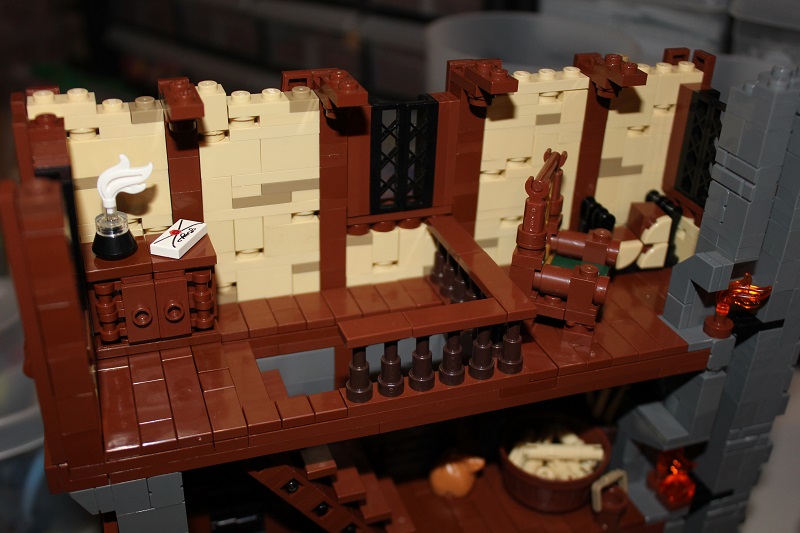
For the actual mill level I needed plenty of wheat sheaves ready for threshing, along with barrels, bags, and crates of fresh ground flour.
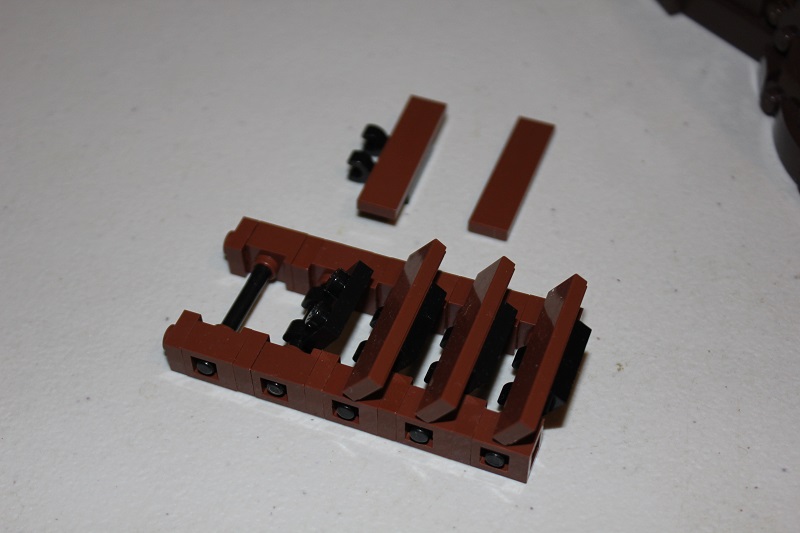
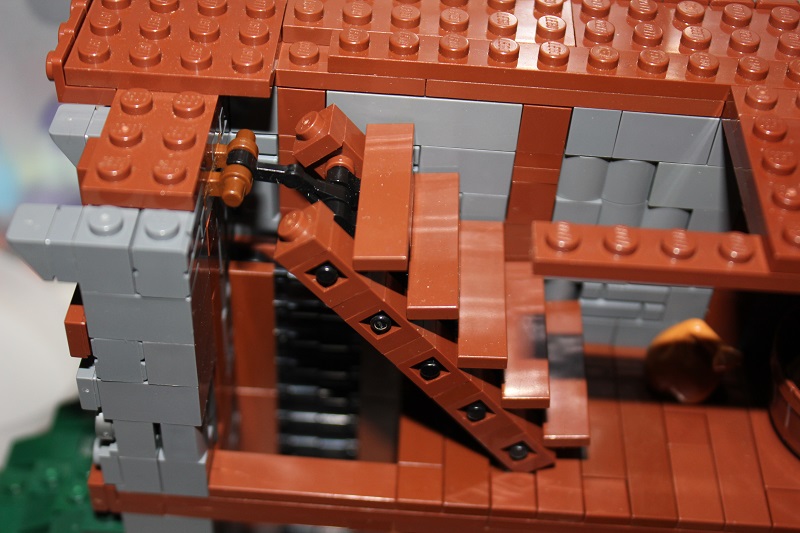
In my opinion these stairs are by far the coolest technique in the build. I wasn’t even building when I thought of the idea, and was super pleased with how it all fits together. A detailed tutorial with some slight improvements on the design will be coming at some point.
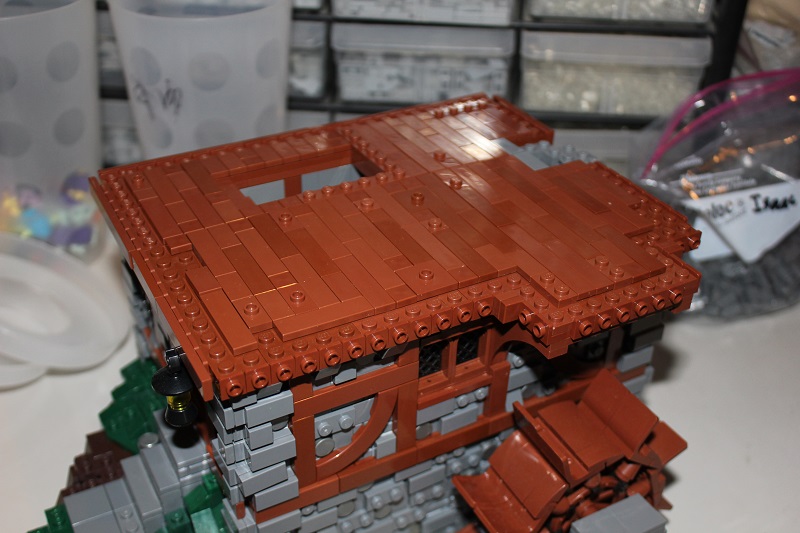
Various 1×1 round elements in tan represent ground wheat around the grind stone. And I was able to incorporate a small cheese slope roof over the basement door.
The same stone block pattern at the corners continued here. And there’s a both lantern inside and outside by the front door on this level.
Ever since we got the large macaroni tiles in RB I’ve been wanting to use them for wood beams like this.
A droid arm held the stairs in place.
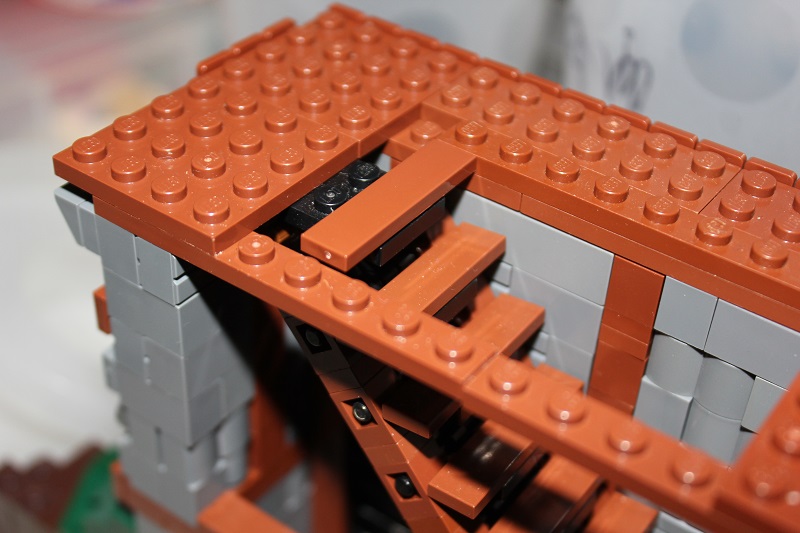
And the top most stair uses regular studs up building. Was somewhat shocked at how easy and clean the transition from angled stairway to studs up floor ended up being.
One of the coolest building sections was the addition leaning out over the water wheel. Supported by some large half arches. The first tudor level is a bit larger than the stone foundations, as was often the case with medieval buildings.
Tan and dark tan are used a lot in medieval buildings, but it tied in well with the other dark neutral tones of the model.
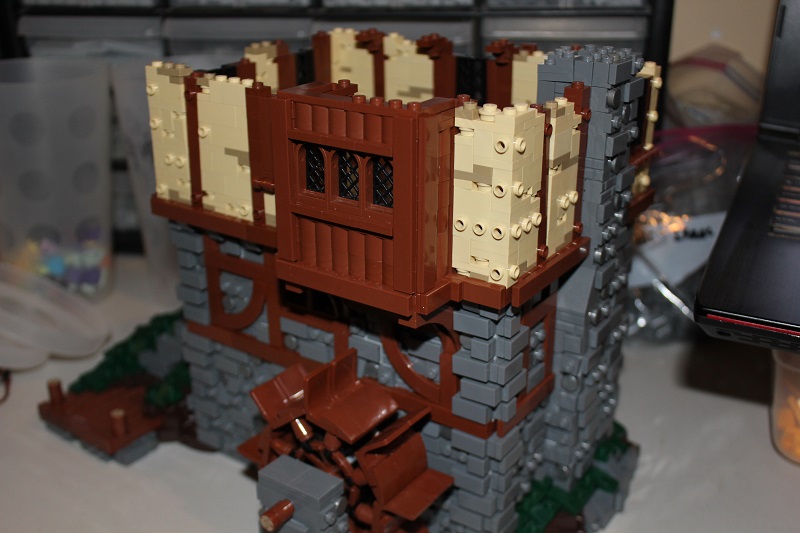
Every floor but the attic had a fireplace, though the size and style varied depending on the level. I tried a bunch of different window options here, before settling on these sideways lattices.
The tudor walls are just one stud thick as opposed to the two stud stone walls. So I used some simple plate supports at the wall top to better support the next floor.
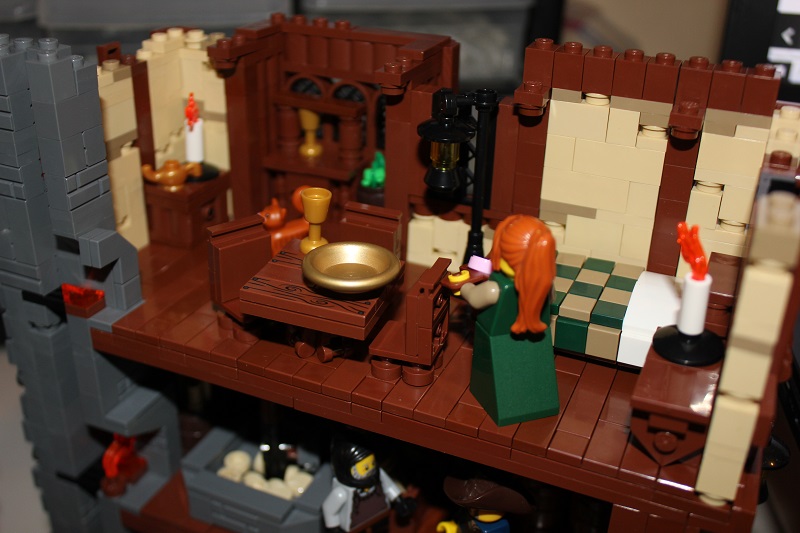
More furniture! Came up with some new designs here that I really like, should have breakdowns available eventually. Animals are another way to add some fun detail and color, so the miller’s wife has a pet cat.
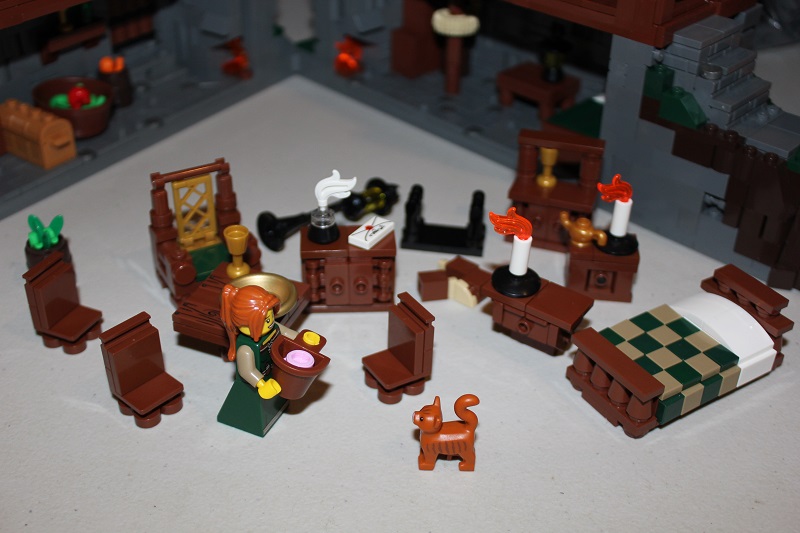
This is my favorite inkwell design yet, and I also liked how the fire wood logs look in the opposite corner.
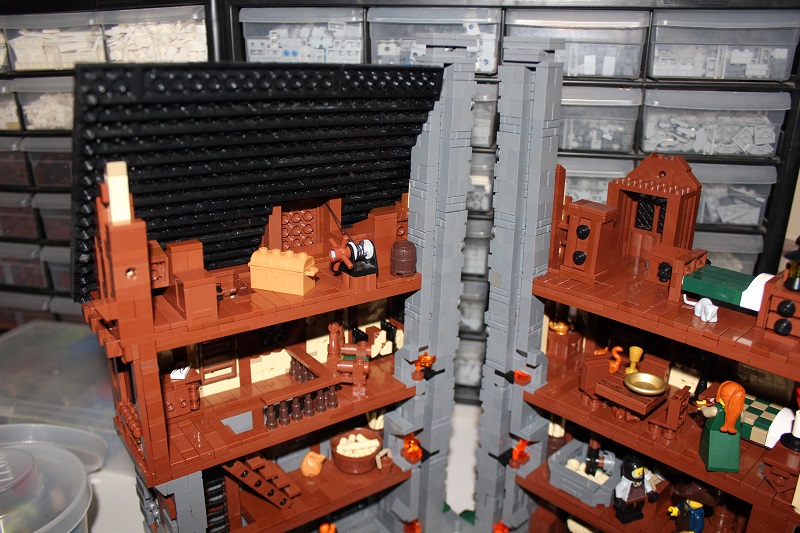
The miller and his wife have the most comfortable living area with a full floor to themselves.
Three floors nearly complete, but still more to do on the mill!

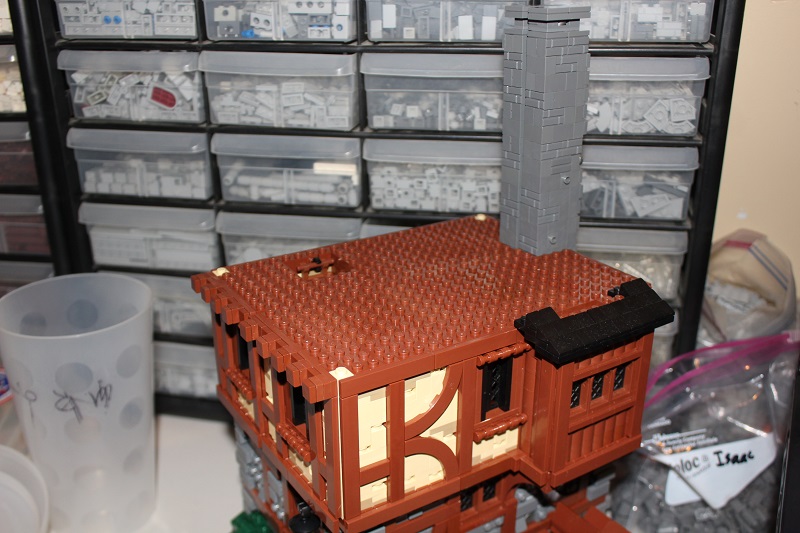
Attic floor in place, and lots of brick modified with stud ready to attach beams.
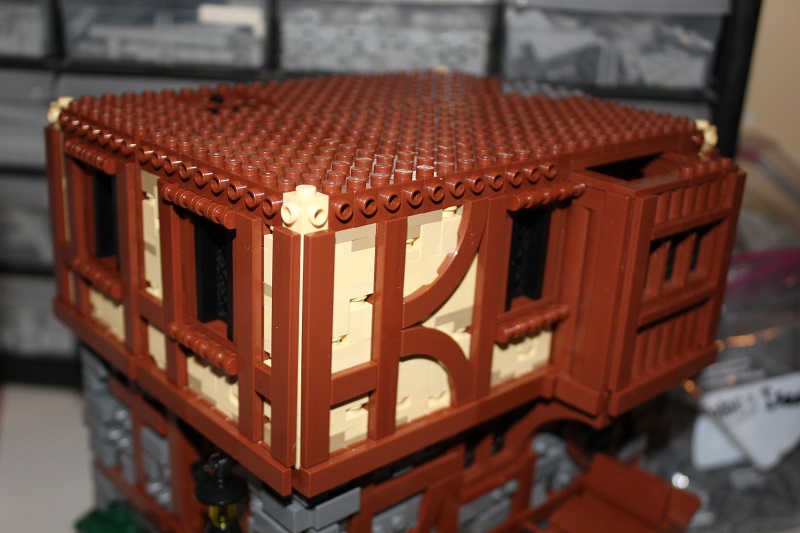
I built the chimney first, so I could make sure the roof fit smoothly around it. Once again this floor is slightly larger than the level below, though this time only getting longer and not wider.
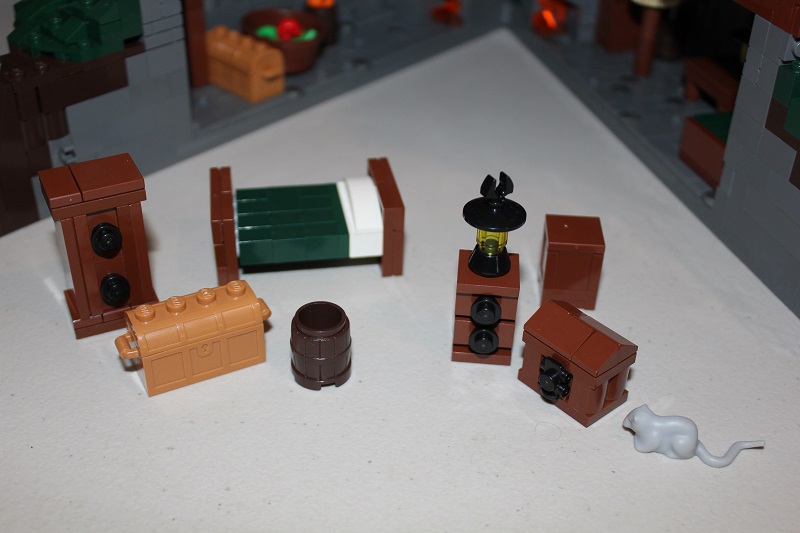
The miller’s son has his room in the attic. Along with some more general mill storage.
For the sections of tudor below the roof line, I used a mix of half stud offset and SNOT wood framing. The one stud wide sections were prone to break easily until I used some brick with stud in combination with 1×2 technic bricks to lock the different portions together.
The very steep roof line was held in place by these assemblies. It’s a simple connection using technic bricks and technic pins as I needed something more sturdy than just hinge bricks for a roof of this size.
A crane extending out of the attic allows them to take goods up and down much easier than trying to carry them up all the stairs and ladders. All the grain seems to have attracted a rat as well!
Both sides of the roof had to have slots to accommodate additions, while one last window on the front was given extra fancy treatment.
This smaller peaked roof section was needed to over the addition on this side, while the back side had a simple shed style roof over the crane door.
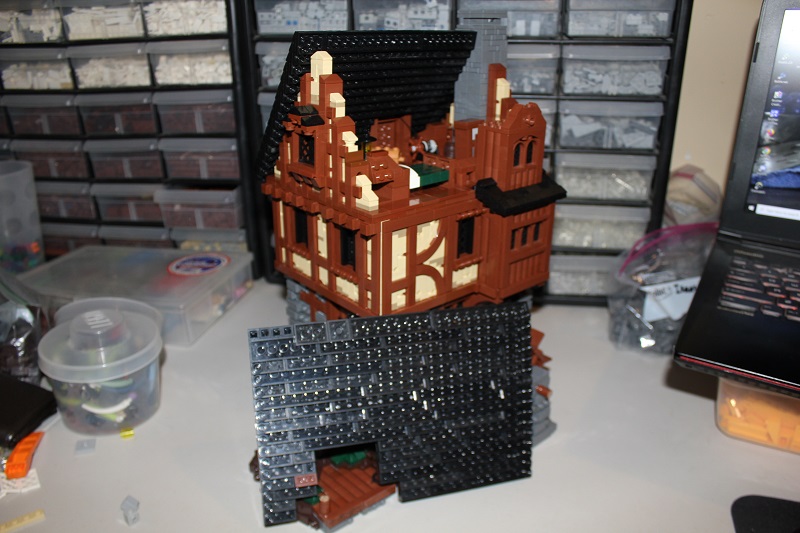
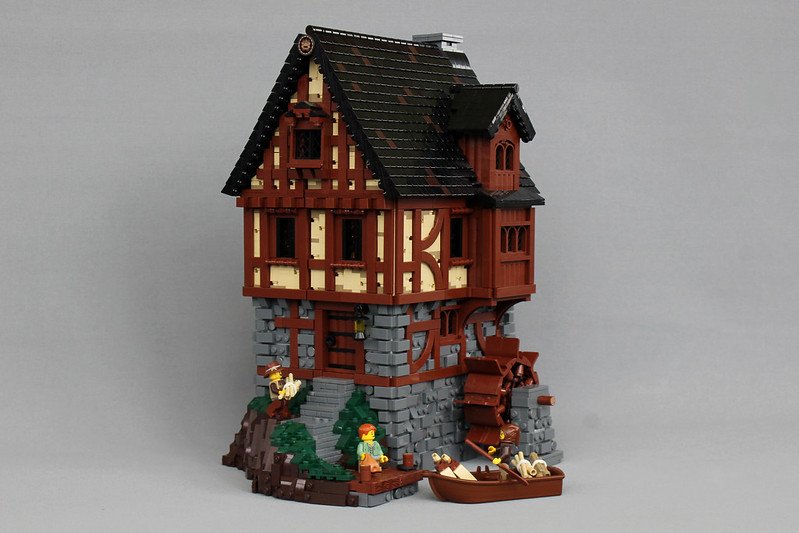
Ended up being quite a large model! Still needed some more activity work and details outside.

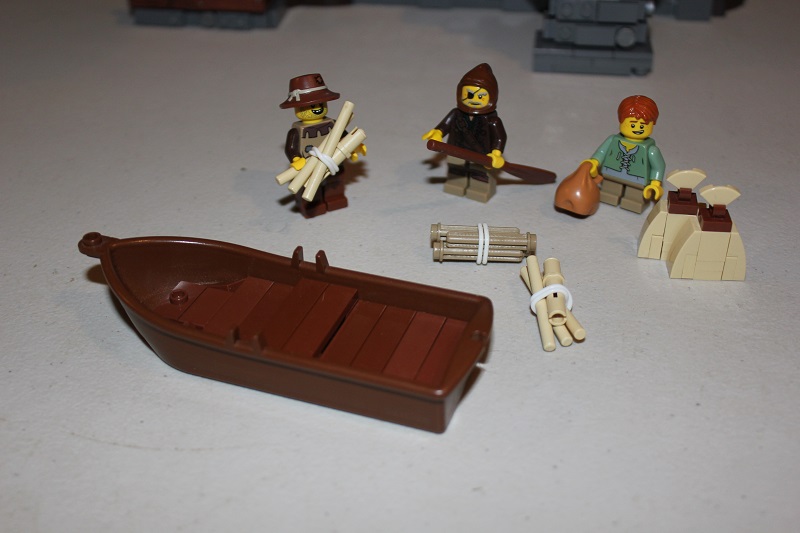
Enter these characters along with a rowboat, and Marcel’s bag design. I did experiment with some water, but didn’t end up finding something I like that wouldn’t involve adding more depth to the base.
If I remember correctly it took about two weeks to build this, and I was working on it a lot in that time period. Overall I’m very pleased with how it turned out, and it along with Sabishi Monastery made a great pair of last models with my old collection and workspace.


Wonderful build full of detail as always, love it!
Agreed! As always the build logs are fun to read. The color scheme is really nice and the wall textures are amazing! And I’ll definitely have to use the cheese slope roof in the future as it looks great! Keep up the great work Isaac and John!
Thanks for sharing such a detailed breakdown Isaac! It’s always a treat to get to see into your design process. Trust the new job is every bit as rewarding as you’d hoped 🙂
Thanks everyone! Glad you enjoyed the post 🙂