


Here is a behind the scenes look at what went into the making of Chillon Castle.
The first thing I try to do is figure out the layout of the building and landscape:
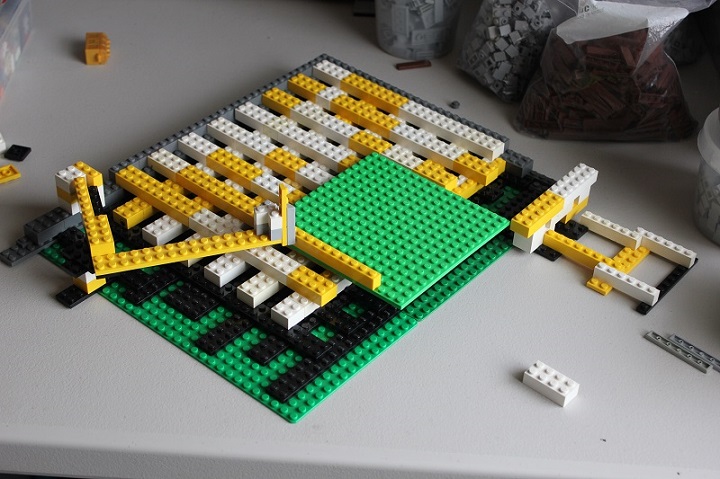
Then I make sure to mark the building location for future reference, and often start on roughing out the landscape.
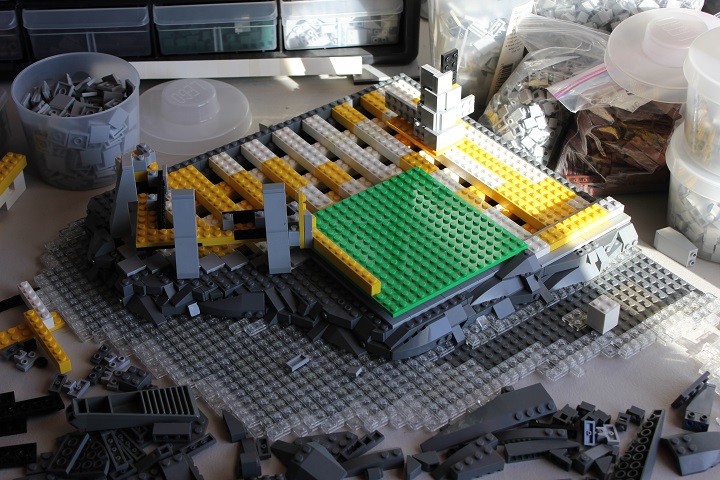
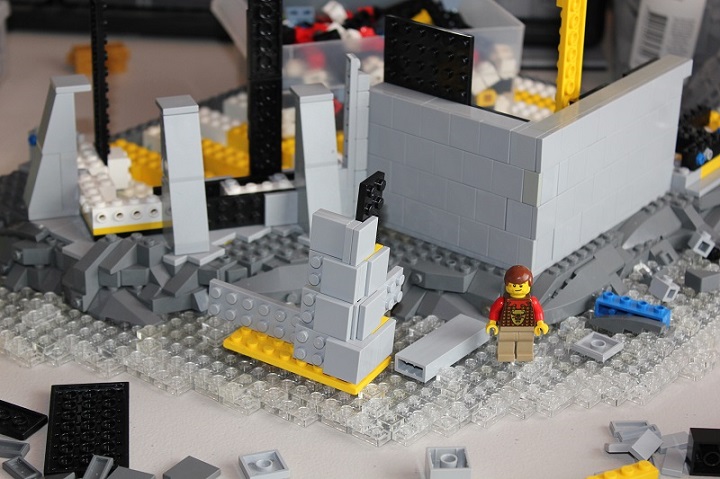
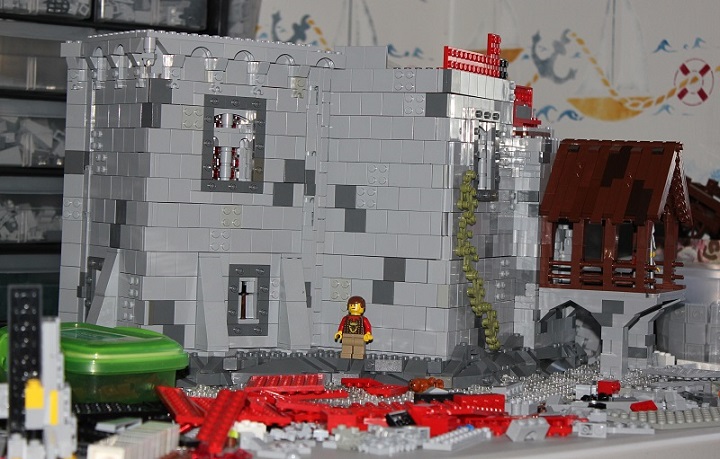
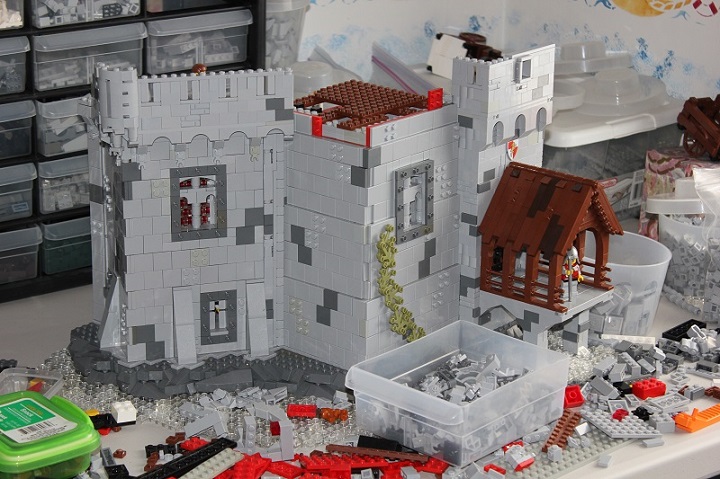
Now I’m ready to start on the castle itself, but I still need to figure out the wall design. The corner section you see below, was a prototype of how I’d ‘shrink’ the main tower.
Building the interior is easiest before you’ve gotten the walls to high:
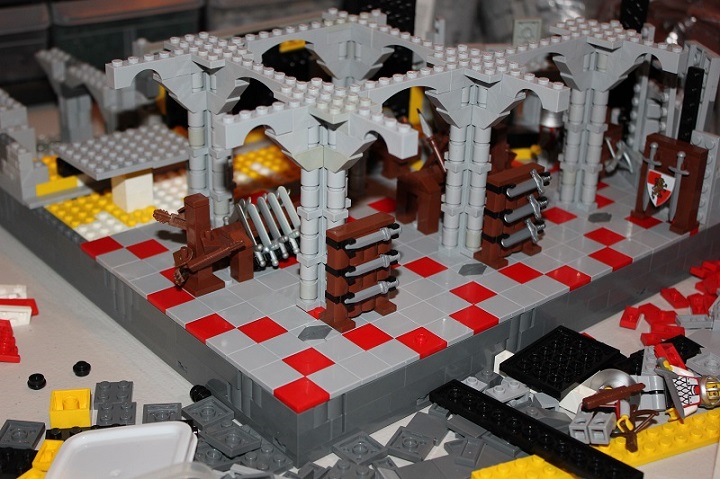
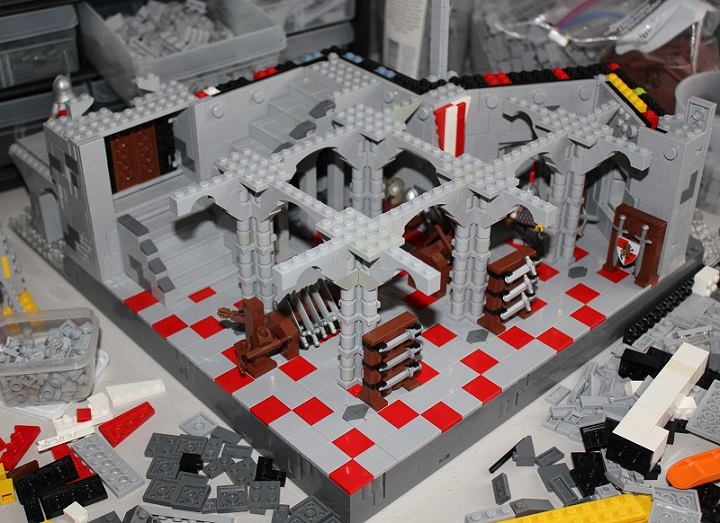
The pillars provided a strong base to build the second floor onto:
The windows took quite a bit of trial and error, and because of the thick walls I had quite a bit of space to work with:
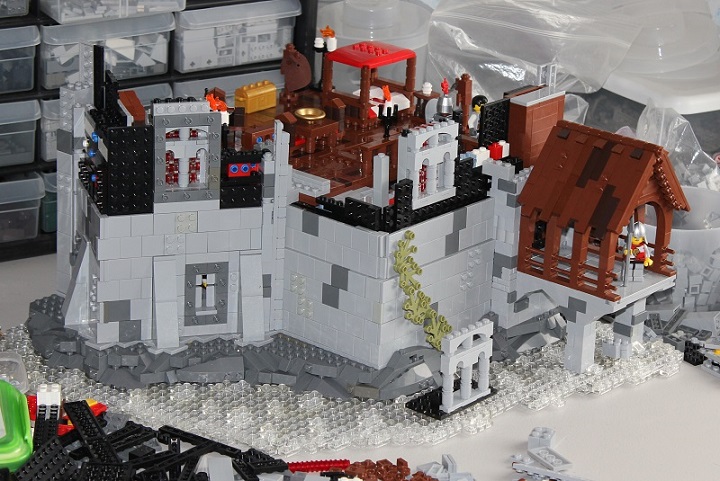
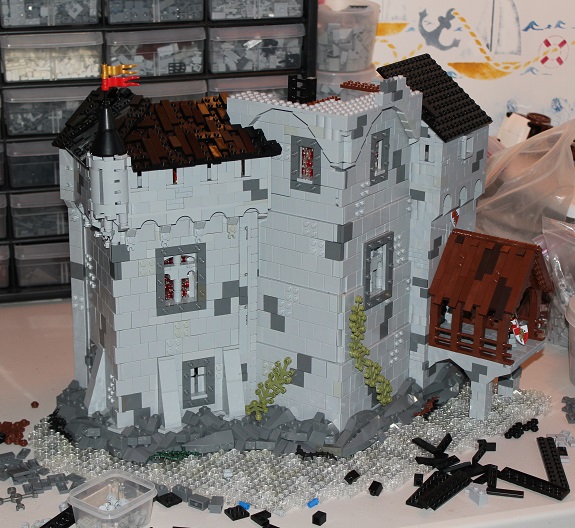
Second floor completed, now the supports for the wall walk are attached and the tower and gatehouse continue:
Onto the battlements:
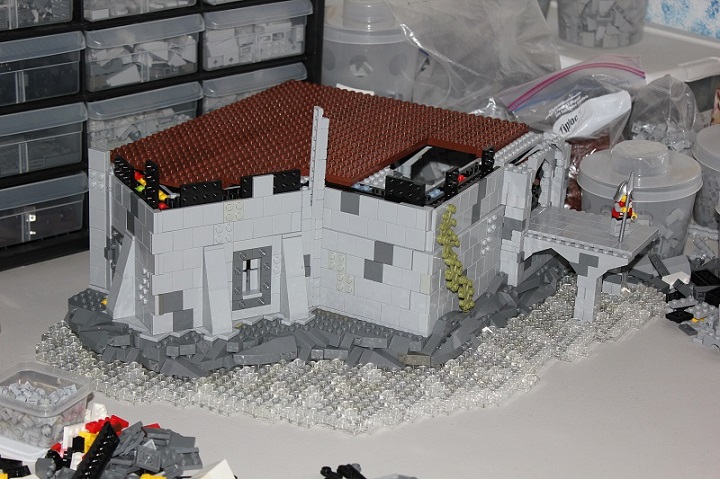
Starting to add roofs, and prepare for the main tower’s fourth story:
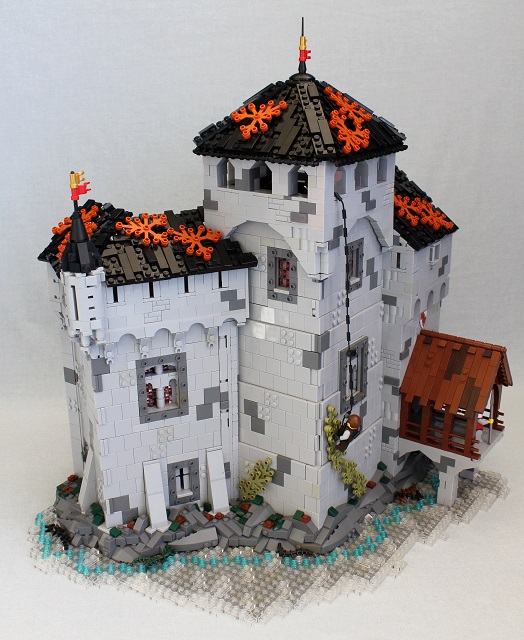
Completed exterior:

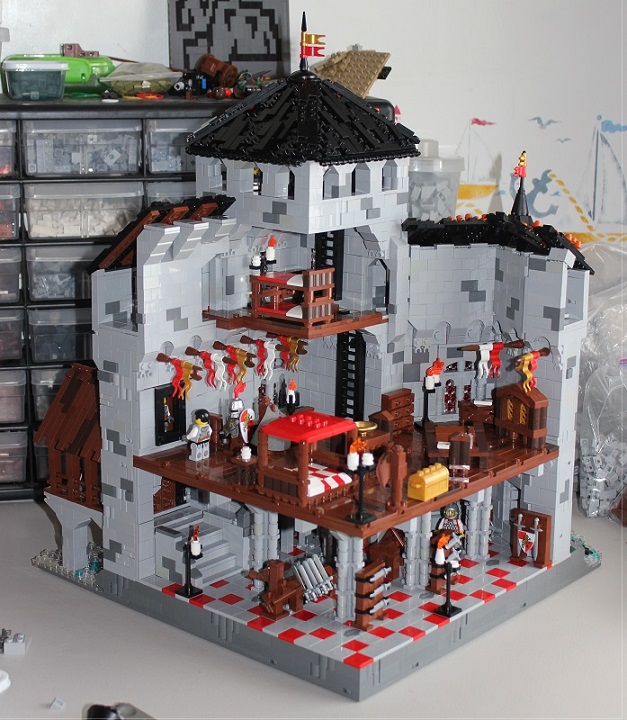
Interior:


Is there a certain place in-particular that you guys get your bricks? Or is it just PaB and bricklink?
The PaB wall at our nearest LEGO store has been extremely helpful in allowing us to get bulk quantities of useful parts. Besides that, we do make occasional bricklink orders. It took us a few years to amass this big of a collection.