


There are lots of different ways to angle walls, but one of the simplest is using hinge bricks. That’s what I’ll be showing you how to do this time.
We’ll start with a simple rocky base, and then add the wall on top.
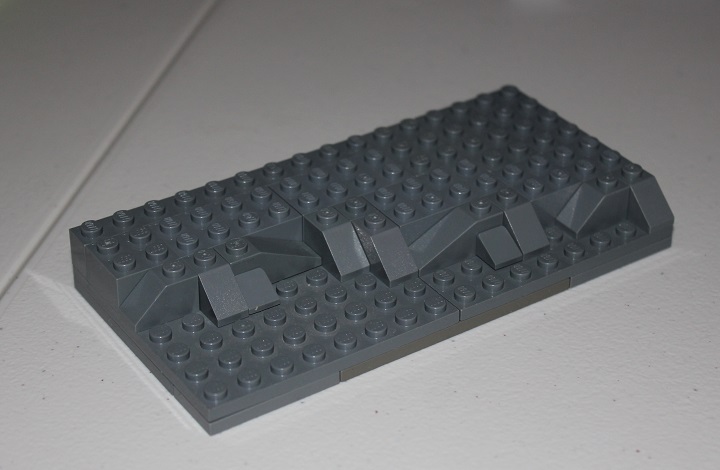
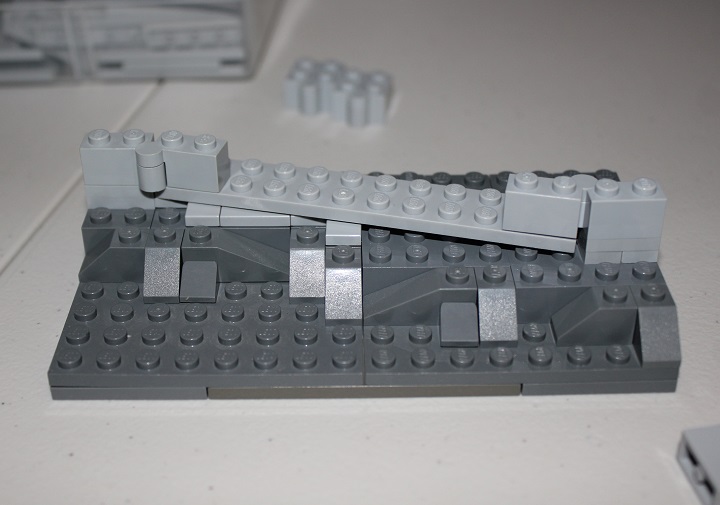
The first thing to do, is figure out the size of the angled section, and where you need to space the hinge bricks to hold it in place. I tried two different set ups this time, and decided to use the second.
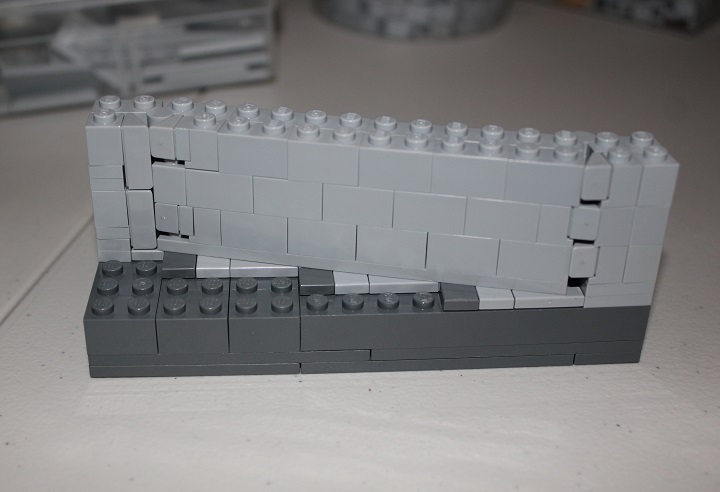
Once you have located where the hinge bricks need to be, make sure you mark it so you don’t lose the spot(s). Then you can start tiling under the wall, trying to match the angle the best you can.
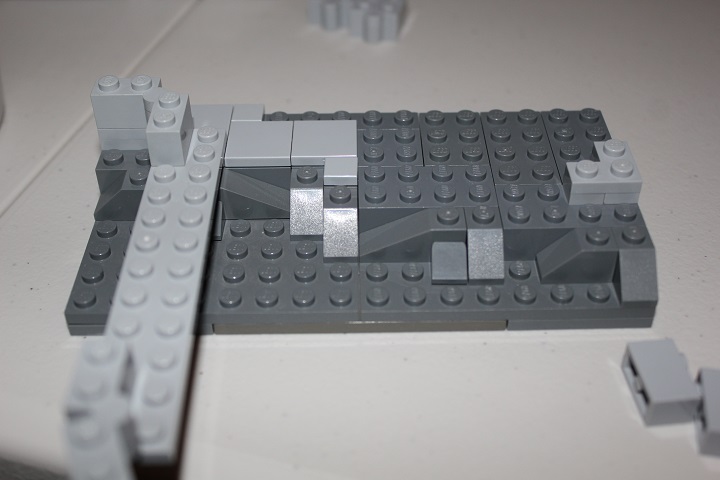
Unhinging one end, and rechecking as you go makes putting the tiles down simple and easy.
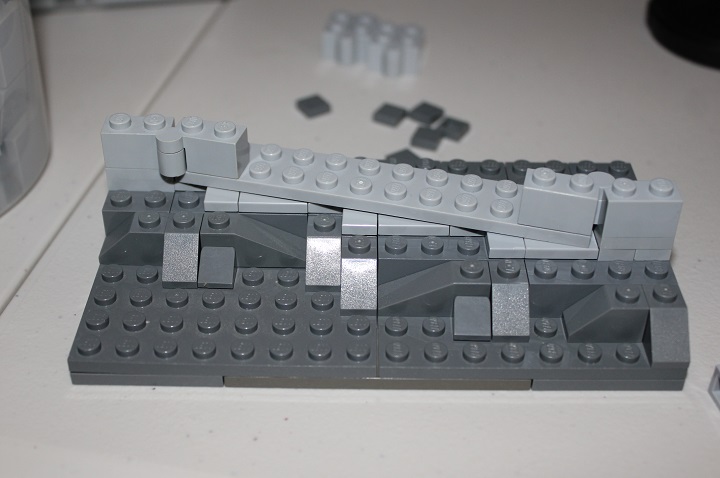
I used a few dark bley tiles, for sections where only a tiny section of the stud will be covered by the angled bley plate.
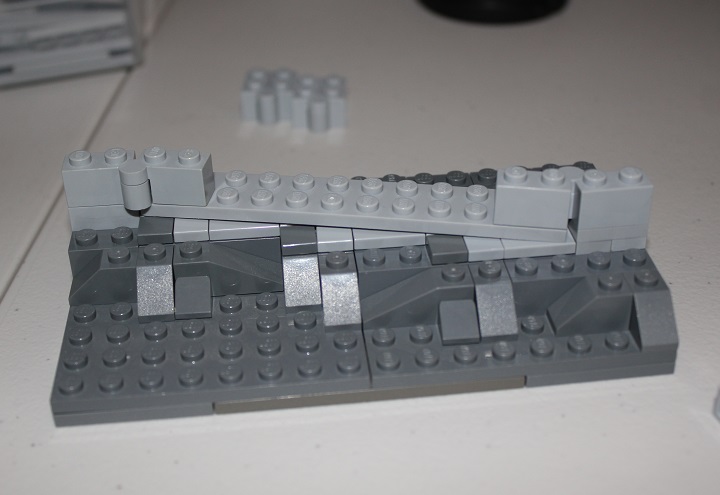
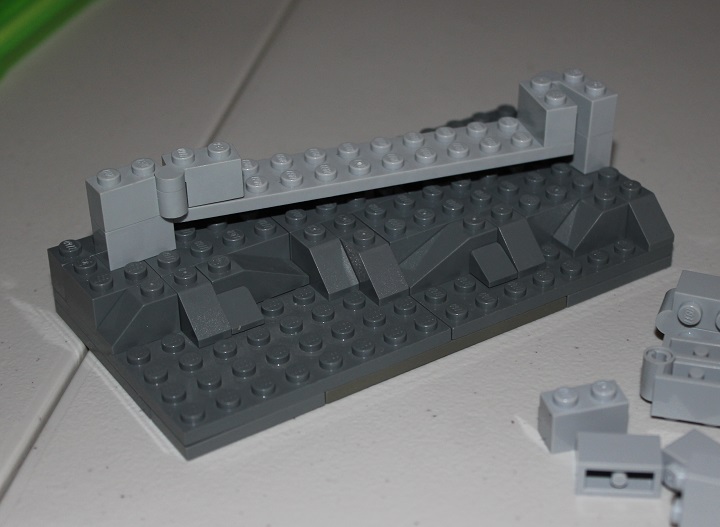
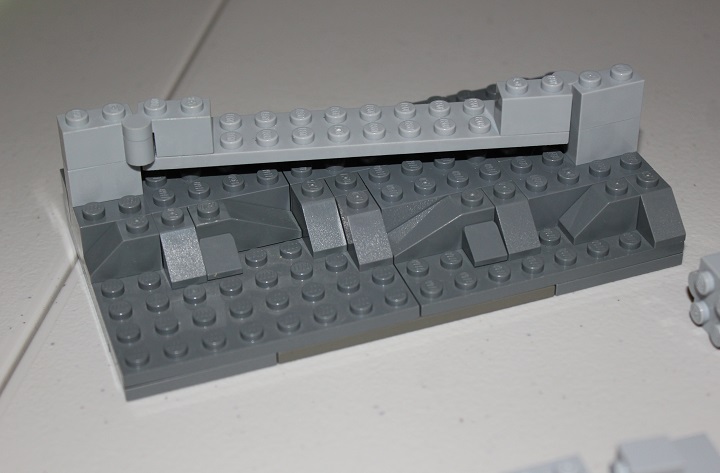
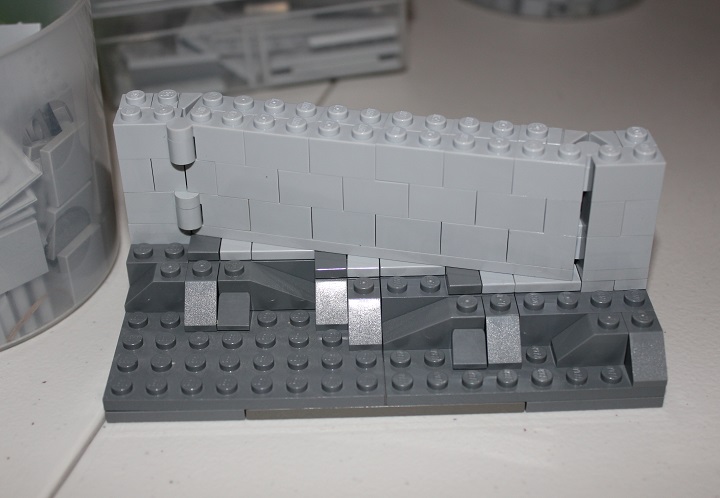
Then you can start building the wall up a bit. By using headlight bricks, or 1×1 brick with stud to attach cheese, you can minimize gaps around the hinges.
Use at least a set of hinges at the top and bottom of the wall, though if you have a taller wall you can add more in between.
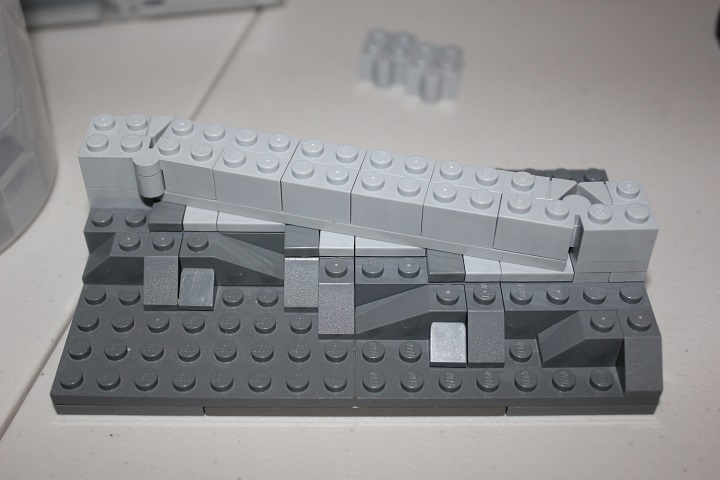
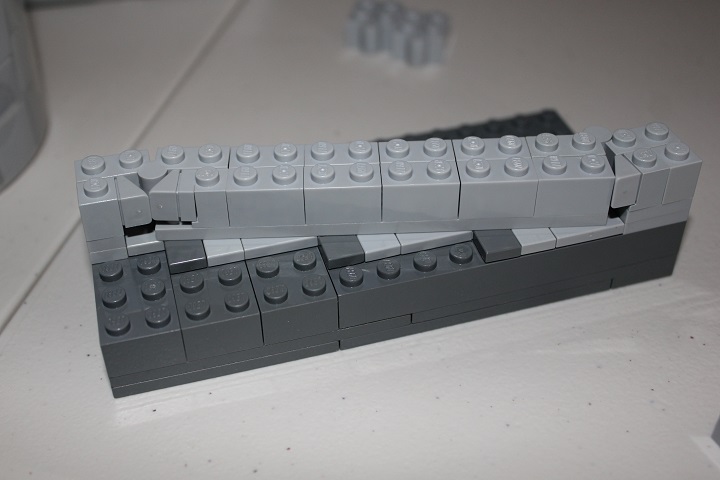
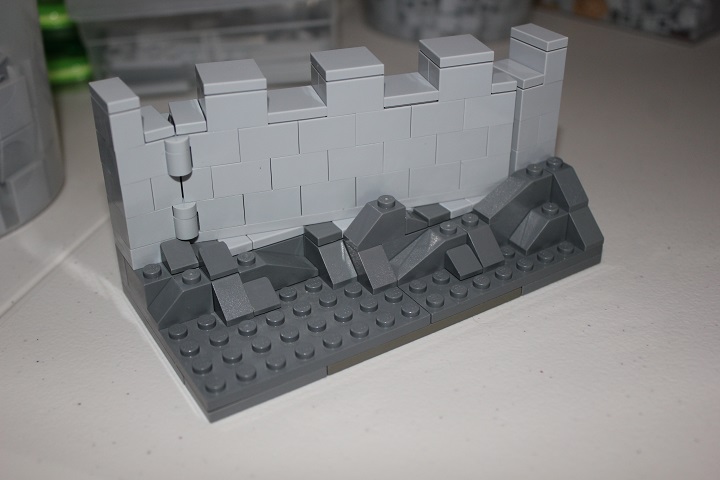
On the back side, you can see two methods of filling the gap: a more solid filled approach on the left, and more of an alternating wedge look on the right.
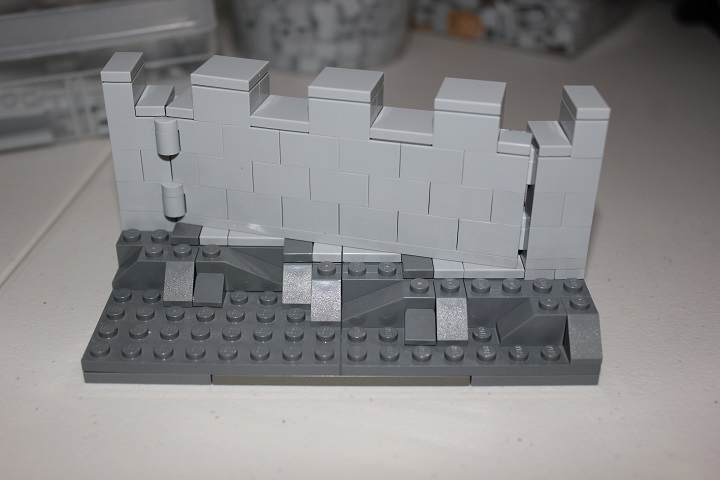
Now that the wall is down, you want to continue the rockwork up in front some, to help make the angle blend in.
Plants or other details can also be helpful.
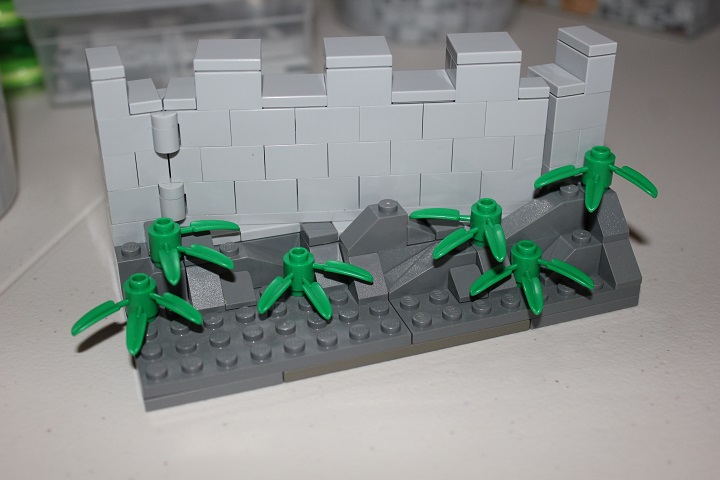
Because of its simplicity and stability, I often use the hinge brick method to angle walls. Hopefully this helps show how it’s done.

