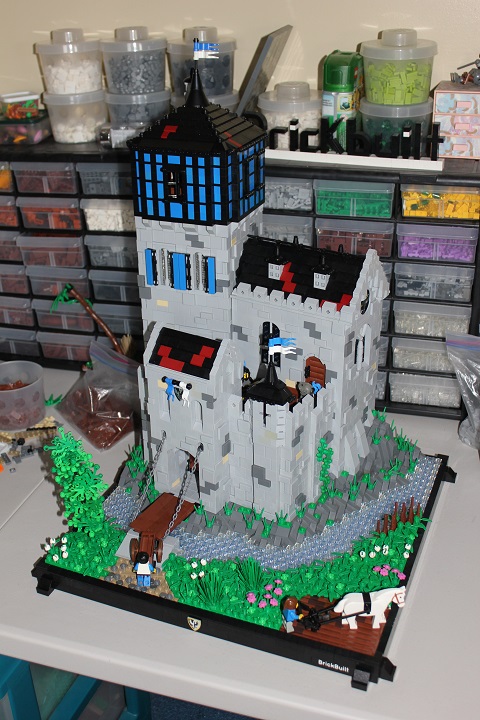
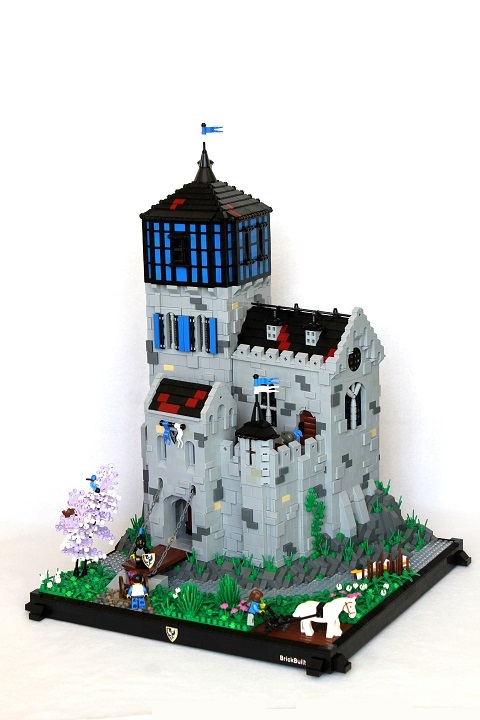
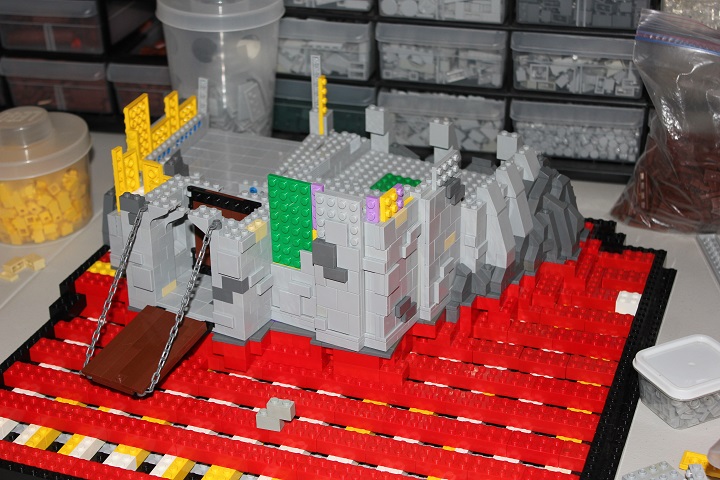
Here’s a look at what into creating Arangr Castle, specifically the spring version.
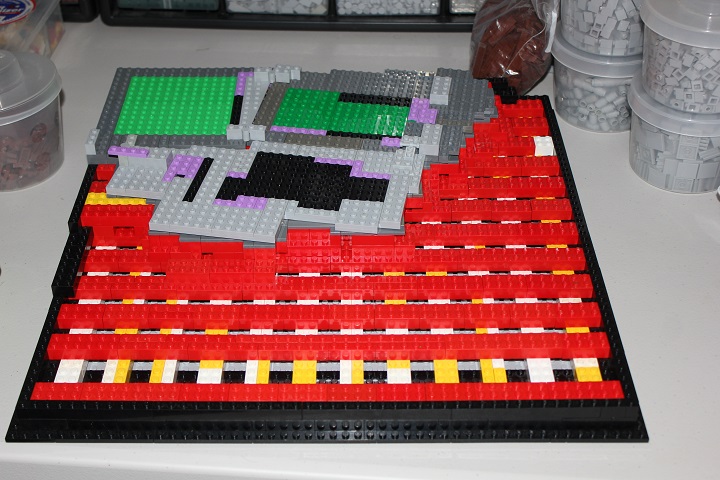
I started with a 52×52 base, and layered that with brick to rough out the landscape. The layout of the castle was another of the earliest sections to be built. Since I knew I wanted to be able to easily change the landscape for the four different seasons, I made the castle to lift off the base. I also needed a very sturdy layout, and so I made sure all the angled sections attached securely via hinge bricks.
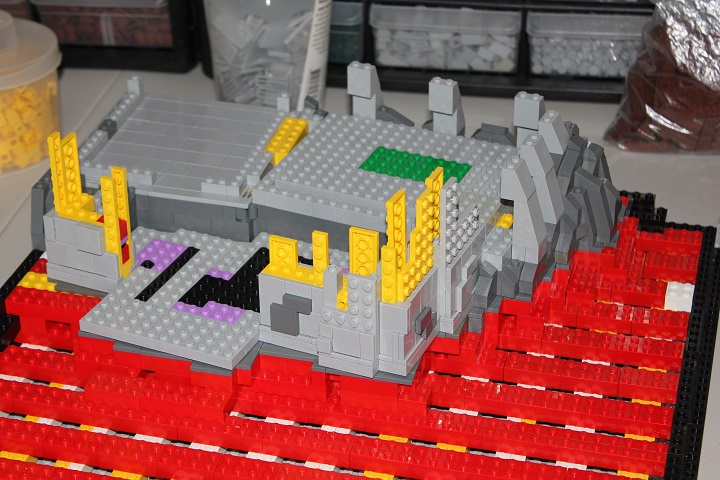
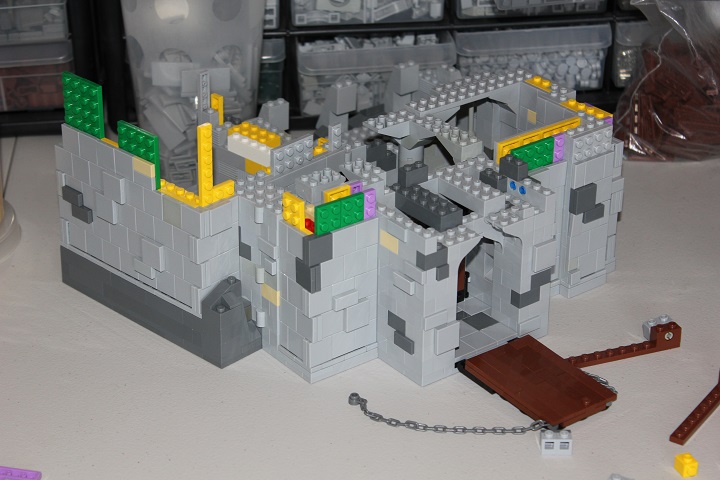
I built the castle first, as I thought it would be easier to adjust the landscape if needed, then to try and redesign the layout. The walls of this particular castle, are a mixture of SNOT and studs up portions. The gatehouse and great hall both were made entirely studs up, while the wall sections and tower used SNOT 2×2 tiles for the wall. I added hinge bricks at the hinge points every few layers, to make sure the finished castle would be quite rugged.
Whenever possible, I like to preserve my greys and browns, by using other colors as filler where they won’t be visible. The drawbridge was an important feature I wanted, so I added that early on.

I decided on a height of 12 studs for the first story, though because of the step up in landscape, the back two buildings are slightly higher.
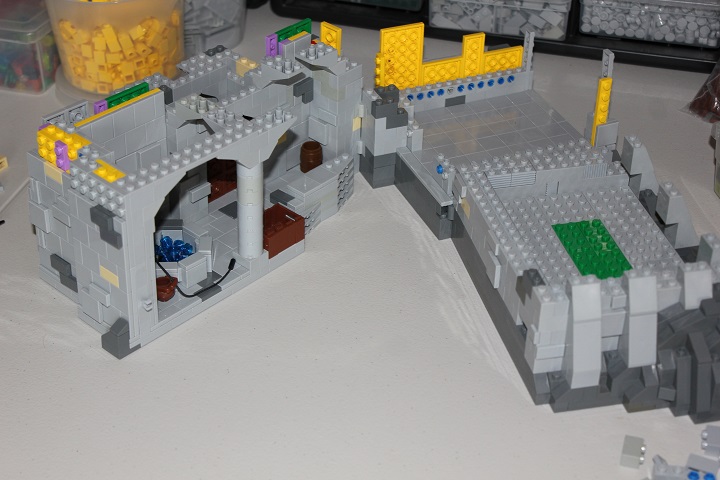
The castle hinged open, to allow the interior behind the gatehouse to be visible, and I started adding interior details there next, before it was too hard to reach inside. Wells were an important thing to have in a castle, so I made sure to include one in this courtyard area. Since the back buildings are higher on the landscape, I also needed some stairs to the tower entrance.
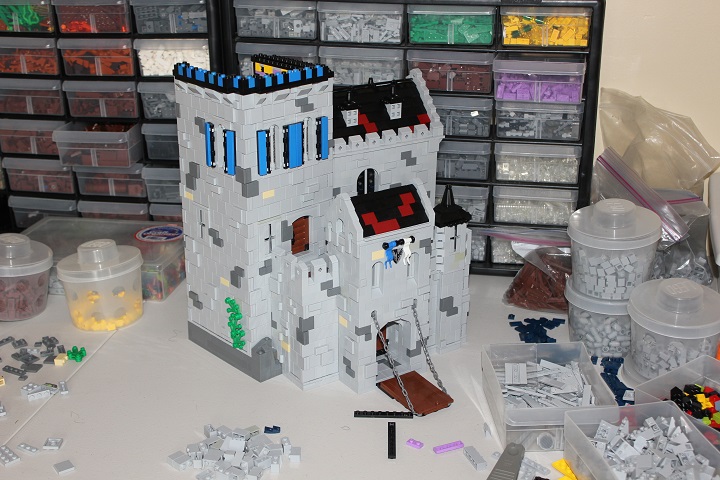
The first story being almost complete, I started experimenting with the drawbridge lifting mechanism.
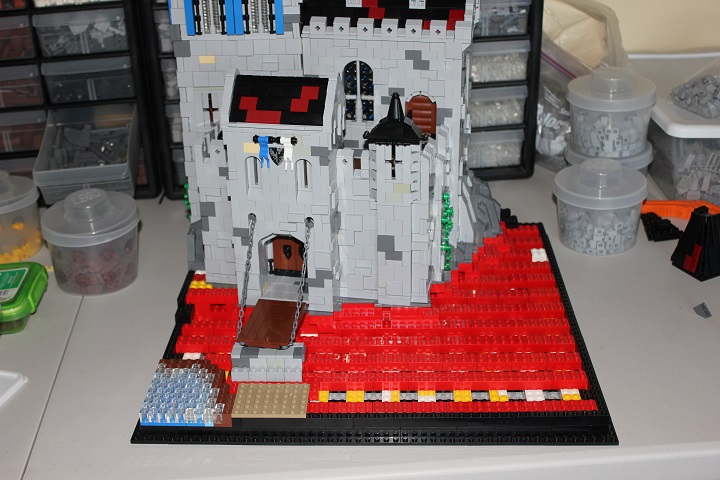
I ended up using string tied to the chain, and then to technic parts on a winch to run the drawbridge. The jut out in the wall was made to support the bartizan type addition seen here without the roof.
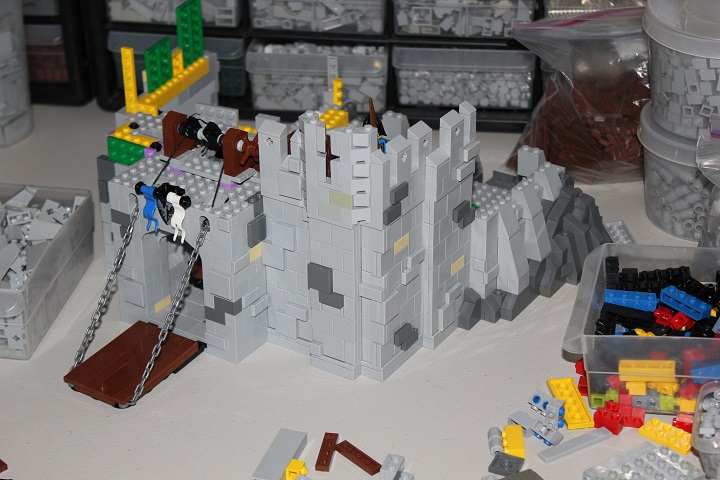
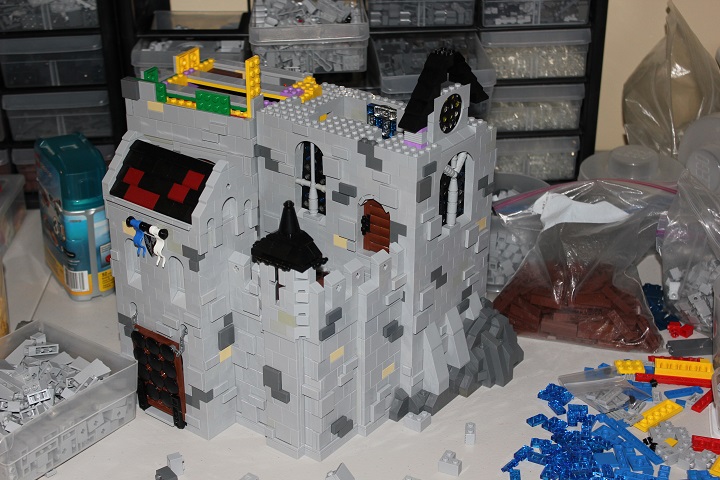
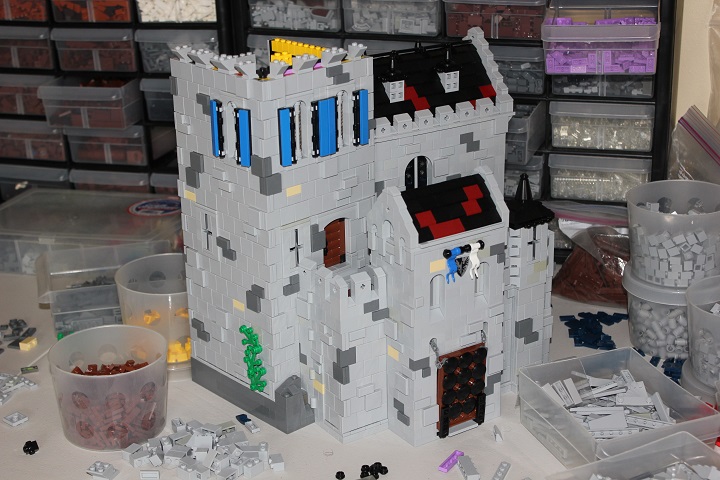
Now that the drawbridge was working smoothly, I finished the gatehouse: adding a few arrow loops, the castle sigil, and a roof.
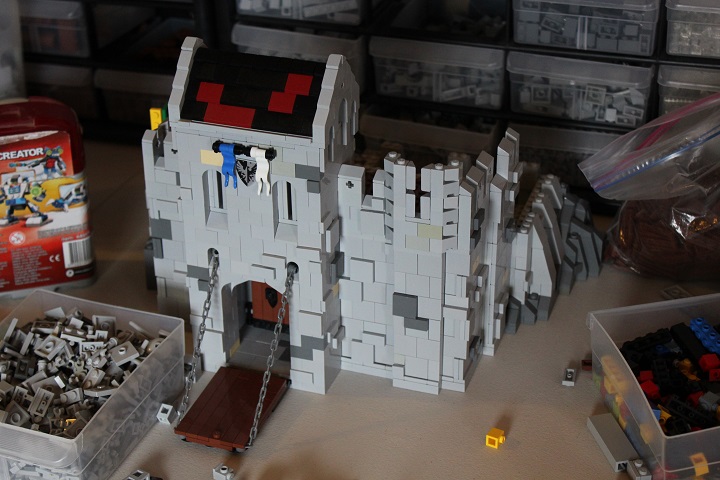
The roof design for the bartizan, took some experimentation to get right due to it’s unusual shape.
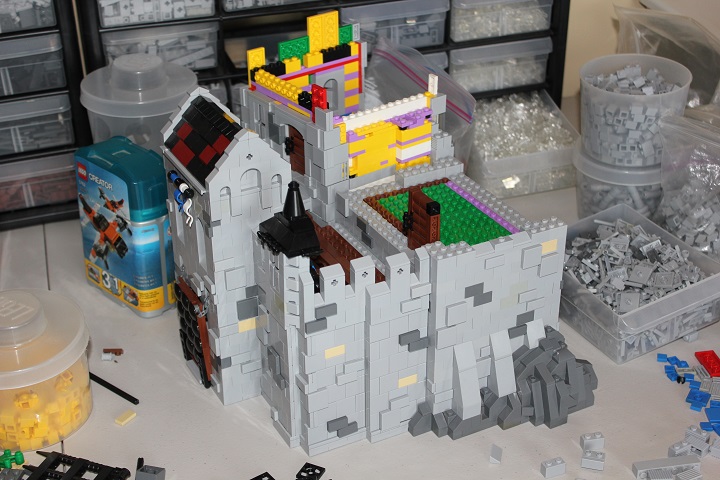
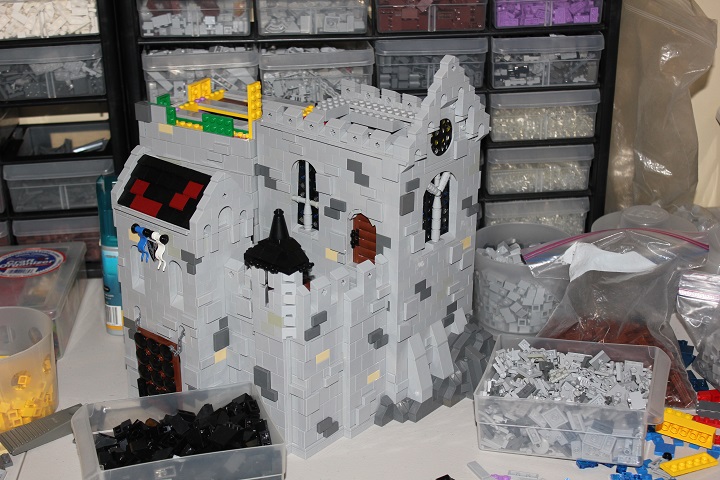
Since the front half of the castle was nearly completed, it was time to move onto the great hall and tower. These two buildings had pull out rooms for interior access.
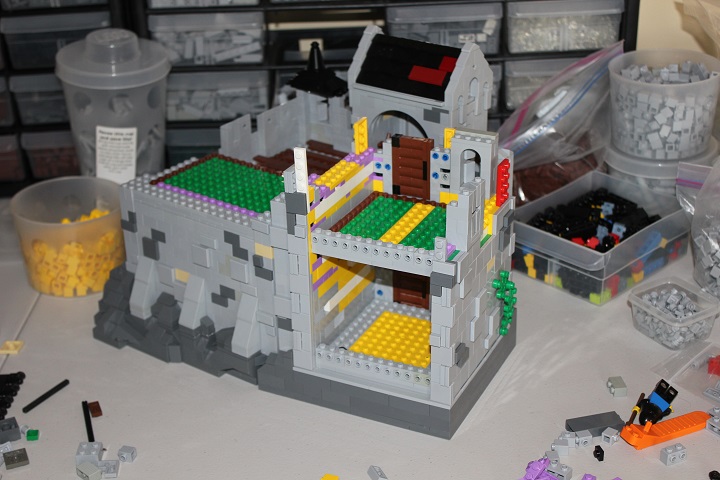
Two doorways were some of the next things to be added, again with stairs to adjust the height difference between the front and back of the castle.
The stained glass windows of the chapel used SNOT 2×2 turntable bases with trans plates for the glass, and then I experimented with different ‘framing’ methods until I got the look I wanted.

I decided to add a round window under the gables of the chapel, and so needed to figure out the height placement and roof position.
Once that was done, I added the gable itself, and some decorational crenelations below the roofline.
Dormer windows were another feature I wanted on the chapel, so I made a small section of roof with one to figure out how they would fit.
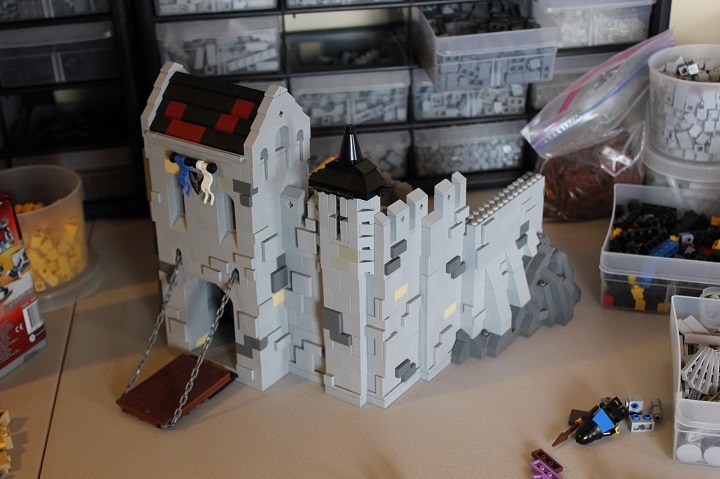
Then I completed the roof, adding some ridge detailing to the very peak. Having the chapel set at an angle to the tower made finishing that end of the roof challenging, though less so than it could have been had the roof been another color rather than black. A bit of trial and error to see what best filled the gaps, and the chapel was done.
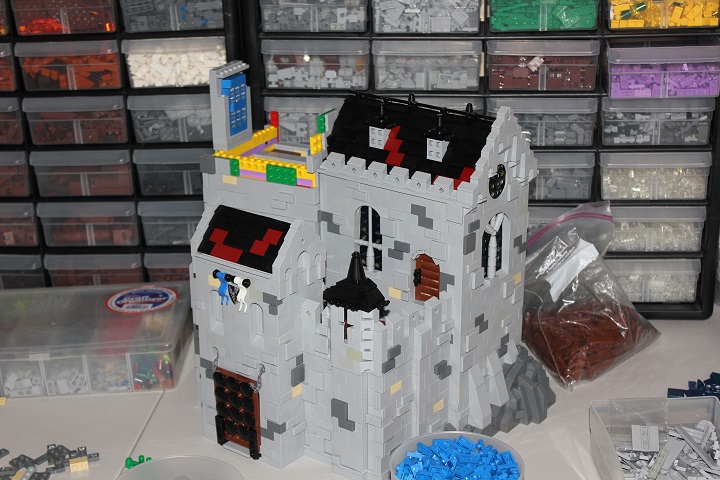
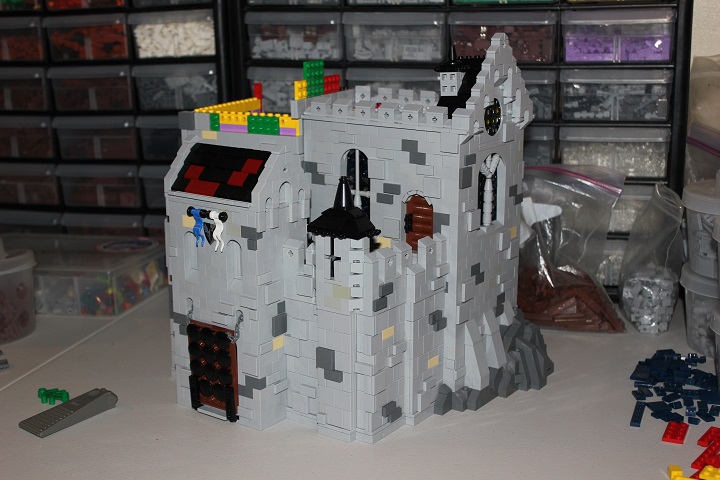
The upper windows in the tower were surprisingly one of the sections that took me longest to design. After trying a variety of designs, I settled on these relatively simple windows with shutters.
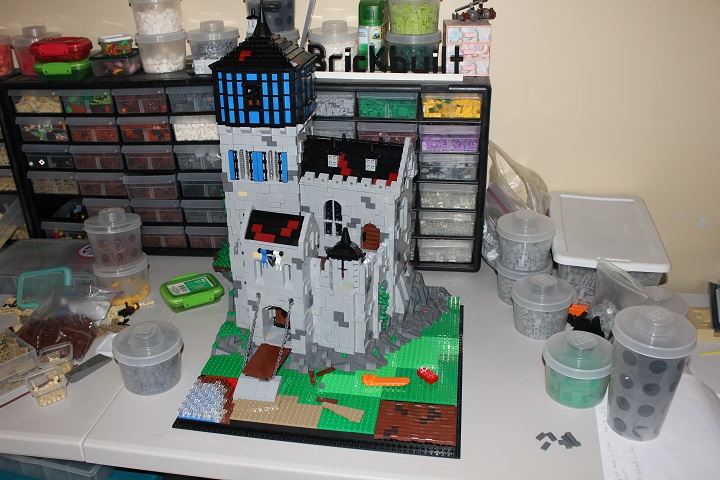
To break up the squareness of the tower, I had the half-timber addition not step out evenly, but left the corners flush with the stone section.
The half-timber section itself was comprised mostly of simple studs up building, with some plate with handle elements added around windows for some embellishment.
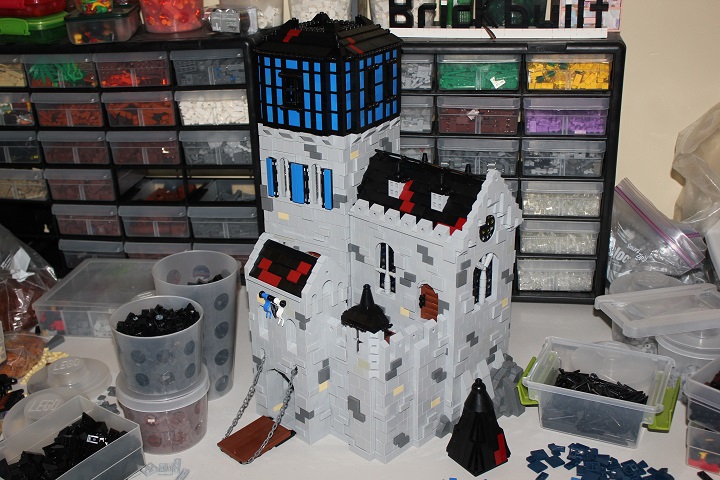
Then all that remained was to add the roof, and the castle was complete! Build finished, right? Well no, as the landscape still had a long way to go.
The original plan was to have a section of a pond in the front left corner, a path leading to the drawbridge, a field in the front right corner, and general grass/foliage over the rest of the landscape.
So I put down some green plates, including some bright green to break up all the standard green.
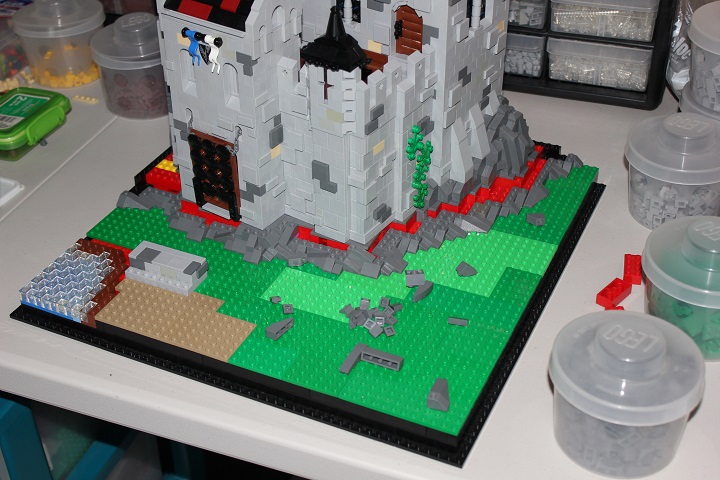
The little foundation/ramp for the drawbridge to rest on was added, the general path layout, and the field.
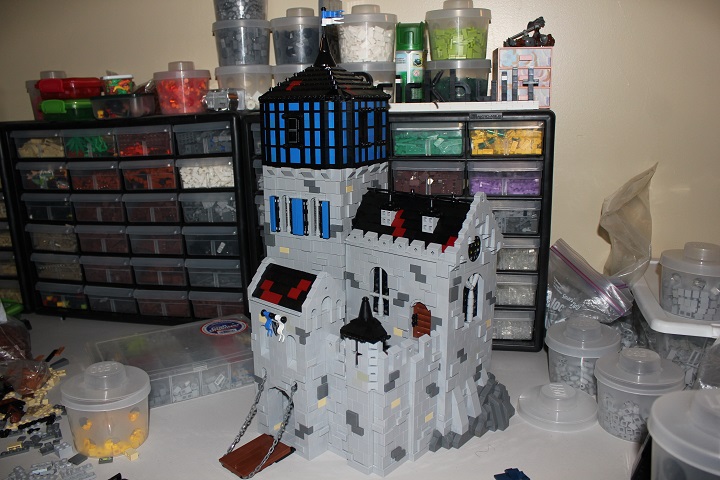
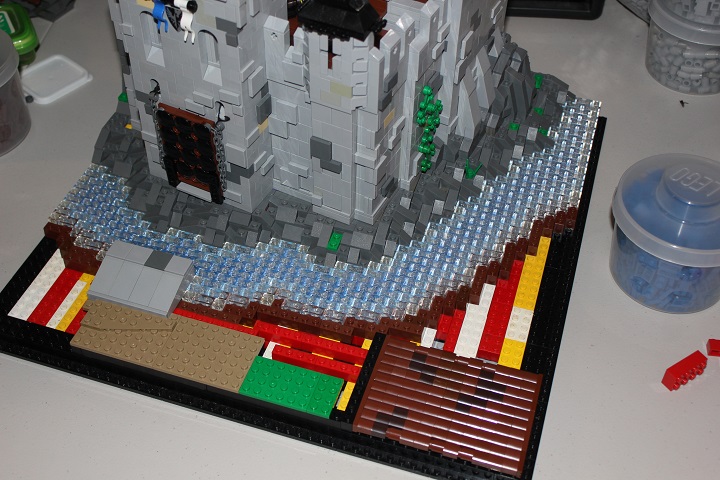
Then Simon S. suggested adding a moat. This seemed a very obvious feature, but one I had overlooked, and so I set about replacing the green plates and small pond with a moat. I ended up having to rebuild most of the rockwork as well, but I think the end result was worth it. I used blue and medium blue plates to show some water shading, as well as dark bley bricks on the castle side, and reddish brown plates and bricks on the landscape side. Then I covered this with 1×2 trans clear bricks (later switched to 2 layers of 1×2 plates to show summer’s lower water level).
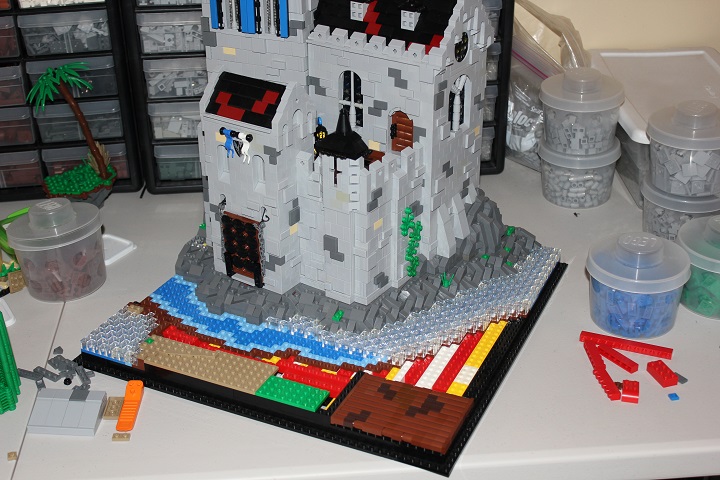
Moat complete!
Adding some green plates and plants didn’t take long, and now the build was just about done. All that was left was to make any minor changes, most notably being the tree, as I switched to lavender and white leaves to show the tree in bloom for spring.