


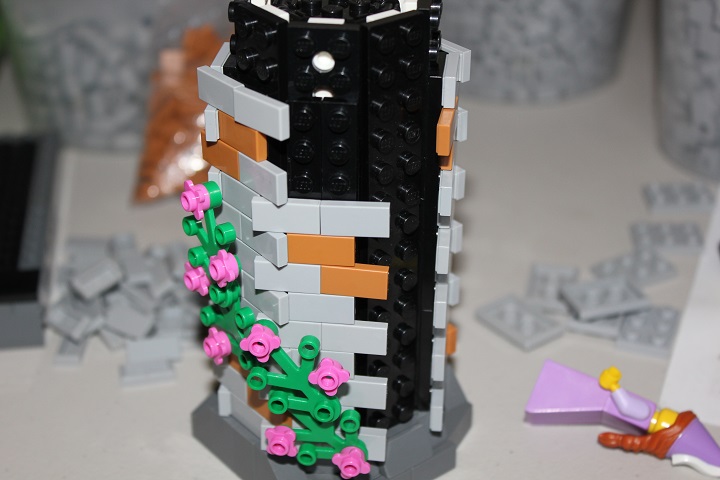
This tutorial shows how to create an octagonal tower like the one I used in my Fairytale Princess vignette:

The skeleton of the tower is based around this modified plate:
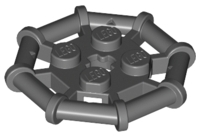
One at the top and bottom of the tower is all that’s necessary. This allows you to attach 8 plate with clips which you then hook together on the front side using standard plates to reach whatever height you want. Something to keep in mind, is that you can reinforce every other section with another layer of plates on the inner side. Stand all 8 sides straight up, and click all the clips onto the second plate modified with rails.
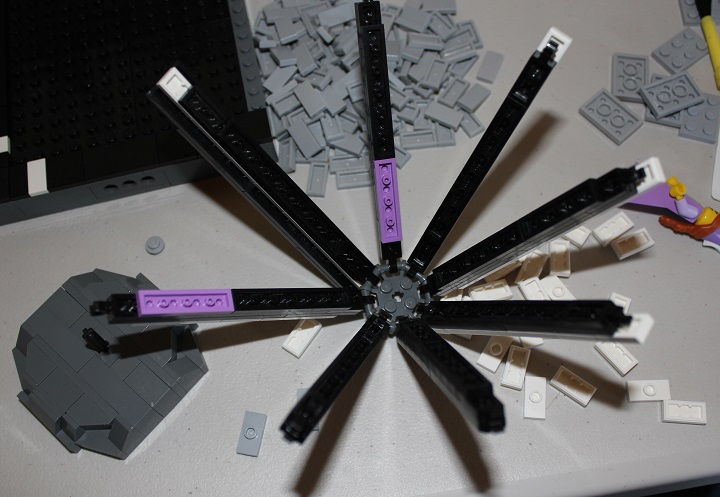
On top of the single row of plates you add a row of jumper plates, offset by a stud at each end to as to solidly connect what you have so far. Then you add 2 layers of 2 wide plates centered on the jumpers. The section laying on its side below shows what it should look like, minus the 1×2 plates with clip at either end.
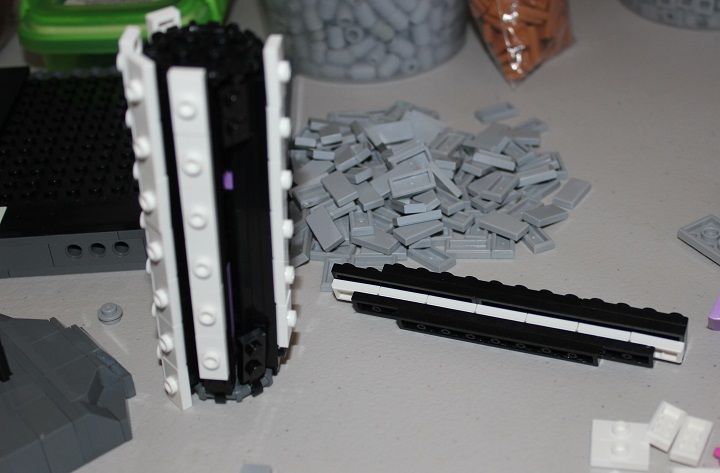
What it looks like from the top side.
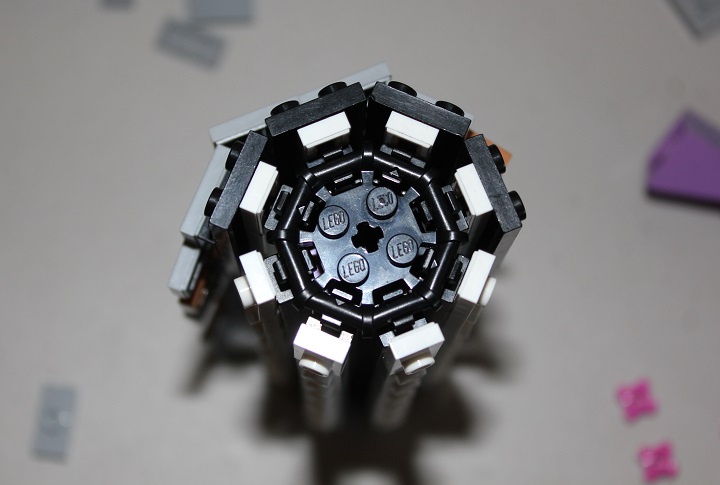
From here on out, it’s a simple matter of adding 1×2 tiles in an alternating pattern. Until you reach the desired height.
At the top, extend some bley (or whatever color you’re using for the tower) plates a stud past the main skeleton.
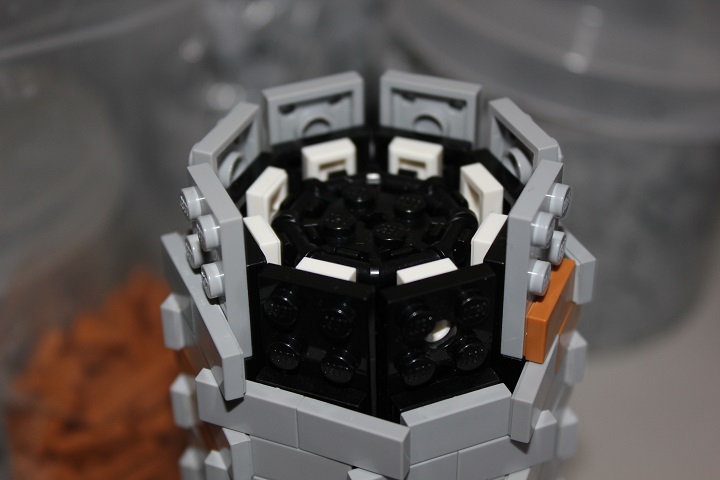
Leave that final stud untiled until after the next step.
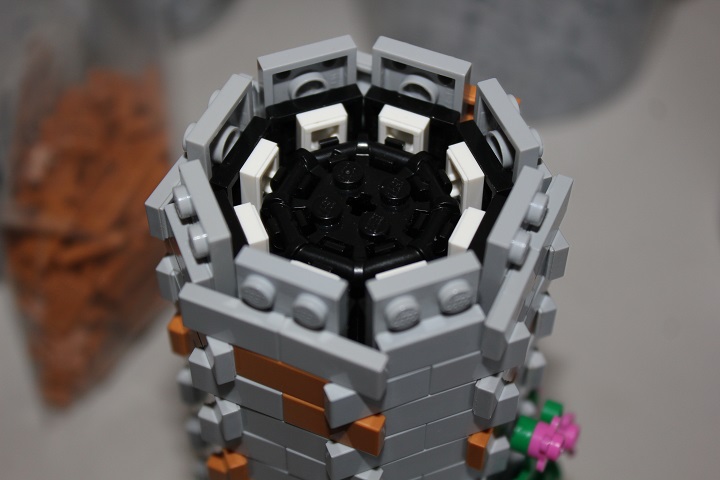
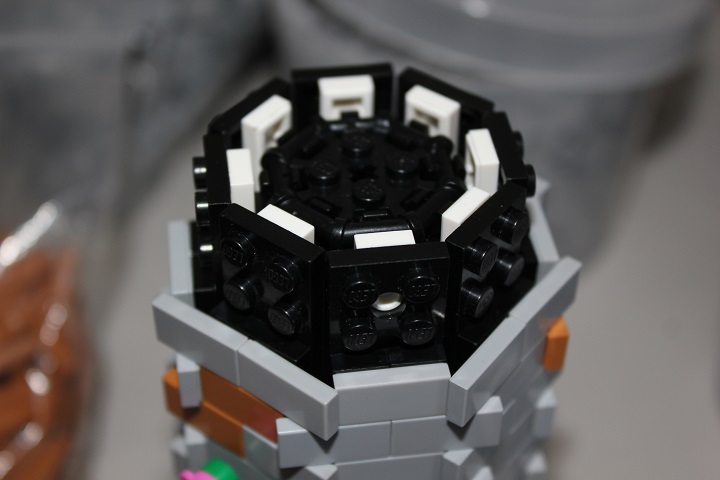
Which involves adding some brackets to attach the battlements/railings depending on the look you’re going for, and the floor of the tower. The floor is comprised of 2 sections, that each use some inverted slopes, and tiles to get the proper fit. I included a brick with stud as a connection point for a minifig.
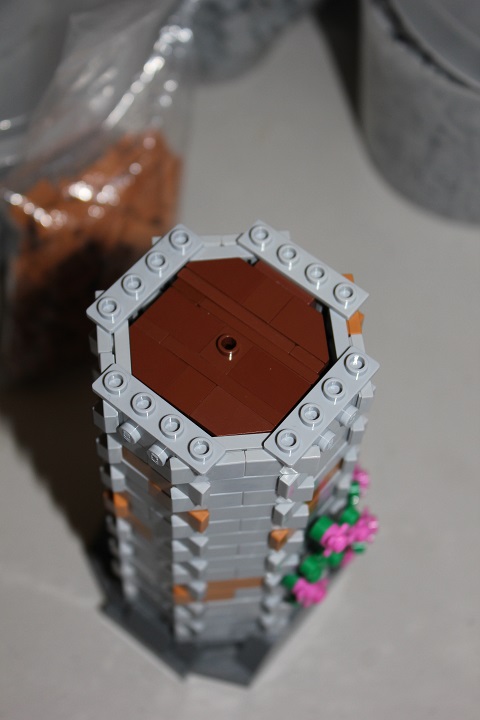
Then you can finish the tower top however you’d like. I chose to use some dark brown telescopes to make a wooden railing.


This is awesome, I’ve wondered about this technique for quite a while 😉
Glad it helped explain things for ya 🙂