


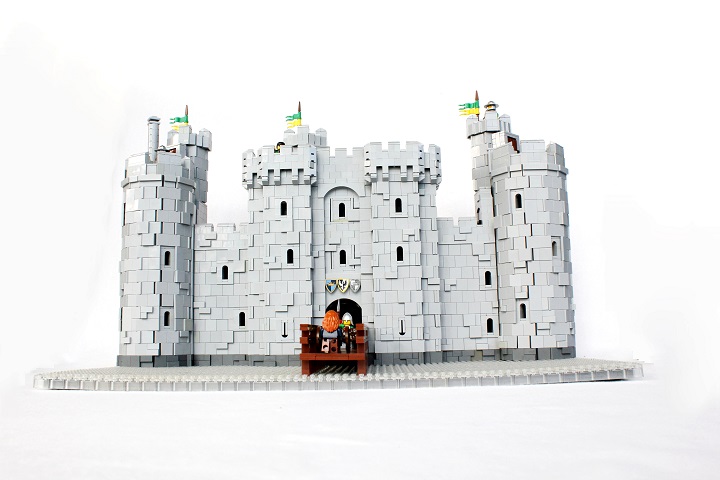
SNOT tiles can make a very effective stone wall texture. This tutorial shows how to build a simple SNOT wall that uses tiles to simulate blocks of stone. I have used this design many times now, though most prominently on my Bodiam Castle MOC:
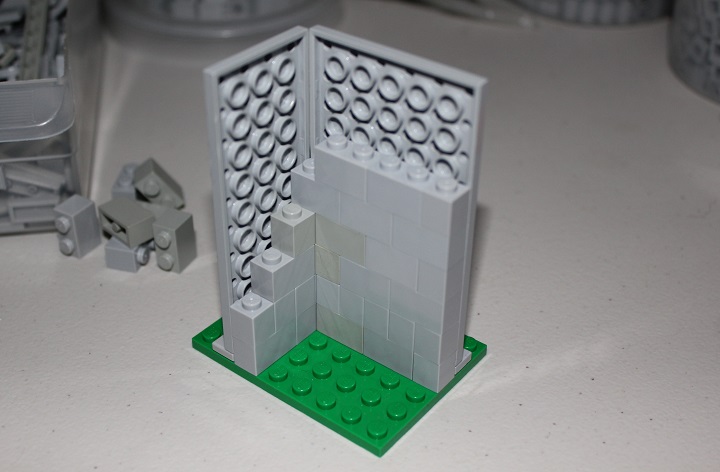
A simple corner section of wall will be used as the example for this tutorial. A large plate serves as the base for the wall. The tiles mark where the SNOT section will be placed and the bricks will serve as the back of the wall. If you’d like the wall to have SNOT tiles on both sides, lay out some tiles on the inside as well.
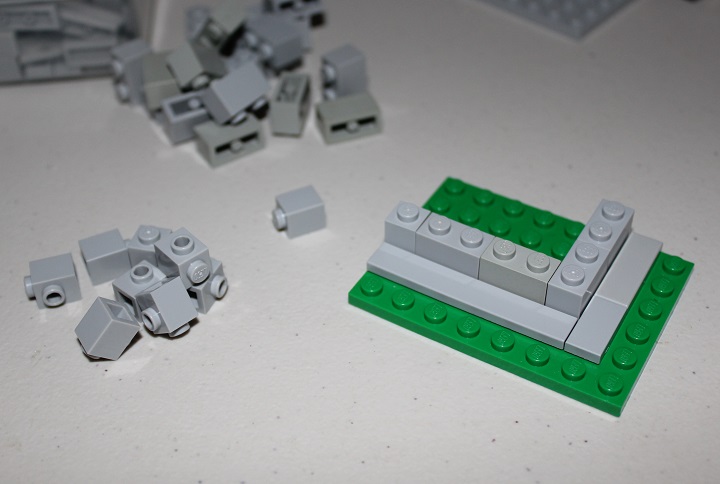
Some brick modified with stud serve as the attachment points for the SNOT plates.

I used single bley 6×10 and 4×10 plates for this example, but combinations of smaller sizes also work easily.
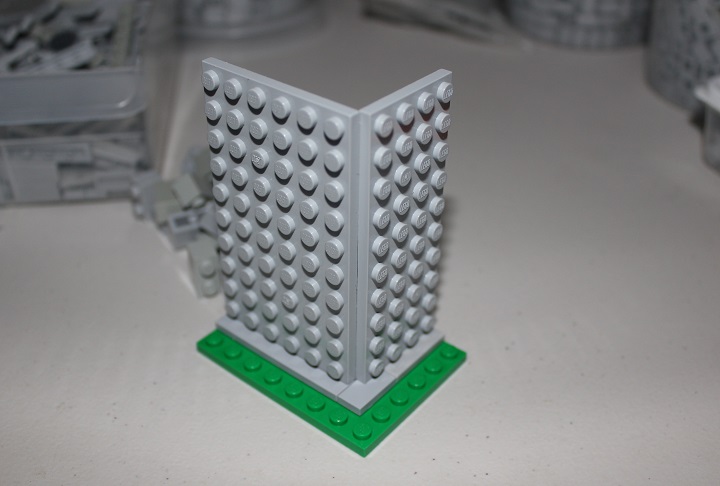
By building up the back wall 4 bricks, we reach the next brick height where brick with stud can be used to connect the plates. If you’d like more connection points, you can use 2 layers of plates rather than 4 bricks between the brick with stud layers.
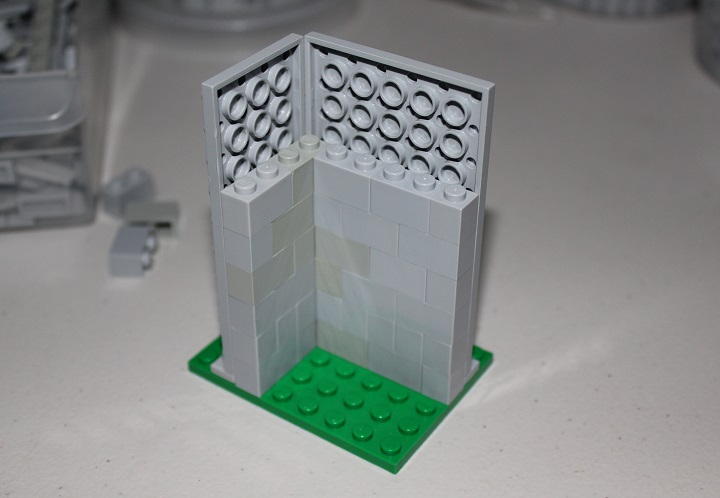
Then the brick with stud are added.
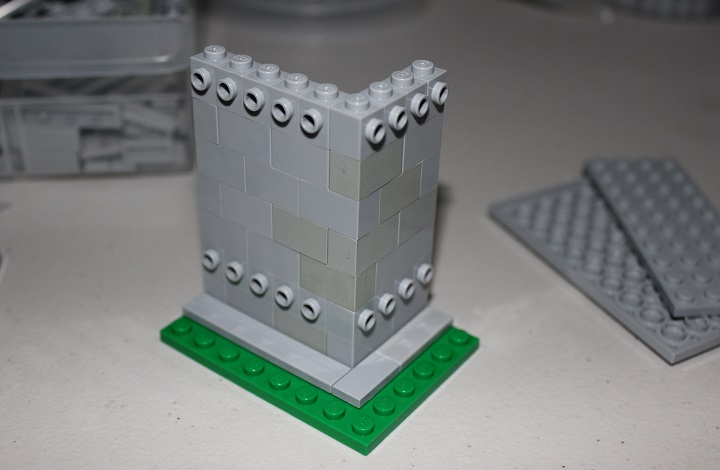
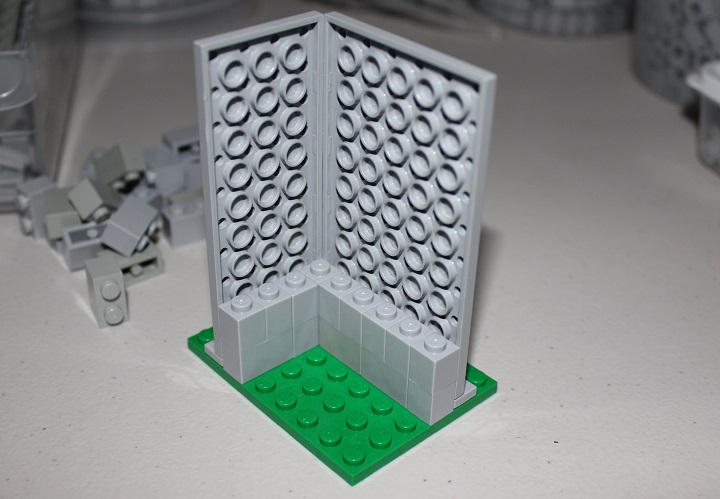
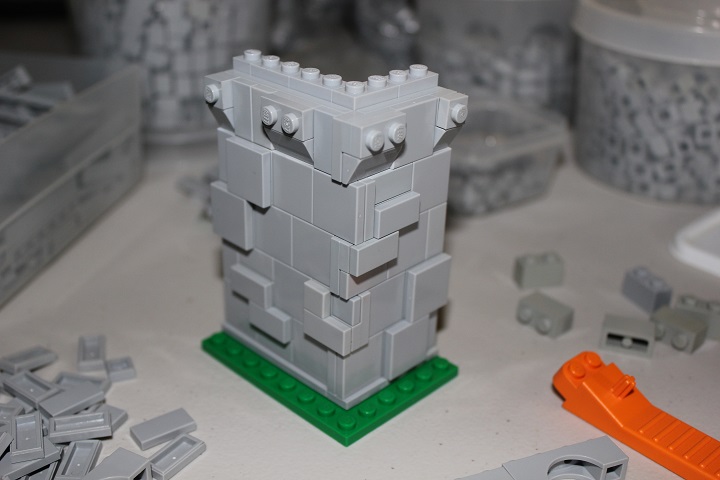
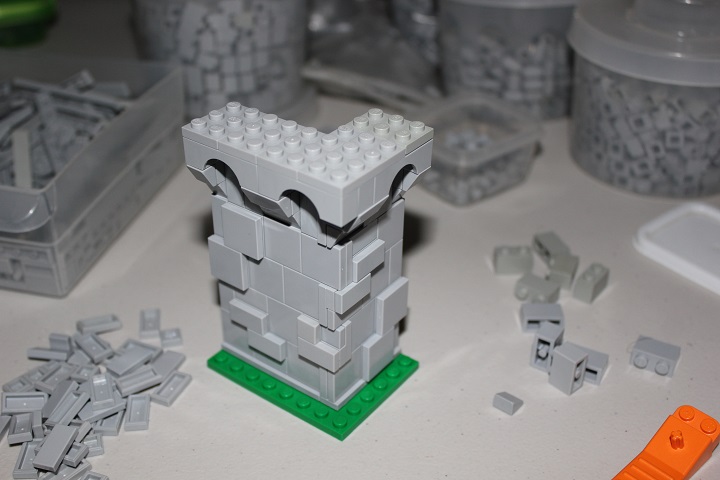
Now it is time to focus on the wall itself. I use a pattern of alternating 2×2 tiles to simulate cut stone blocks. For added texture, I place some plates to hold tiles farther out for irregular sections of block. By continuing the alternating tile pattern right through the corner, you get a nice texture there.
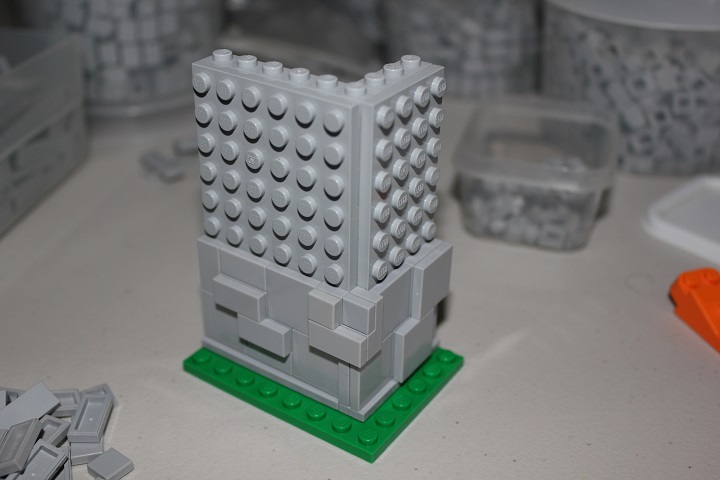
Continue adding the tiles and plates.
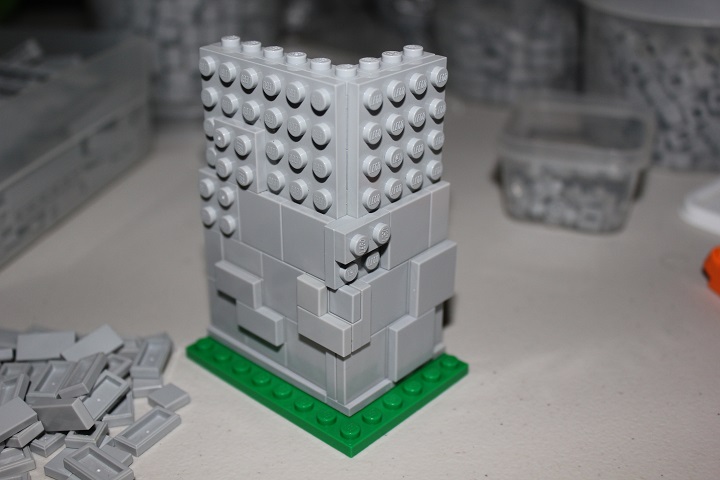
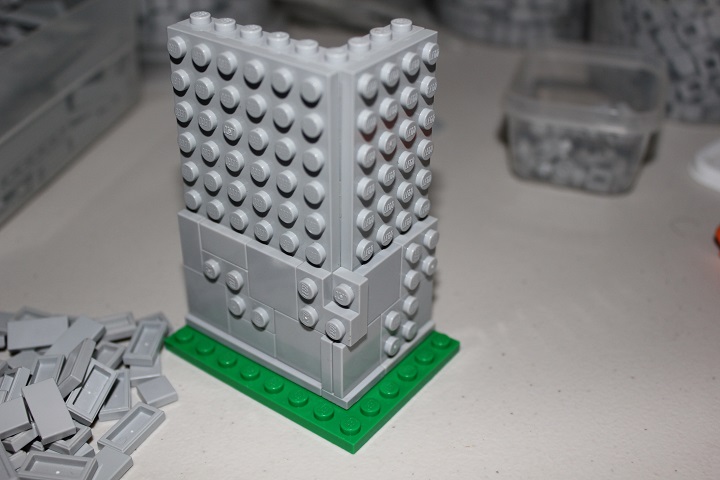
I’ve left the final two studs empty, as I plan to use corbels to support the battlements of the wall.
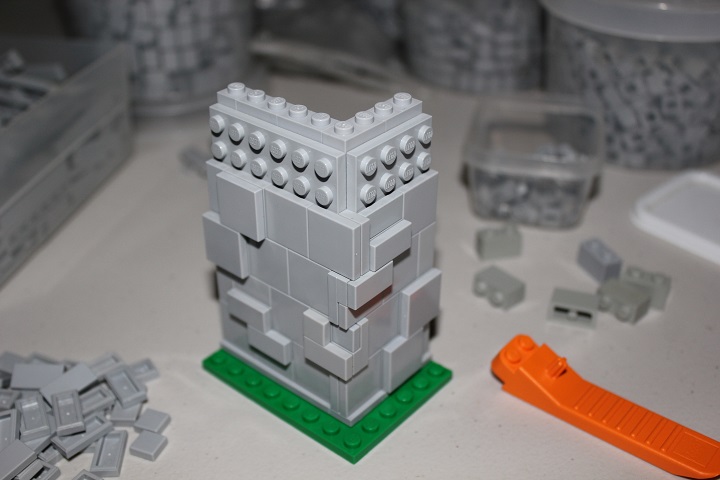
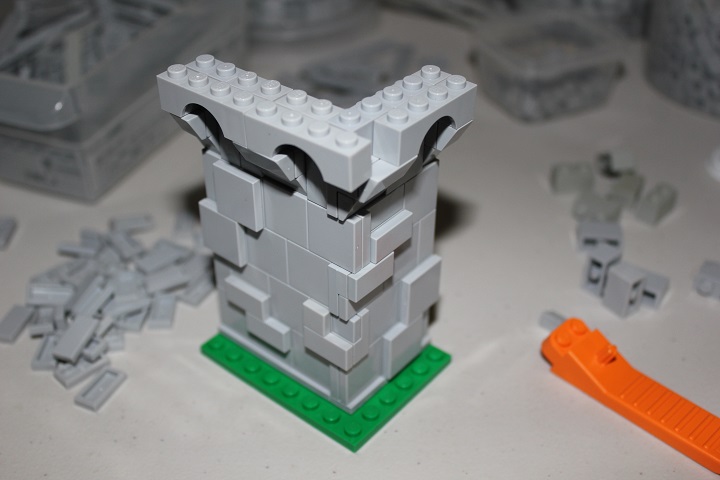
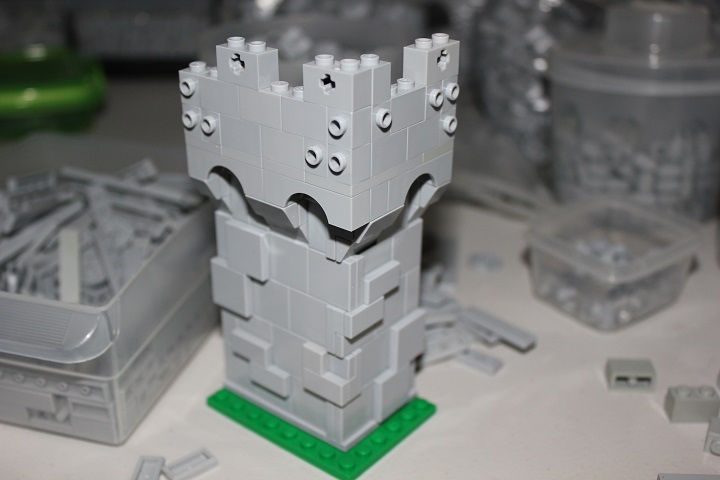
Some cheese slopes will work nicely for corbel stones.
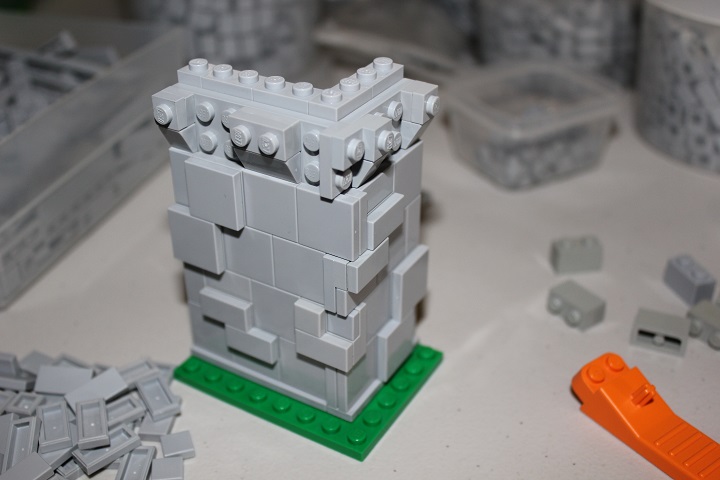
More cheese added to the exposed studs finish off the corbels, but now we’ll need to switch to studs up building for the battlements. These bricks and arches are just sitting in place right now, but by connecting them to the studs up back wall we can make the wall nice and sturdy.
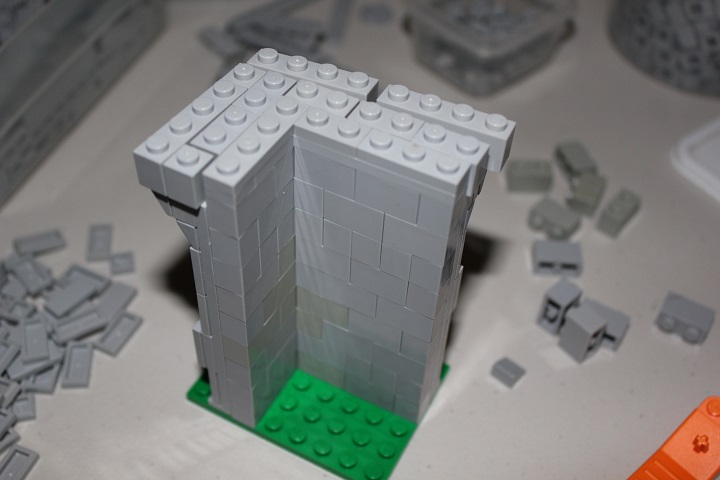
Now we’re ready to add some crenelations and the wall walk. Some SNOT 1×2 tiles attached via more brick with stud helps the 1×2 brick pattern match with the SNOT area below.
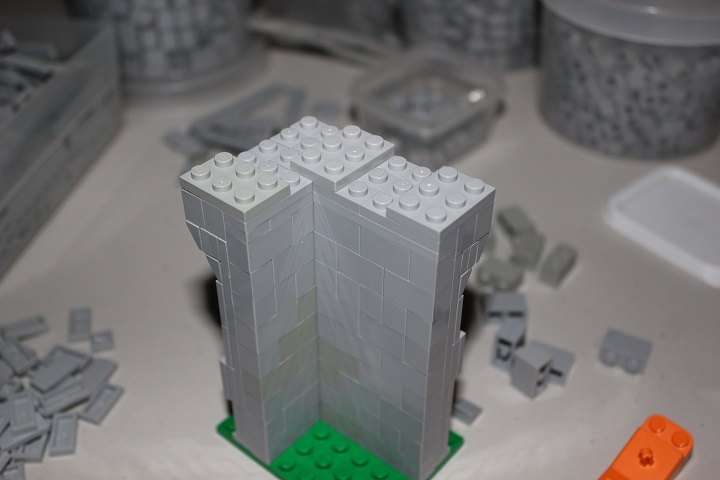
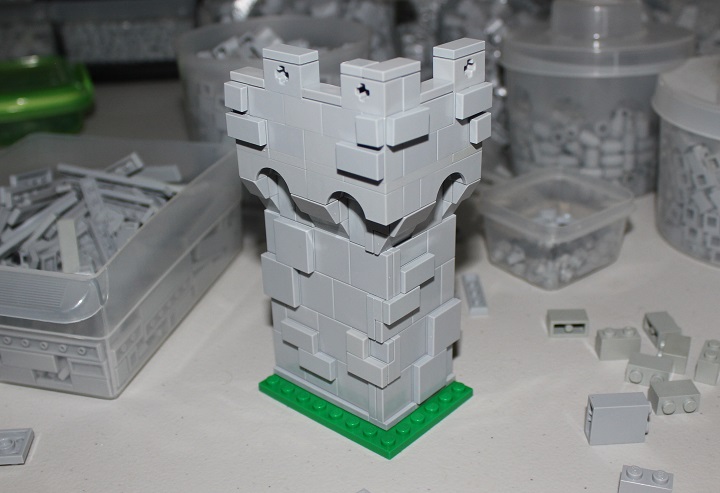
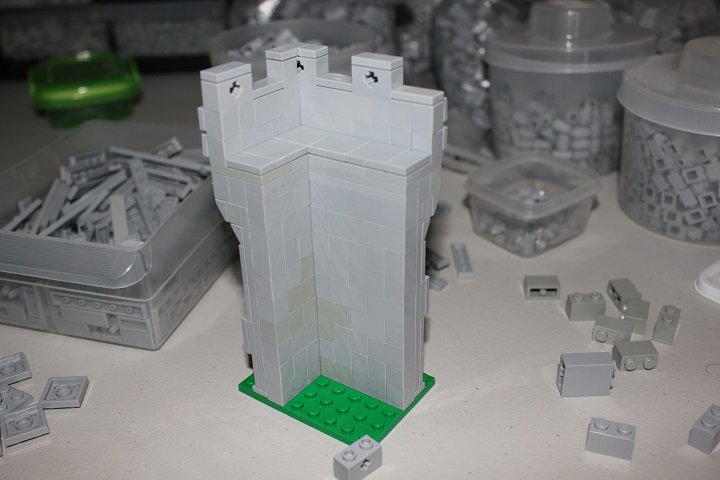
What the completed wall looks like.
Some things to keep in mind when designing your own SNOT walls: keep the SNOT areas an even number of studs high so that they match perfectly with studs up sections; a one stud thick wall with SNOT plate and tile added is just shy of two studs thick, if you need an exactly 2 stud deep section use brackets to attach the plates rather than brick w. stud, or mix in a studs up section; you can add in more colors to mottle your walls, or leave the wall perfectly uniform.
Hopefully this tutorial was helpful to you, and of course, if you have any questions just let us know and John or I will be happy to reply.


😀 I’ll definitely be using this one… in fact I might in an upcoming collab I’m doing… Thanks for the help!
Great tutorial! This technique certainly looked great in you Bodiam castle.
Awesome tutorial, really helpful. You have inspired me to build a model using this, you can see it on Mocpages here: http://www.moc-pages.com/moc.php/430585
I’m glad to hear the tutorial was helpful!