


Arrow slits are a good way to liven up a castle wall, and there are plenty of different techniques to choose from for them. This post shows how make 3 basic arrow slit designs.
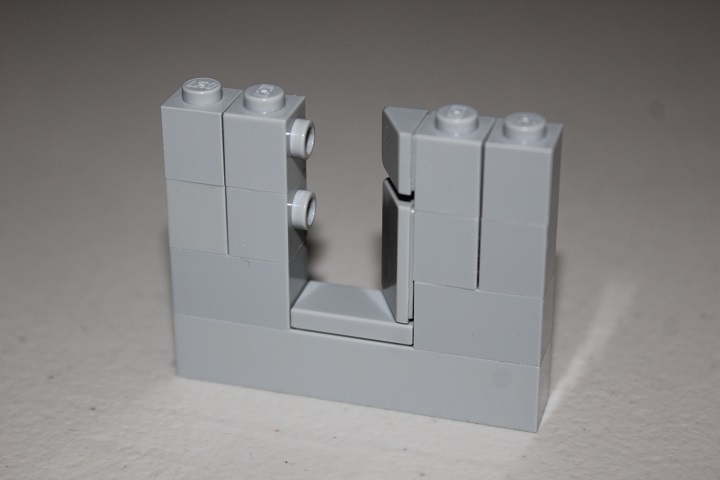
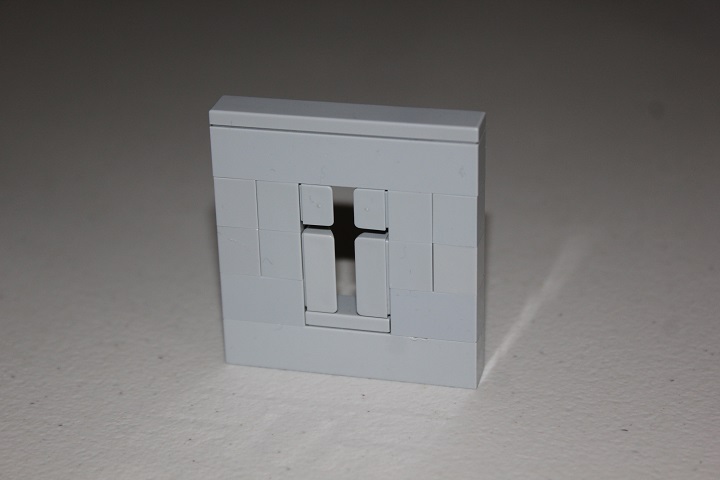
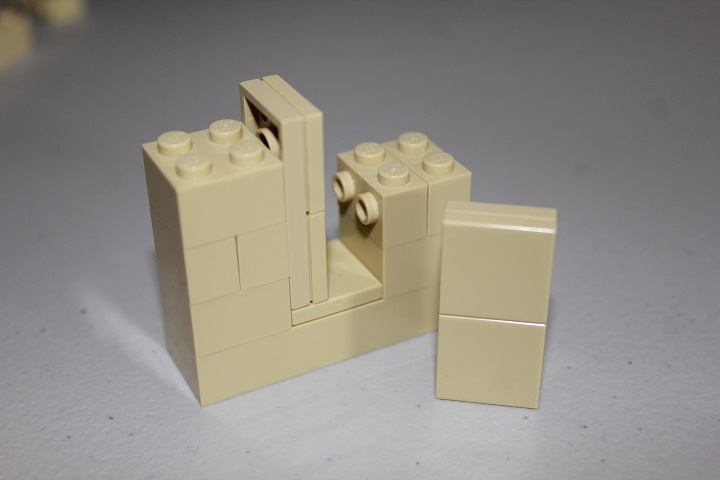
Here is a SNOT cheese slope arrow slit to start with. It is easily incorporated into a standard brick wall.
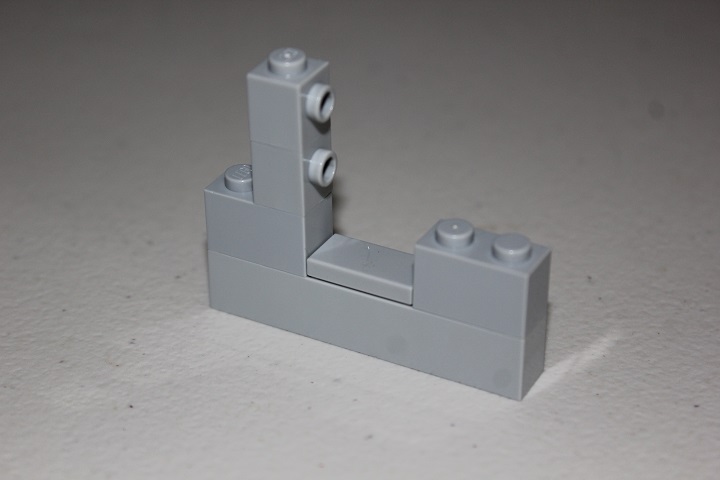
The slight gap between the two cheese slopes makes for a nice cross shape when the slit is finished.
This technique is simple, realistic, and effective. Plus it looks good from both sides.
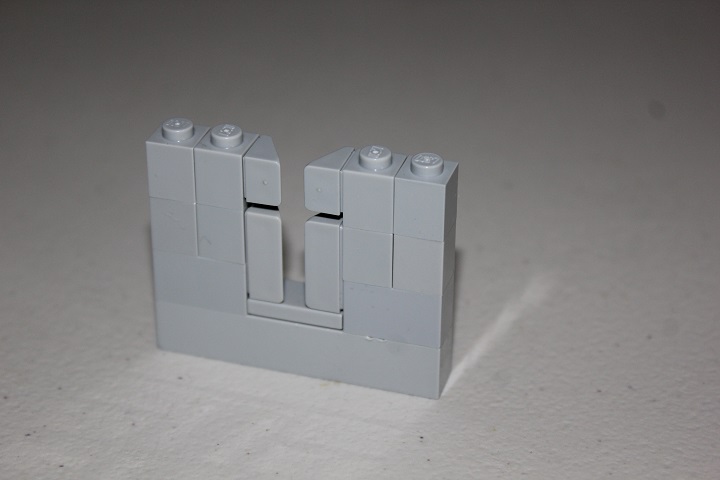
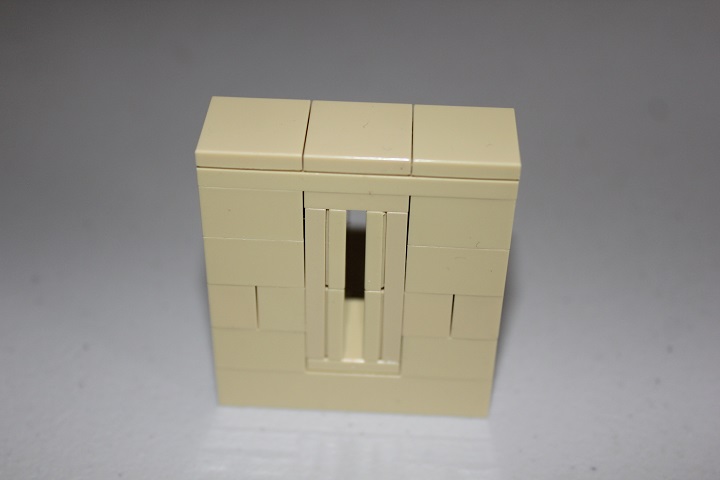
This next arrow slit is fairly similar in design, but uses plates and tiles rather than cheese, and produces a thin slit.
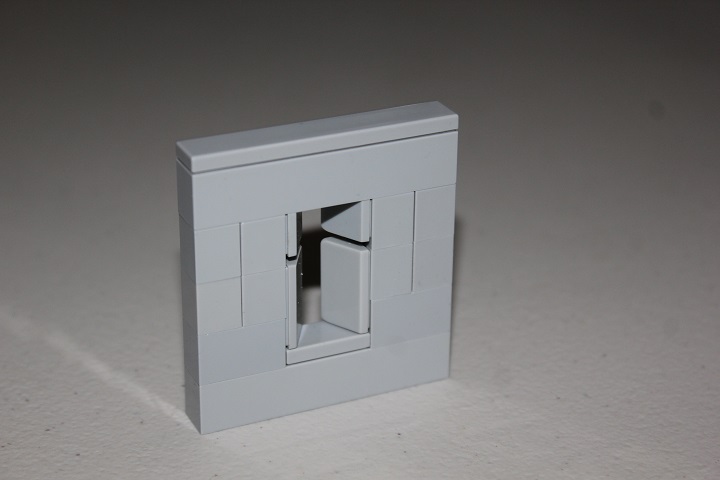
Last, we have the leg arrow slit, which has been used by many builders to great effect. You need to separate legs from the hips to use this design. The bottom 2 legs are attached via standard studs up building.
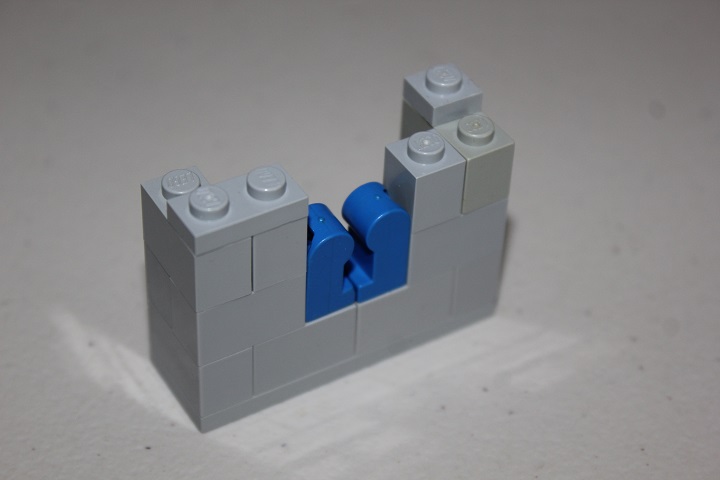
Then 2 layers of plates set up some brick modified to the proper height for attaching the top 2 legs.
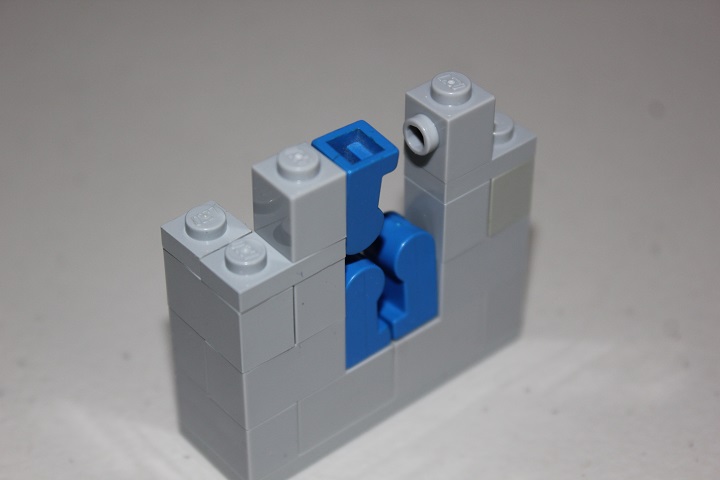
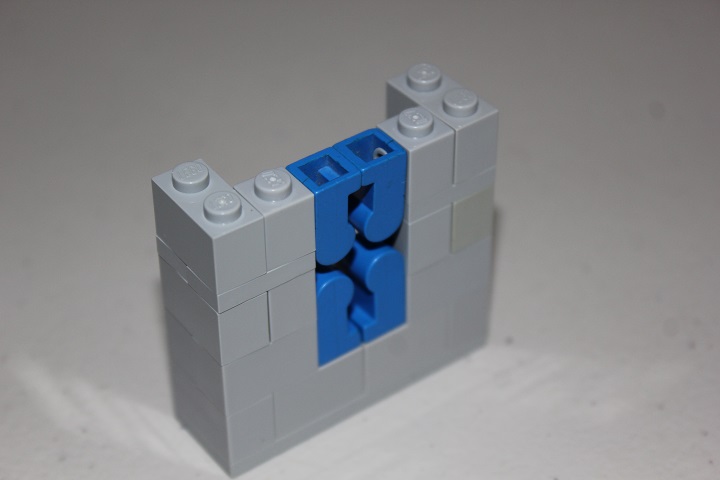
The rounded edges of the legs make for quite a pretty arrow slit.

Hopefully this post explains clearly how to make these 3 designs, and also inspires you to come up with more arrow slit techniques.
Feel free to leave questions, comments, or suggestions for future tutorials!


Awesome! I like all three 🙂
Thanks for these ideas. I‘m using the first „cross“-design with great effect – to be honest i have been searching for after i saw this design within some MOCs.
Just a remark: the second design is more a well than an arrow slit, as it would be nearly impossible to find and hit a target. Nevertheless also this kind of wall openings where quite familar in medieval castles.
Thank you Martin!