


This is the first of several furniture tutorials we’ll be posting. There is a fair bit of variety in this tutorial: chairs, tables, desks, cupboards.
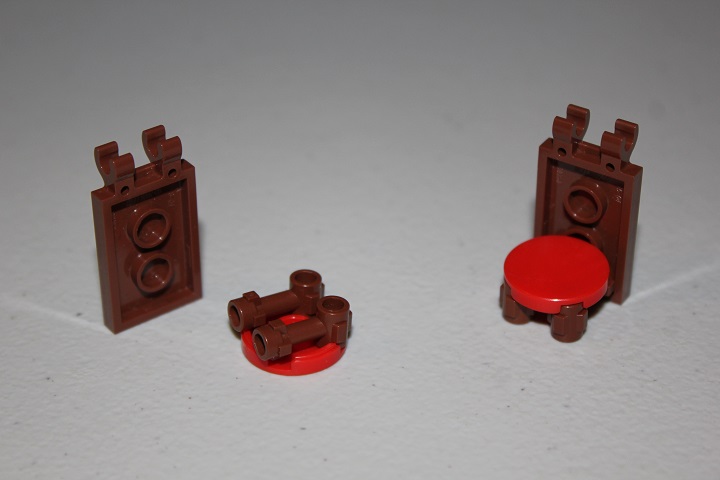
We’ll start with some small chairs. The lightsaber hilts don’t connect quite all the way into the back tile, but go far enough for a fairly stable connection.
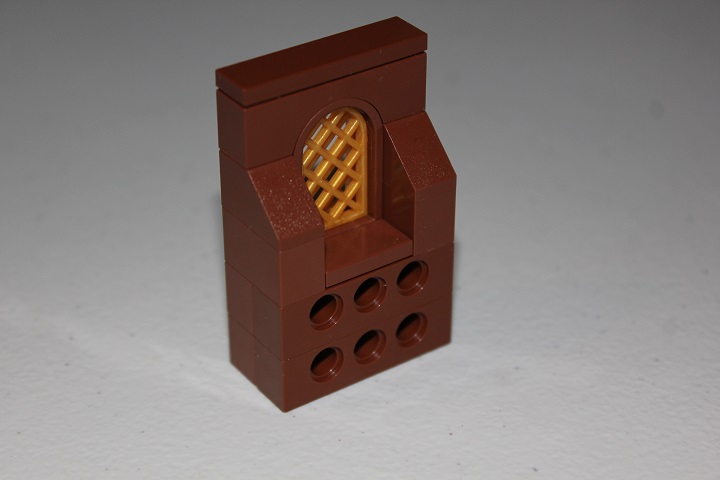
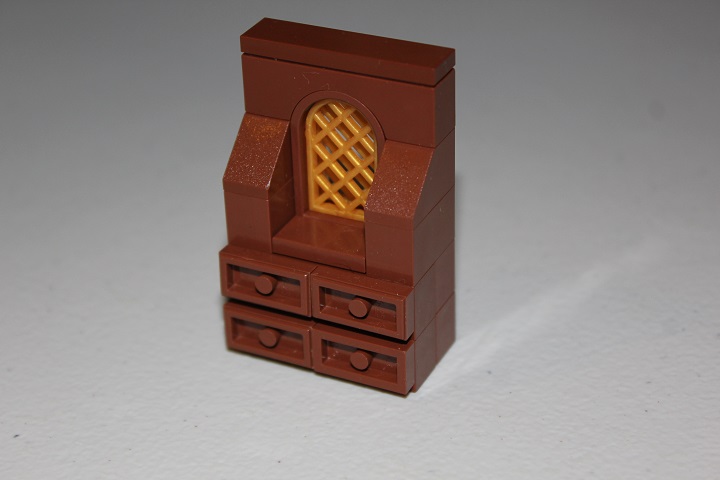
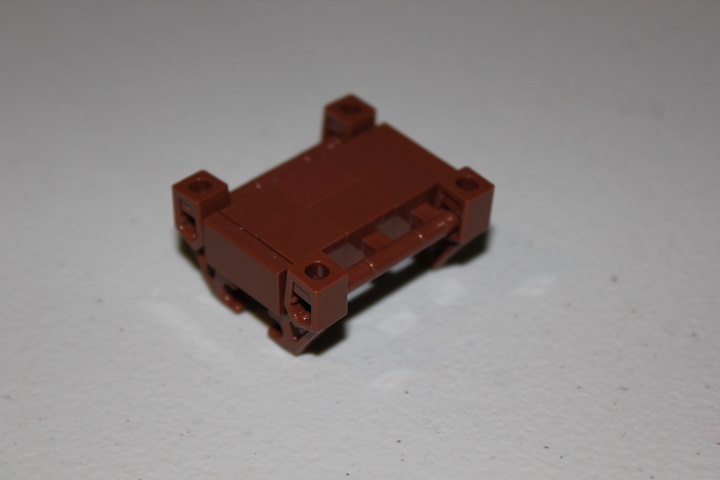
Next a simple cupboard, some jumper plates will be added into the technic bricks to serve as drawers.
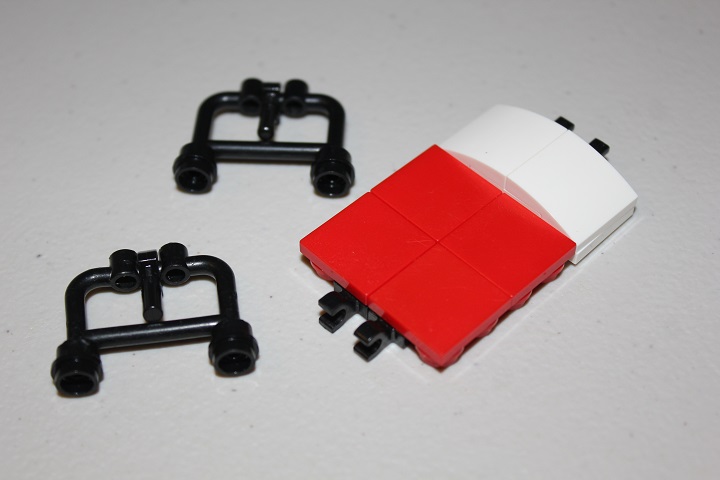
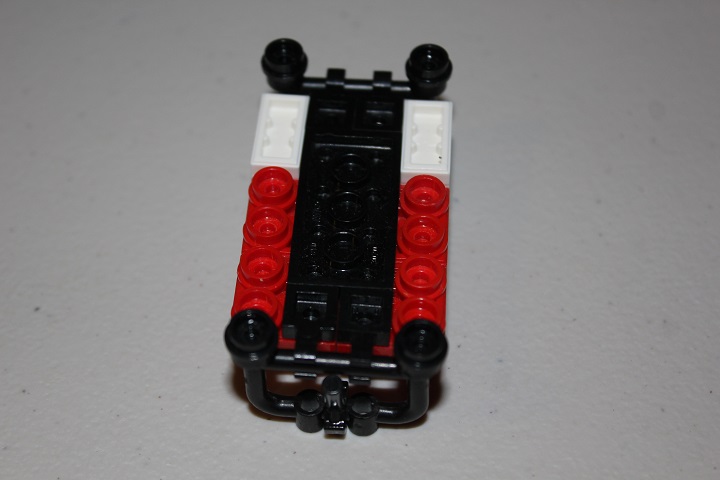
A metal framed bed makes good use of these railing parts.

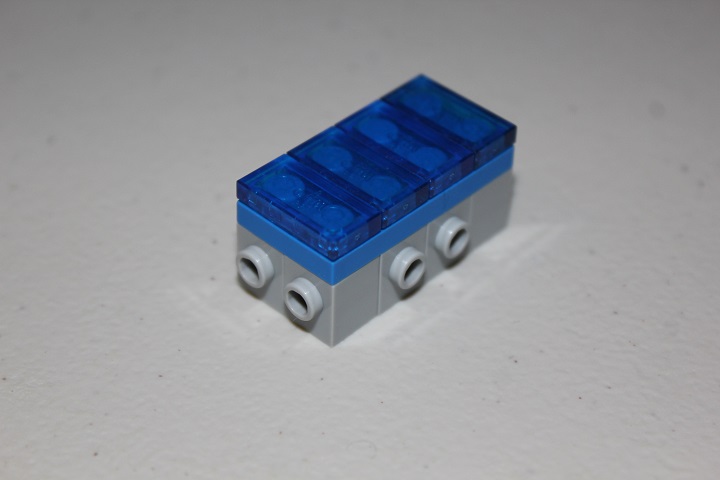
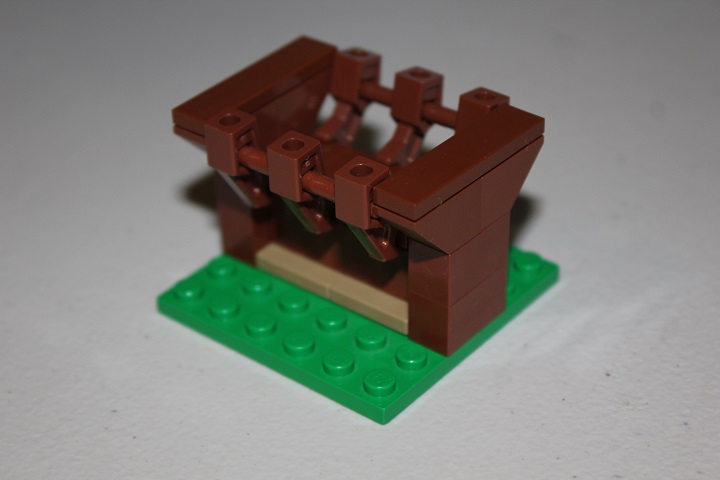
Here is a simple water trough.
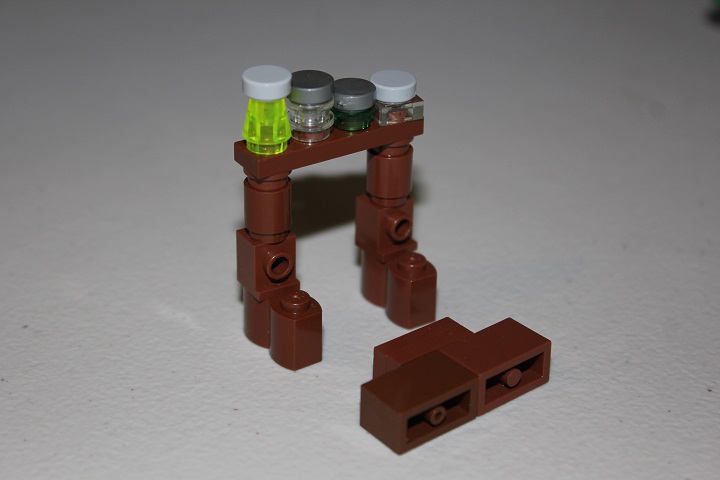
Looking for a more unique table design? This style gives a bit more ornate appearance than simple bricks and plates.
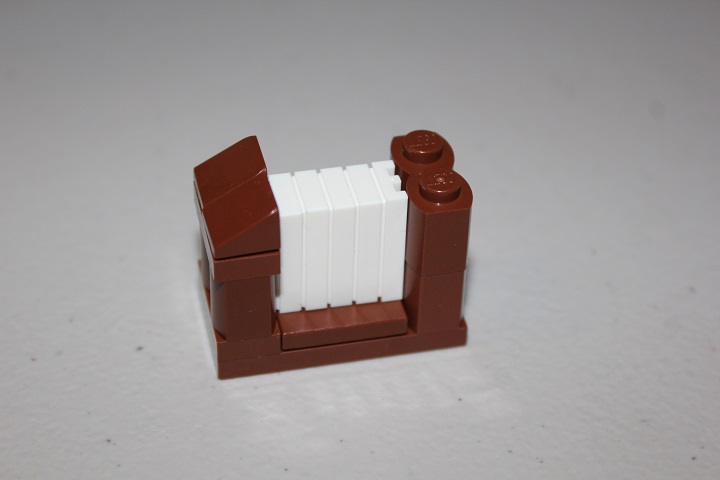
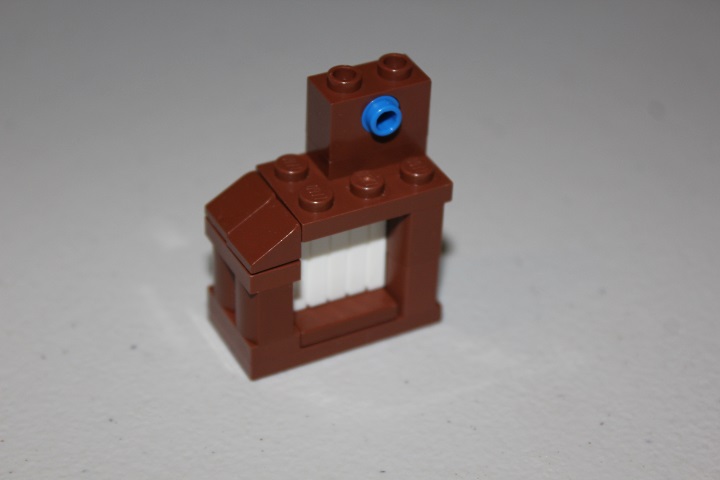
Next is a cupboard/shelf that was designed to fit under a set of stairs. Some jumper plates in white, capped with a grill tile, convey the idea of papers. Different color plates or tiles could be used to make books instead.

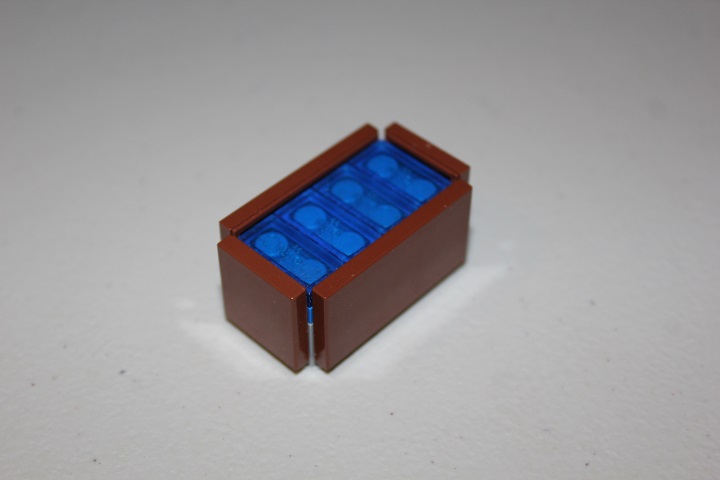
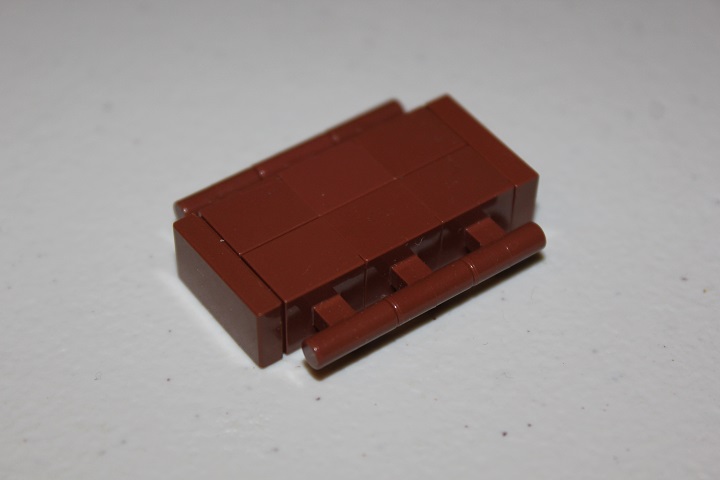
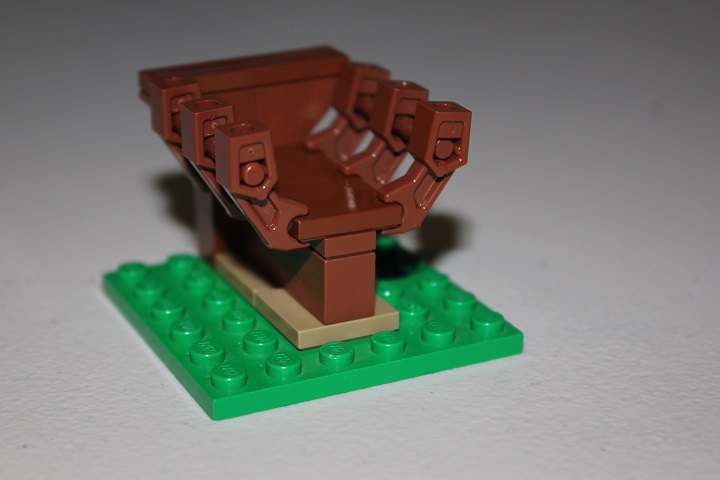
This feed trough design works nicely for cows or horses.
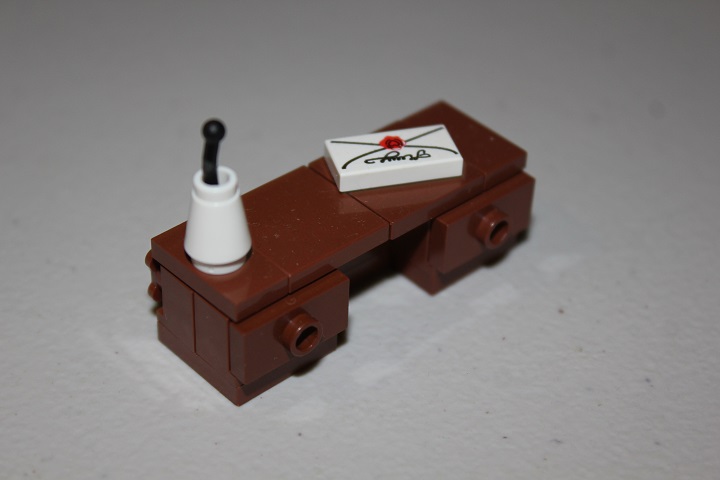
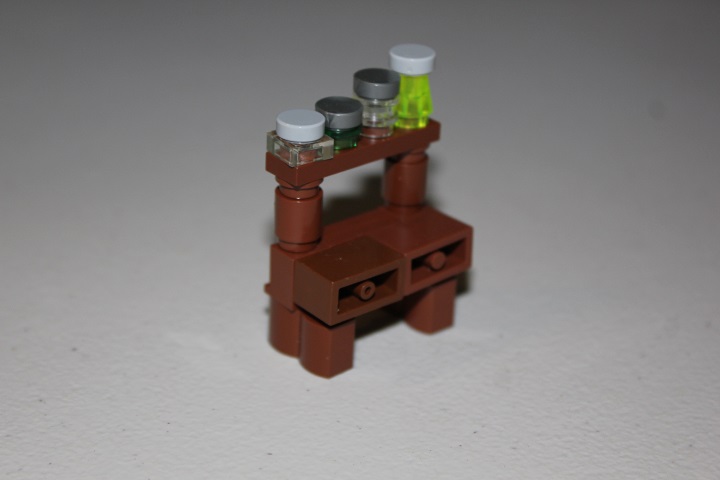
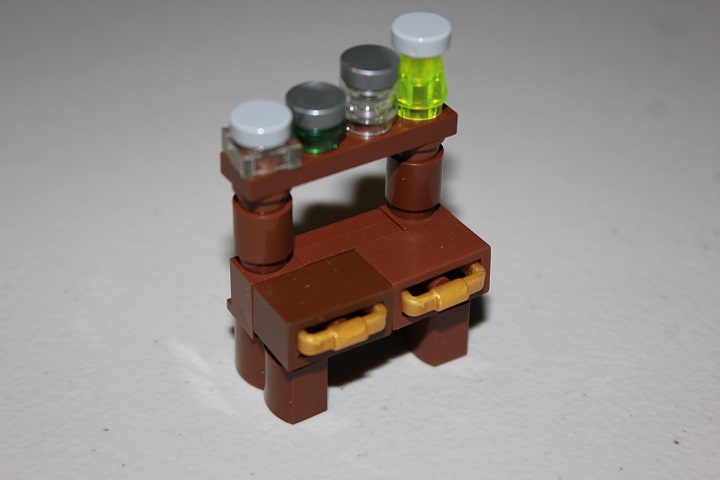
The lattice in this desk could be easily replaced with a brick, or different decoration.
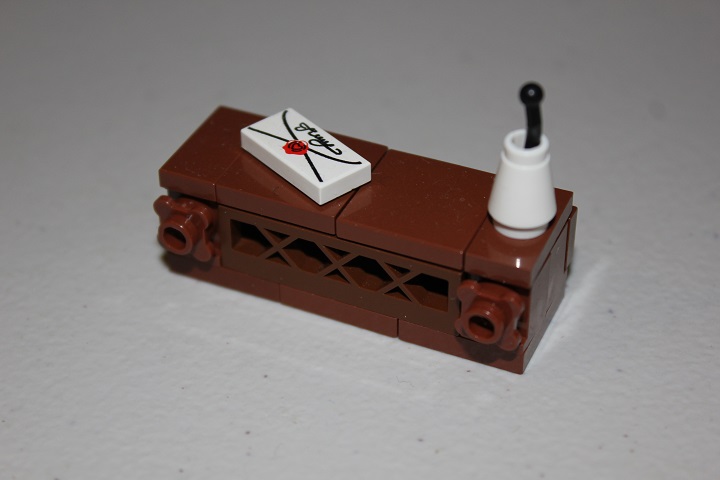
Drawers and the flower decorations are attached via headlight bricks.
Lastly a kitchen table/cupboard. The headlight bricks will be turned around to face the other way so you can attach the SNOT plates and bricks.
Like such.
Then some bucket handles are slid into the bottom of the bricks.
If you have any questions about the designs above, or ideas on what other furniture items we should make tutorials on, let us know!


Awesome job guys! Great tutorial! Could you guys make a tree tutorial? I really like your tree techniques, and I am wondering how you do them! Thanks!
Thank you! Yes, we could do a tree tutorial in the future, thanks for the suggestion!