


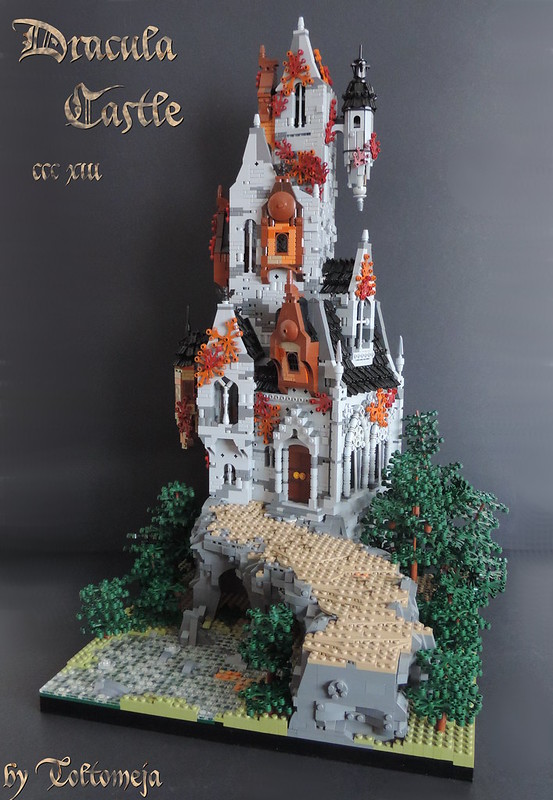
This month our guest is Toltomeja, and he will be showing how to build a flipper roof.
“I’d like to present you one of my favorite techniques – the flipper roof. It’s not an easy one, but the effect is certainly worth the effort. Don’t worry if you don’t get things right at the first attempt, as it is all about experimenting!
You’ll need:
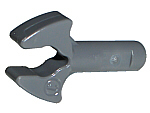
* as many flippers as you can gather (100 is a reasonable minimum) and half as many bars with a clip, aka mechanical claw.
* bars or flex tubes – I use the latter because of the variety of sizes available. Also, you can try bending them to achieve a curved roof effect.
* a handful of bricks, plates and clips.
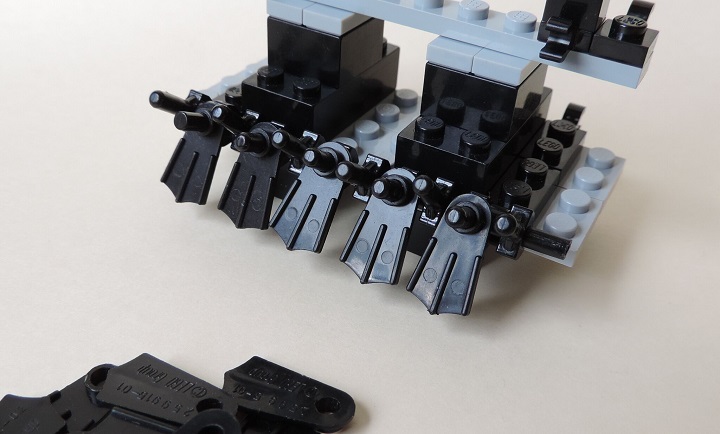
Let’s start with the basic structure. Its size depends pretty much on your needs – you may want to make your roof less steep for example.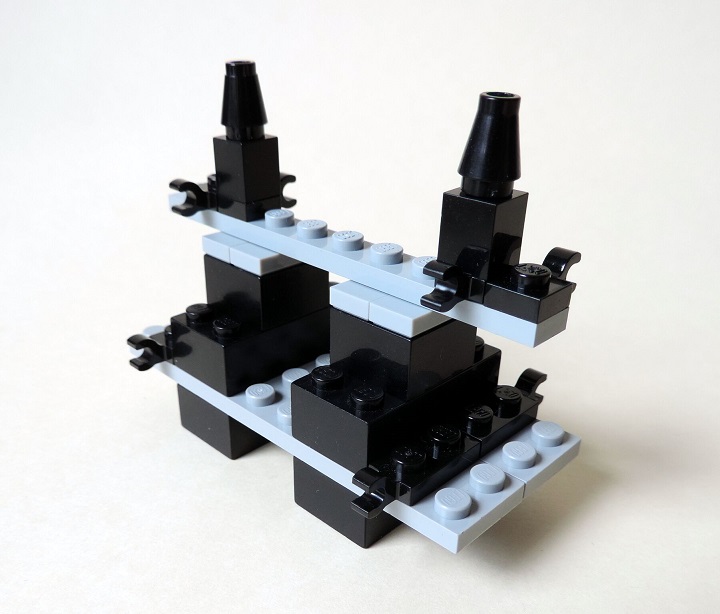
Now let’s attach flex tubes to the clips.
Then, attach the claw parts to the flex tube. The space between each pair should be about the same as their width.
Every second claw gets a flipper…
… And then, more flippers are added to the remaining claws. If you got the previous steps right, the flippers should fit between the studs of the lower layer. If not – you can always adjust the claw clips as needed.
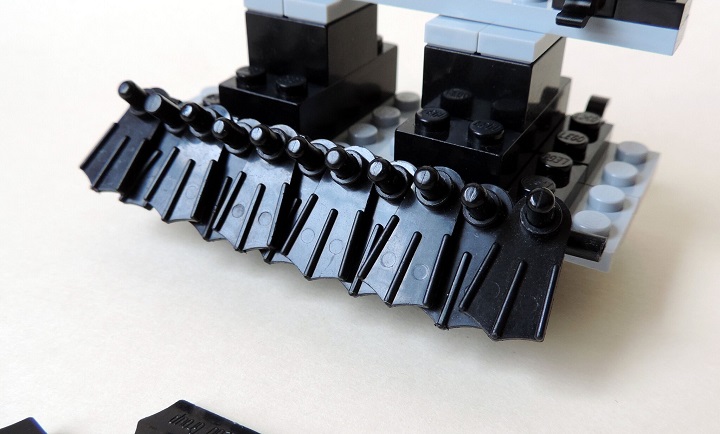
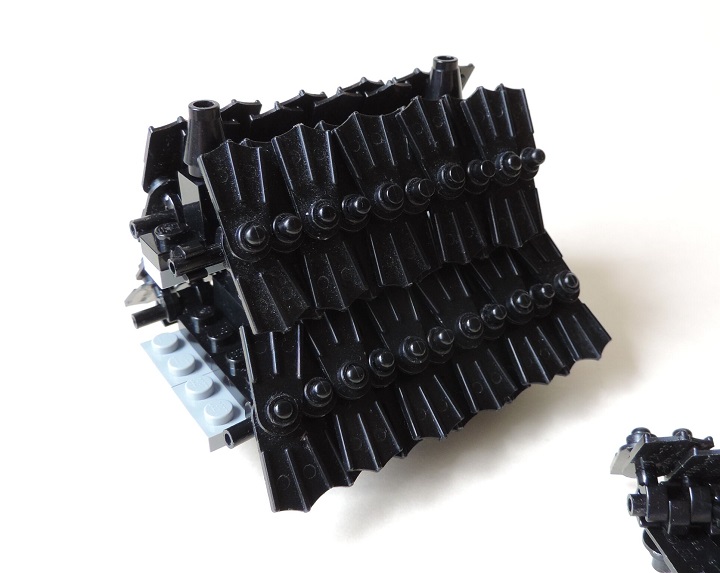
Then comes the third layer – with flippers facing up this time.
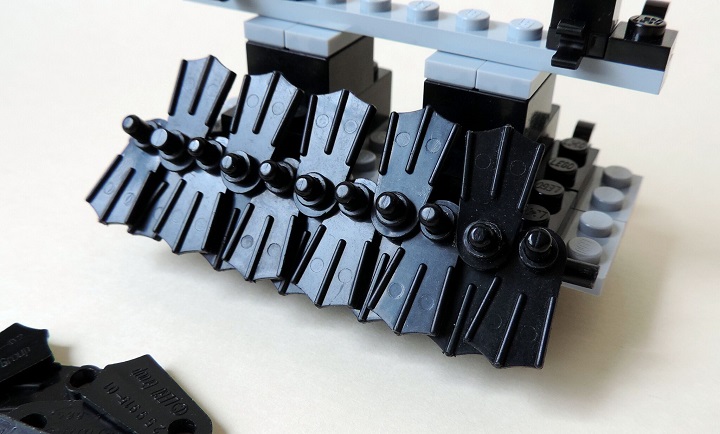
And finally, the fourth layer. Hopefully, you should end up with a section tightly covered by flippers.
Now you are ready to build the next sections – as many as you like! Remember to carefully attach the flippers one by one, in four layers, as described above.
Each section should be placed above the previous one, so that there is no empty space between them.
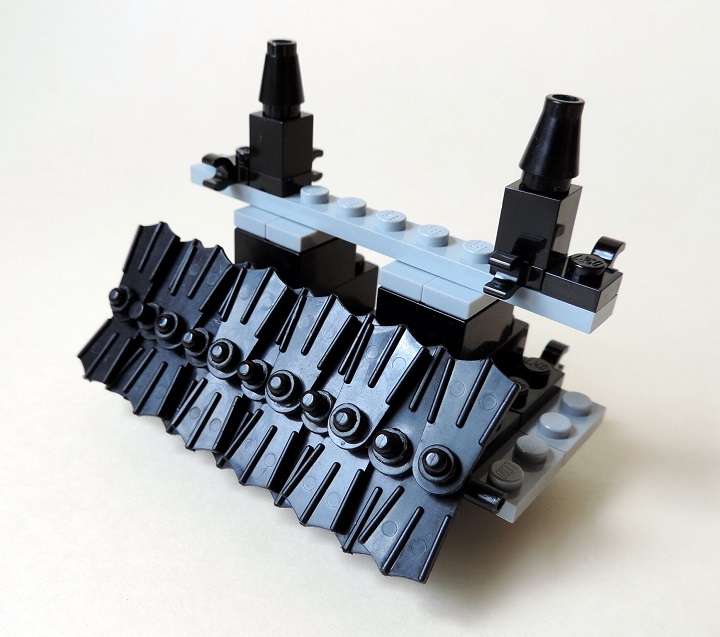
Now you have already learned enough to build your own flipper roof. However, there’s one more thing I’d like to show you. What if we want to create a nice roof top to cover a two-sided roof?
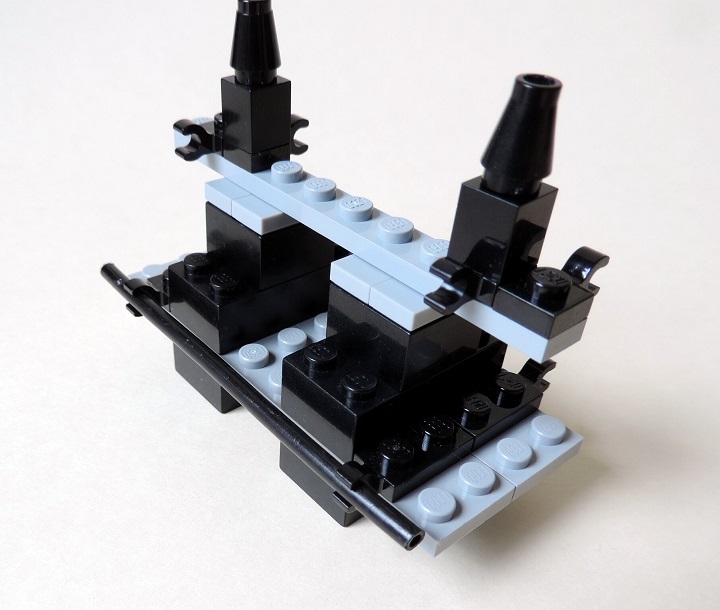
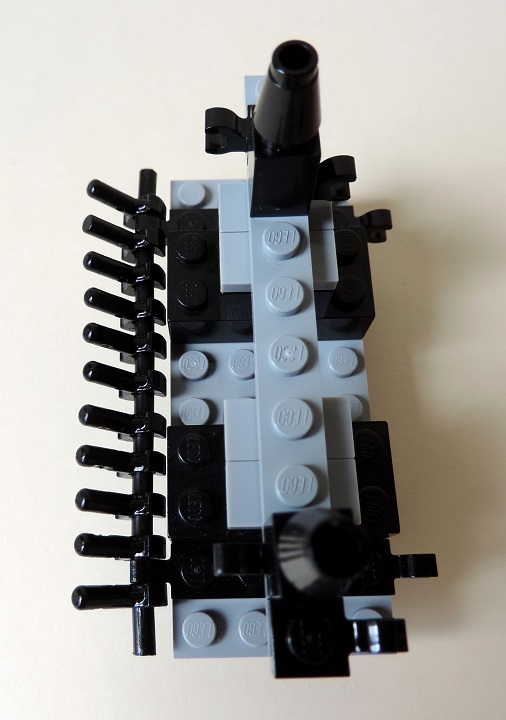
This is going to be a bit more tricky, as we want to make two separate rows of flippers using only one flex tube. You’ll need to pack the claws as tight as you can – every second facing left, the others facing right.
Also, you’ll need two of them to be inserted into the cones (you might have seen them in the previous picture).
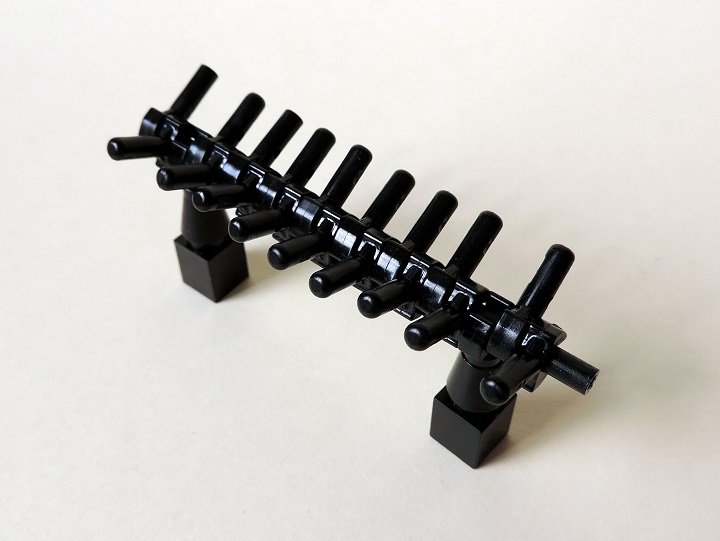
The basic principle is exactly the same – attach the flippers one by one in four layers, this time – on both sides of the section.
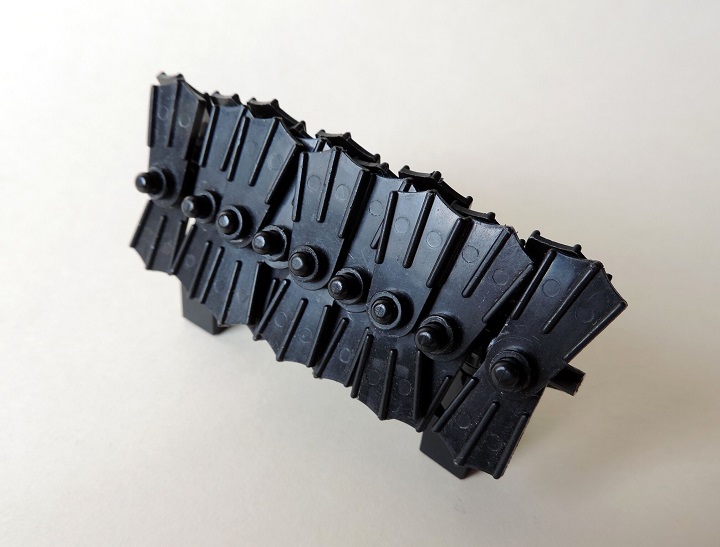
The last step is to place the final section on top of the construction. This is what it may look like:


I hope that you are now familiar with the technique, and soon you’ll manage to use it in your own MOC. Keep experimenting with various roof sizes, angles and shapes – and have fun!
For reference and inspiration, you can always head to my Flickr photostream:”
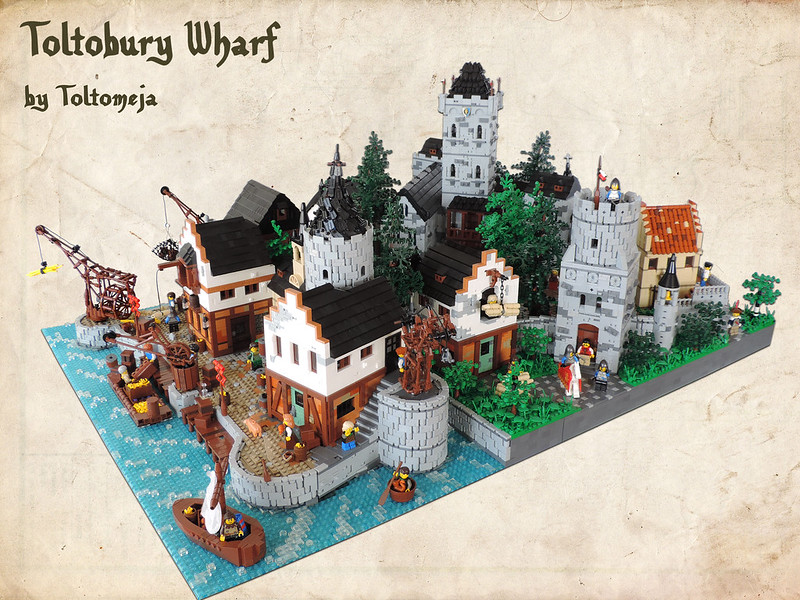
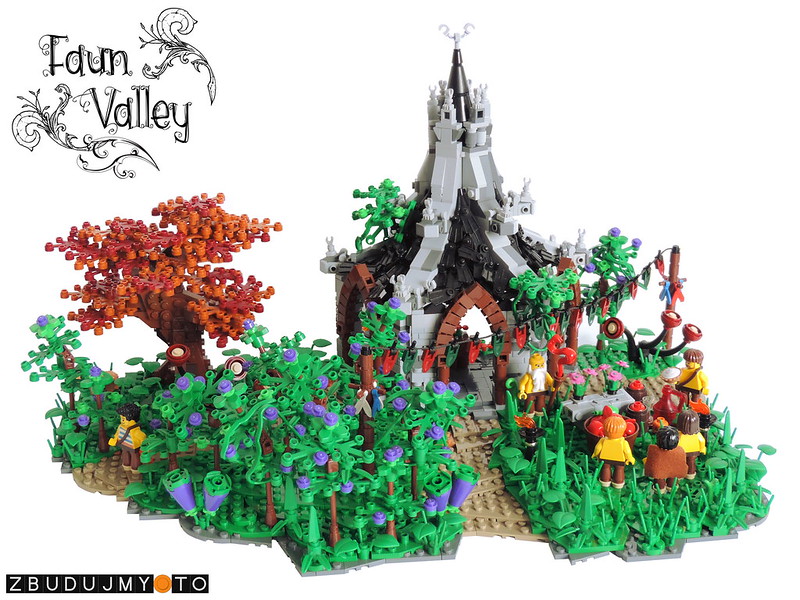
Thank you for the excellent explanation on how to build a flipper roof, it is certainly a lovely technique.

