


This will hopefully be the first of many Middle Eastern design tutorials that I will do, seeing as it’s one of the themes I build in most. So without further ado, let’s get into the techniques!
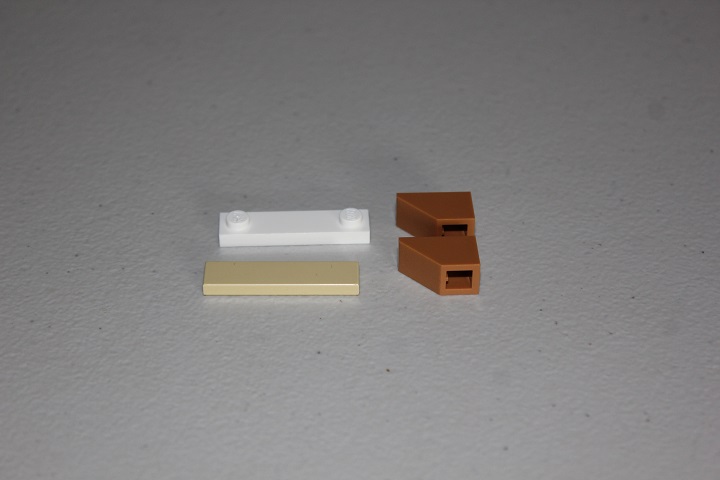
We’ll start off with a simple floor pattern. This can be made using almost any color combos, but for this tutorial I’ll be utilizing medium dark flesh, tan and white. You’ll need inverted slopes, 1×4 plates (or 1×4 tiles with studs at the end as shown in the picture), and 1×4 tiles.
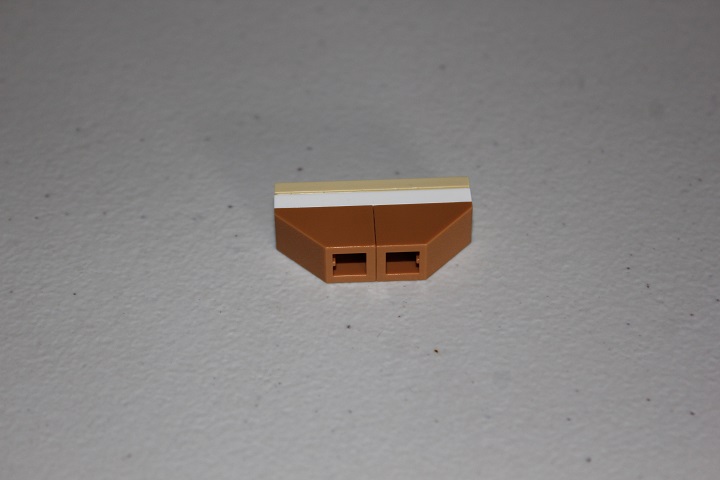
Connect these parts as shown below; you’ll need four sets of them for every section of mosaic you want to make.
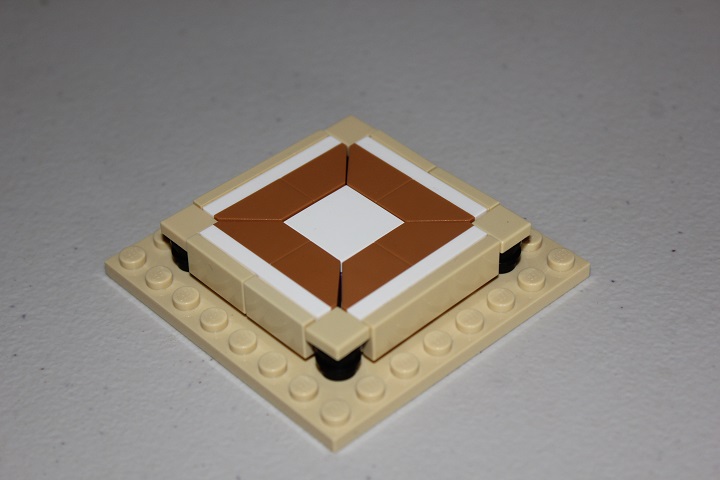
Start arranging them in a square, with a 2×2 tile in the middle, and 1×1 tiles at each corner.

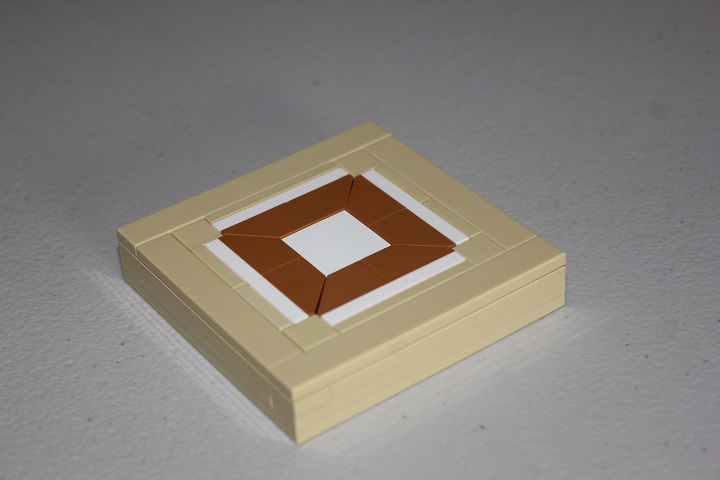
Put the other two sections of the mosaic in, and you have a complete square!
You can either combine several of the mosaics for larger floor, or you can just make a simple border for it if it’s a smaller scene.
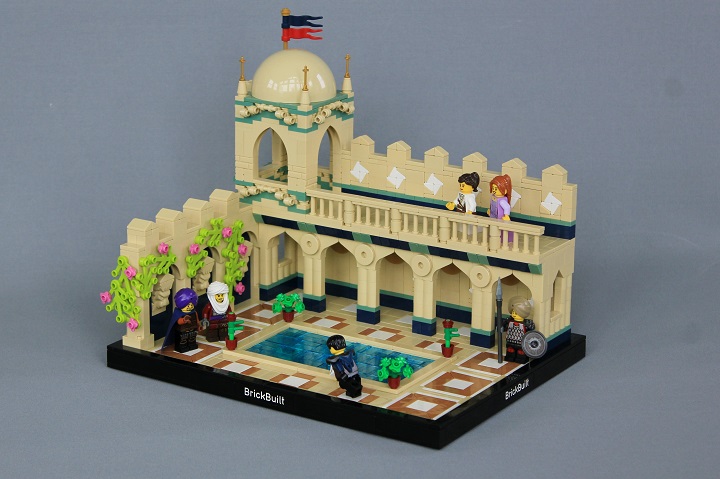
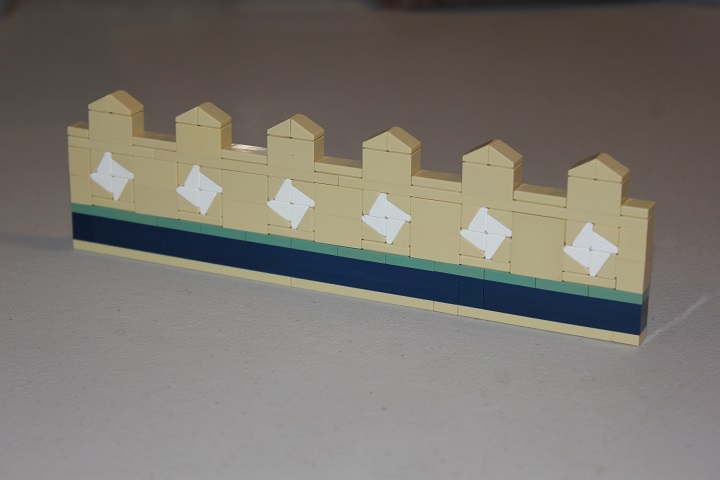
Here’s an example of this pattern in a completed build:
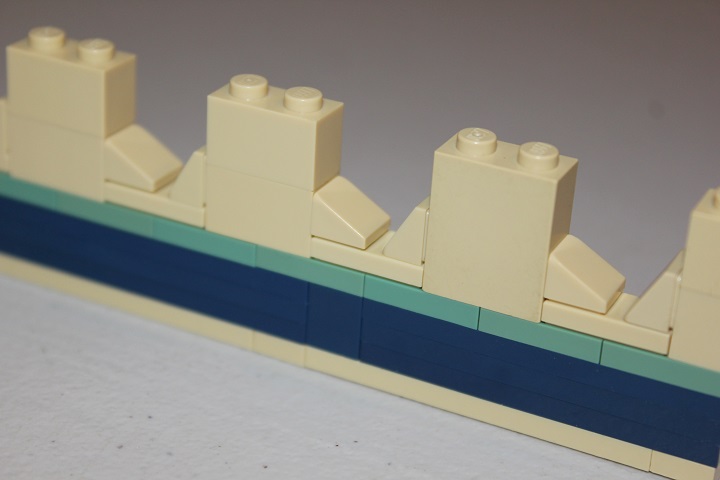
Next we have another mosaic, but this one is much smaller. The only part you’ll need are cheese slopes, and as with the previous pattern, you can use any color combinations you want. You’ll want to be careful when building this, as none of the parts are actually connected and thus can fall out easily; once it’s completed though, friction holds it together quite well.
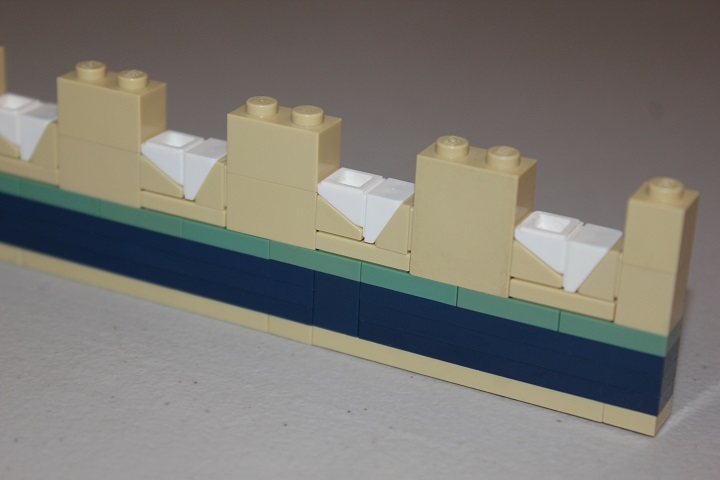
The white cheese slide on top of the tan cheese for the beginning of the star pattern.
The pattern is reversed on top, and you’re pattern is done! Quite effective and very simple.
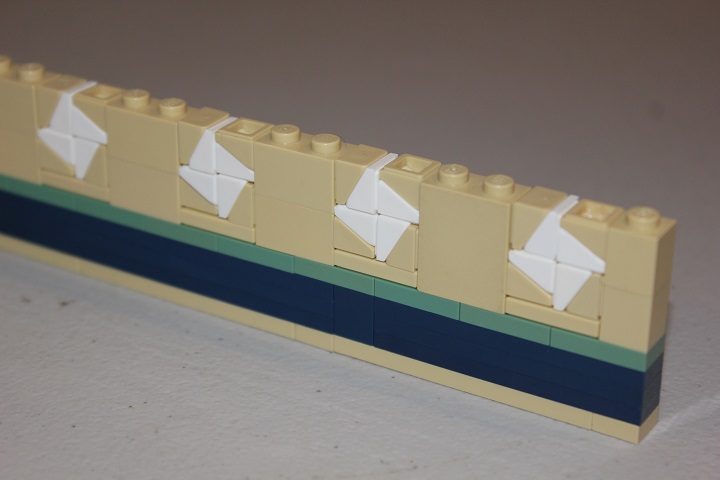
Then just top off the wall, and you’re all set! Connecting the plates on top will be a tighter fit than usual building due to the geometry of the cheese mosaic, but they will definitely still hold well.
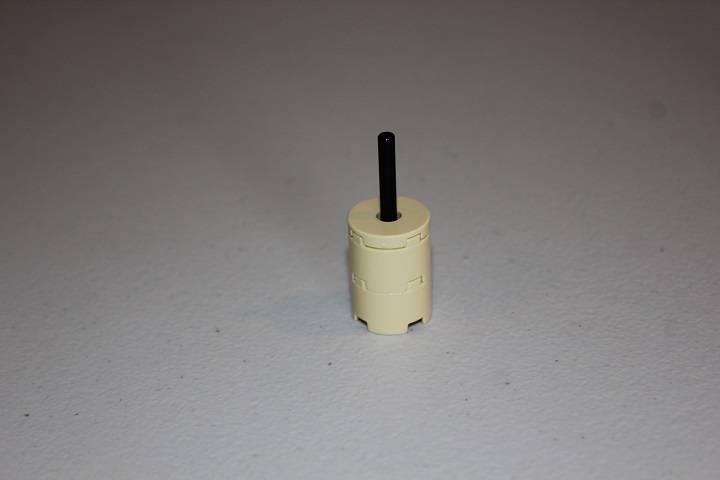
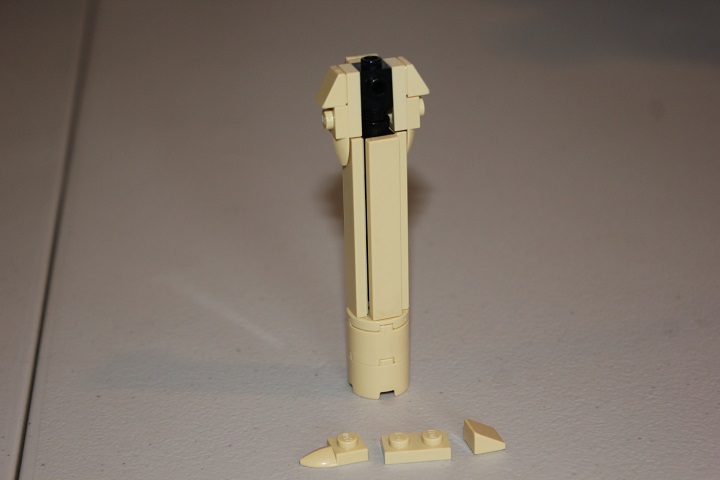
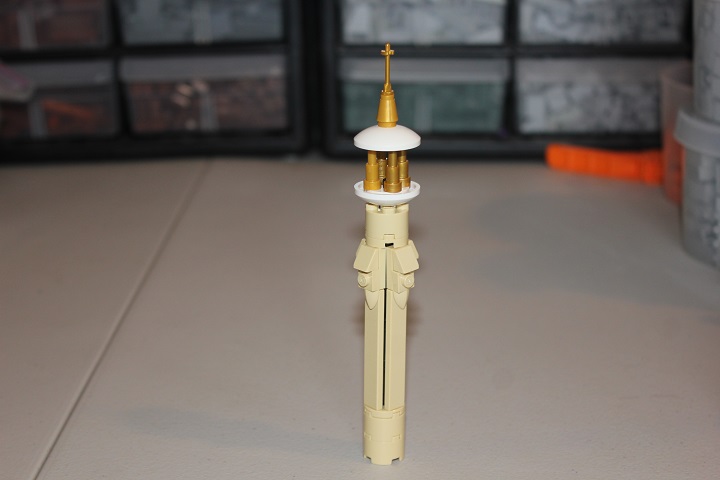
And the last technique for this tutorial is a minaret. Some 2×2 round bricks, a 2×2 round tile with hole, and a four-long bar make up the base.
Next make an assembly of travis bricks with two plates between each to hold the SNOT tiles on.
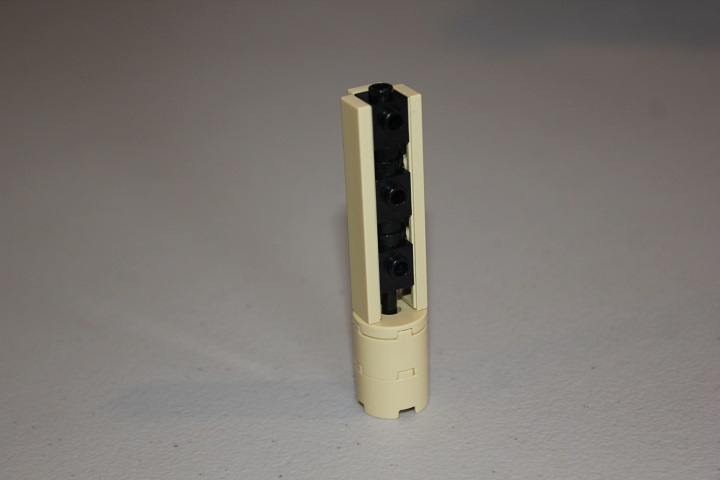
add another two plates and another travis brick on top.
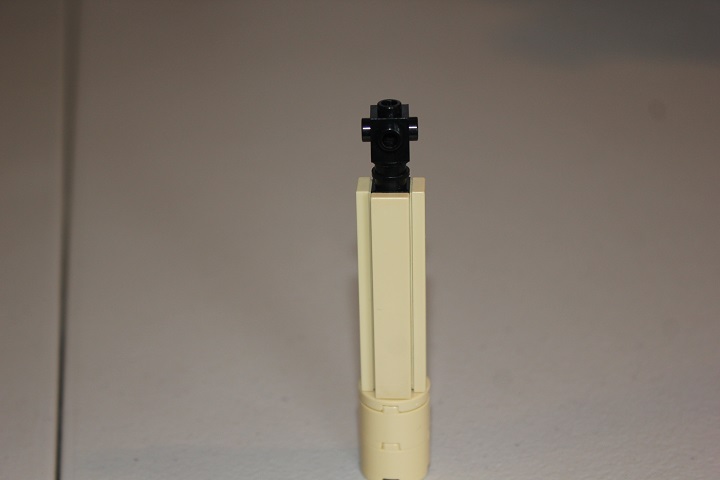
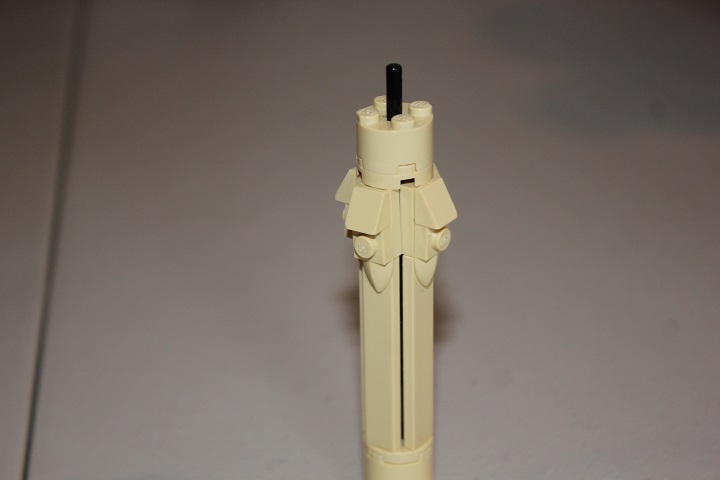
This will allow you to attach some detailing near the top. I used teeth plates and cheese for mine, but you there are many combinations of parts you could use.
Another four long bar, 2×2 round plate, and 2×2 round brick continue on top of that.
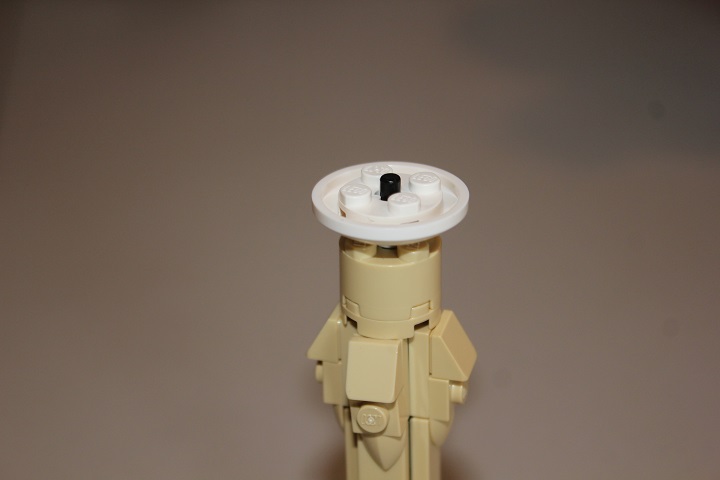
An inverted 3×3 dish and a 2×2 round plate in white give a nice base for the final section.
Next we add gold telescopes and a 2×2 round jumper plate in white.
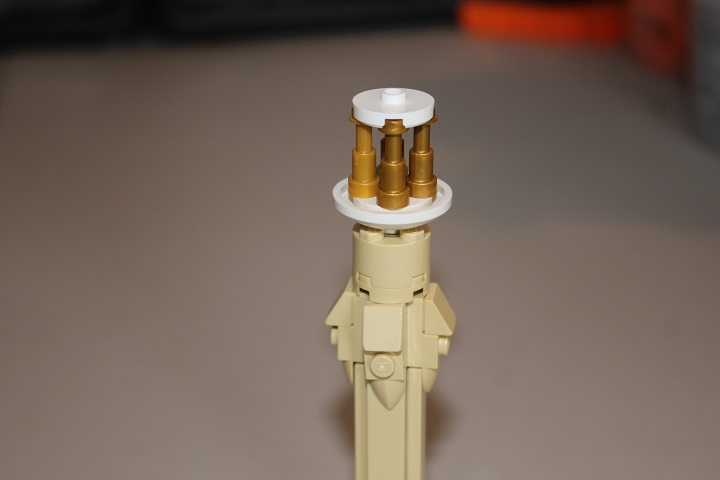
And then we finish it all off with another 3×3 dish, a gold cone, a gold ski pole to make a little spire.
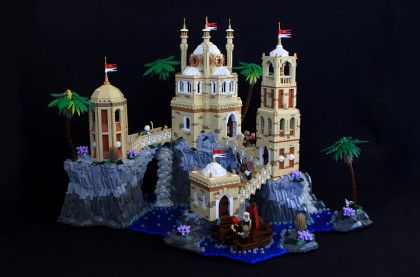
Here’s what these look like in a build:
I hope you enjoyed this tutorial, and as always, if you have suggestions for future tutorials, leave them in the comments section below!


Awesome! Great stuff here! I love the mosaic, and I might have to use it sometime! Keep it up! 😀
I love them all! 😀 My favorite is probably the column! 🙂
Awesome tutorial! Thanks so much for sharing 😊
Glad you found it useful! 🙂
Thanks, I quite like the minaret design too 🙂
You’re most welcome!