


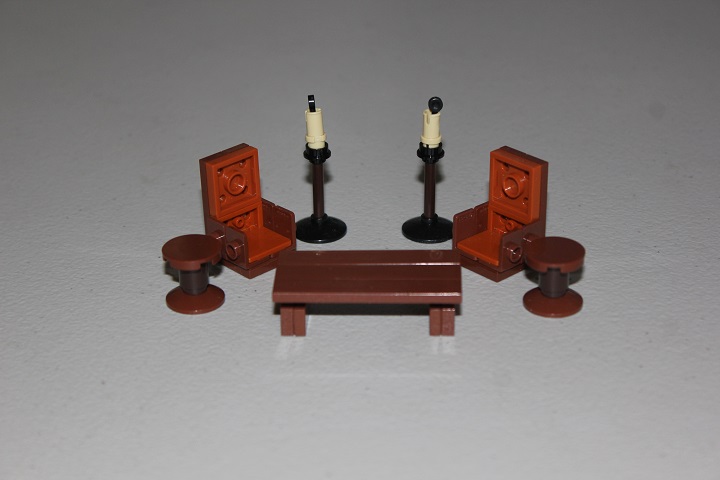
The 6th installment of our furniture tutorials. Keep reading to see how to build a table, canopy bed, stool, armchair, and candlestick.
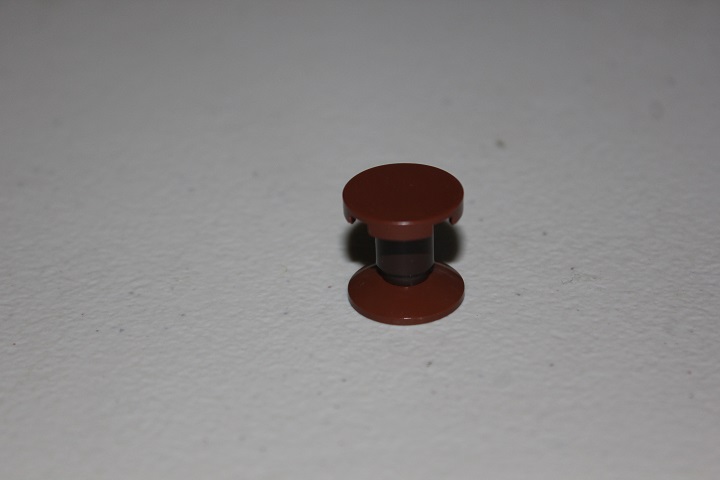
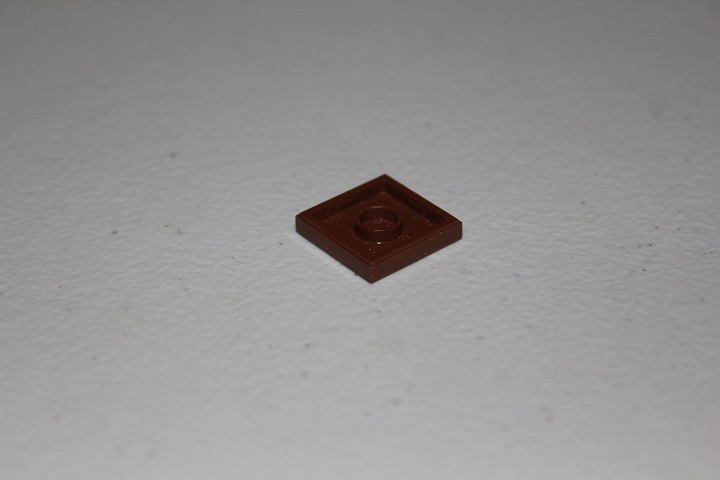
This stool design consists of just 3 parts.
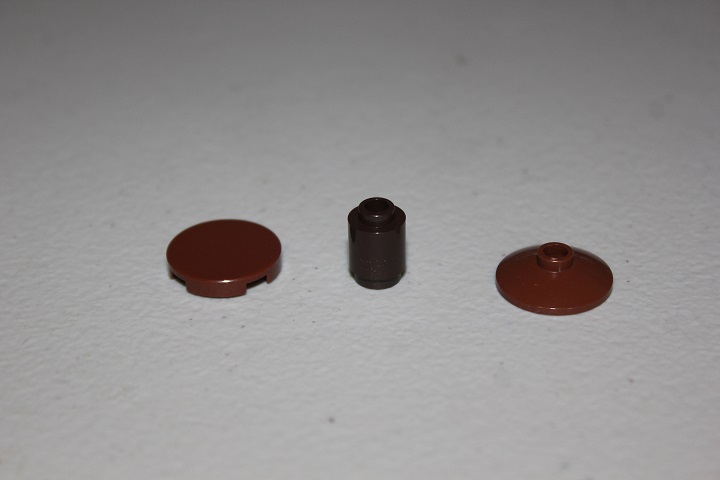
The 2×2 dish on the bottom could also easily be replaced by a 2×2 round centering piece.
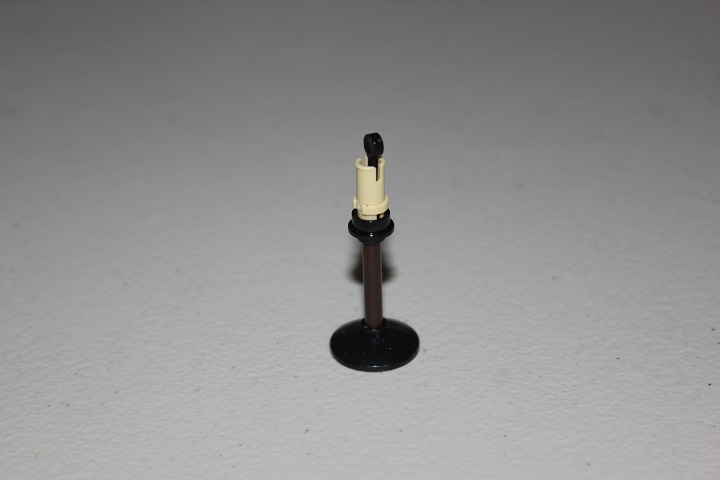
Next up is a detailed candlestick that even includes the wick of the candle. The 1×1 round plate with hole is the key piece in the design.
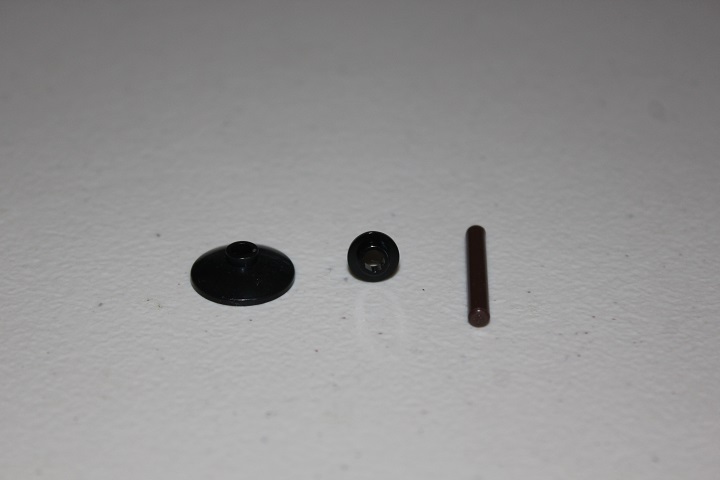
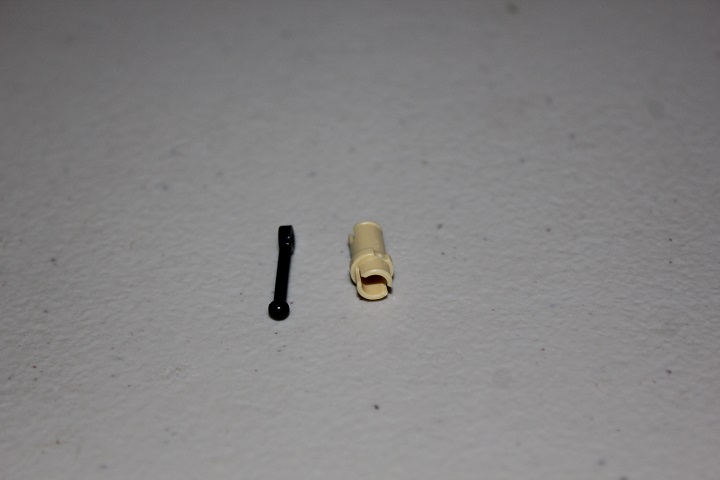
A lever and technic pin make up the candle itself.
And here is the finished candle stick.
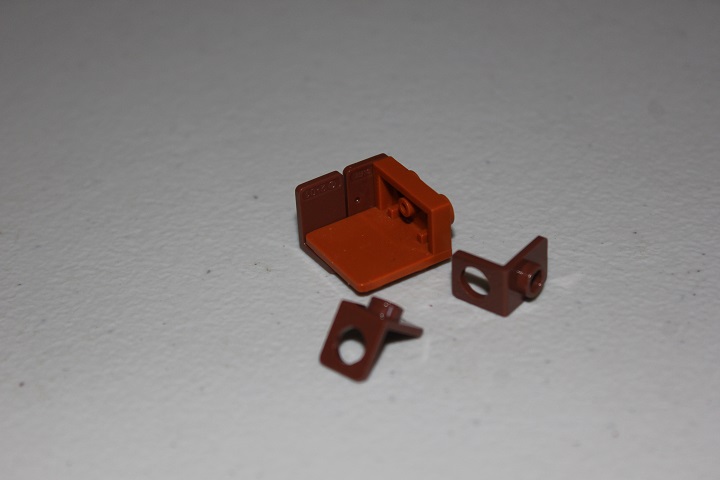
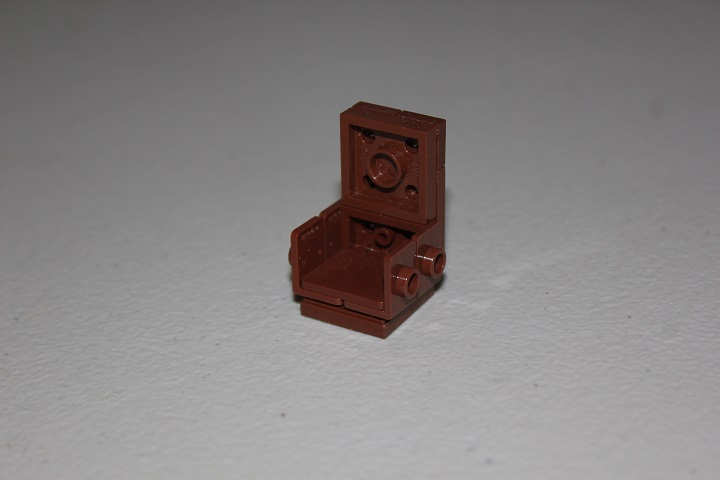
Armchairs are often difficult to build in minifigure scale without becoming too bulky. This technique utilizes neck brackets to allow for plenty of detail in a small space.
This upside down 2×2 tile serves as the base for the chair.
Then 4 neck brackets are added to a 2×2 bracket.
A few 1×3 tiles and a 2×2 plate make up the back of the chair.
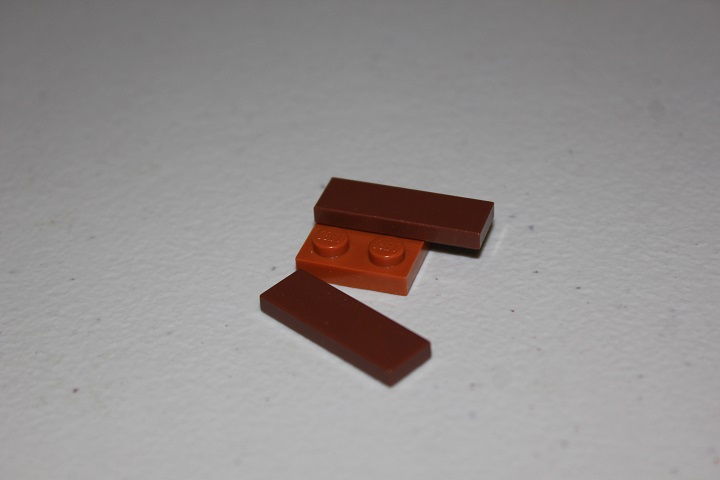
The back clips onto the 2×2 bracket, while the studs from the face of the bracket stick through the neck brackets enough for the assembly to rest fairly securely on the upside down 2×2 tile.
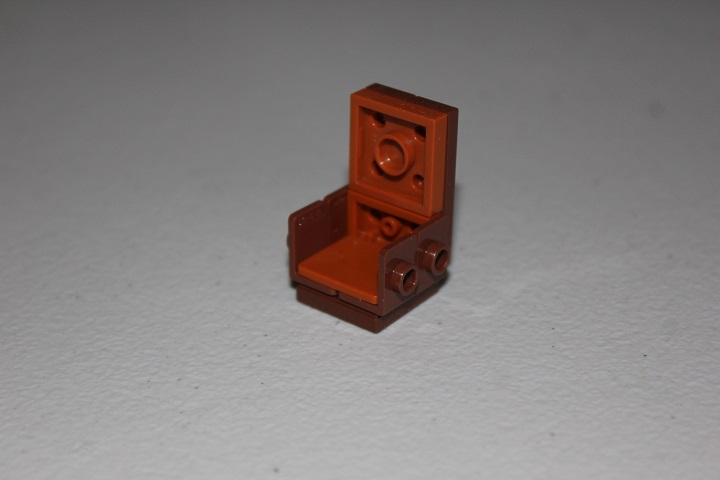
Different colors can be used for the 2×2 bracket and 2×2 plate to give different styles.
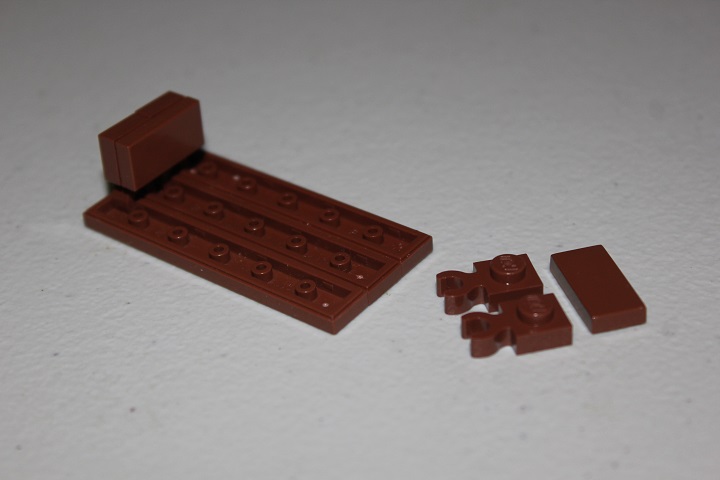
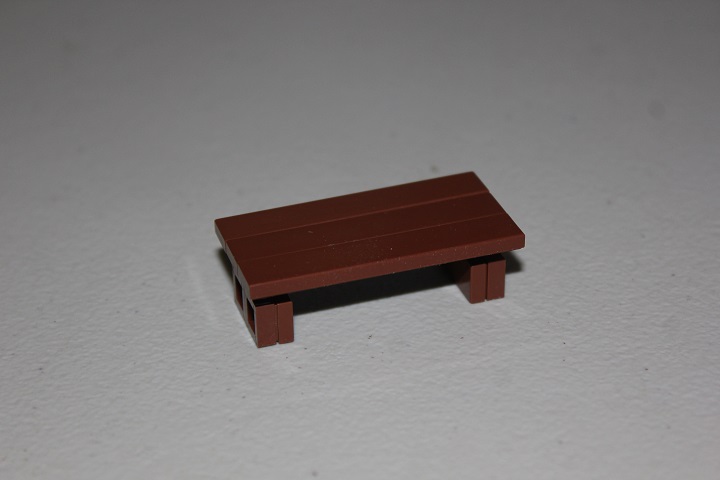
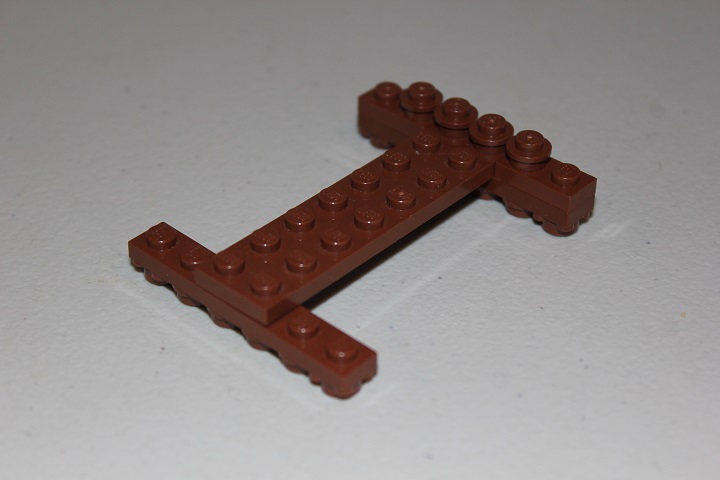
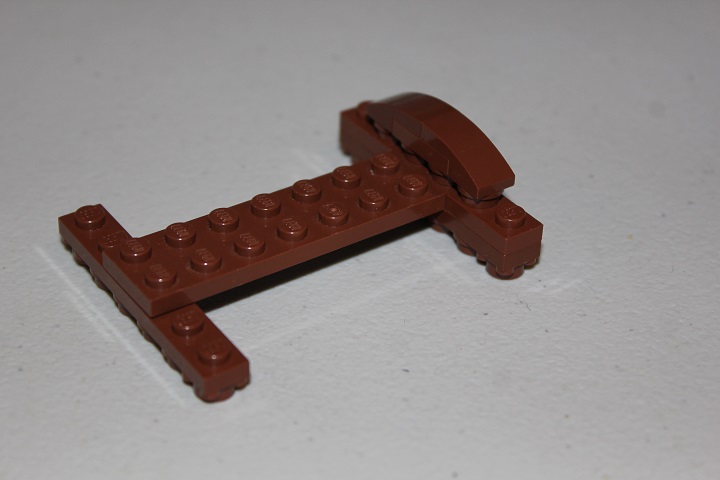
By using clips to attach the legs and hold together the 3 1×6 tiles, this table is parts efficient and maintains a one tile thick surface.
John used all of these designs together in his Farewell We Call to Hearth and Home model.
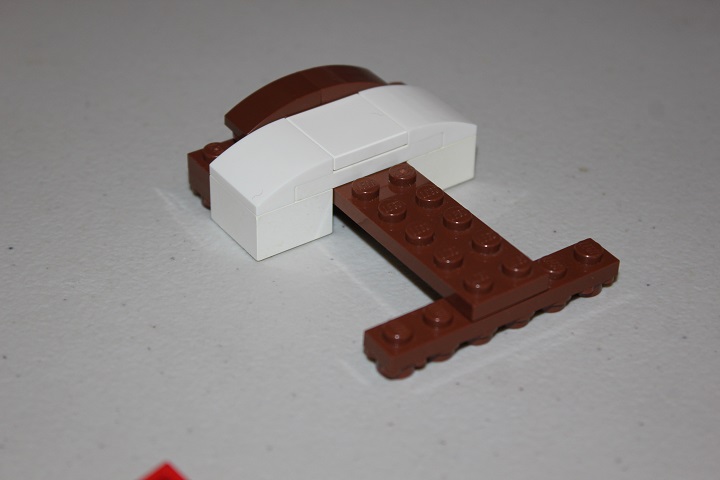
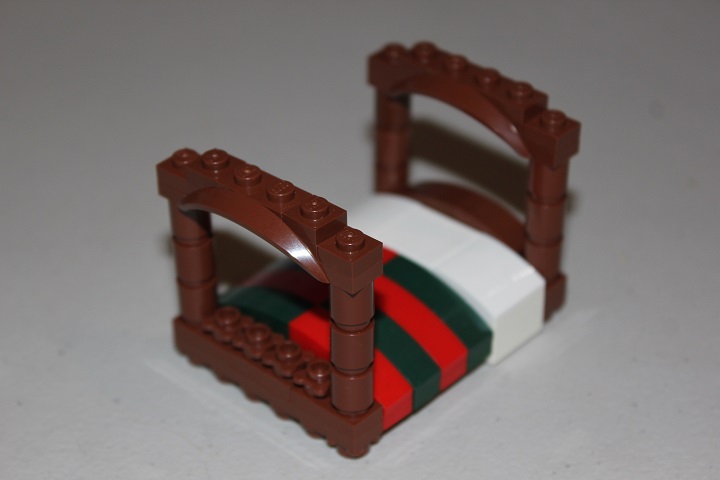
For the last piece of furniture in this tutorial, we have a canopy bed. The whole design uses simple studs up construction and starts off with a reddish brown frame.
2 white curved slopes and a 2×2 tile make a nice pillow.
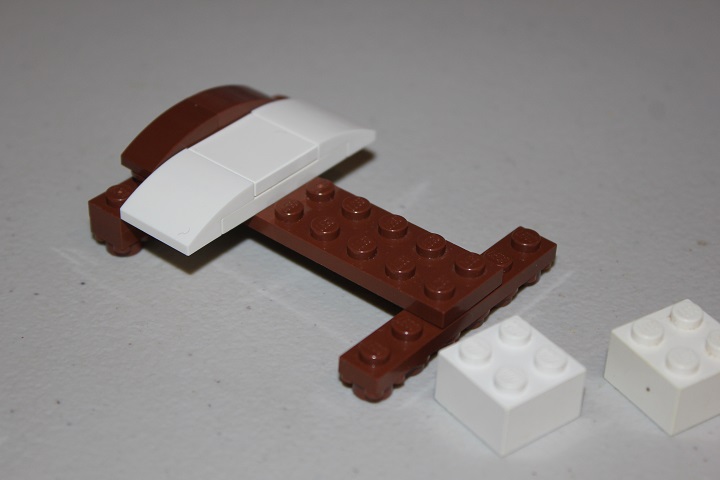
Adding a few 2×2 bricks gives more depth.
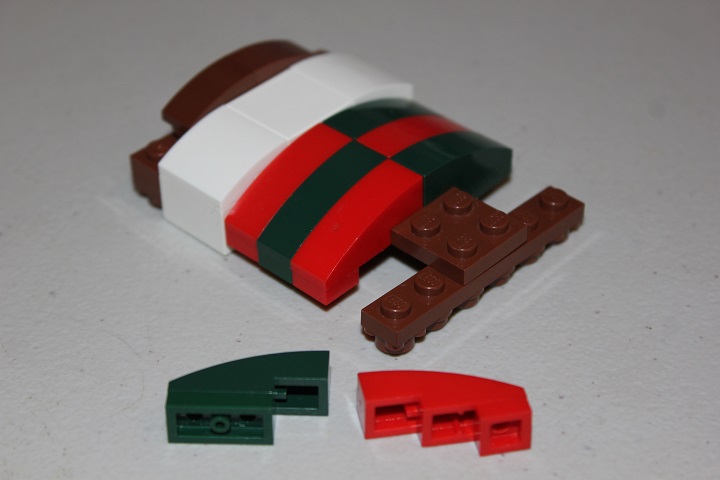
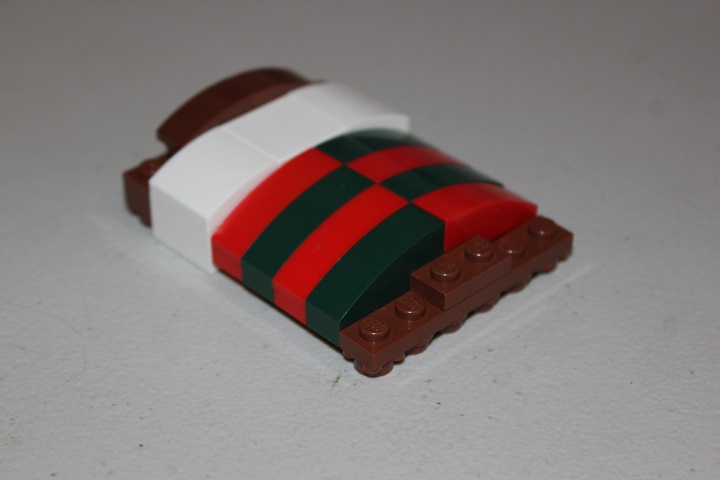
1×3 curved slopes along with 1×1 plates in alternating colors give some nice blankets for the bed.
Next some posts to support the canopy are added. The arch with flair gives some nice extra detail.
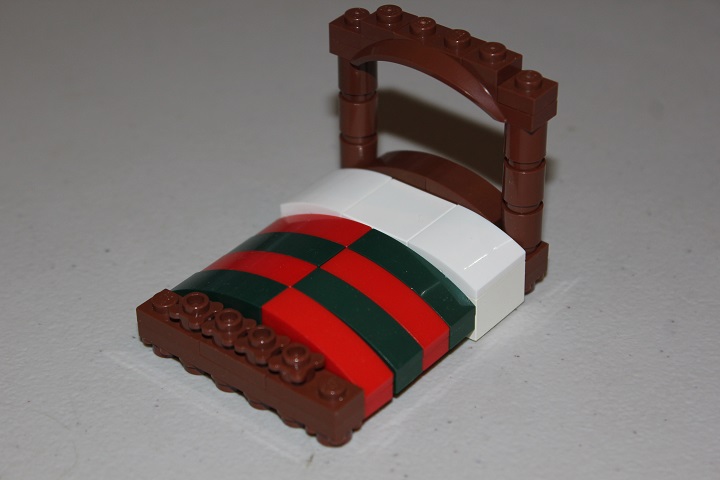
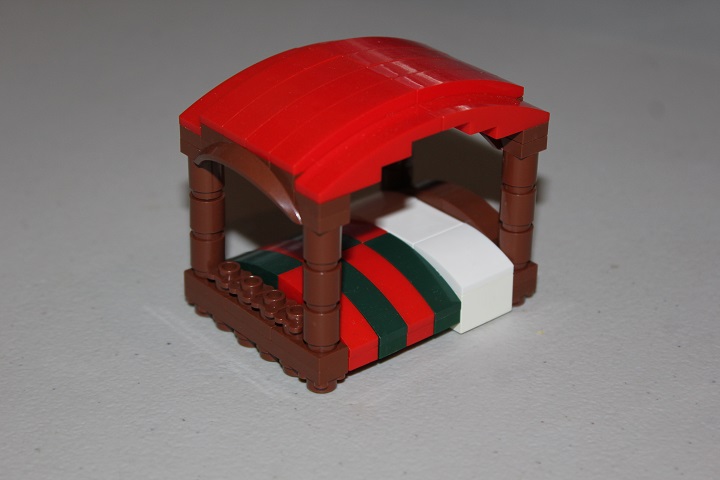
Red 1×4 curved slopes make up the canopy itself with the center 4 studs sitting one plate higher than the outside studs.
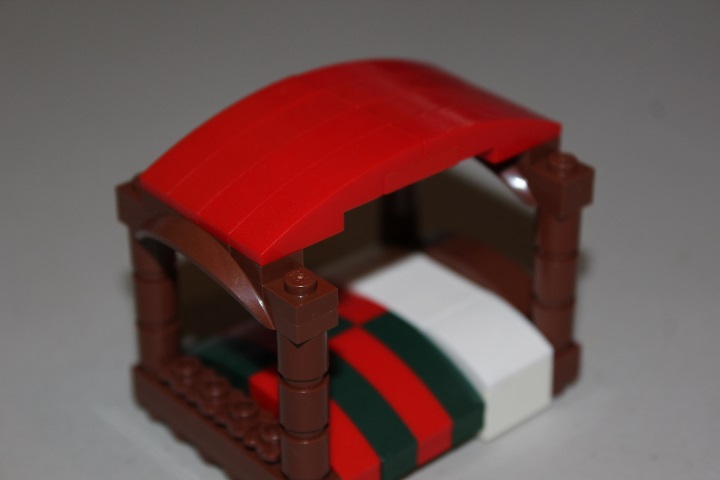
And there is the completed bed! This design was used in my Sigurd’s General Goods model.
As always we hope you found this tutorial useful and inspirational.
If you have something you would like to see us do a tutorial on, leave a comment below and let us know!


The chairs are very nice, I often have trouble making them not too bulky.
Awesome! I love those chairs! The candles are also really cool! Keep it up Isaac! 😀
Thanks guys, glad you found the tutorial useful! I agree, making chairs without them being super bulky is a very difficult task.
Awesome! 🙂