


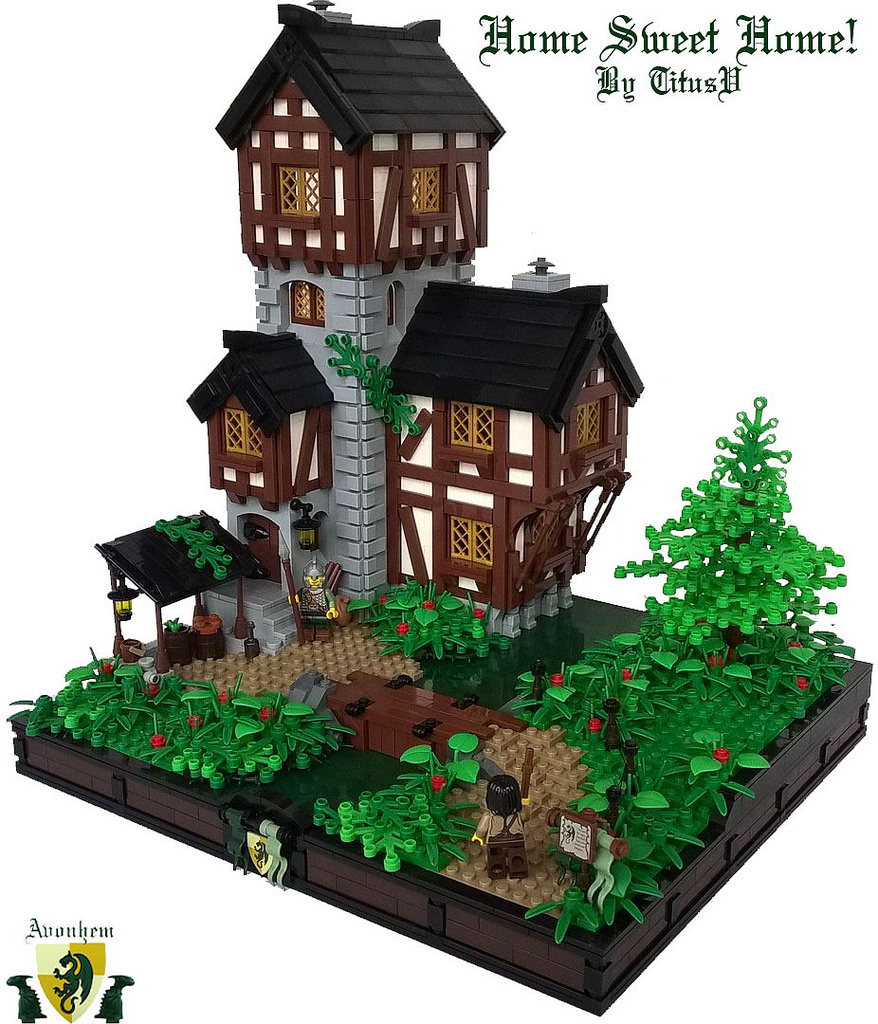
This month we have Titus V. sharing on how to create half timbered buildings.
“Hello there everyone!
Today I’ll try to explain you the technique I use for plain half-timbered tudor sectors (in opposition to, for example, Legonardo or The_Maestro’s textured sections). However, honor where honor is due: this technique is not mine, but was invented by Derfel Cadarn and further developed by ZCerberus. As such, I’d strongly recommend the former’s Guide to Building a Medieval Village. But now, without further ado: let’s get MOCing!
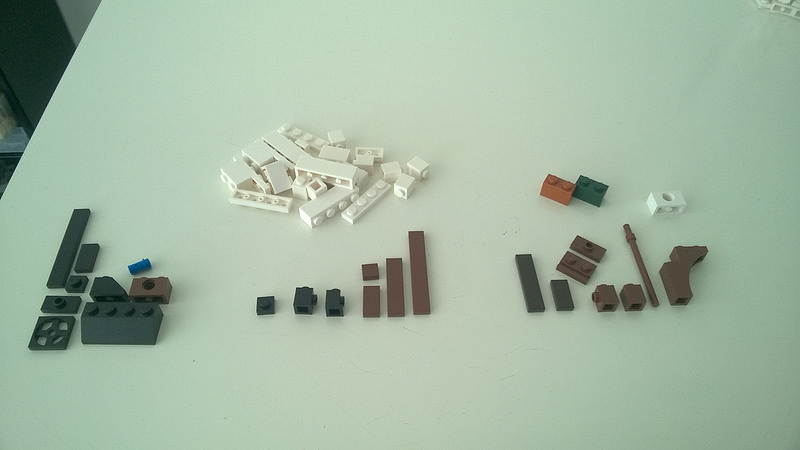
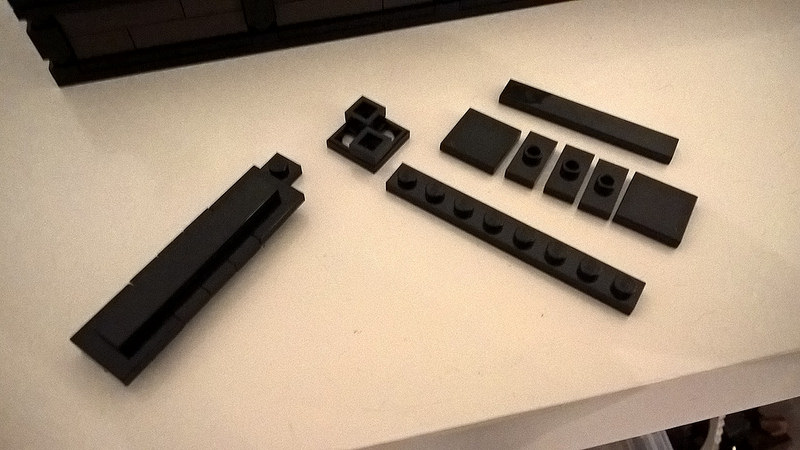
These are the bricks you’d usually need, with the basic building bricks in the middle, the left (black) pieces for the roof and on the right some “specials”, to bring variation.
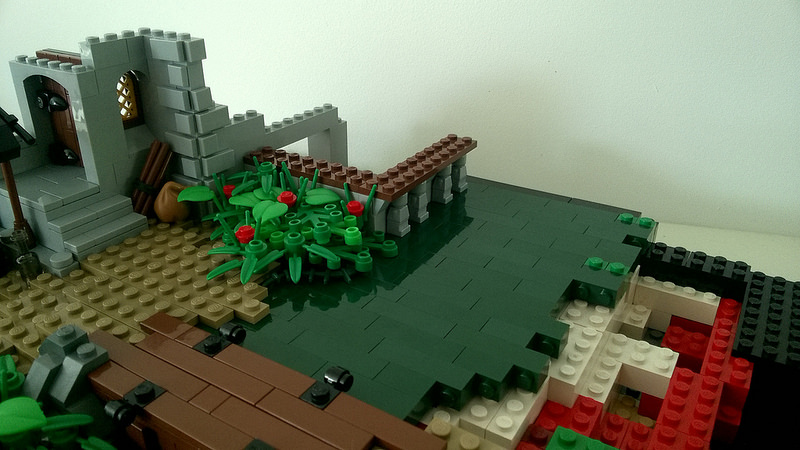
Since this is no landscaping tutorial, I have already prepared a base myself. Now, when building a half-timbered tudor section, I always start off with a small stone section. This not only looks better, it also makes sense: your wooden poles, the corner stones of a good tudor building, would start to rot very soon if they made direct contact with the (often wet) soil. Upon this low stone wall, we lay down a base of (reddish) brown plates. For an optimal effect, this should be two plates thick (this way, it’ll look more like a plate on it’s side).
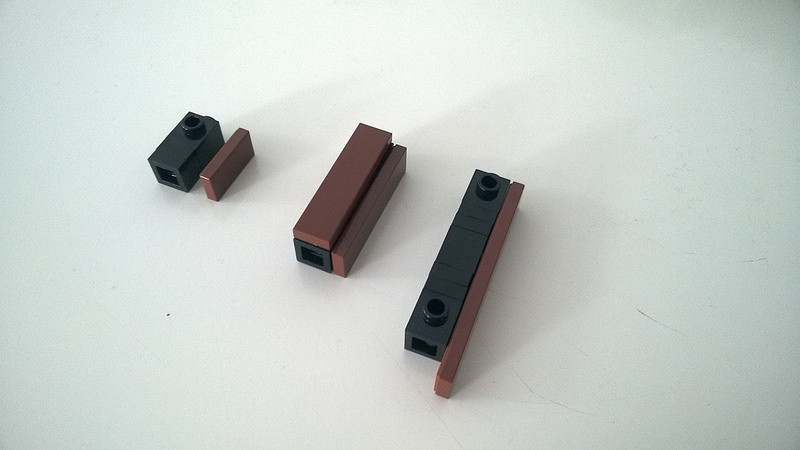
The corner-beams of our timbered sections will consist of 1×1 plates and 1×1 bricks modified with stud on one side. Two of the former combined with one of the latter are as high as a 1×2 plate on it’s side. With three or four of these, we can make beams with a height of, respectively, a 1×6 or two 1×4 plates on their sides.
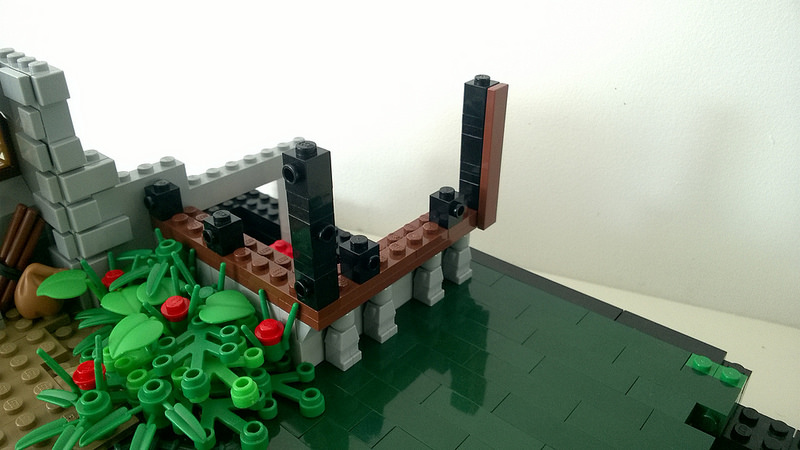
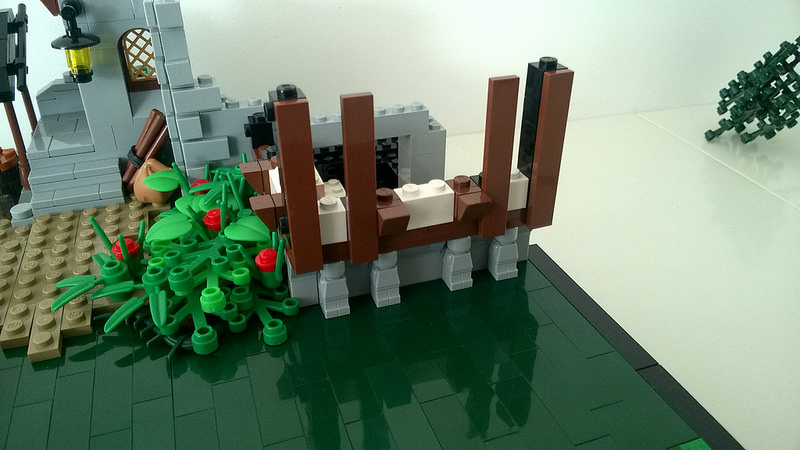
After putting one of these little towers on each corner of the house, I usually lay down the general lay-out of the building. every black 1×1 with stud symbolizes a vertical beam, with the four stud wide spaces for windows and the less wide spaces for more tudor-work. When deciding when and where to put windows, keep in mind they should always have a vertical beam to each side of them for optimal effect.
Now, put down the first row of white bricks and attach tiles. You can also notice the window-supports, made of a headlight, 1×1 plate and cheese slope.
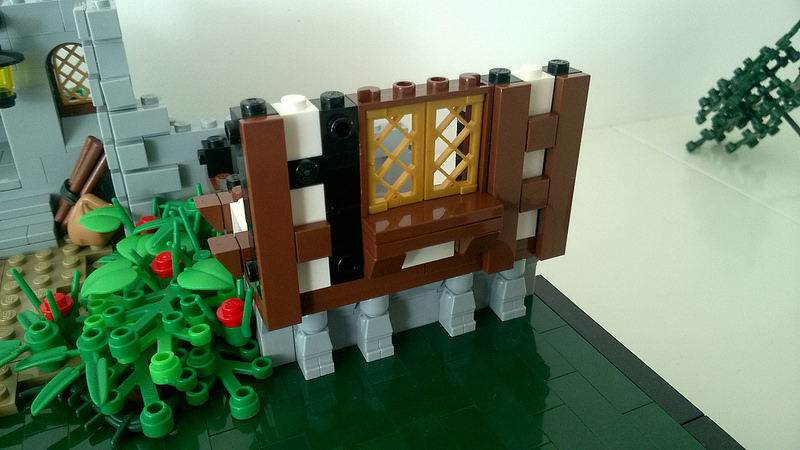
This in it’s turn can hold a 2×4 plate, with a 1×4 tile as windowsill. Of course, a half-timbered section also needs horizontal beams. These are made using headlight-bricks on their back, with a 1×1 tile attached.
If we now put the window in place, you can see it has exactly the same height as a 1×6 plate on it’s side. Eureka! 😉 The tudor sections to either side are filled up by, from bottom to top: a white 1×1, headlight on it’s back with a 1×1 tile attached, another white 1×1, another headlight on it’s back and a last white brick. That’s already it for the front!
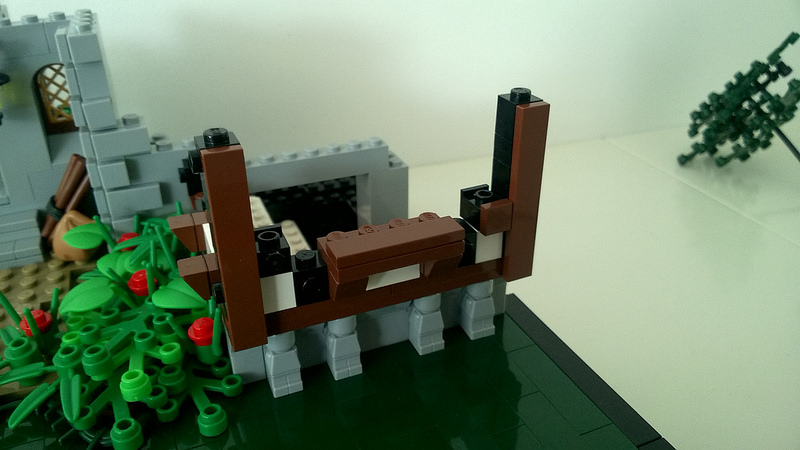
When going to the side, you can see I have already added the window, in the same way as previously explained. However, there now is a 3 stud wide space left, after putting down all beams. This is ideal, because we can now put a diagonal beam in this hole. First, a normal row of white bricks is added, followed by a white (or just the same colour as your plaster-work, which doesn’t have to be white) headlight on it’s back in the middle.
Build up the white wall to the same height as the vertical beams, and you should now be able to put a 1×6 tile on the stud sticking out from the headlight. Congratulations, that’s our first story done!
Before we move on to the second story, I decided to make this floor a bit taller. This can easily be done by putting two 1×1 plates and a 1×1 brick modified with stud on one side on the vertical beams, allowing you to swap out the 1×6 tiles for four 1×4 tiles. The added section is now as high as a headlight brick on it’s back with a normal, white brick on top of it, which is what we’ll be using to fill in the other sections. If you’re wondering why some headlights have been replaced by black plates, this is to save pieces for what’s still to come…
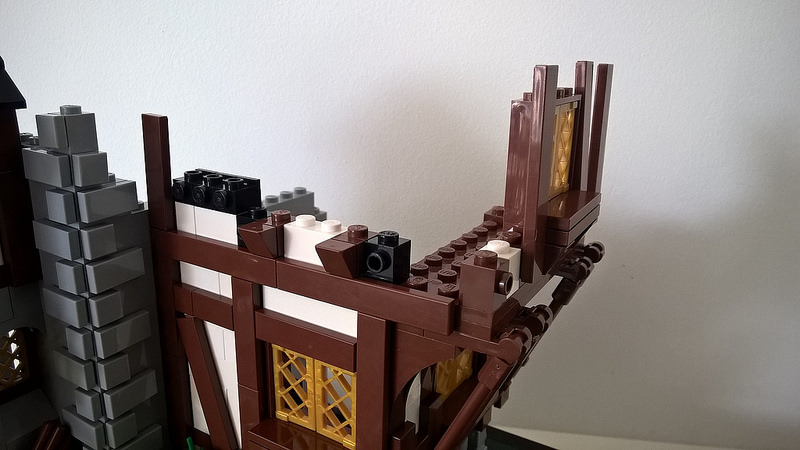
Time to move up, don’t you think? Now, medieval building ground wasn’t exactly cheap, especially in a city. However, you only had to pay for the ground surface of your house, that’s why most stories overhang the ground floor at least some decimeters (inches for my imperial friends). I always find these kinds of historical anecdotes very interesting, and try to get them into my builds. That’s why my next stories always steps out a bit!
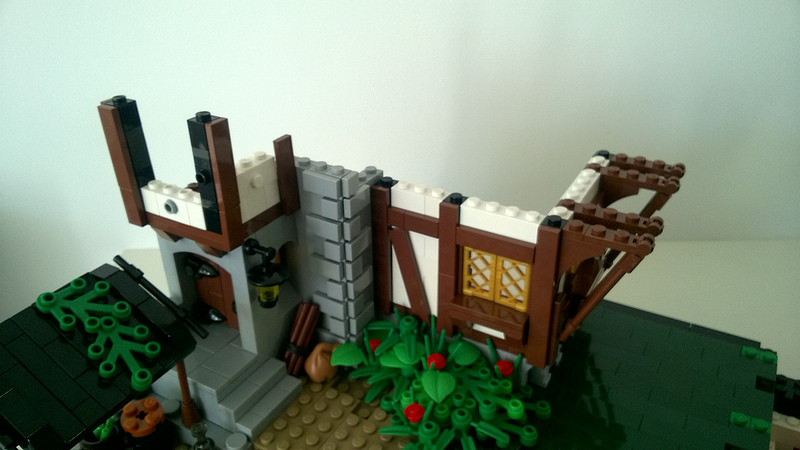
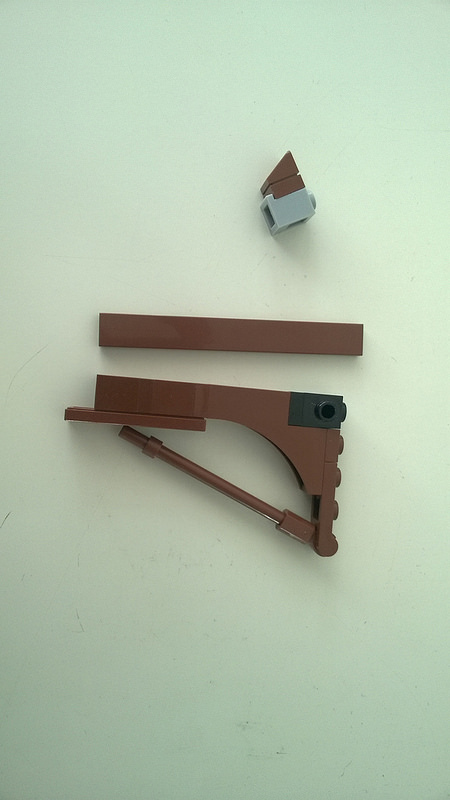
Of course, when you step out with every new floor, your house can collapse very rapidly! That why we have to make supports, as can be seen on the image above. The supports for the left-hand part are made from a headlight, a brown 1×1 plate and a brown cheese slope. The ones on the right are a bit harder: here, I have replaced the vertical beams by a 1×1 brick modified with stud, on which we can attach a 1×4 tile on it’s side, some 1×1 plates, a 1×3 half-arch, another brick with stud (with plate underneath it) and a 1×2 plate modified with handle (onto which you can put a 6L bar using one of these new clips).
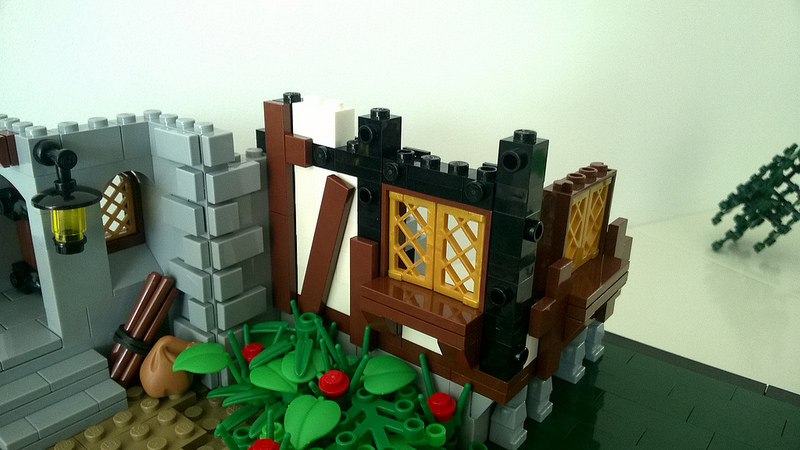
Now, we could use a two plates thick layer to resemble a tile on it’s side, but we could also use the real stuff. Again, headlight bricks on their side are needed (now you know why I try to save as many as possible). Another thing you can now see, is why I used a combo of a headlight, 1×1 plate and cheese slope instead of a regular 1×2 inverted slope: the latter conflicts with the horizontal tiles, while the former fits exactly!
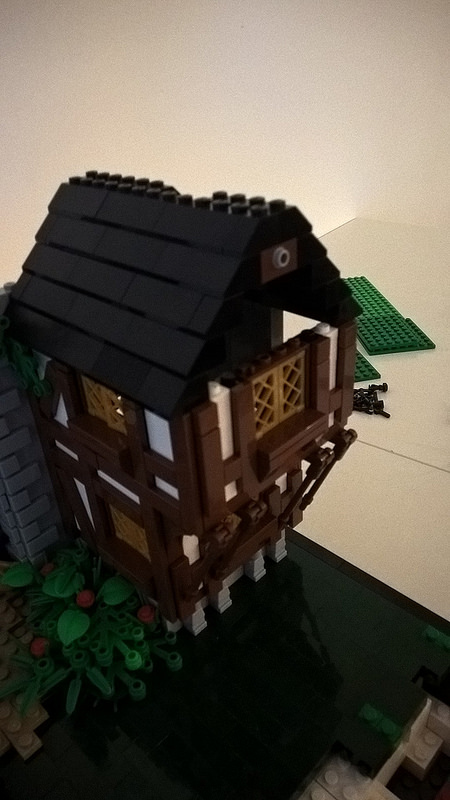
After building up the second story in the same way as shown earlier in this guide, we can start on the roof. This is the trickiest part at best, and outright trial and error at worst. First, I build up the roof using regular black slopes. Because this can look very blocky, I will not overhang them one stud as is often done. A 1×2 technic brick with hole, which we can fill with a technic half-pin with stud, now fits underneath the ridge.
As said before, I won’t overhang the roof. Instead I use the following technique (which, by the way, is the only technique from this tutorial which is completely mine). It all turns around a 2×2 turntable base, but without the turntable. Put this piece diagonally, and fit two 1×1 plates in the top and bottom hole. Now, long black plates go in the remaining holes. On these, make an overhang by using 1×2 and 2×2 tiles. Jumpers can be used to add decoration later on.
This whole construction can be attached with the bottom 1×1 black plate to the technic pin with stud. Only when this is done, I’ll continue on building up my walls to meet the roof. This can be done by techniques earlier described, like the headlights on their back. When you make sure the brown tiles, attached on their sides, don’t go over the black roof pieces, they will be hidden by the overlapping black tiles. This should produce a very smooth look!
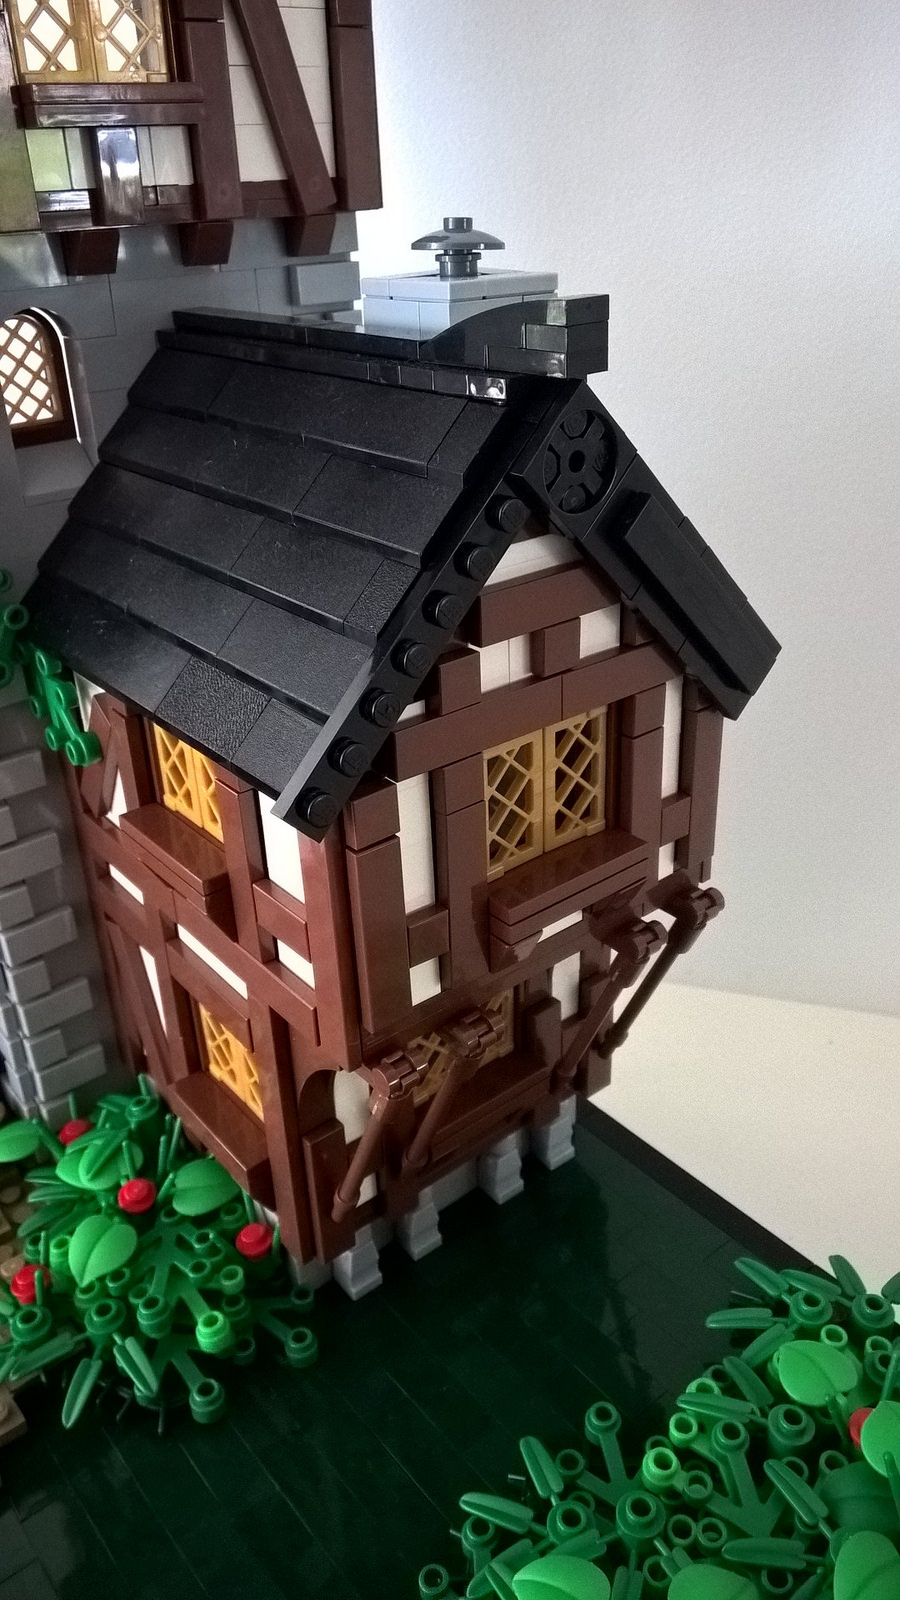
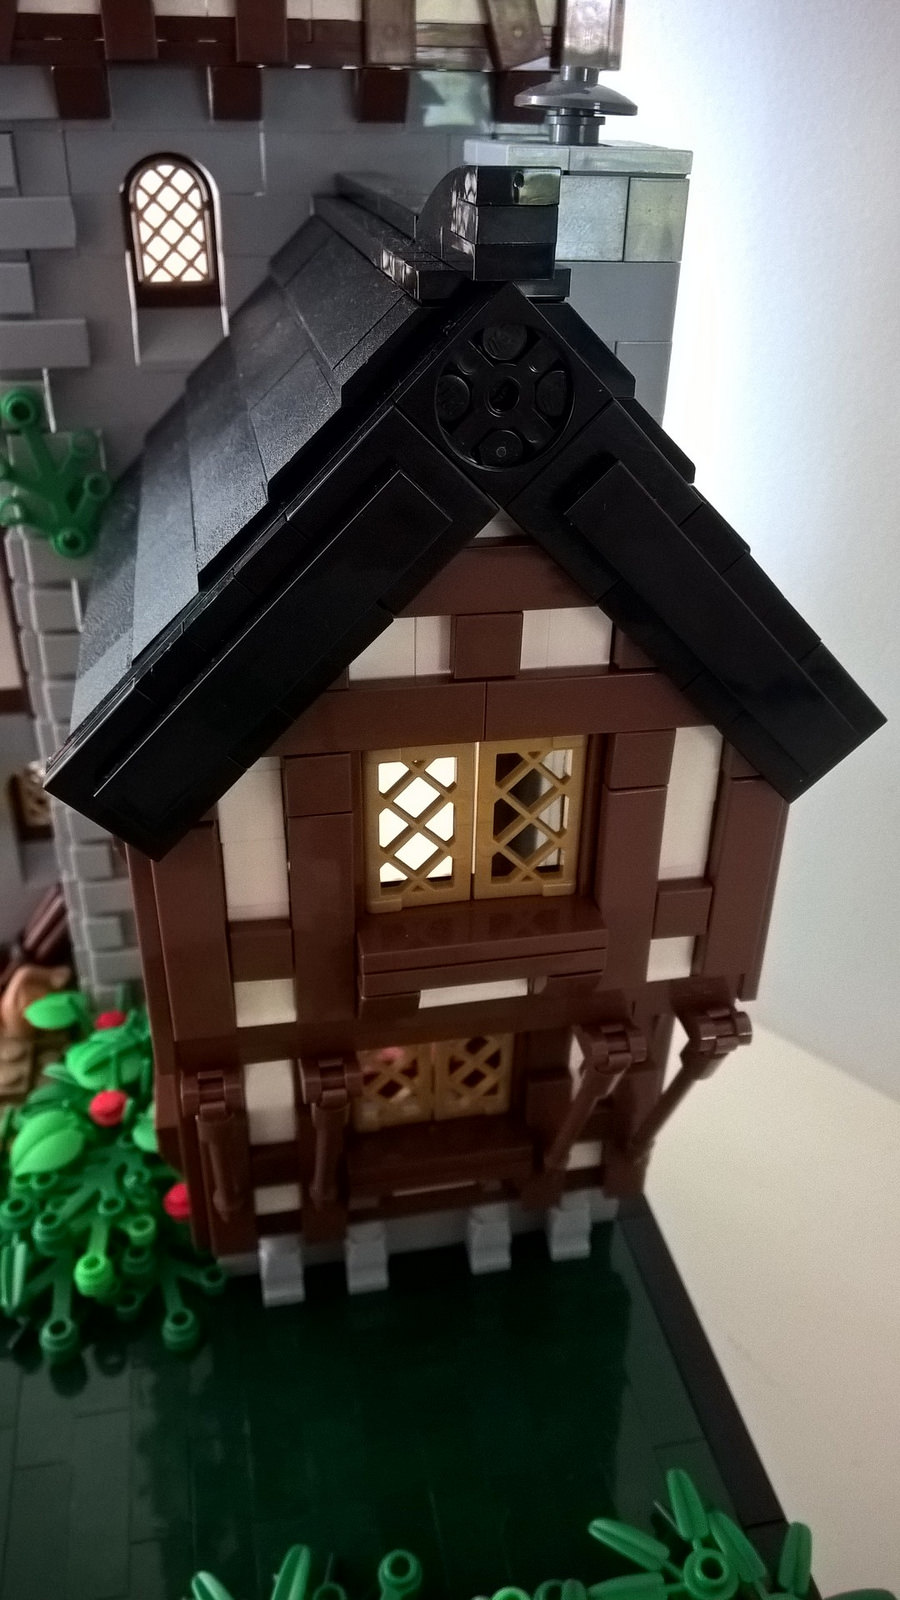
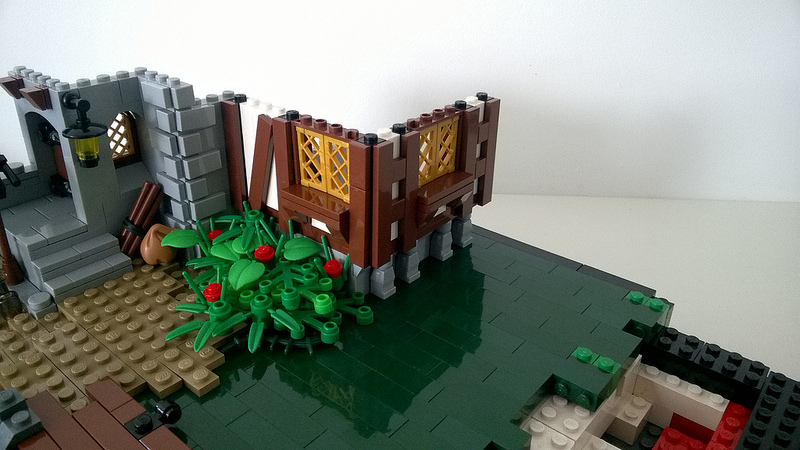
Now, top of the roof as you like with jumpers, tiles, curved slopes and/or a chimney.
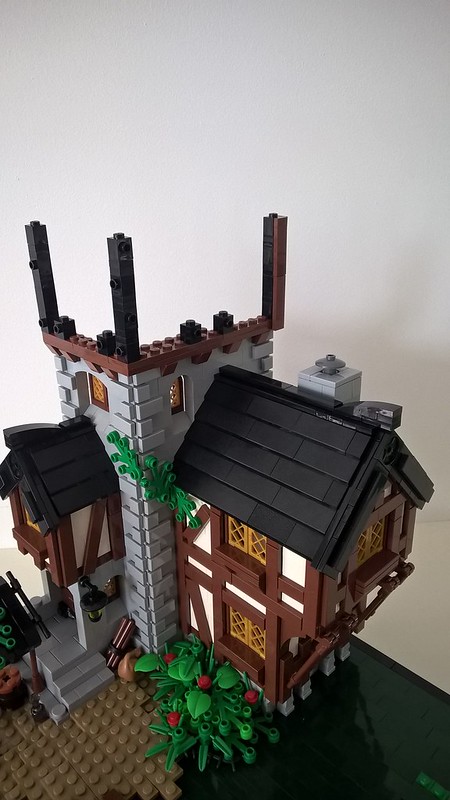
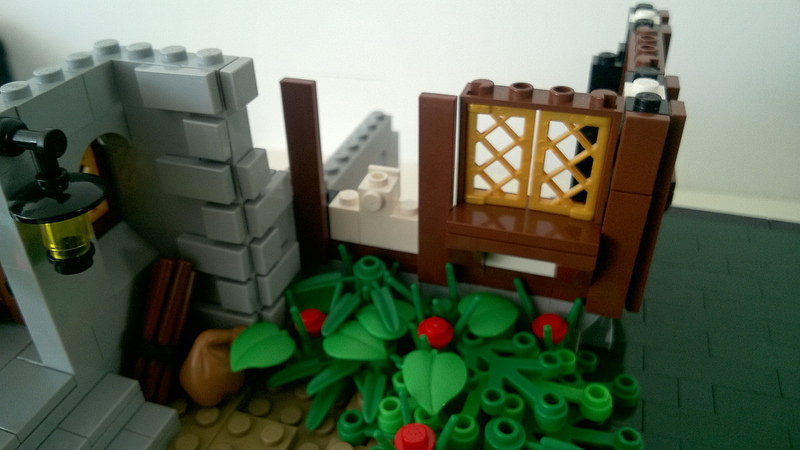
The only thing left to do is finish the the landscaping, and you’re done!
Thanks for watching, don’t hesitate to ask questions or remarks, and have a nice day!
Looking forward to all these half-timbered tudor section-buildings,
Titus”
Thank you, Titus!


Really awesome stuff here, can’t wait to try these techniques out. Landscaping is excellent too, I’d love to get a tutorial on how to do some of that stuff.
P.S- Derfel Cadarn on Flickr is by FAR my favorite builder and in my opinion, the best there is!
Way to go Titus! Thanks for sharing! Trying to recreate that half timbered technique as we speak 😉