


For this month’s featured tutorial, Toltomeja shares how he creates a very unique curving path.
“Building a curved path is very simple and requires only a couple of popular types of bricks.
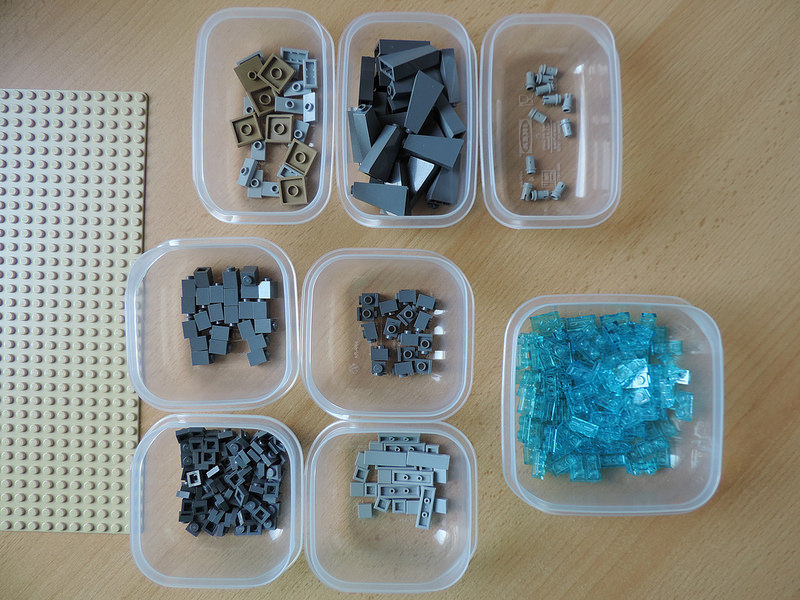
Ingredients:
– 1 baseplate
– DBG slopes 2x1x3 (could be inverted slopes just as well)
– DBG headlight bricks
– DBG plates and bricks 1×1
– LBG 1×1 and 1×3 tiles
– half pins
– some 1×2 and 2×2 jumpers
– blue plates for water
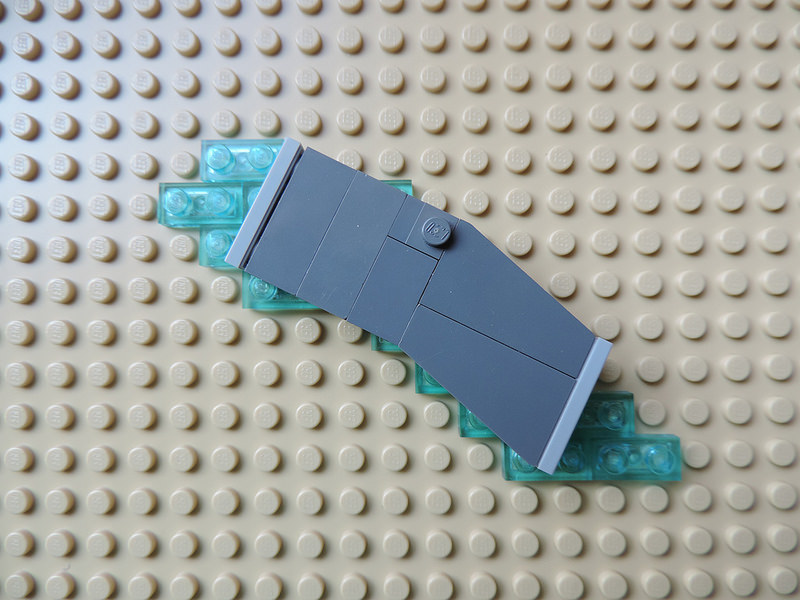
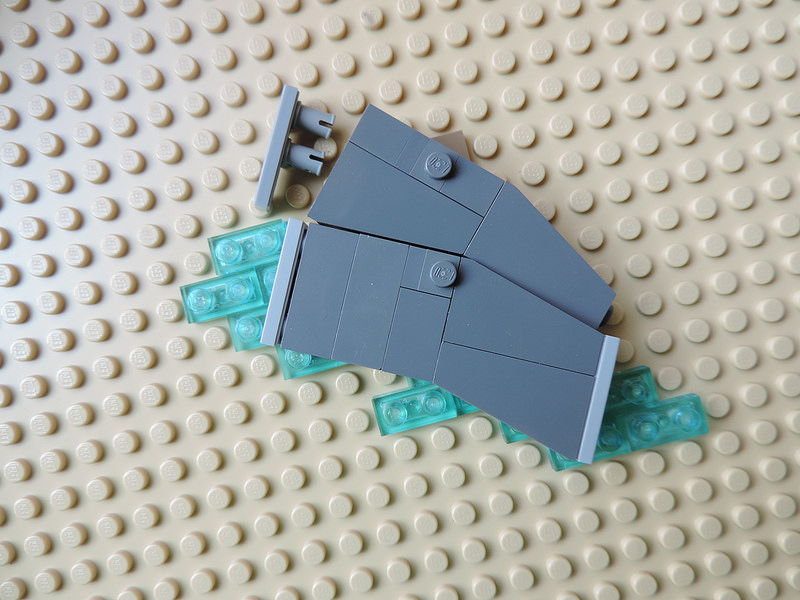
We’ll start with one segment slightly different than the others – thanks to its shape, the path will be able to turn in two opposite directions.
Put some blue plates to build the water surface and attach the first segment to it at any angle you like with the headlight brick.
Start the next segment with joining two slopes together and trying to adjust them as following.
The red dashed line shows where you should look for a place to attach the segment with a headlight brick. It can be either a stud, a point between two studs (then we’ll use a 1×2 jumper) or a point in the middle between four studs (then a 2×2 jumper shall be our hero).

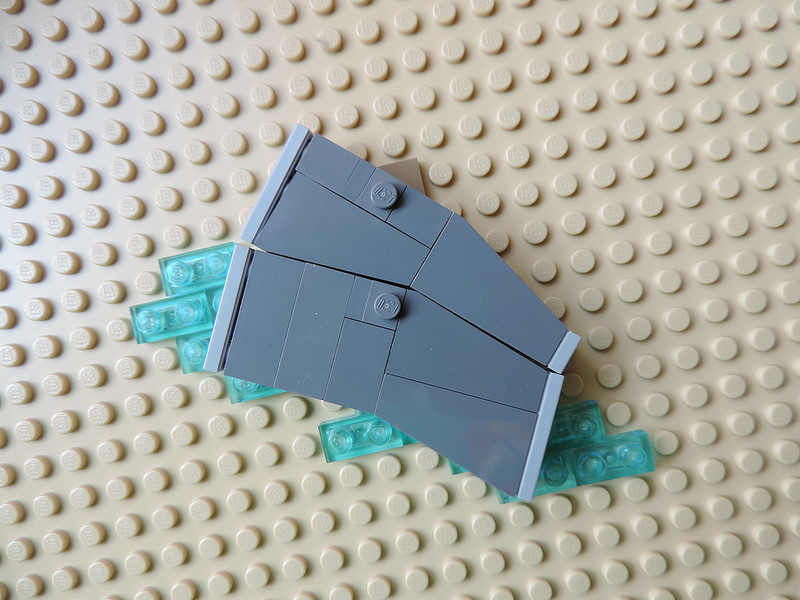
Each following segment must be as close to the previous one as possible. I chose to attach the headlight brick to a 2×2 jumper.
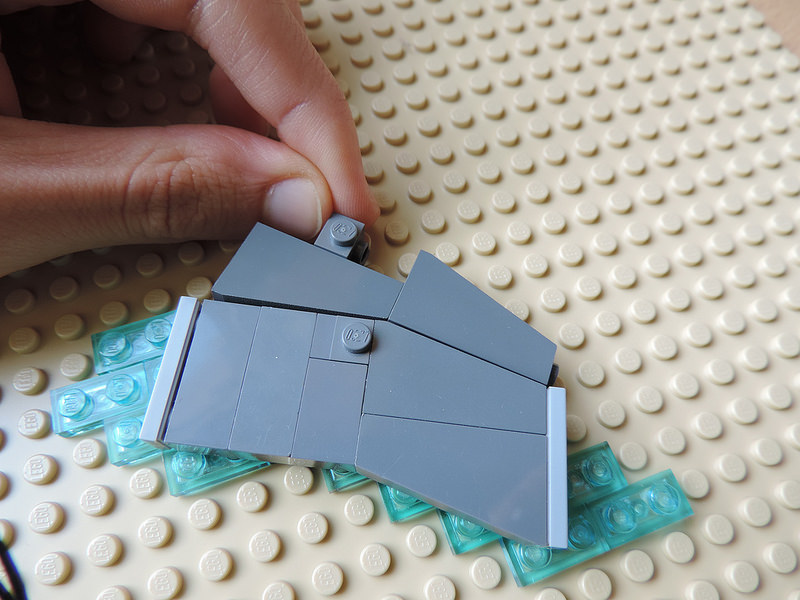
Next, fill the missing space between the headlight brick and the slopes with 1×1 plates and 1×1 bricks. You can see the Dark Tan 2×2 jumper I mentioned behind the segment.
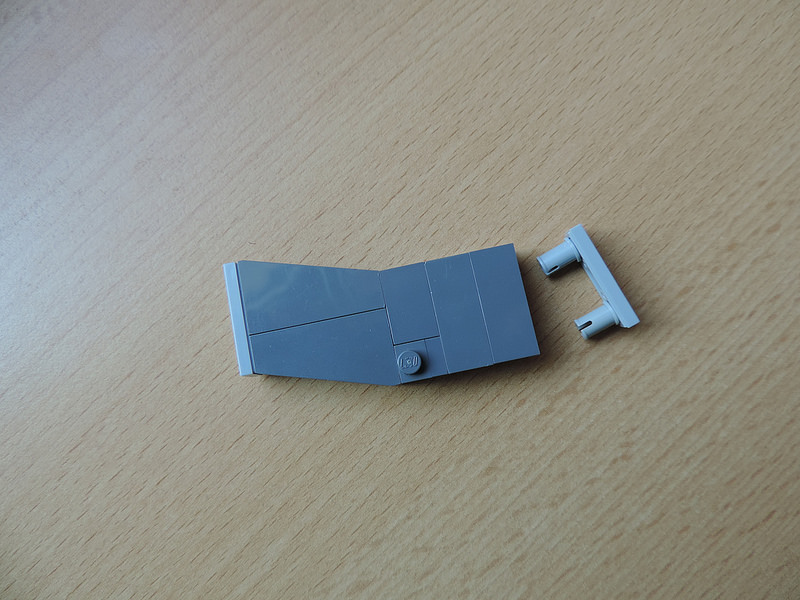
Use half pins to cover the longer side of the walkway with a 1×3 tile.
Then add a 1×1 tile to cover the stud of the slope – hooray, you’ve just finished the first segment of your curved path!
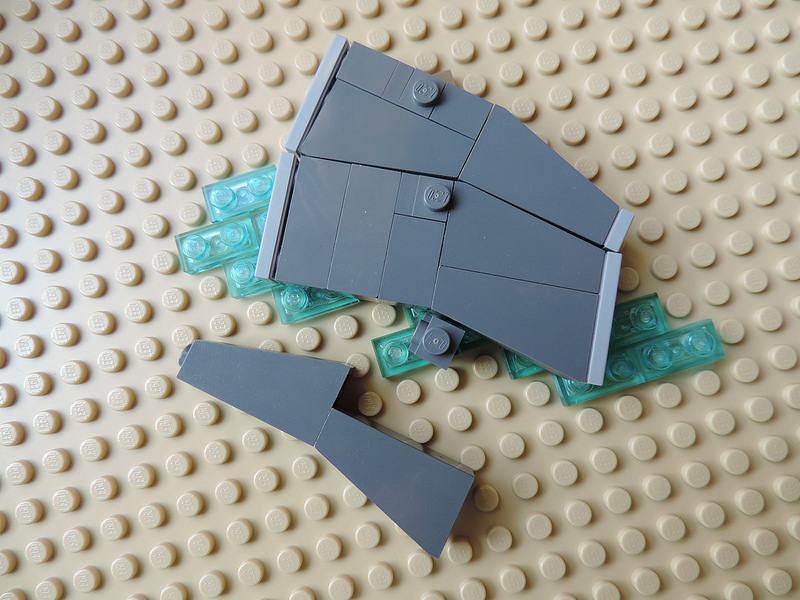
Continue attaching the next fragments, always trying to keep them as close as possible to the rest.
Note that on the other side of the initial segment, the path will turn in the opposite direction, forming an S-shape.
This is what the path should look like. The last thing we’re missing is the water itself.
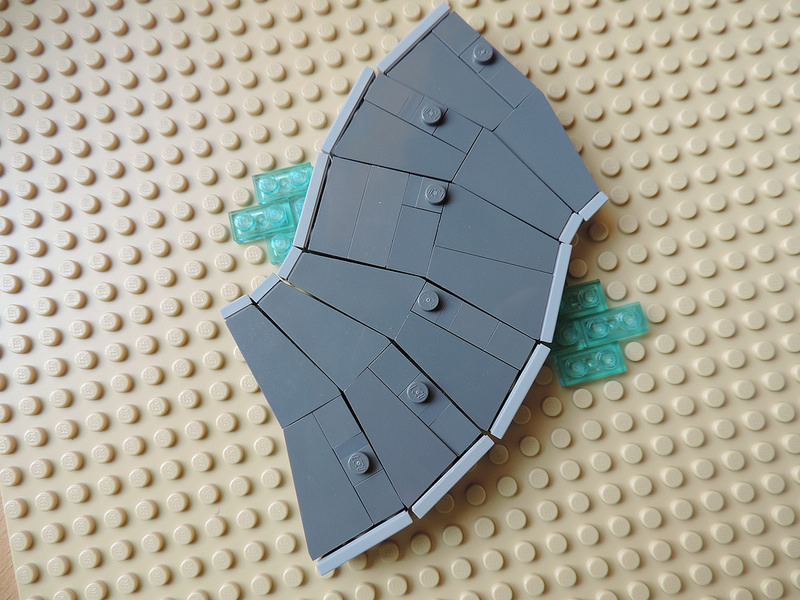
Cover all the remaining surface with blue plates, and your path will soon be finished! You can make the path as long as you like.
You can see the technique in action in one of my MOCs, Hongcun:”
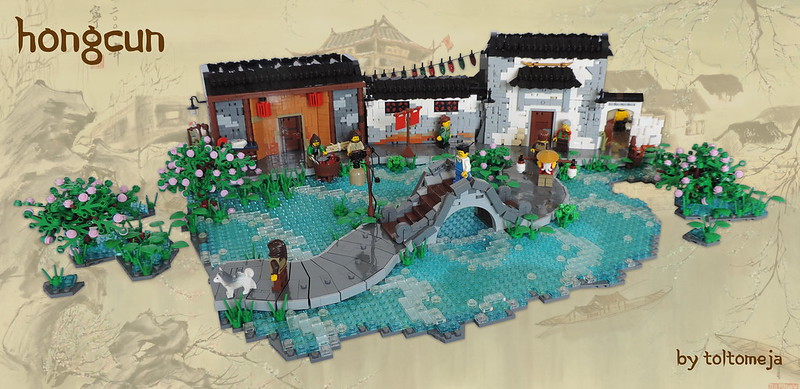
Thanks for sharing your technique with us, Toltomeja!


I so want to make this