


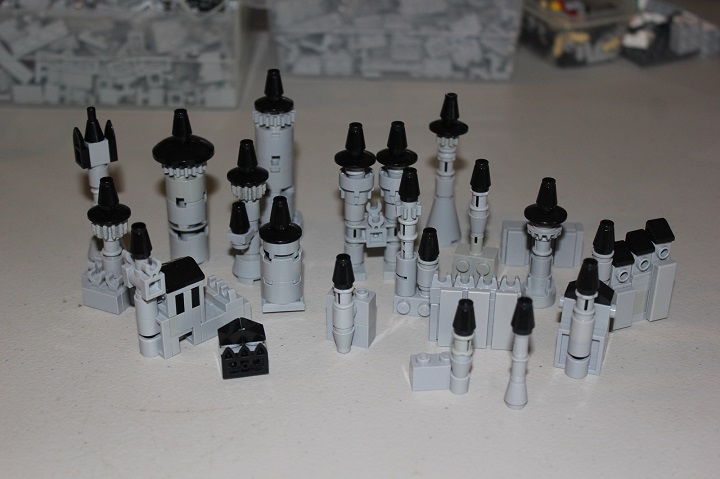
Steinn Fortress was a pretty small creation, even for something built in micro scale. I started the build by just messing around with various sections of the castle. I had pulled out a bunch of small technic elements, and had fun using those in combination with more standard parts.
I knew the base size of the model was only going to be 12×12, so a lot of these designs would not make it into the final build, but it gave me a nice variety of pre-built sections to incorporate.
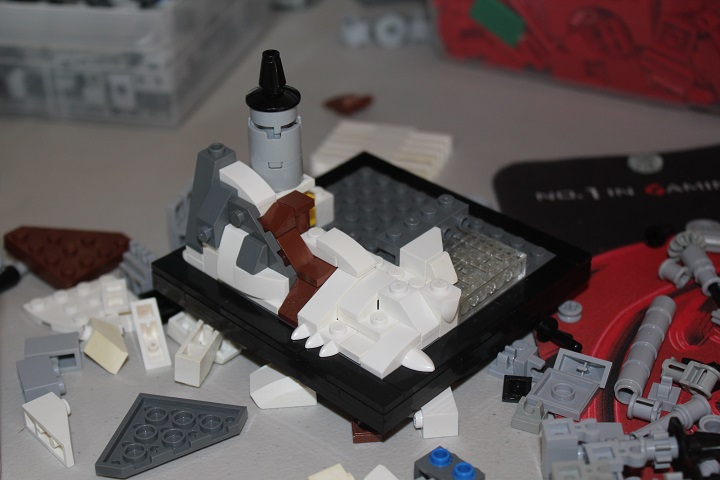
Since the build was so small, the landscape went pretty quickly. I knew I wanted a reddish brown path leading up to the castle’s gate, but first tried using wedge plates instead of the slopes and tiles shown below. The slots in the edges of the wedge plates did not work well for the path, though I was able to include a wedge plate in the rockwork adjacent to the path. The first building was a stout tower, that is primarily upside down, requiring a simple stud reversal below it (2×2 jumper plate into 2×2 round donut tile).
A wall flanks the path, and has a few towers built into it. The gateway itself is one of the more interesting sections of the model, with a fair bit of sideways building being used.
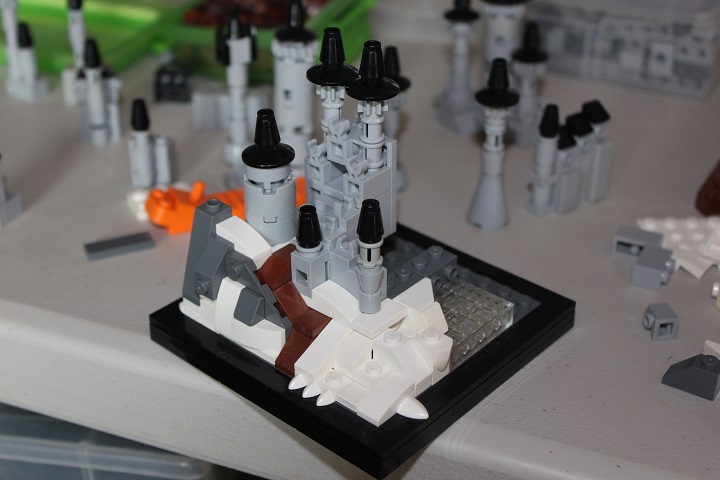
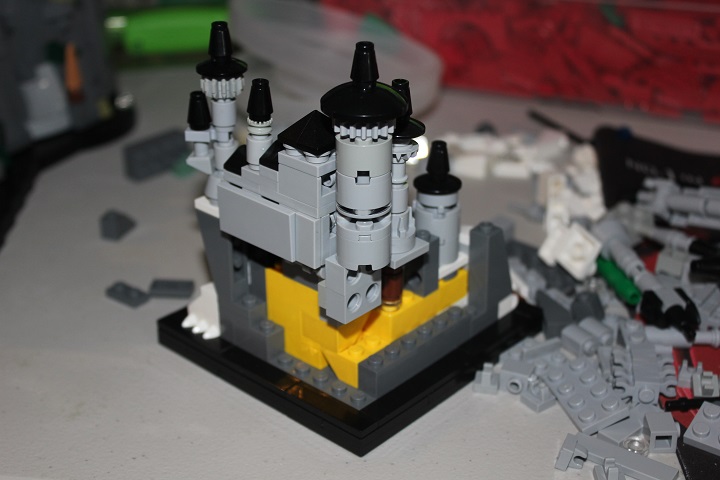
The gatehouse was 4 plates and a tile thick, which allowed it to fit smoothly into the studs up base. On the left you can also see a bit of a frozen lake built using trans clear plates attached to brackets – and since the brackets are 2×2, I could then attach snow flush over the surface of the ice.
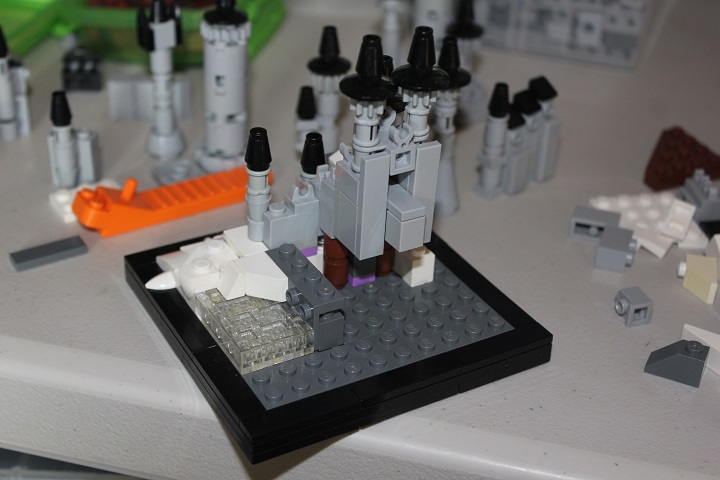
At this point I was quite happy with the layout of the castle, and how the landscape looked. Just one more building in the center-back to build, and I would be done! Easy!
Or so I thought…
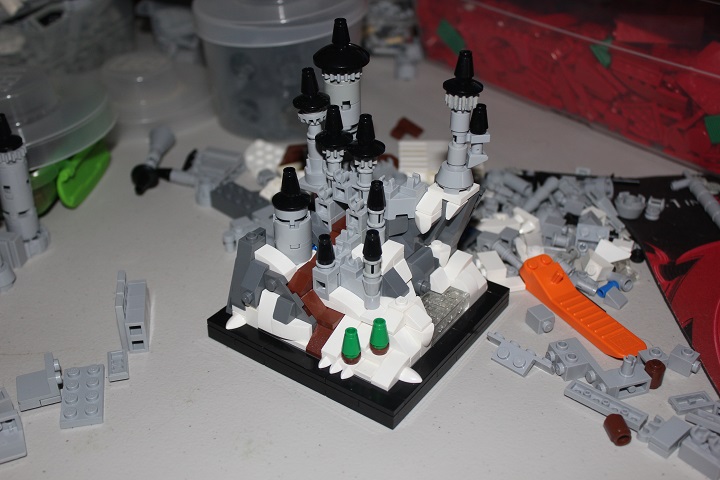
Instead that last building took longer than any other portion of the build. I wanted a longer rectangular building, more like a great hall, with lots of windows on the front. It took me a lot of experimentation to come up with a design that I liked, and then spacing it to fit properly between the 2 back round towers took even more fiddling.
Eventually I got it into place.
The SNOT 2×4 tiles on the back were necessary to conceal some not so pretty connections to get the buildings attached in the proper spot.
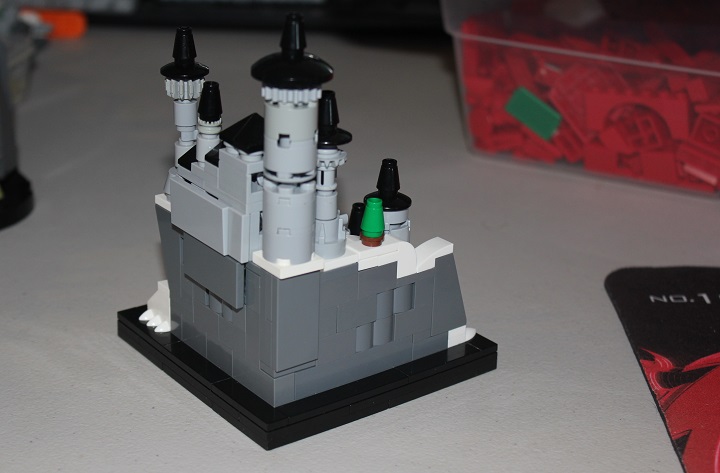
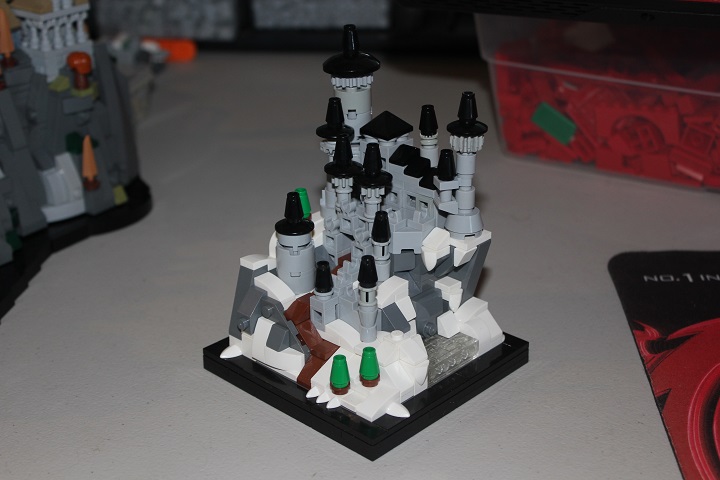
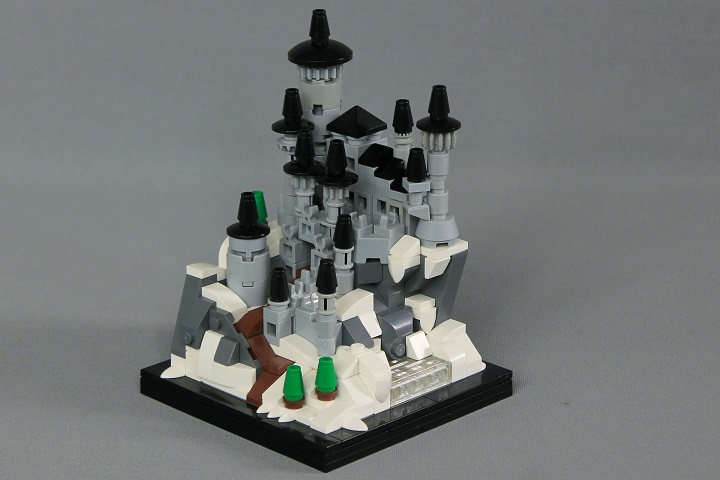
Finished model:
Thanks for reading, as always we appreciate hearing your feedback and suggestions for new posts!


Awesome! Great final look! 🙂
Thanks Roanoke!