


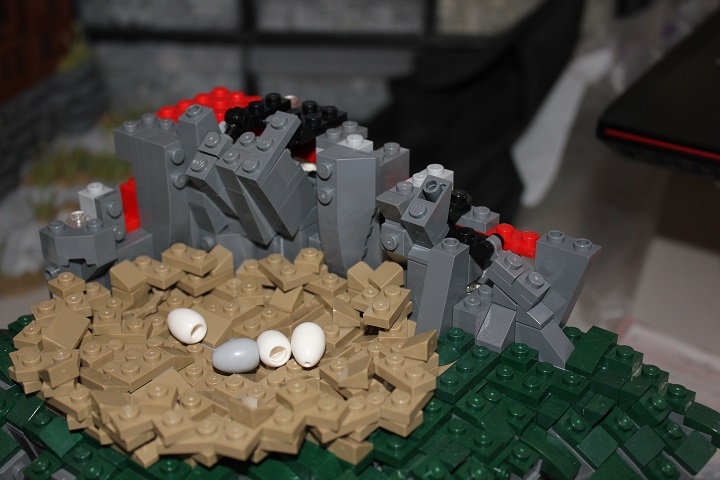
I developed this design for use in my Risky Endeavor creation. The basic idea is very similar to my Technic Rockwork design, but more space efficient and using more standard parts.
The key elements are plate with handle, and plate with clip. These allow for sections of the rockwork to be slanted and give a more natural rock look.
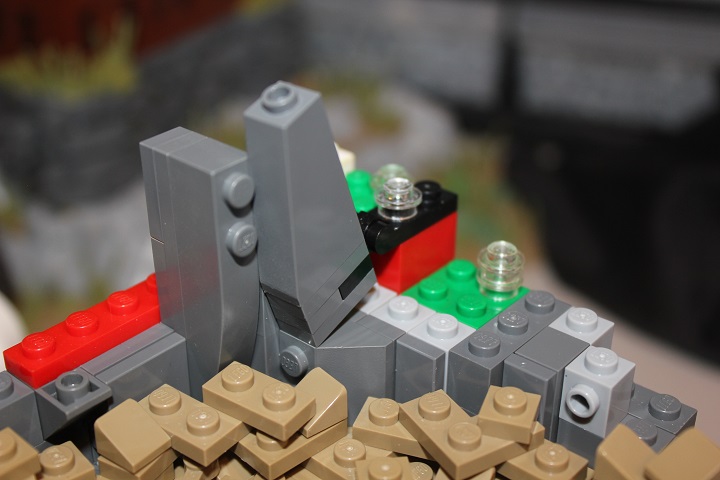
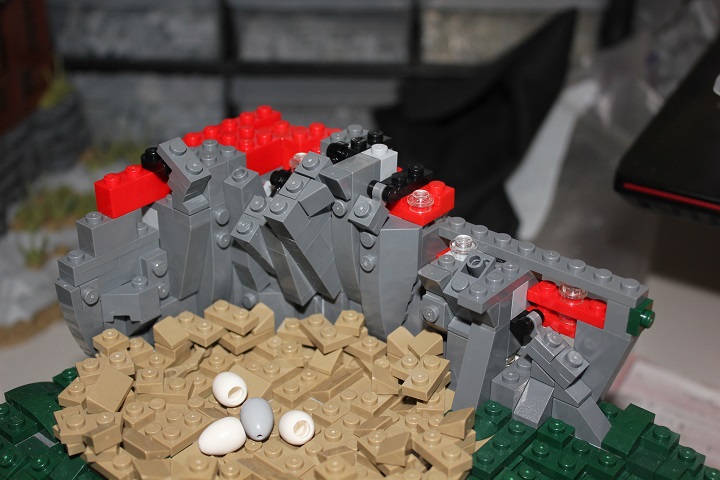
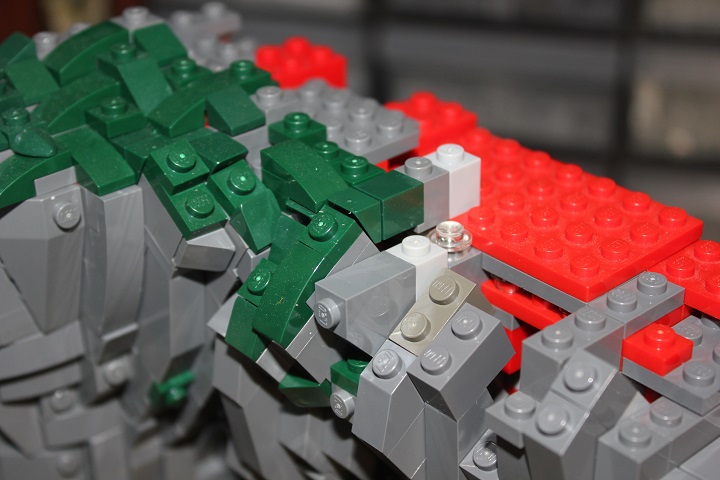
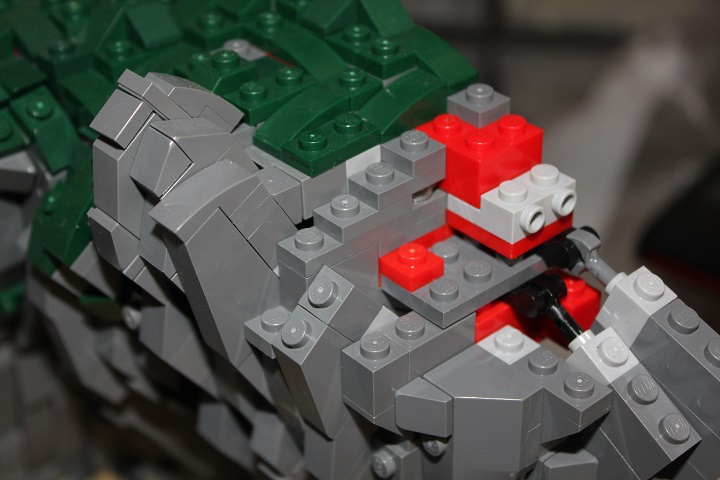
Below you can see a standard set up for one of the slanted section. When there is enough depth, like here, the clips don’t even need to be the same color as the rockwork.
I use plates below and above the clip to lock it in securely.
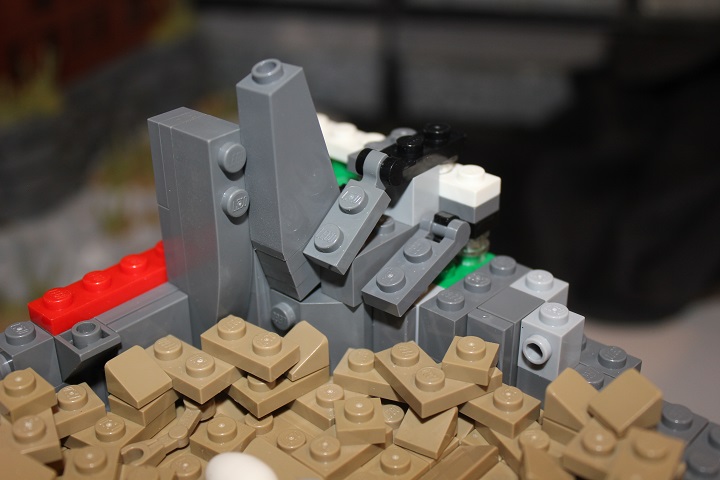
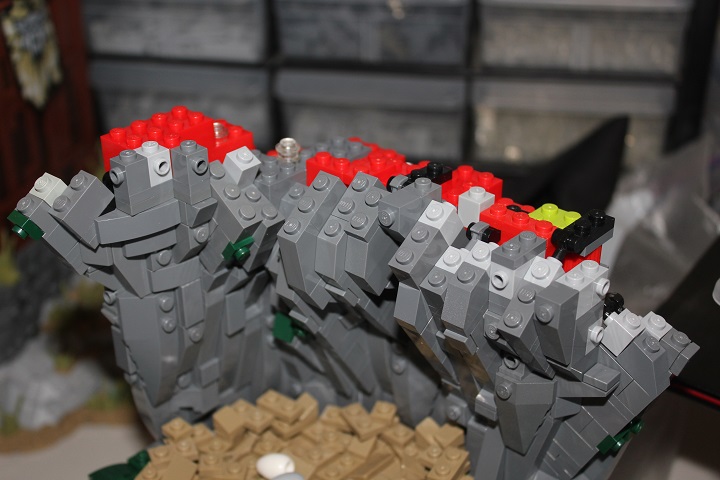
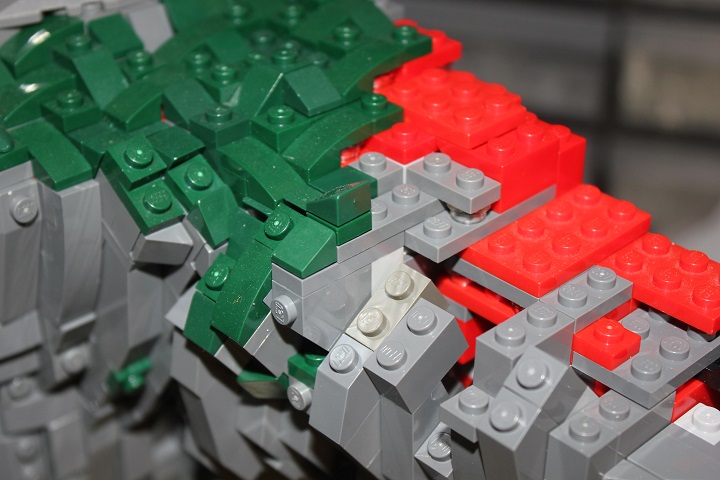
Here a few more sections are set up. Due to the lack of depth in this area, I did need to use dark bley plate with handle/clip. Varying the angle of slope for each section is easy to do, as is shown here. Generally gaps at the bottom where the slope is started can be concealed or minimized without much trouble.
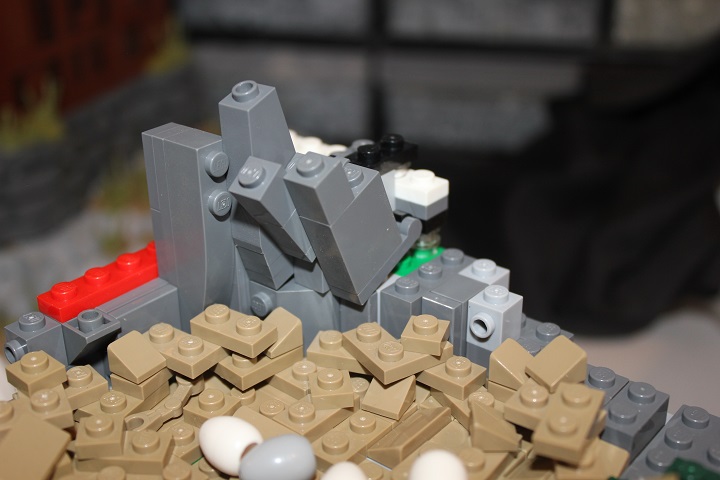
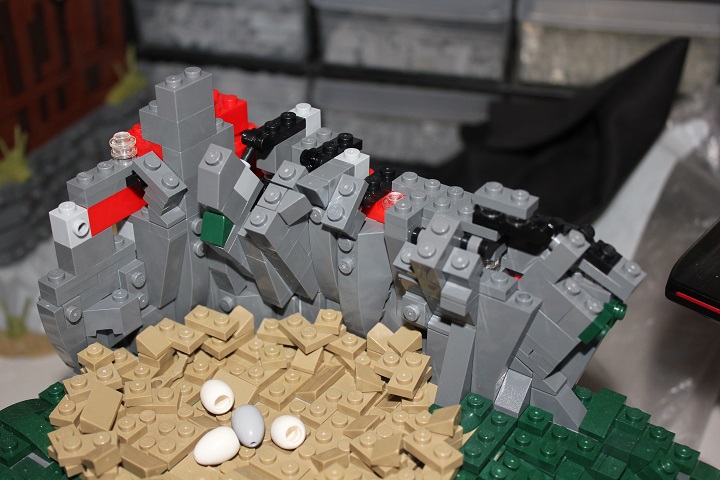
When possible, I like to keep each slanted section at least 2 studs deep to keep the rockwork very solid. Because the whole section is at a slant, I use basic bricks most often in the slanted portions, rather than using slopes like you would in traditional rockwork. Every so often I also mix in studs up or SNOT slopes, like the 1×6 curved slope of the left.
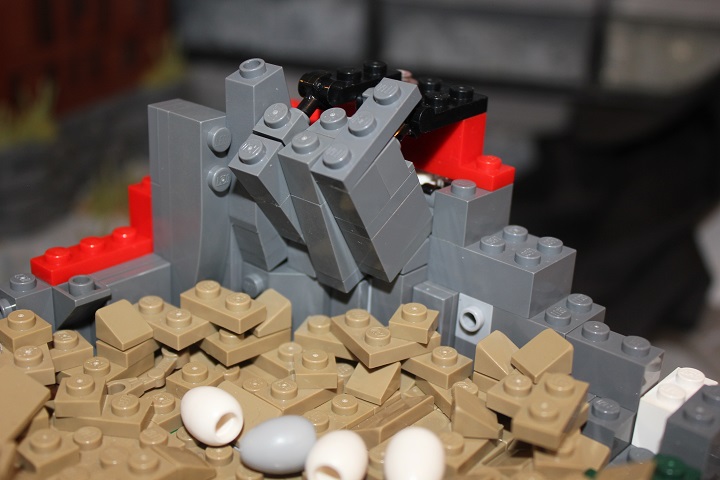
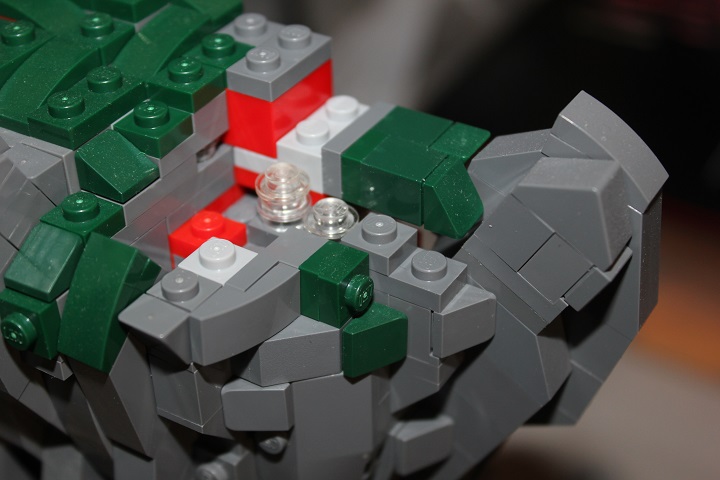
To keep the design solid, it is important to tie the tilted parts back in with more clips: I found using headlight bricks, or brick with stud that then have bar with clip inserted into the hollow studs allows a lot of flexibility in finding good attachment points.
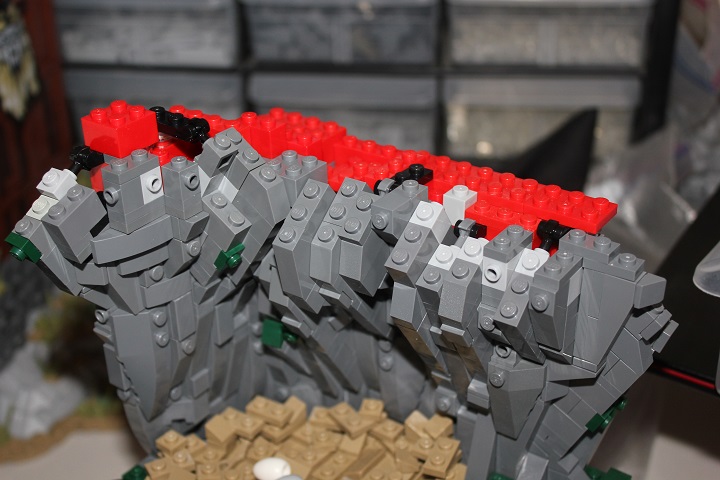
On the right side I used some cheese slopes to get a super smooth fit for a new angled section. Elsewhere I incorporated a bit of studs and SNOT slopes for variety.
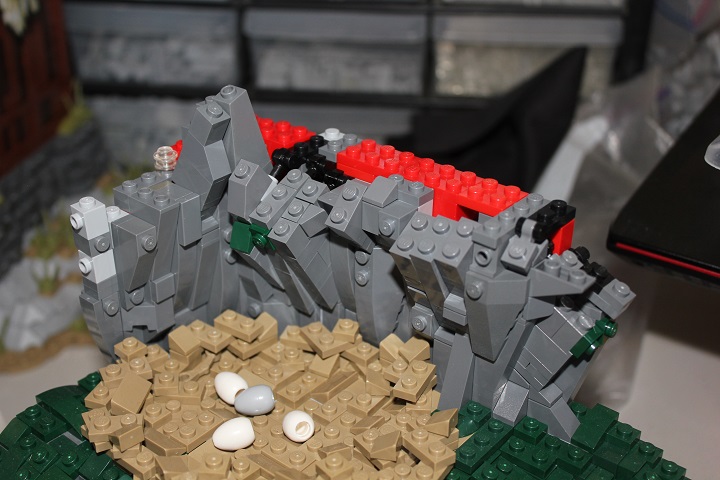
Adding some SNOT tiles or cheese on the tilted sections gives some nice texture occasionally.
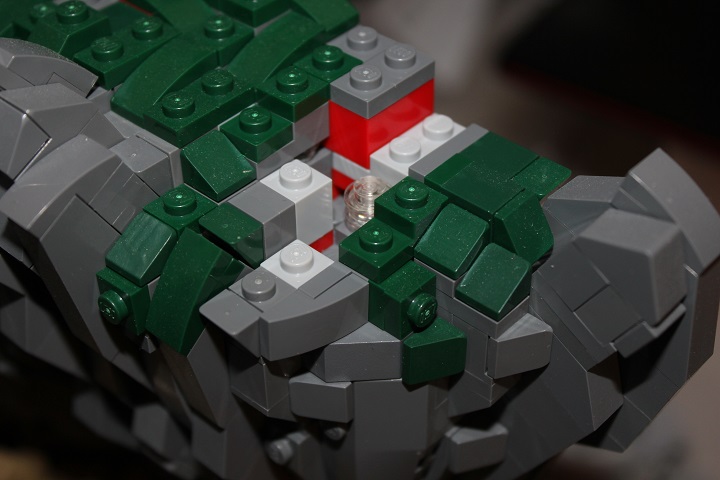
And also some slopes or inverted slopes when needed. One thing to keep in mind when slanting the rockwork out, as I have done here, is that it is usually a good idea to give the sections more depth every so often – increasing them to 3-4 studs total.
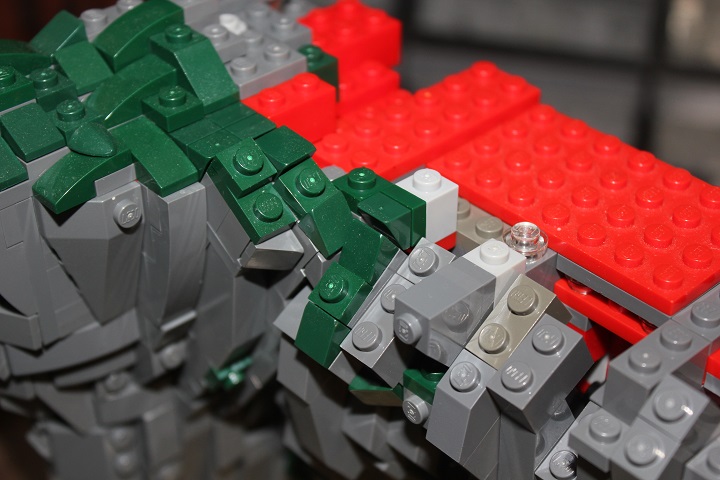
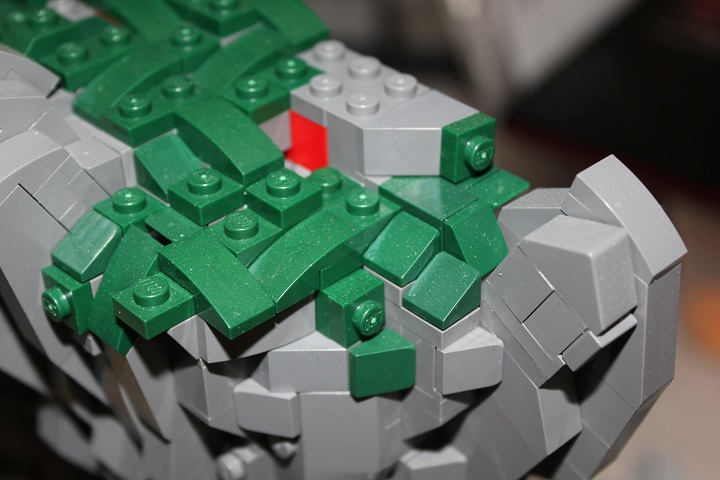
In this particular build, I included some SNOT 1×1 plates and cheese on the rockwork for bits of moss.
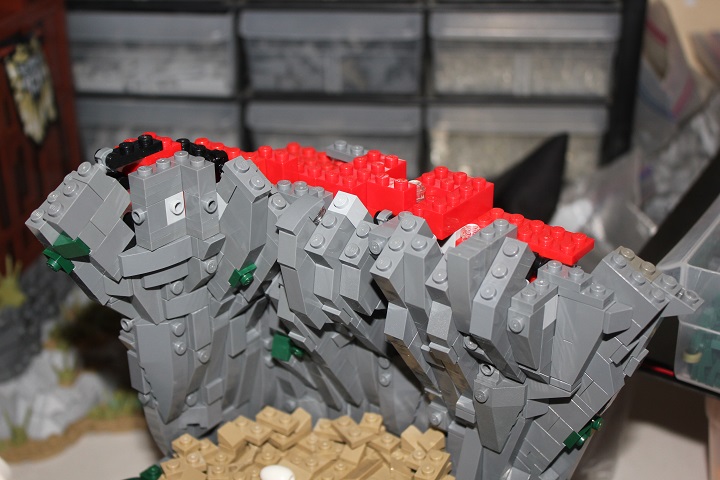
Starting the angled sections at varying heights in the rockwork helps avoid the rocks looking too uniform.
Studs up and standard SNOT sections can be used to easily conceal gaps when needed, as I did on the left side here.
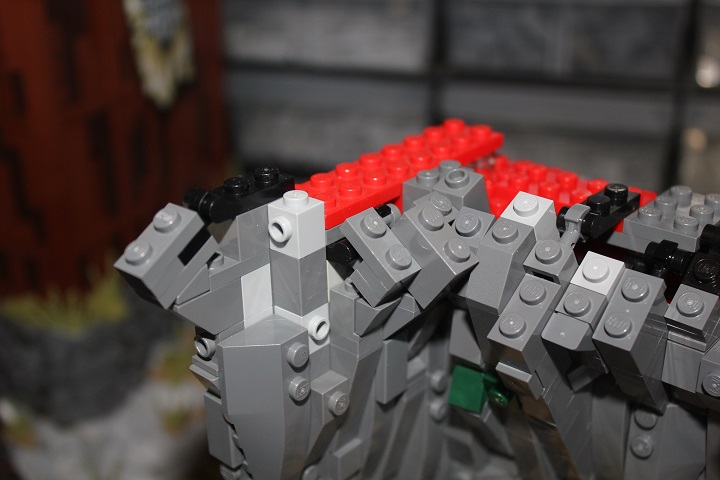
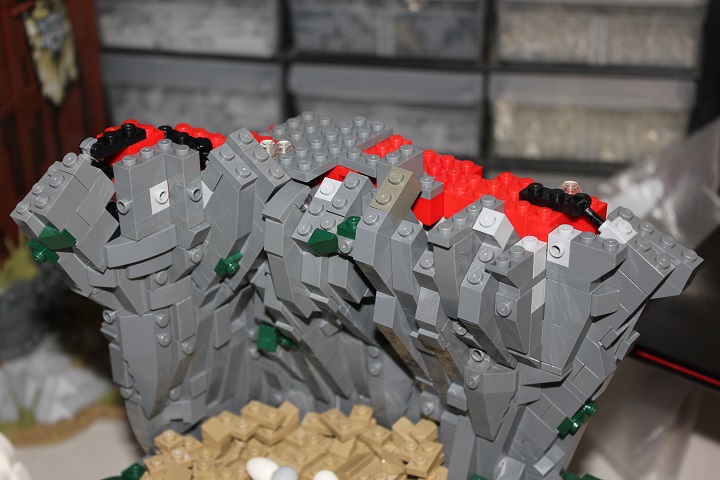
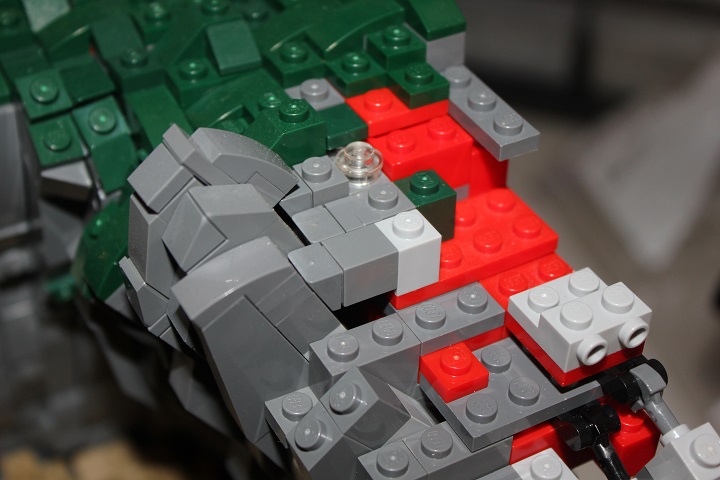
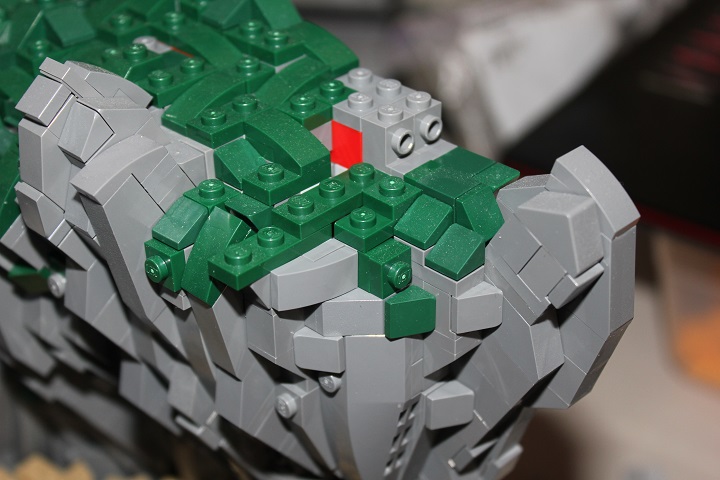
Here is a close look at the start of another sloped portion on the right.

When angled sections would run into each other, you can use slopes to pull one back out of the way as shown in the middle of the picture below.
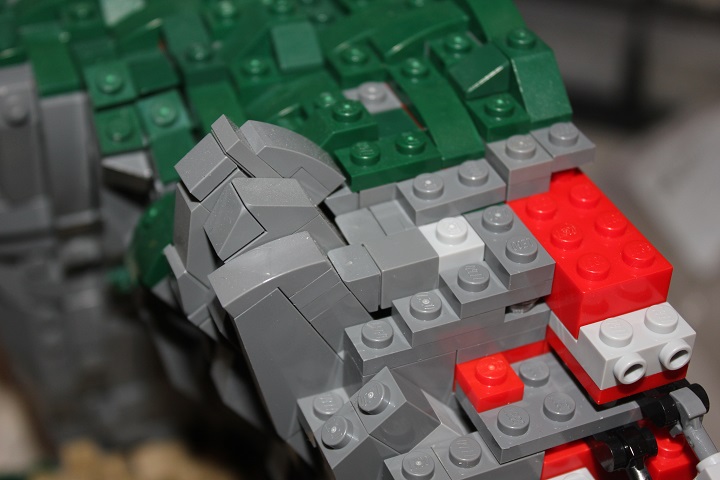
Make sure to solidly tie in the plates with handle/clip that the rock sections attach to.

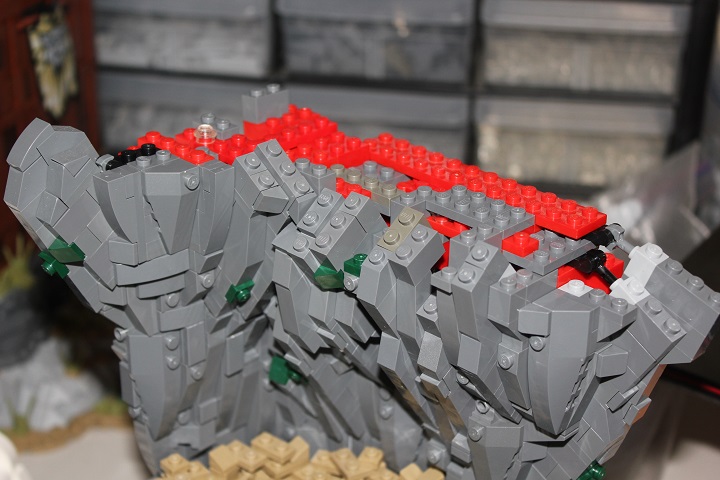
Continuing up the cliff face. When you have sections perpendicular to each other, studs up building can be used to fill in the corner smoothly.
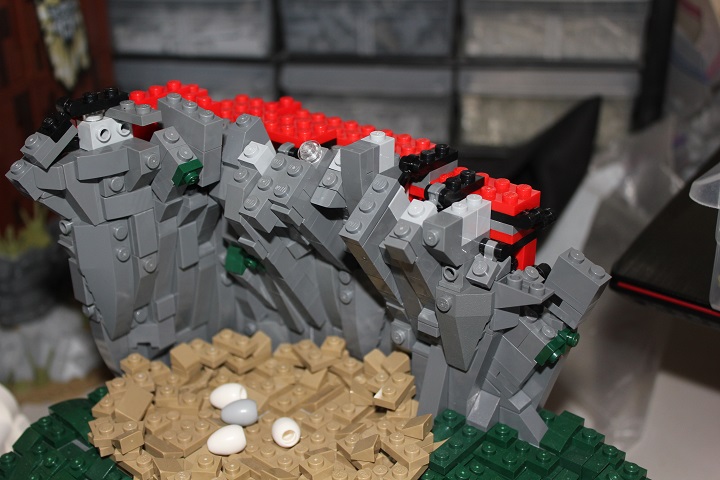
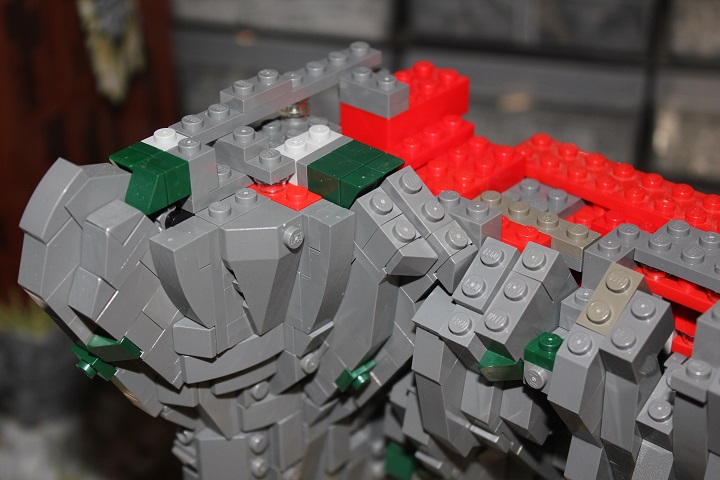
SNOT studs can also be left exposed in order to attach bushes or small trees.

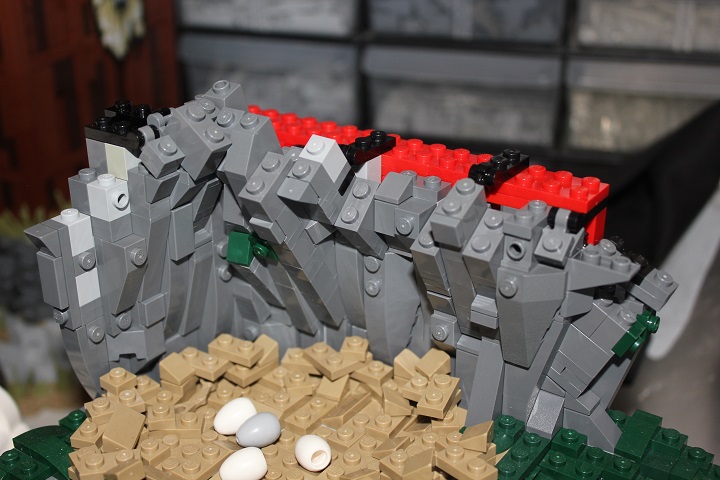
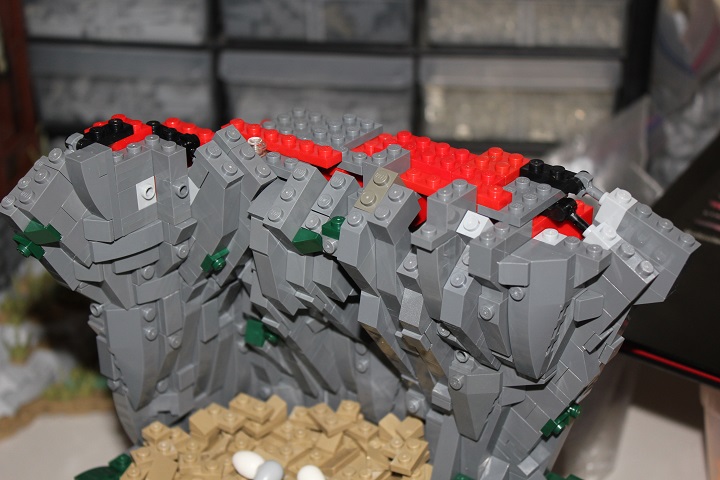
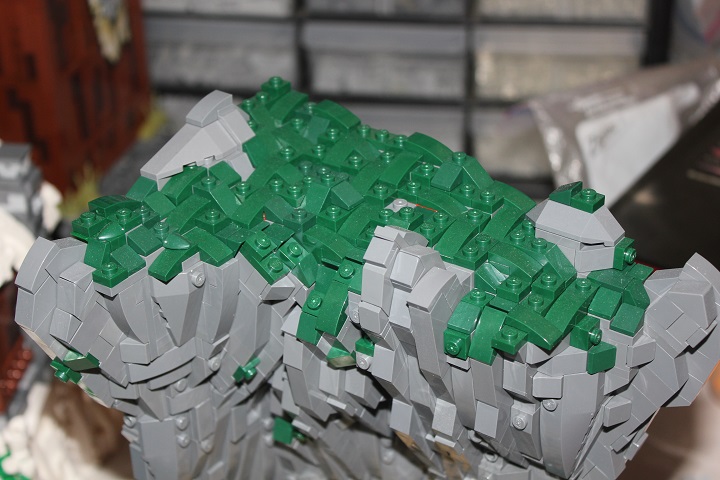
More pictures showing the cliff progress.

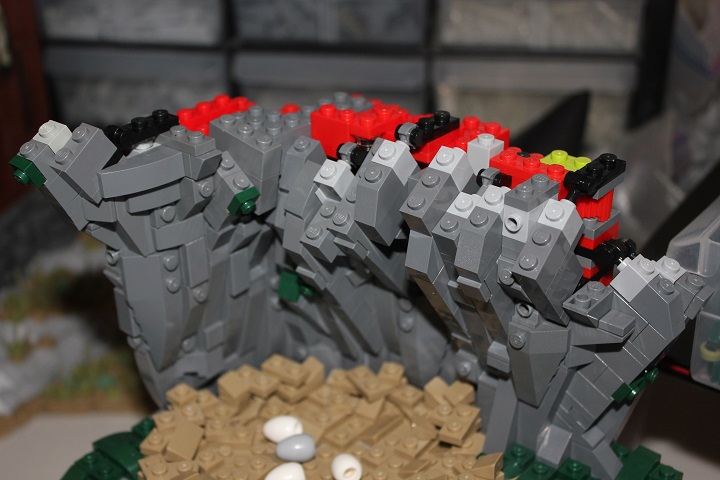
Starting to get close to the top, you will notice that most of the sections are 3-4 studs deep now.
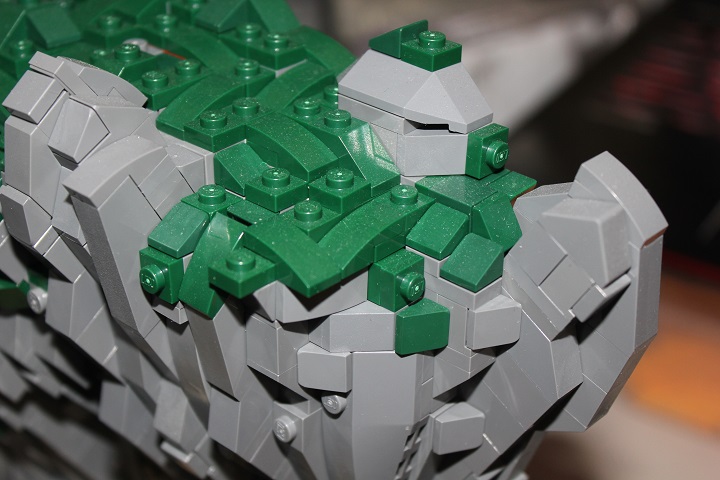
On the left here I have finished off a couple sections with slopes to have sections of rock sticking up through the moss.
Building a landscape over the slanted sections is actually pretty simple. I just used SNOT cheese attached to headlight bricks or brick modified with stud. By experimenting with placement a little, it is usually possible to get quite a snug fit.
And of course studs up sections can be built over like normal.

Having portions at an angle allows the moss to achieve a nice organic look as it slopes down over the edge.
And another portion of exposed rock – I used some SNOT slopes to get a shape that fit well here.

Just a small portion of the moss left to finish.


This technique is very sturdy, and also a lot easier to incorporate than my Technic rockwork design.
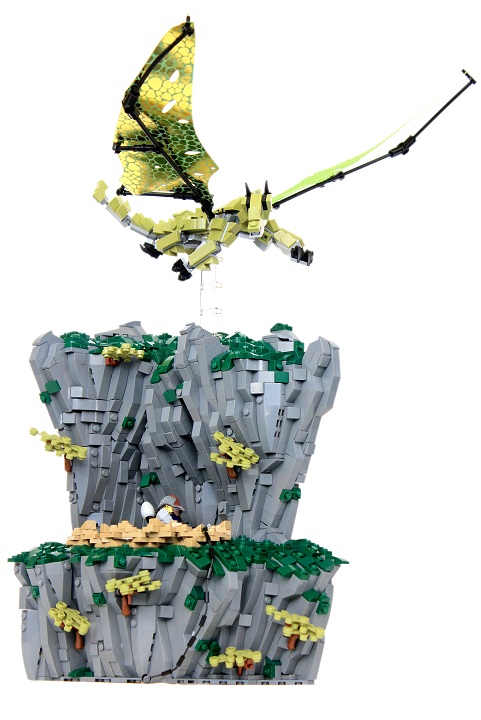
How it looks in a finished build:
I hope you found this helpful, and as always we gladly welcome suggestions for future tutorials and articles!


Hi, thank you very much for all the details about this slanted rockwork technic! I find it very useful and I’ll be surely experimenting it. The result is beautiful and natural.
Thanks!
Excellent resource for future MOC creations! Really great build. Thanks.