


Wochenender from The Brick Time team was willing to share his lovely winter pine tree technique, so keep reading to see how it’s done!
“Hey there everyone!
I was kindly asked to share the building technique behind my winter pine trees, so I will do just that.
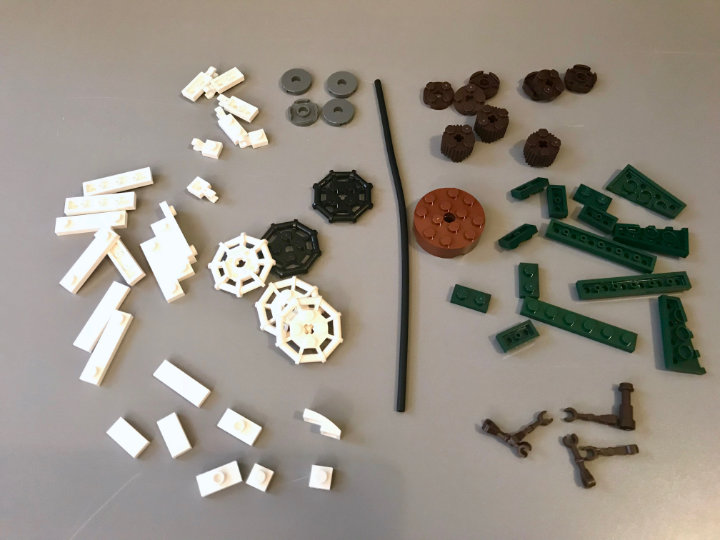
As nearly all good looking trees, it is really part intensive. So in the first picture you can see mostly anything you will need for building those trees, albeit not in their actual needed quantity.
First off, we start with a flex tube in whatever size we want the tree to be. Then we simply put it through some 2×2 round bricks with flutes or as in my other trees with 2×2 round plates, as the other part wasn’t available at that time. The bricks make it more stable in my opinion. I always tend to let a short bit stand out of it at the bottom, so that I can put it in a base later and also on a base (4×4 round brick) while building or transporting it.
Then we add some 2×2 modified plates with those octagonal bar frame around them in between. These are the ones that hold the branches later on. I use some in black for the bottom of the tree and the white ones for the upper part.
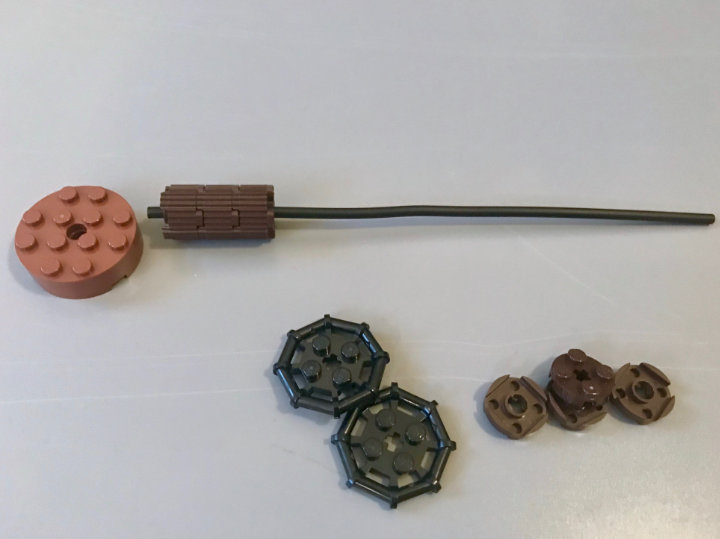
As we come higher by building we would end up with a pretty symmetrical tree with the branches attached. To counter that we can can put some round tiles with holes in it in between. You can see them in the picture below in the middle. The one with the stud is obviously more sturdy. So with those parts in place we can rotate the different sections of the tree as we please.
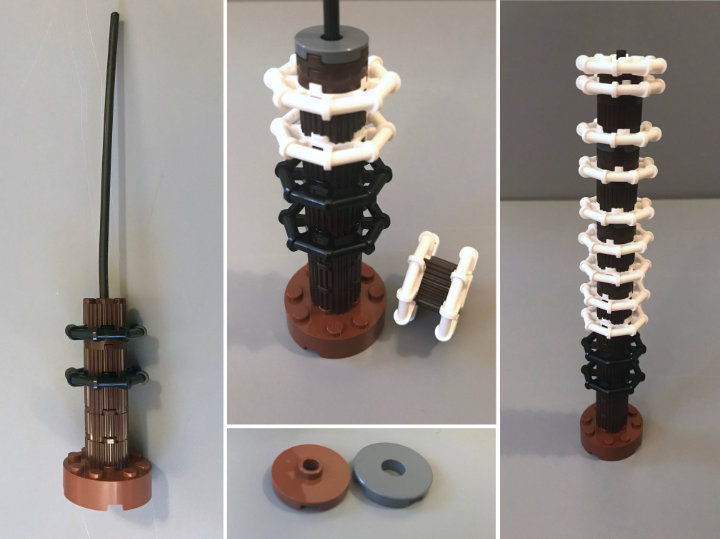
Now comes the fun part (read: experimental). For the bottom of the tree we use some dark brown mechanical arms to let it look like the old and dead small limbs one can see when the trees are growing taller and their bottom part doesn’t get enough sun light anymore.
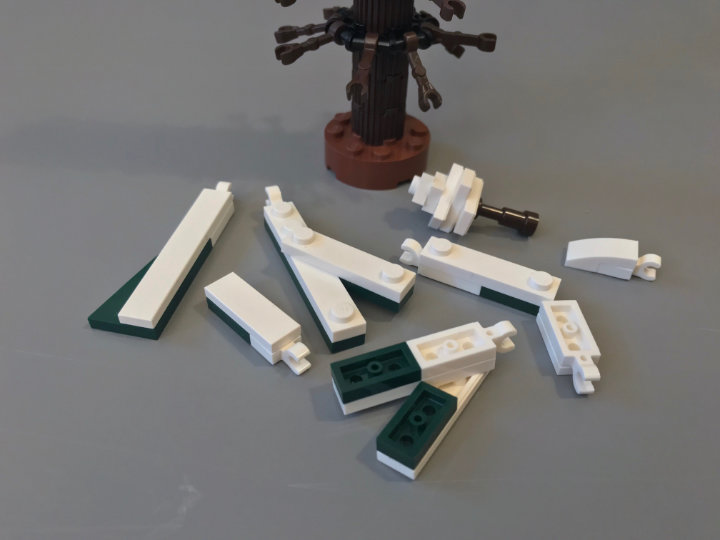
After this we start to build some fresh snowy branches like in the picture below. We need some bigger for the bottom and some smaller ones for the upper part. Just try to experiment with the variants a bit. A tip is to use the 1×4 modified plate with 2 studs, as they are much cheaper than tiles in white and you can attach some additional limbs to them, which are definitely needed to free up the otherwise straight build of the branches. Also try to add the ones that you already built and then add on more later, so you can see what is missing to let the tree shine.
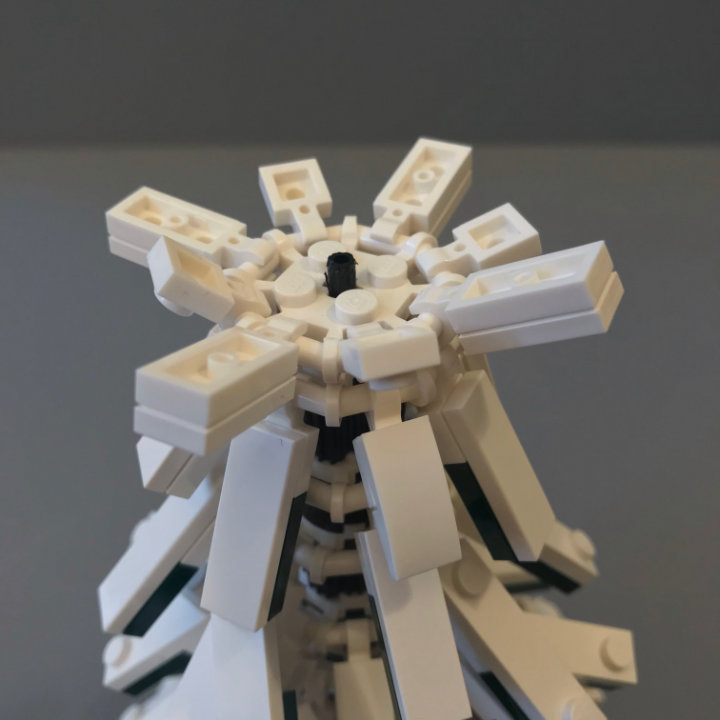
In the picture below you can also see the top of the tree, which is missing a 1×1 round white plate under the first jumper to fit the tree nicely.
The aforementioned tree top is best used, when the flex tube is showing a bit out of the top like seen in the picture. After its attachment you can flip all modified plates with clips to the top.
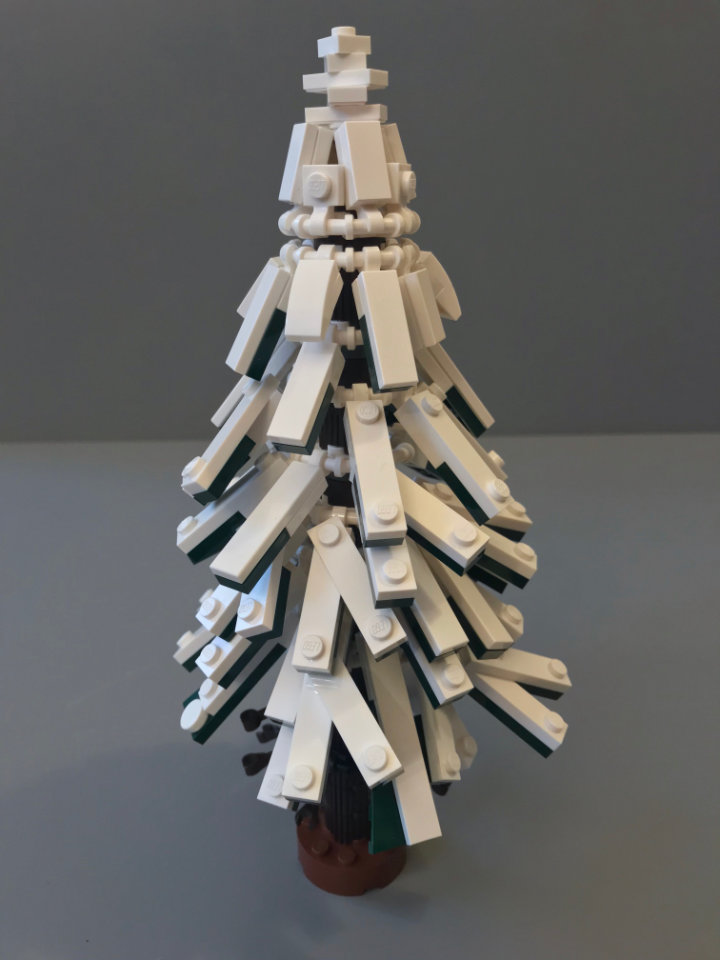
And there we have the final tree.
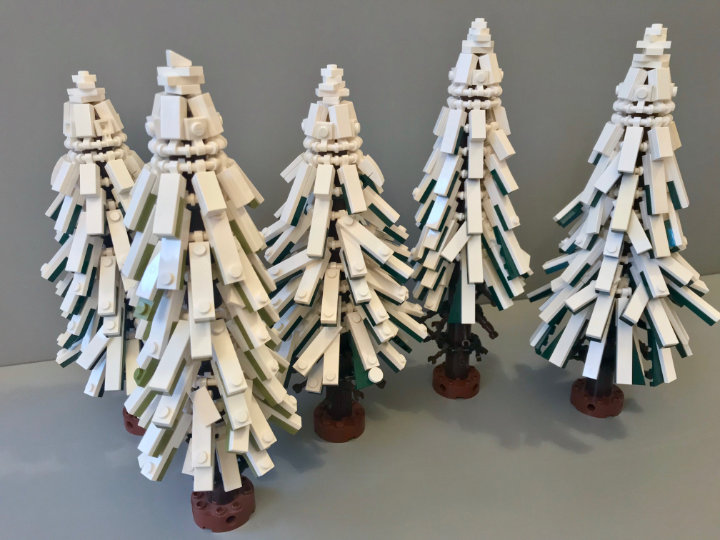
Of course you can build all sorts of different trees with various heights and widths or different shades of green. I bet they would look nice in sand green as well! Also the stem good be well build in reddish brown. You are therefore just restricted by the parts that are given in the color of your liking. In the following shot you can see some examples of trees that I made and used.
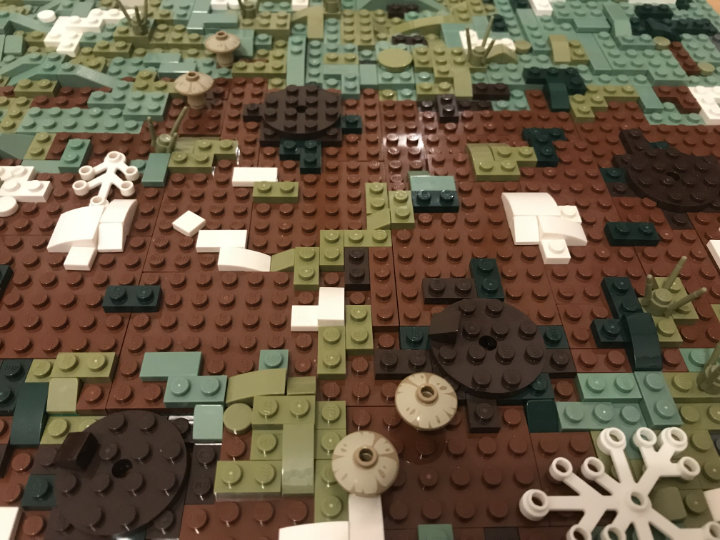
For the base in the landscape you want to use the tree in, you can simply use an 4×4 round plate with an 2×2 round plate for some stability underneath and make it melt with the environment like seen in the picture below.
So that’s it then. Go and make some of your own trees. And if you like, tag me in your photos, so I can see what you are making out of that idea!
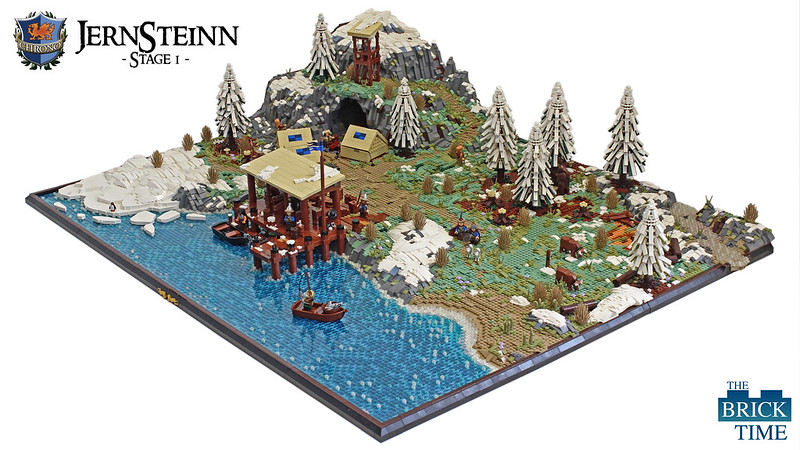
You can see the trees I created in the following landscape of mine.
Thanks for reading and happy building!”
And thank you for sharing your design!

