


This tutorial focuses in on stonework, and achieving a nice mixed stone look by using various dark bley and bley elements.
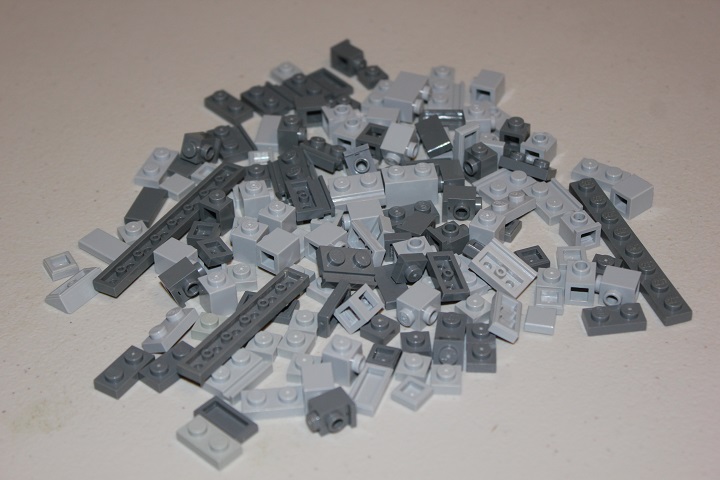
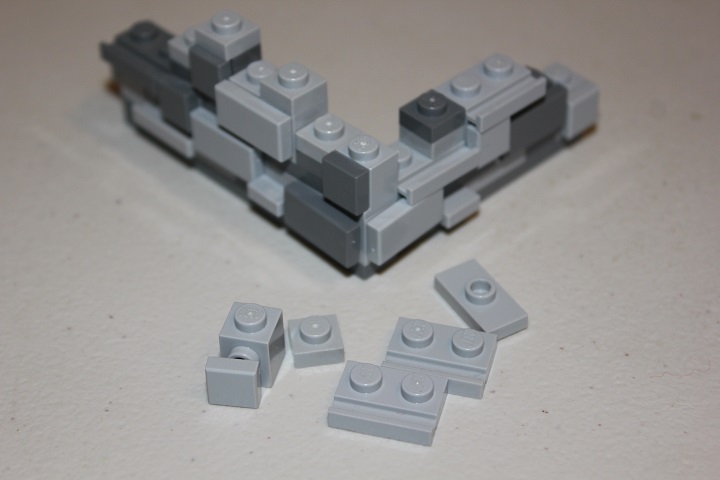
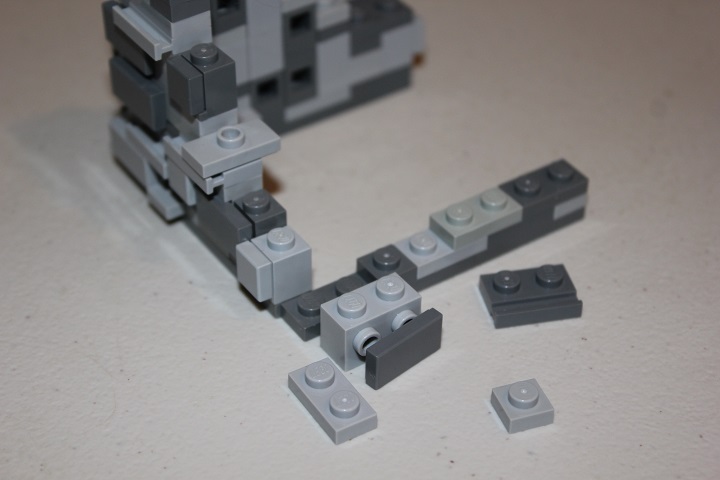
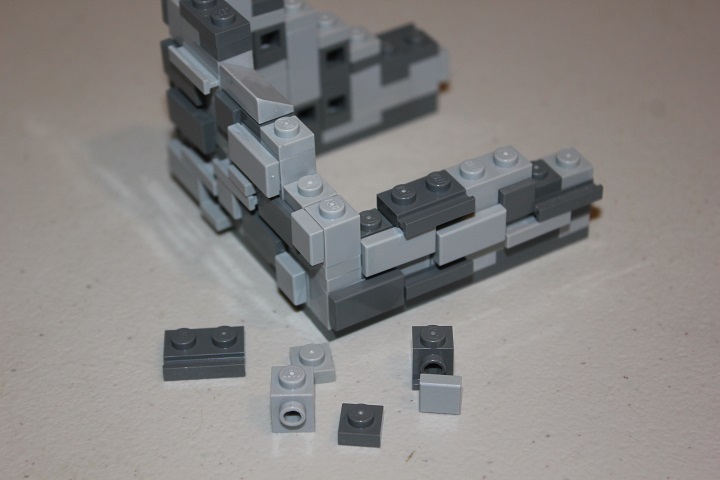
Here is a look at the parts I used to build this example section.
A few long 1x plates are used at the very bottom, and then I quickly start adding various SNOT tiles, plate with rail, and jumper plates.
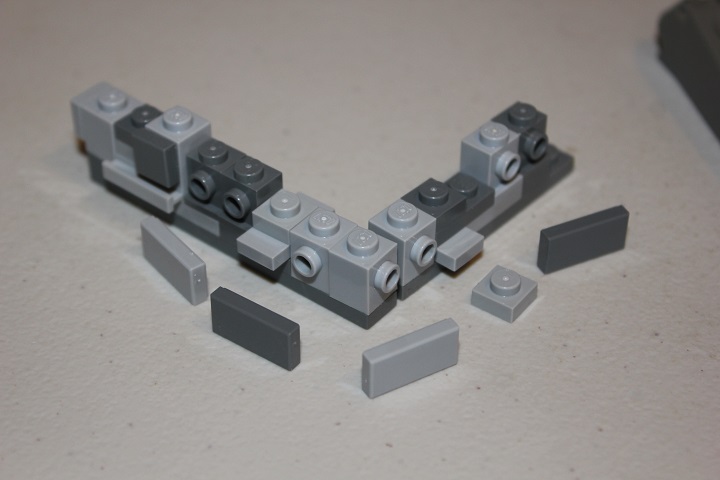
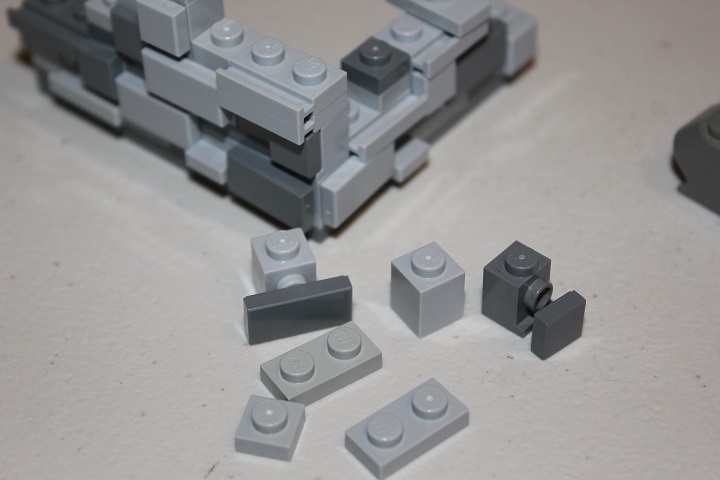
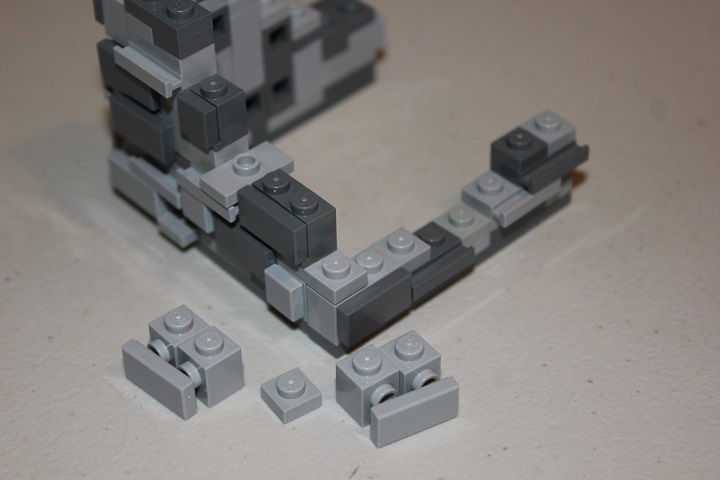
By using plates, jumper plates, and the plate with rail elements, it is easy to give slightly different heights for the headlight bricks or bricks with stud holding SNOT tiles. As opposed to just using bricks, which would give a more uniform appearance.
Using headlight bricks and brick with stud gives a subtle depth difference between some of the SNOT tiles.
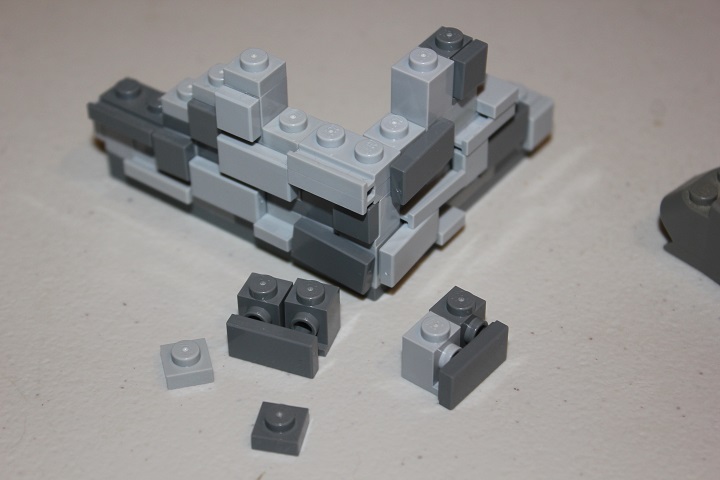
I usually like to ‘stack’ SNOT tiles, or plate with rail off of each other, using at least two adjacently. Similarly to how the two plate with rail are set up in the foreground here.
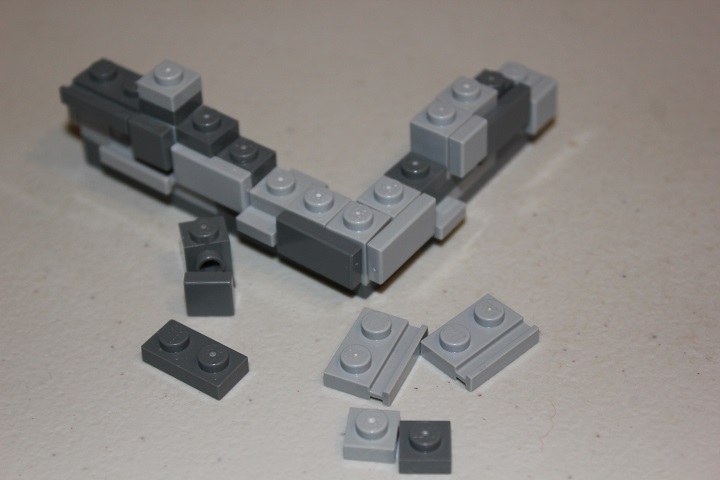
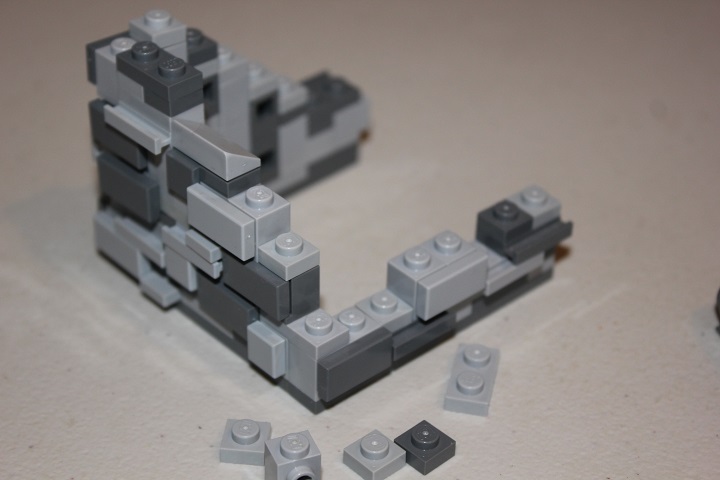
1×2 tiles can be attached to a single brick with stud to allow for some half stud offsets, which can be useful in instances like the slight gap in the wall shown below.
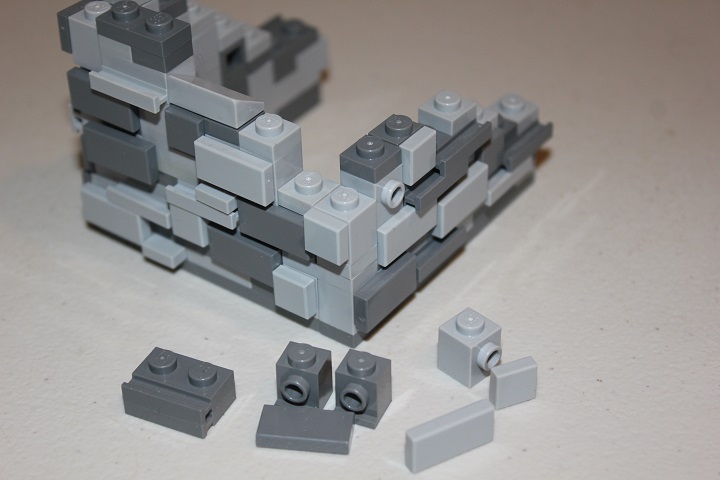
Alternating between bley and dark bley for the headlight bricks and bricks with stud gives some more variety.
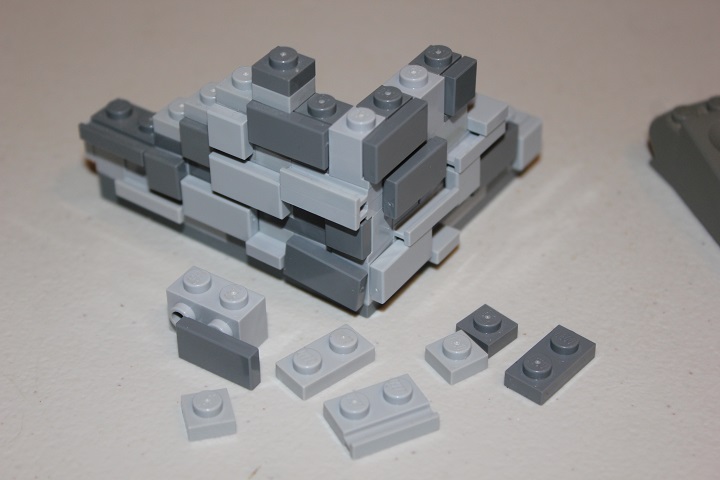

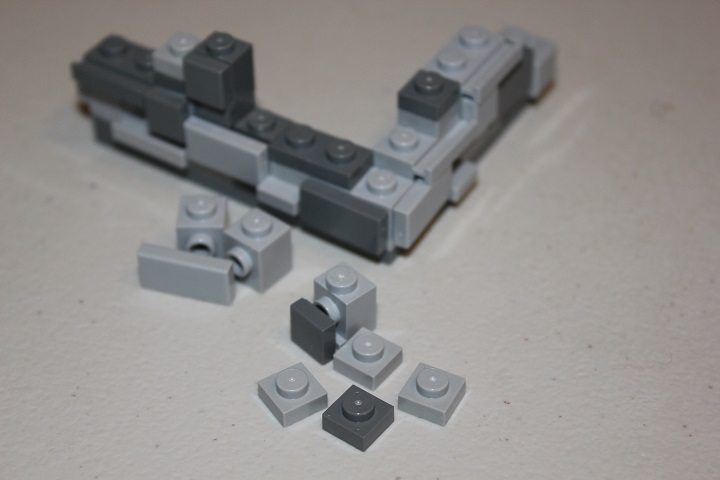
Here you can easily see how jumper plates can work nicely along side plate with rail.
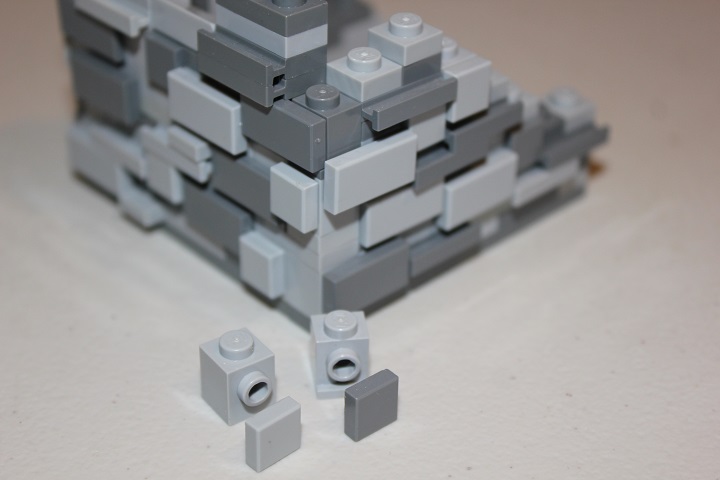
When building a wall with fairly even color mixing, like this example, I try to avoid any large patches of a single color.

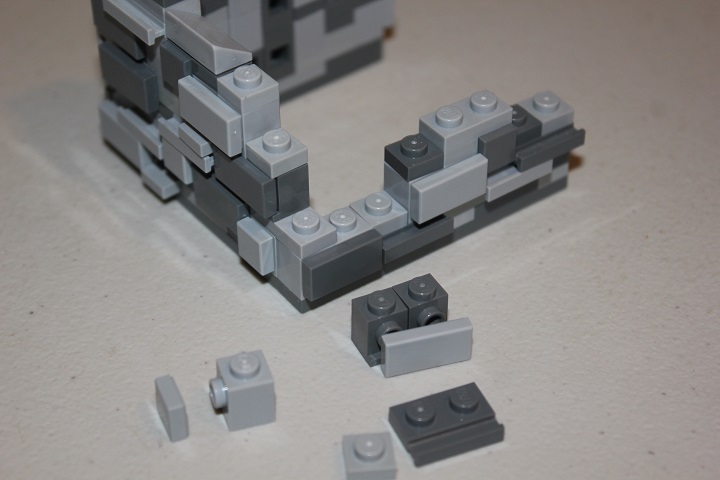
And at corners, using a 1×2 tile attached to just one brick with stud makes it easier to avoid large flat sections, as the tile can hang over onto the side of another brick with stud or headlight brick facing out in the other direction.
Sometimes stacking two plate with rail, or jumper plates, directly on top of each other gives a nice variation in the wall.

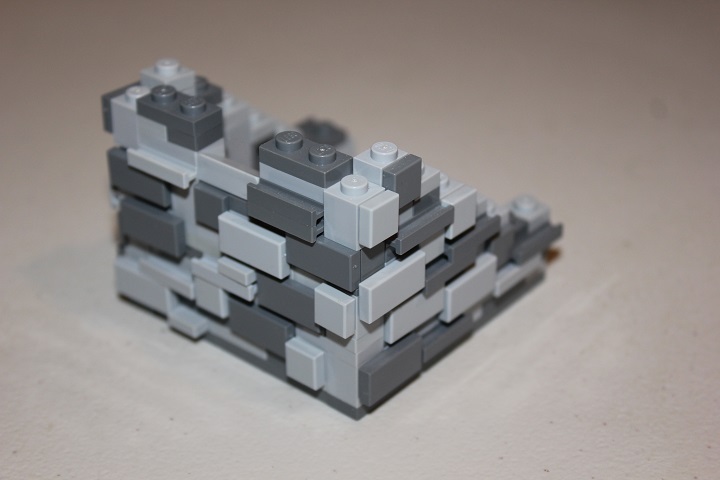
While fairly parts intensive, this wall design is pretty straightforward to build and can be adjusted to fit quite a variety of settings. Adding in some sideways plates instead of just tiles can add even more texture (as I did in The Streets of Daydelon), and of course a single color can be used alone.
We hope this tutorial was helpful, and if you have any questions about the design, or suggestions for future tutorials, please comment below.


really looks nice, I am going to use this one in my build but I am going to build a little ruffer with slopes and plates to I think.
Sounds very cool! Post a link when you finish, as I would love to see it.