


For the month of April we asked Patrick B. to share some of his clever animal designs. He kindly contributed a tutorial covering a wide range of creatures.
“Hello everybody!
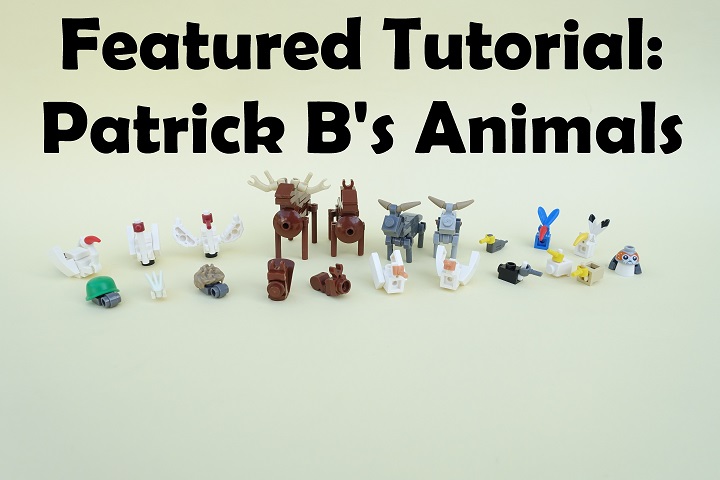
Today I will be showing you a selection of animals I made in the last months.
1) Goat
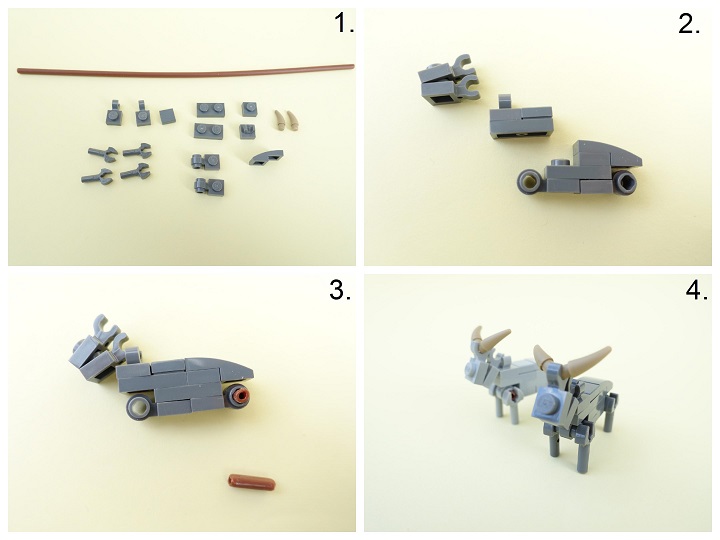
The first animal I want to show you is a goat. For the feet you only need a piece of a “hose” so that you can connect the “Mechanical claw clips” with them.
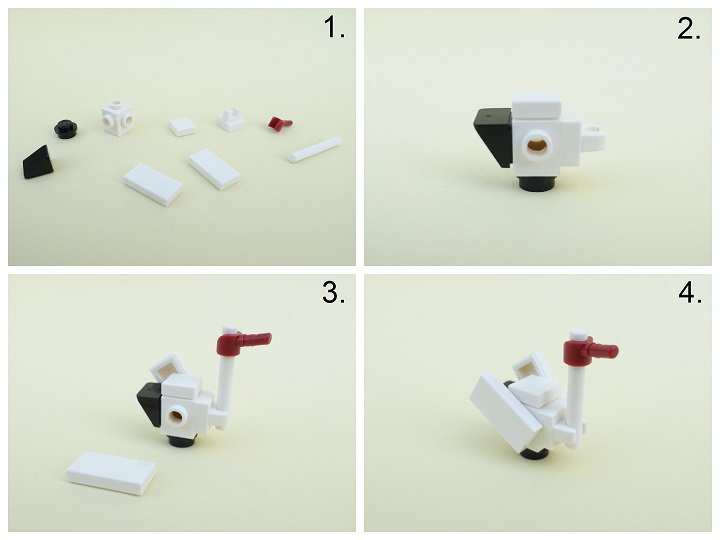
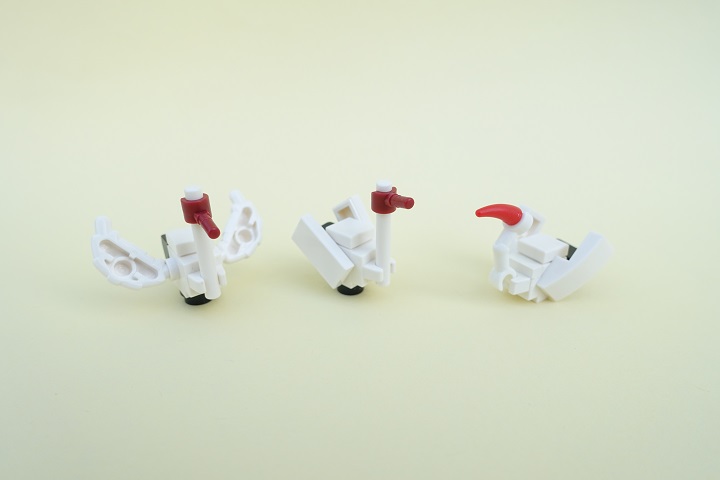
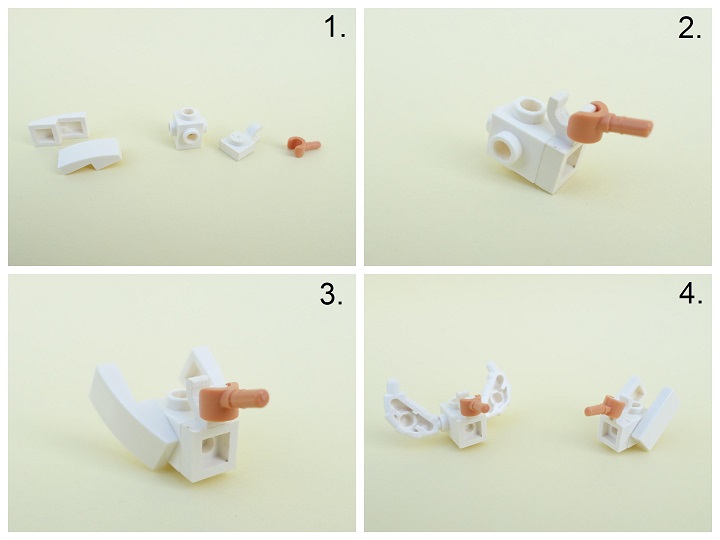
2) Squirrel
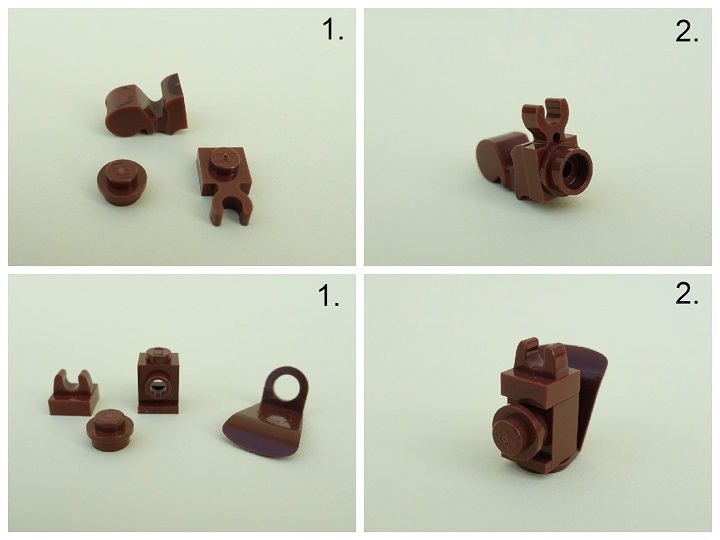
For the squirrel I want to present you two different versions. For the first one you only need one feet from the Faun of the CMF series 15, a reddish “brown clip vertical” and a 1×1 “round plate” in reddish brown.
For the other version the most important part is the “cape plastic” piece in brown, that part is from some older Classic Castle sets.
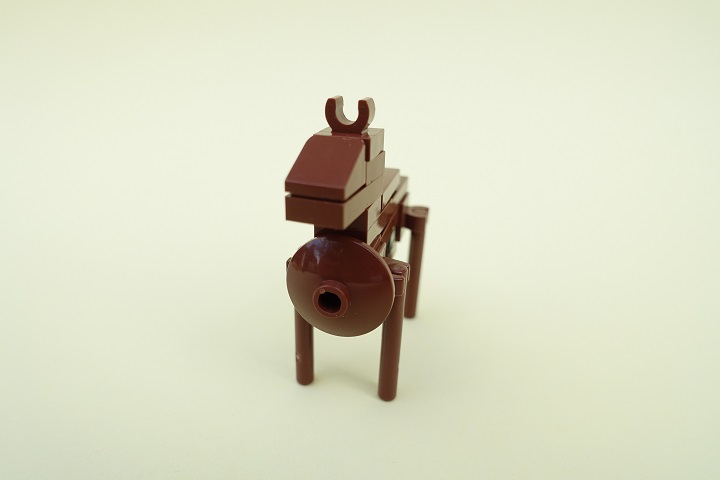
3) Stag
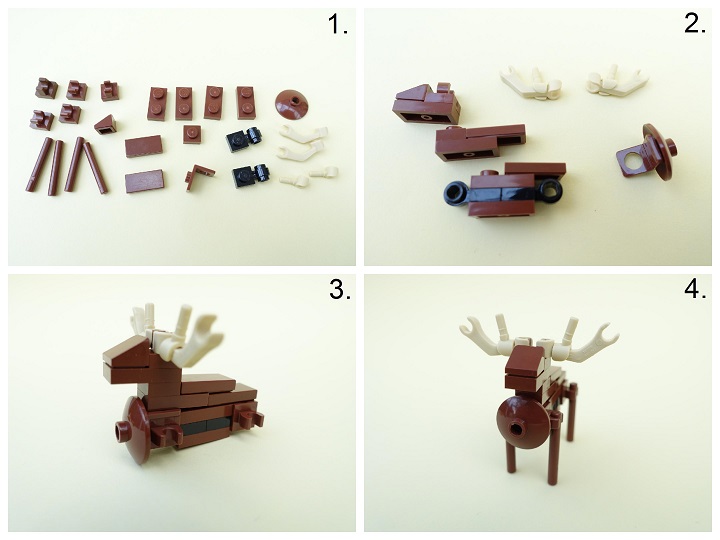
The steg is one of my favorite animals I made so far. Unfortunately I couldn´t find my “Plate Modified 1×1 with Clip Light – Thick Ring” in brown at the moment, so I used some in black instead. The antlers are inspired by Jonas Kramm, who made an stag some years ago in his Battle of the Five Armies creation.
By changing just a few parts you can also make a deer, you only have to remove the antlers and add a 1×1 plate in reddish brown under the 1×1 reddish brown “Tile with clip”.
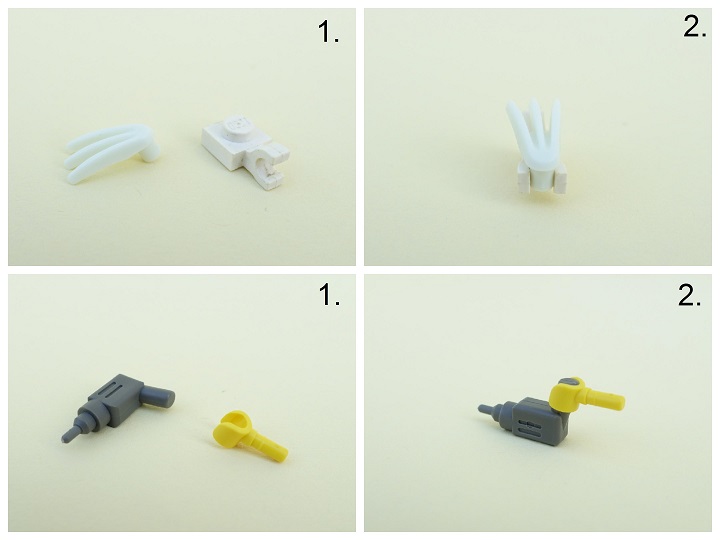
4) Duck

Those ducks are very simple, you only need a “headlight brick” and two minifigure hands. The “headlight bricks” work very good, because there are two different possibilities to pose the heads.
5) Stork
Let´s continue with a stork. The most important part is a white “Brick modified with studs on 4 sides” and a “3L Bar” in white. For the wings you can use two 1×2 tiles, but there some other options too like for instance croissants (the idea is inspired by Simon NH) or 2×1 “Slope curved” pieces. Furthermore you can also replace the “3L Bar” with a “Skeleton Arm” for example.
6) Swan
Another animal I´m using quite often in my creations is a swan. The technique is quite simple too, you only need one “Brick modified with studs on 4 sides”, one “Clip Plate Horizontal”, one minifigure hand and two 1×2 “Curved Slopes”. Instead of the “Curved Slopes” you can also use croissants or 1×2 tiles.
7) Bird
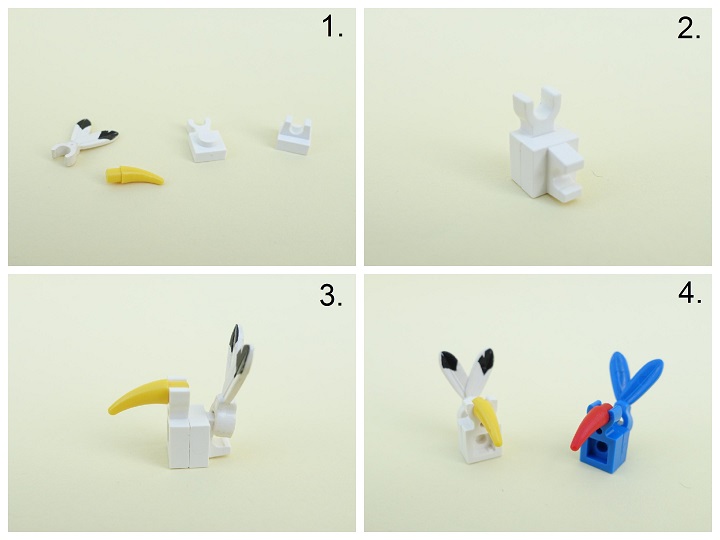
Moreover I want to show you a technique for a bird. The only parts you need are one “Tile with a Clip”, one “Clip plate vertical”, one “claw” and one “feather” piece, which is from some older Western sets. Next to the version in white I also made one in blue as an example.
8) Hedgehog & Turtle

For that two animals I nearly used the same parts, a 1×1 “Round Plate” and a “Plate Modified 1×1 with Clip Light – Thick Ring”. The only difference is the hair piece you need for the hedgehog and the helmet from the “Toys Story Green Army Man” minifigure for the turtle.
9) Mouse & Duck
Those animals are some other ideas as an example.
10) Porg
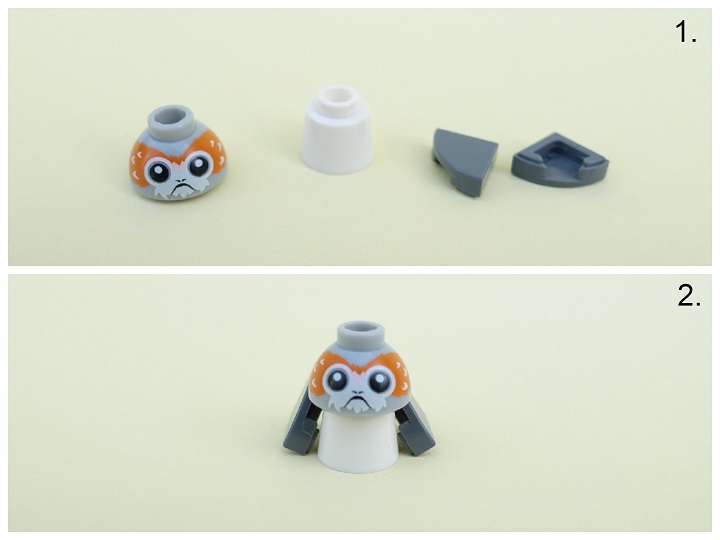
Finally I also want to present you a version of a Porg I made some days ago. The head piece is from the official Porg and I also used a small “cone” piece for the body. Unfortunately those tiles aren´t connected with the body, but it´s more or less stable on a flat surface.
Thanks for reading, I hope you like the tutorial.”
I certainly found those designs to be useful! And we hope you all have fun adding some brick built animals to your own creations.

