


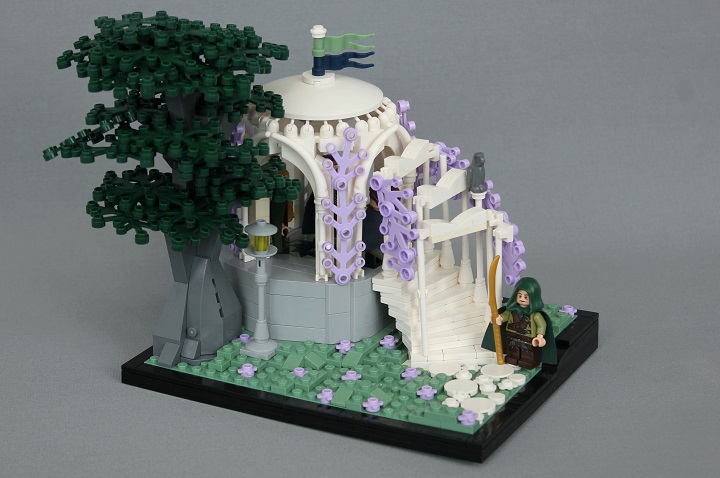
I enjoy building cheese mosaics from time to time, and this is a nifty design I picked up from Paul Trach.
For my Treaty with the Lir Teilien Elves build, I combined that pattern with a hefty stone podium.
We happened to have inverted tiles and curved slopes which made it very easy to have all sides of the podium be smooth. Though you could easily reverse stud orientation within the podium to use only regular curved slopes and tiles if needed.
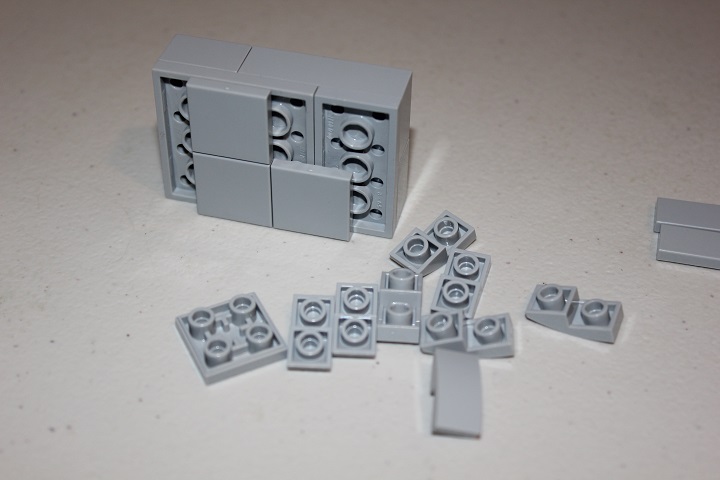
Some 2 wide bricks lock the first plates and slopes together solidly.
Next some 2×2 inverted slopes are put in place.

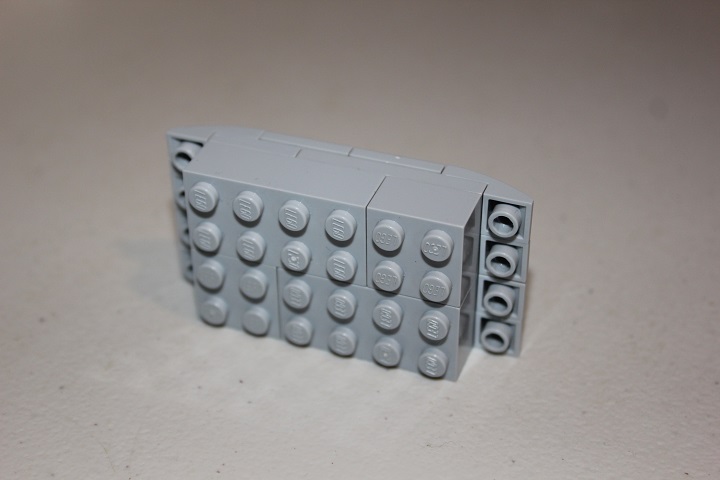
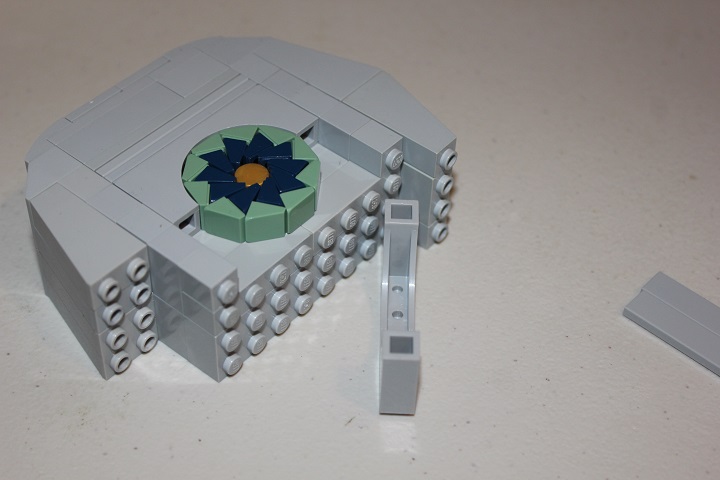
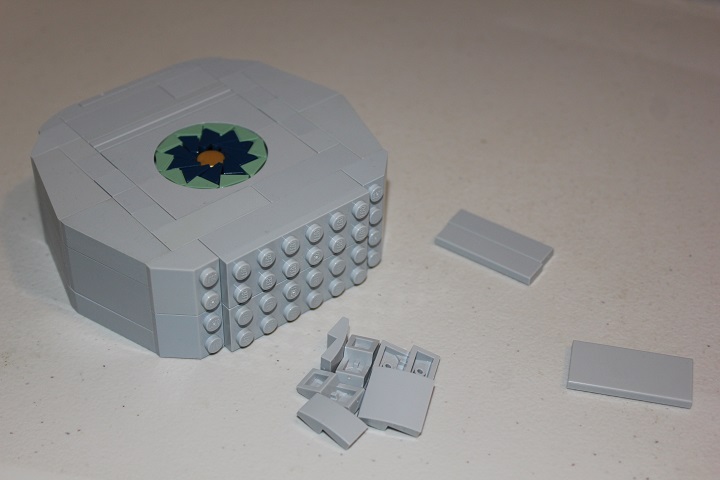
The 1×6 plate and tile shown here, will go into the 1×6 slot on the top.
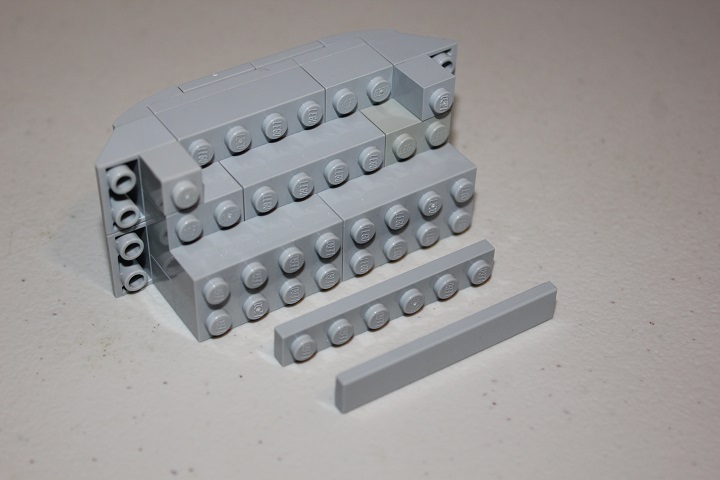
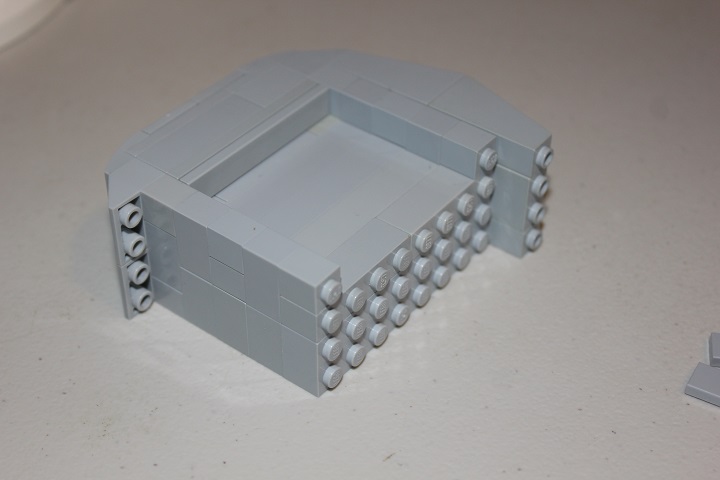
Like such. This is the start of the cavity for the mosaic to be built in. Also notice the 3 brick tall inverted slopes added on the far side.
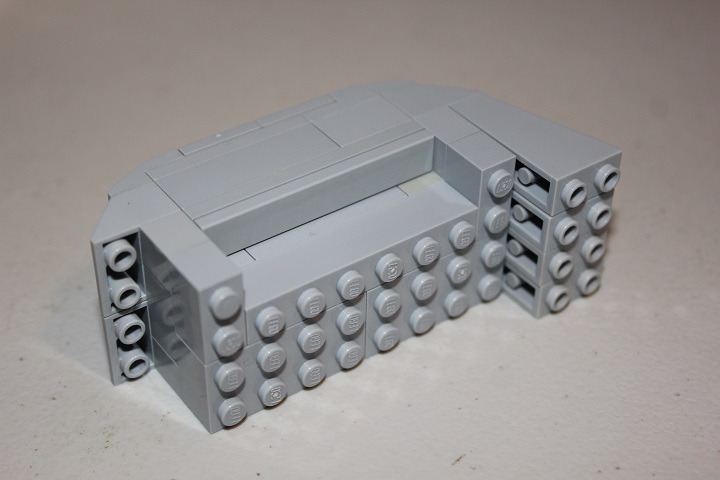
The cavity maintains its 6 stud width, and on top of the inverted slopes some matching slopes are added.
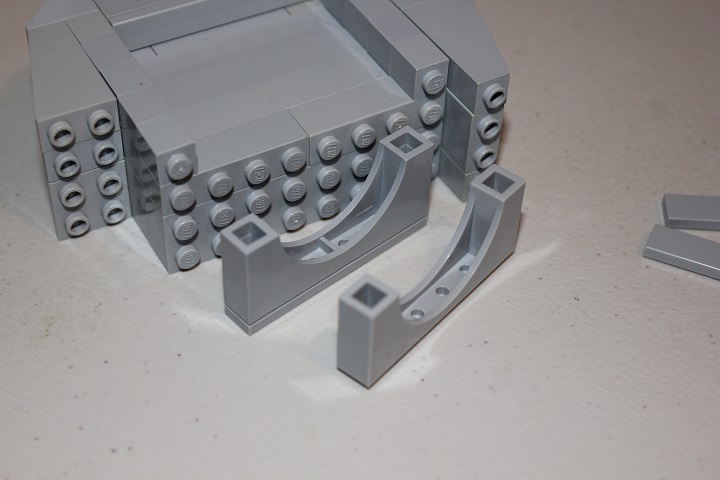
Now we get to the vital components of the design: two 1x6x2 arches. And for this pattern to work properly, you will need to have one of each type shown below. The different molds give just the right size when combined, whereas if you use 2 of either type, the pattern won’t fit.
After tiling the top of the first arch, you can put it into position and start the cheese pattern.
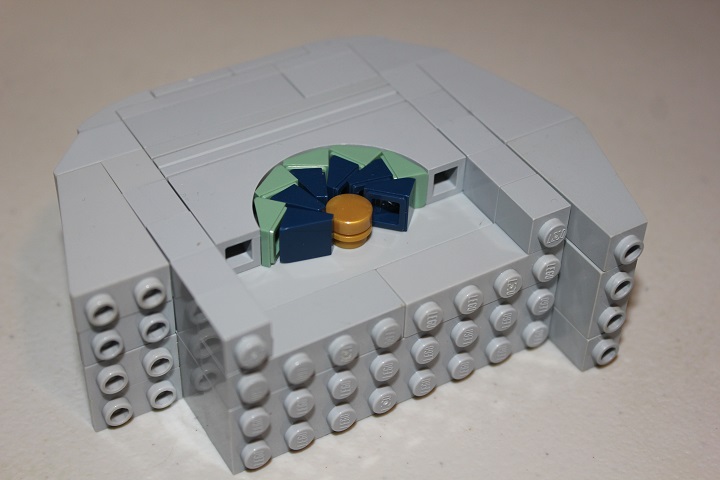
This takes a little time, but the arches make good guides. And obviously any color cheese slopes and 1×1 round tile can be used, giving plenty of flexibility.
Some more bricks will lock the second arch securely in place.
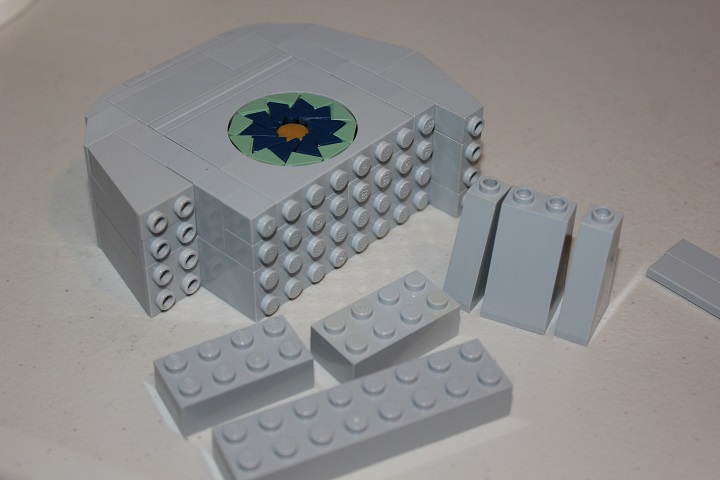
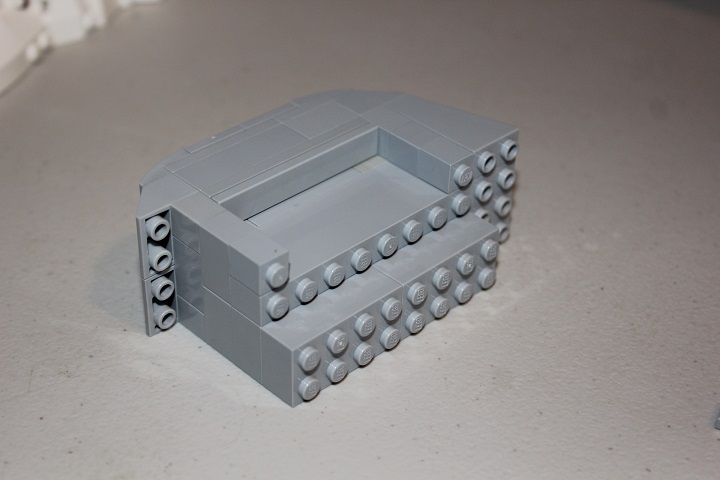
And then it’s back to 2×2 slopes to mirror the other side of the podium.
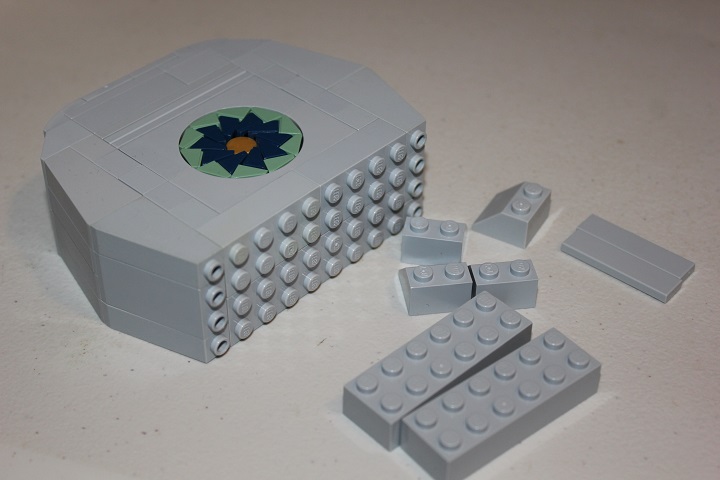
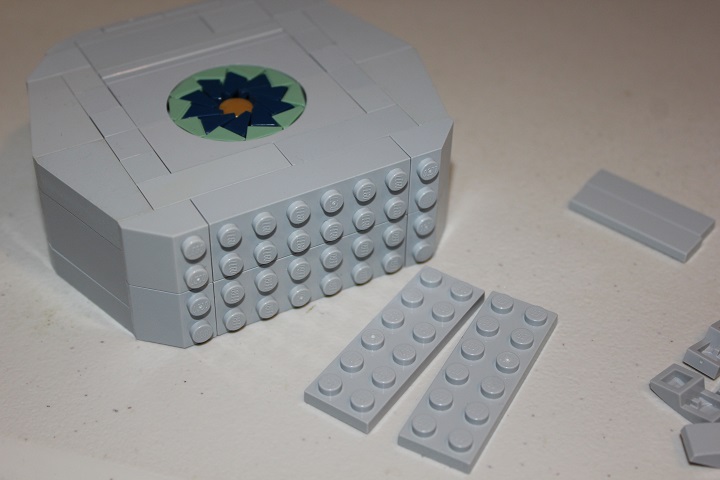
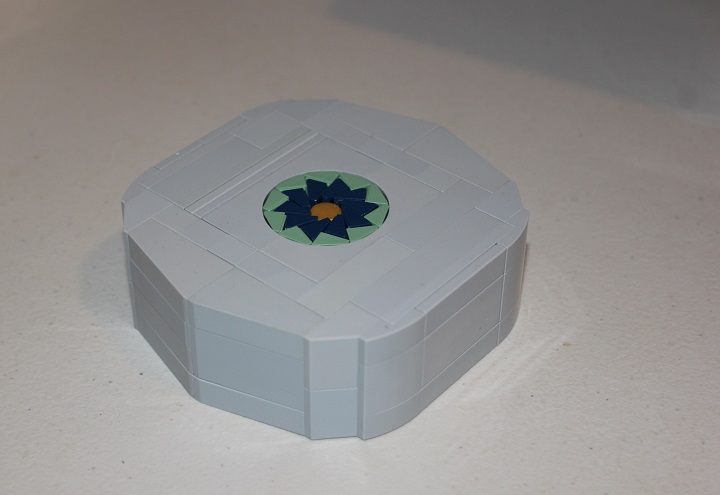
Finally the base is finished with some tiles and curved slopes.
Makes quite a hefty chunk!
As always, be sure to leave a comment if you have any questions on the design, or want to see a specific technique explained.

