


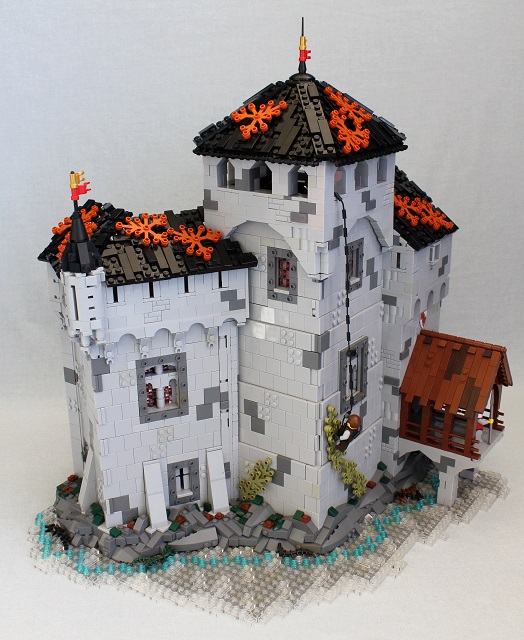
This design is very similar to the SNOT Stone Wall we did a tutorial on some time ago. However, with this setup, you step the wall back one tile at a time to achieve a tapering affect.
For this example, we’ll step the wall back every two studs. Though when I’ve used this design in a build before, I stepped the wall back much more gradually to give a large tower a slight taper:
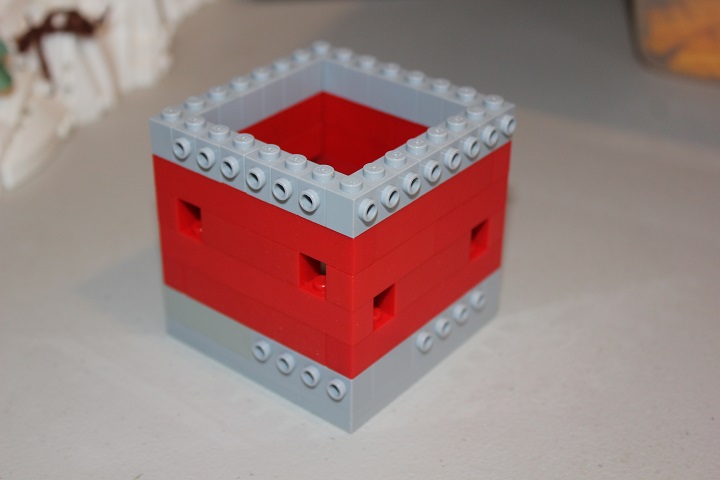
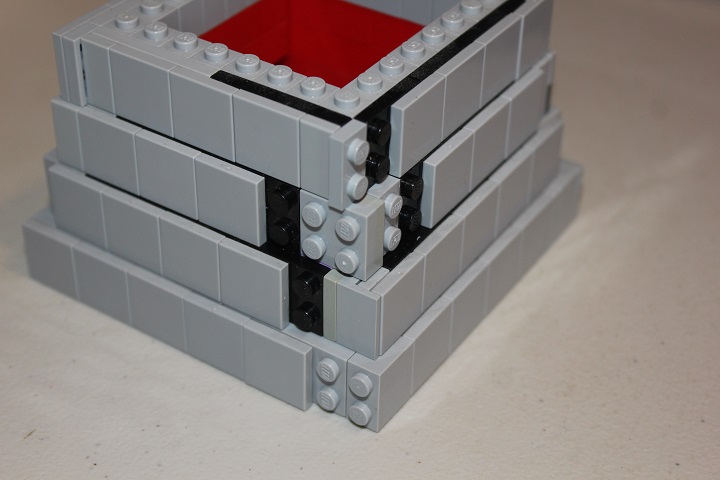
A simple box with some brick modified with stud to attach SNOT plates serves as the core of the walls.
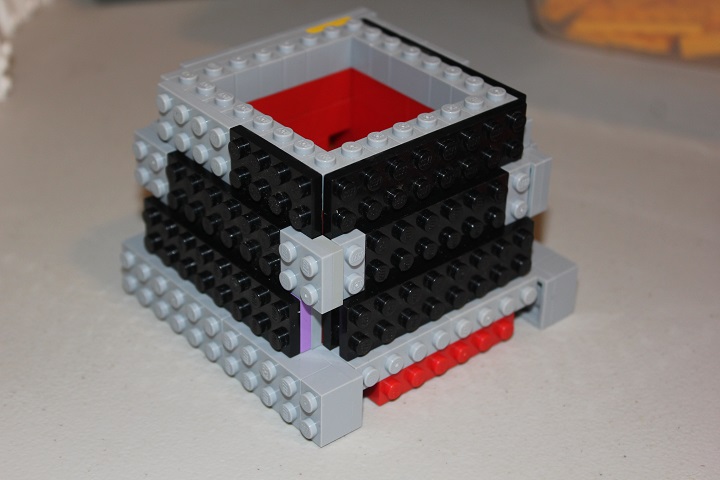
Then, as you might expect, layered SNOT plates and bricks give a very simple base to achieve the steps.
Where the design is a little less straightforward, is handling the corners.
In particular, the second corner set in this example required some fiddling with to figure out a good solution.
Eventually I realized the assembly below fills the gap nicely.
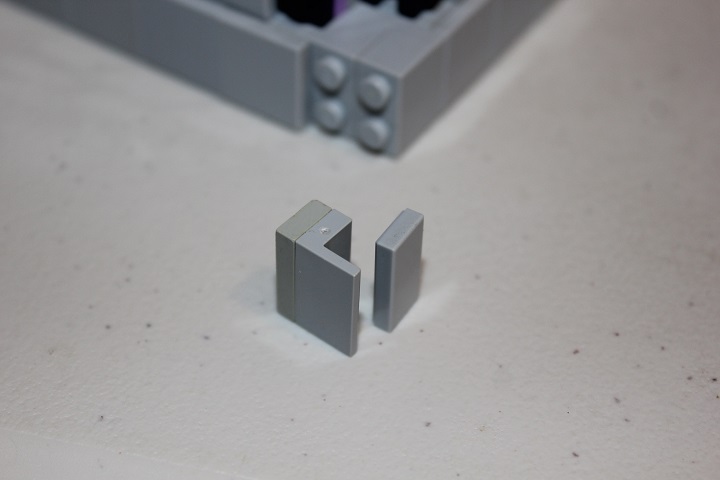
As you can see here, the first row of tiles can just use a plate + brick + tile to give a nice flush fit.
The second layer uses the panel + plate and a 1×2 tile (or 1×2 plate).
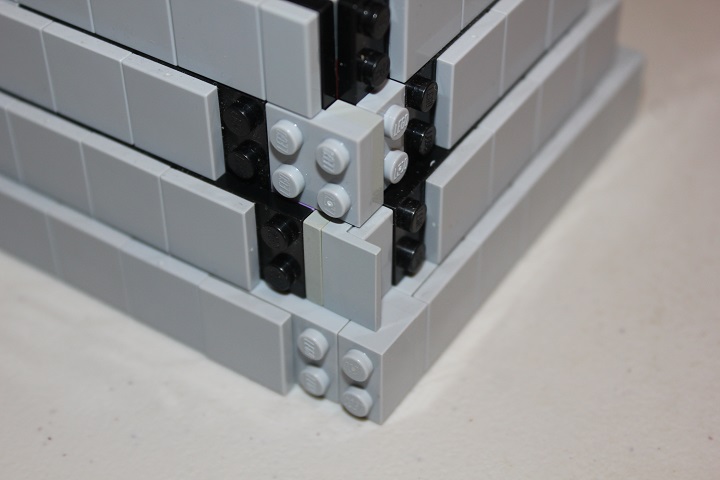
And the third and fourth layers can just use simple plates and tiles.
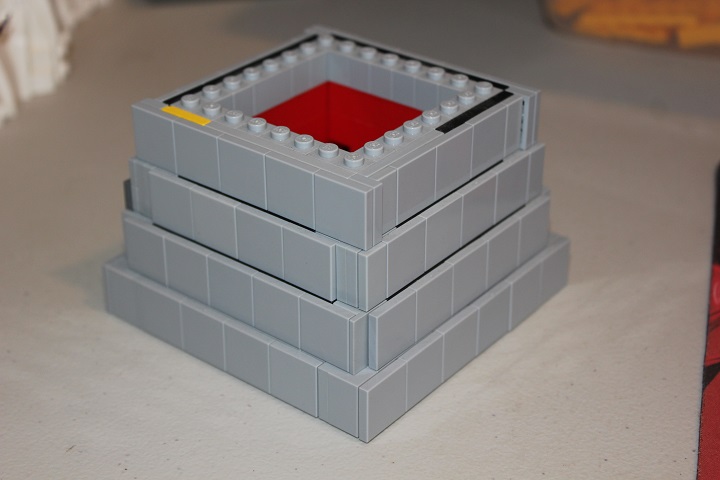
Which when tiled over, looks like this. If you would prefer to not have the slight black lines showing between layers, use bley plates instead of black behind the tiles.
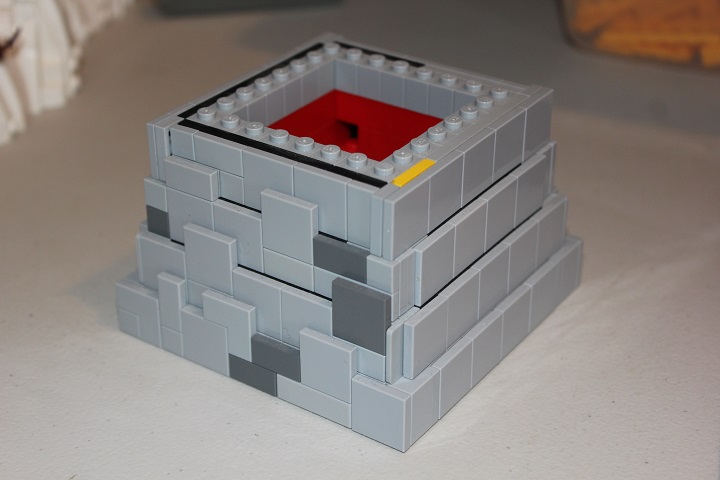
And you can overlap tiles to give a less uniform look to the steps.
I hope you enjoyed this tutorial. Seeing people utilizing techniques from our tutorials is really inspiring, and encourages us to keep making them!


Awesome tutorial, super in depth and helpful. After seeing this I’m definitely going to use it in my next moc. (My first castle build, a watchtower.) maybe I’m dumb or overthinking it, but I can’t seem to figure out how to create the first corner. Everything I’ve tried (basic brick and plate combinations) have been one half stud off with the rest of the first layer. Is there some other piece involved in making it flush?
Hi Sylas, sorry for the slow reply, life has been crazy lately!
Glad to hear you found the tutorial helpful. As for that first corner it’s all standard sideways building. In the first image you see the left side of the tower is hanging over the core structure by two studs, which will then bring it flush when the right side is built out 5 plates deep from the core. Let me know if you need additional explanation or example images.