


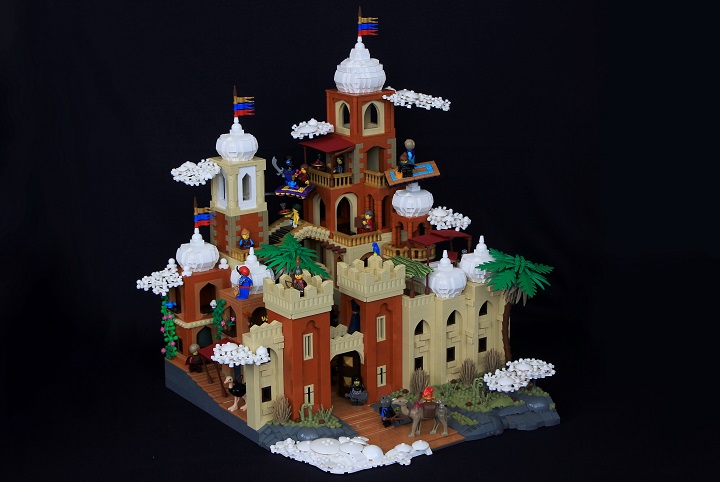
Today we’ll be taking a look at a tower design I used in my Fabled Fortress of Al-Danah creation.
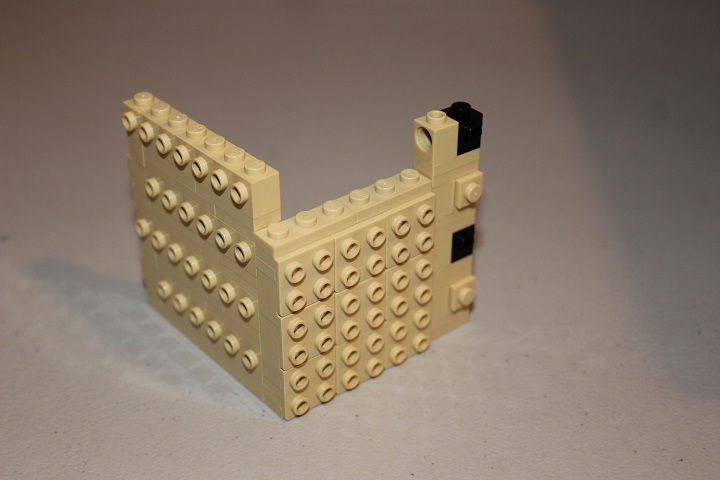
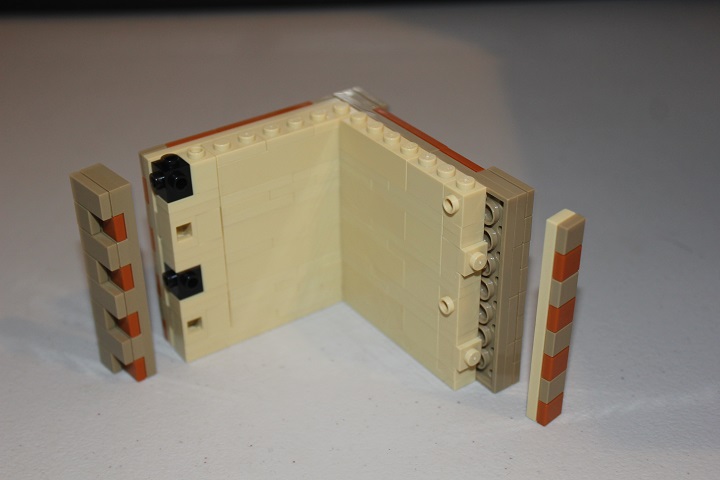
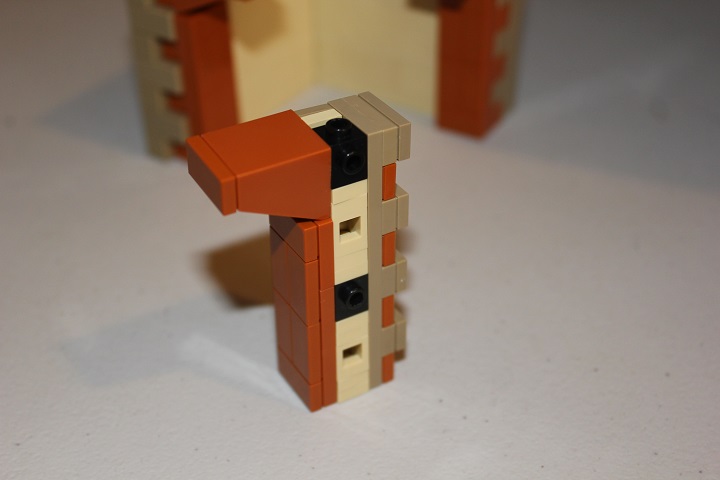
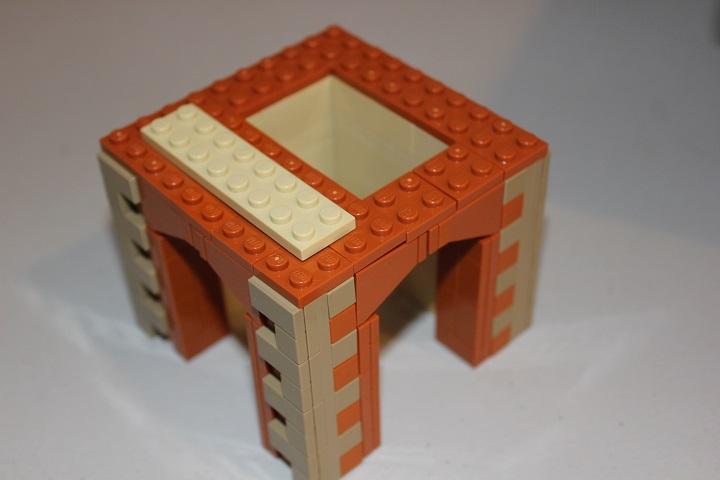
The basic core is made up of a mix of brackets, brick modified with studs on side, plates, technic brick with hole, and travis bricks. As you see below, one wall will use the brick modified with studs on side, with two layers of plates in between each layer of brick modified, and the other wall will utilize the 2×2 brackets.
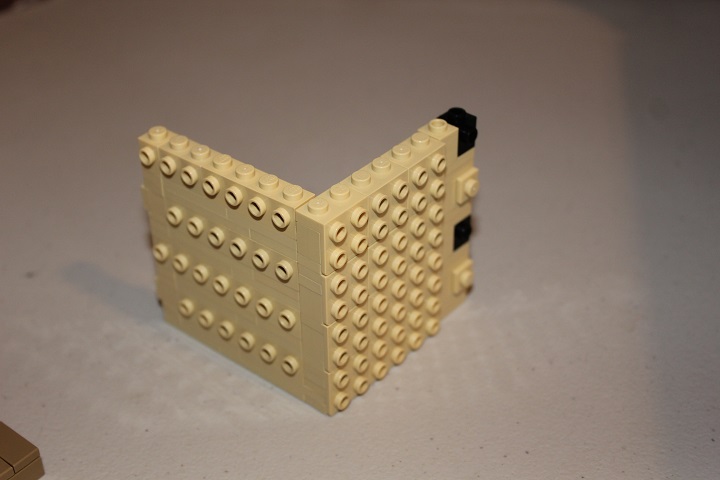
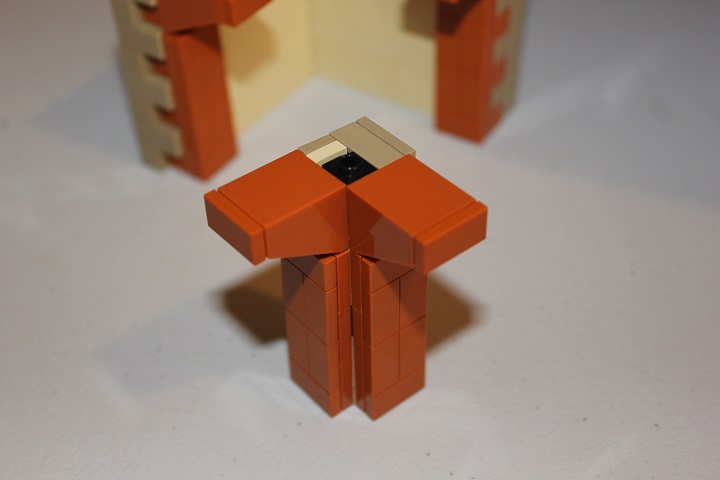
When you get to the height you would like your wall to be, it should look something like this. Notice that here and in the above picture the end of each wall has a few headlights with 1×1 plates, and the right side wall also makes use of a couple travis bricks. This will be important later.
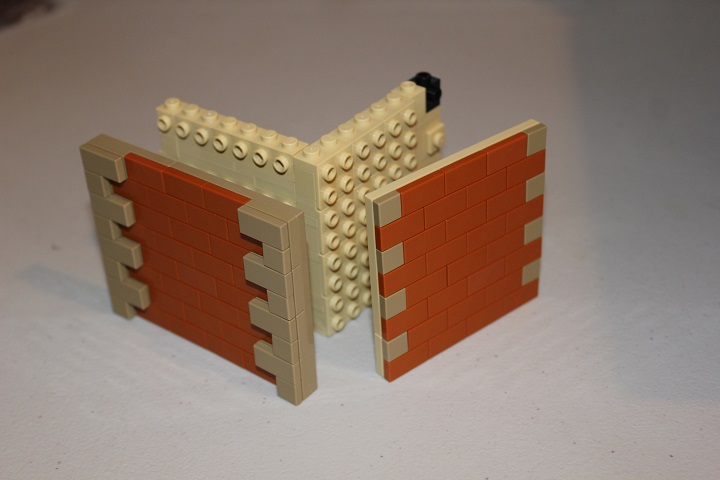
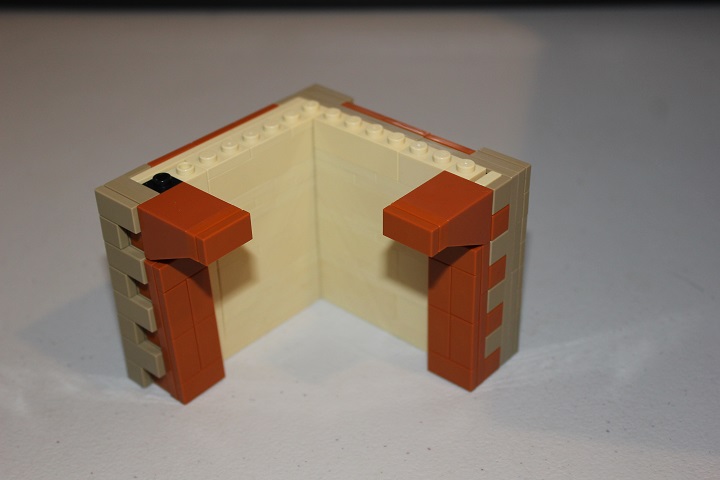
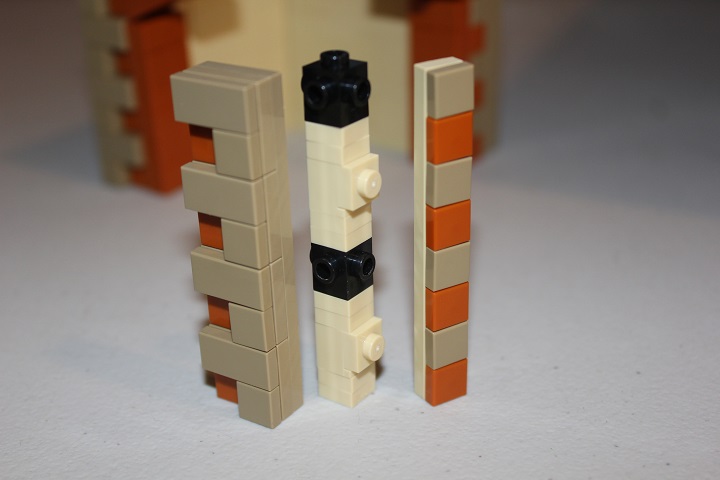
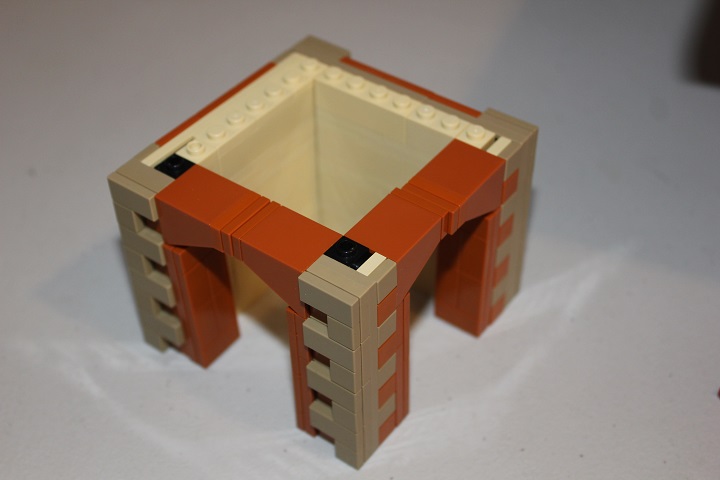
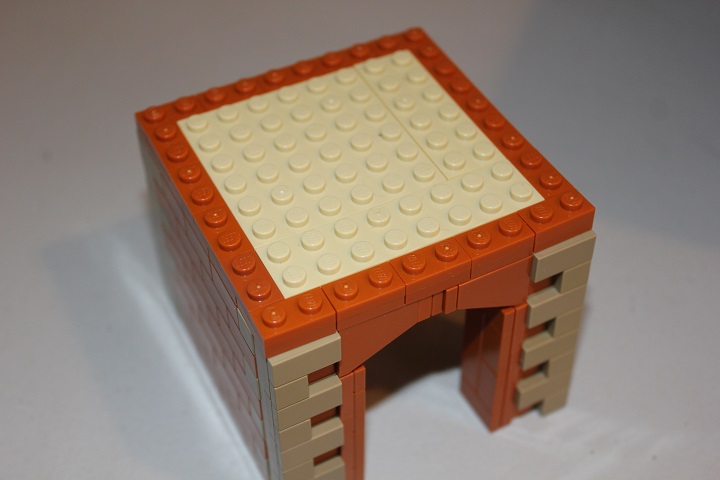
With the core of the tower built, we can add the actual walls. These are built using a simple plate base, with tiles added on top to make for a nice brickwork pattern. You can use whatever colors you like, but for this particular model dark orange and dark tan worked well.
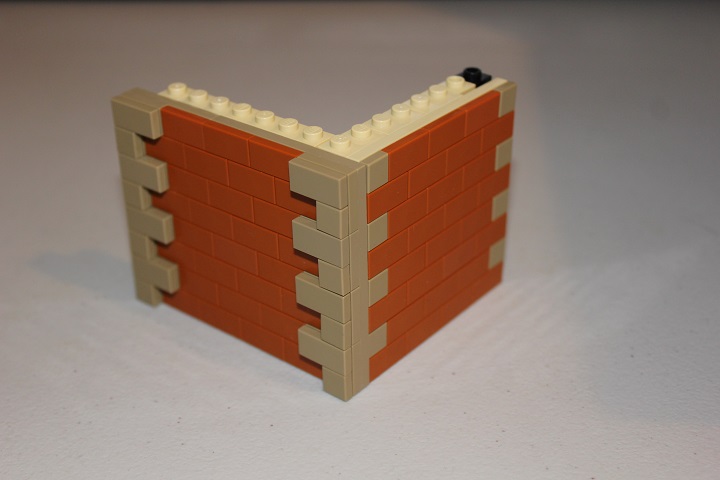
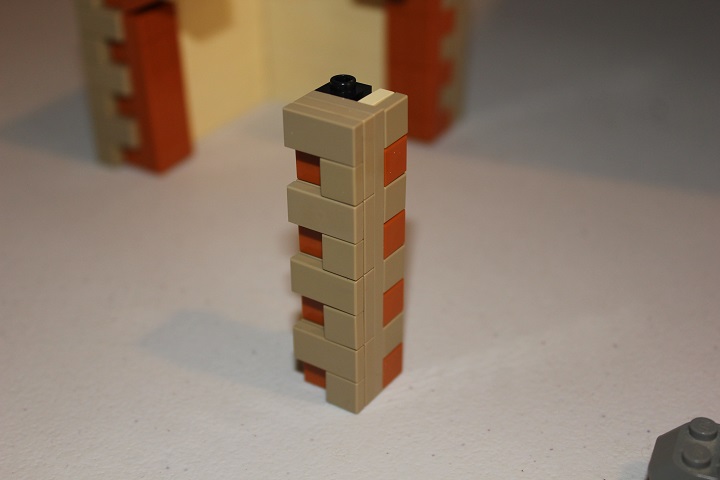
When both sides are attached, you should have a pattern like this.
Now we have to work on the other sides of the tower. With the way this tower was incorporated into my particular build, it needed to have two doorways, which made the design for these sides a little different. We start by adding the wall segments you see below.
With those in place, we’ll start adding the actual doorways. I used a few 2x2x2 slopes, with a plate and a tile on top of each for the first section of the arch. Because I was using dark orange, my piece selection was rather limited, so I’m sure there are other designs you could come up with for the arch here if you want something a little different.
Before we can finish the doorway, we have to add this little corner section of wall.
Which should look like this when it’s all together.
To the other two sides, we’re going to add some more 2x2x2 slopes with a 1×2 tile on top, and some more little plate and tile wall sections.
Like such.
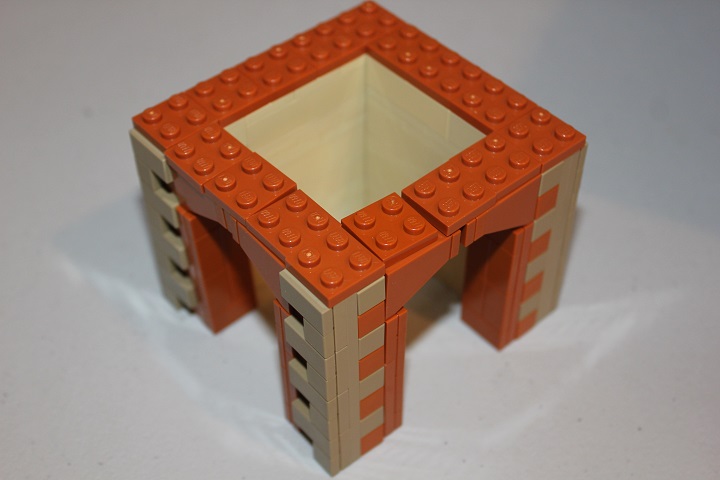
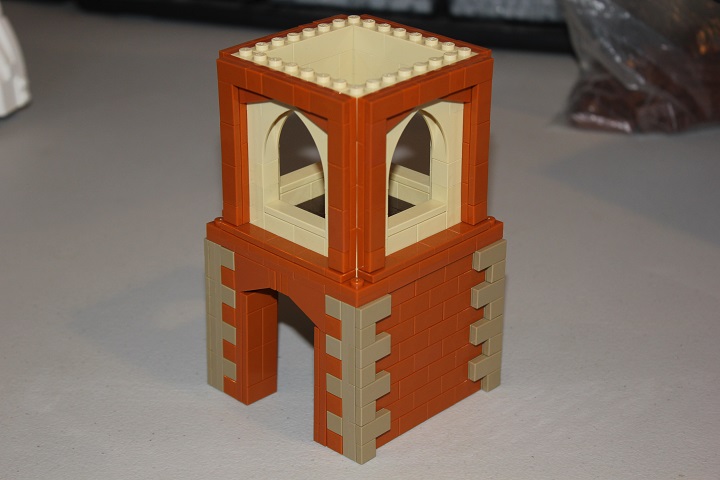
When set in place, you should end up with a nice double doorway, and a platform to build the rest of the tower on.
Now on to the second story! I started by adding some 2 wide plates all around the perimeter. If the color you are working in has larger plates, I would definitely recommend using them – I just used 2 wide plates out of necessity.
With those in place, we can start adding larger plates in a different color to lock everything together. Make sure to leave 1 stud on each side to continue building in whatever color the tower is.
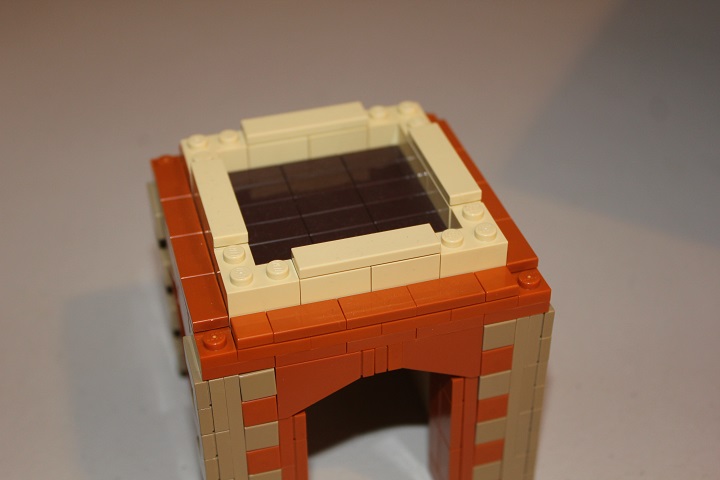
And we have a solid floor to work off of!
Next it’s time to put in a floor. I used dark brown, but you can use whatever fits your particular scene.
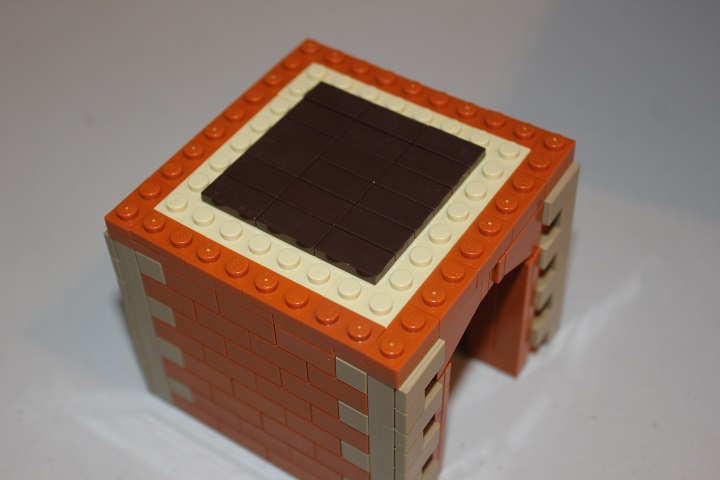
Next I added some tan bricks and dark orange tiles.
The 1×4 tiles here mark out where my windows will be.
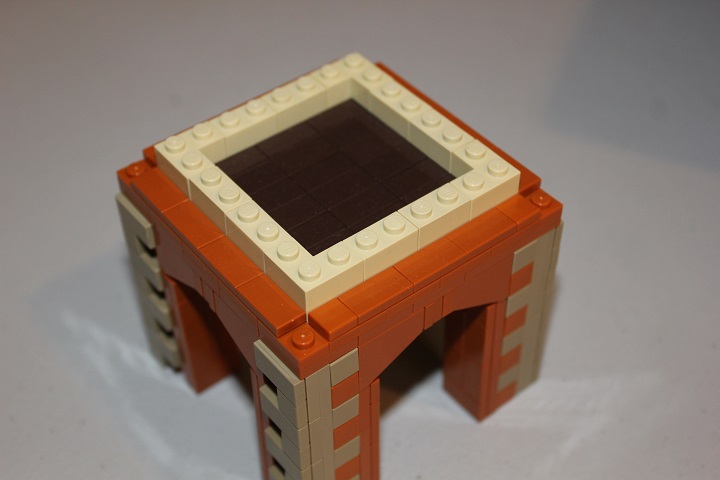
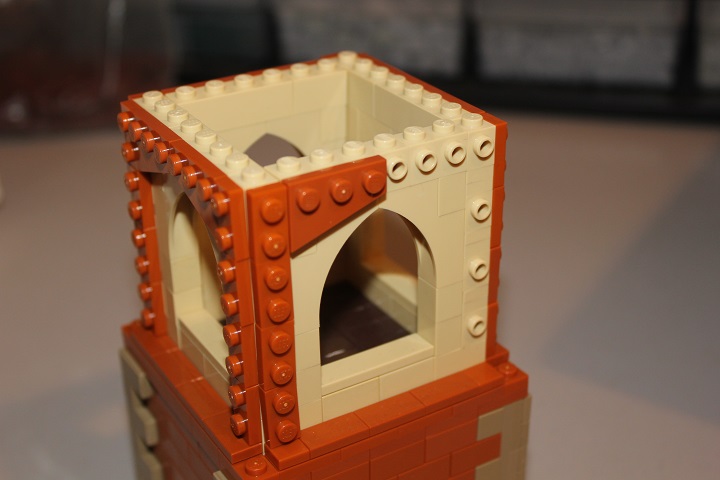
With that in place, I added the arches, as well as some 1×1 brick modified with studs on adjacent sides, so as to be able to attach brickwork like we did on the first story of the tower.
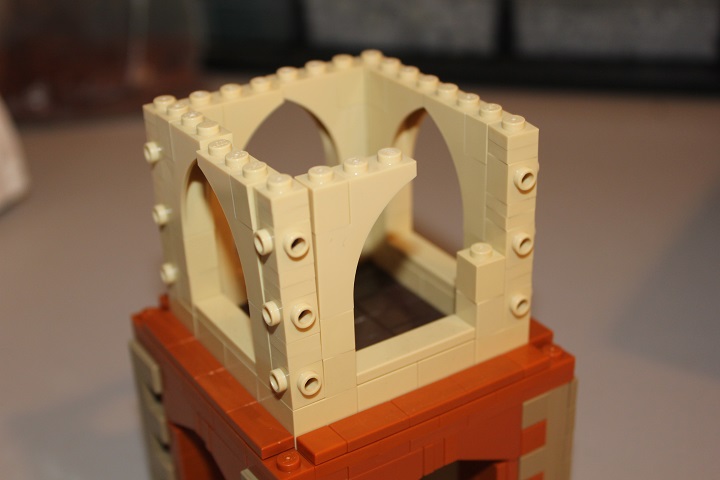
Directly on top of the arches we’ll put another row of brick modified with studs on side.
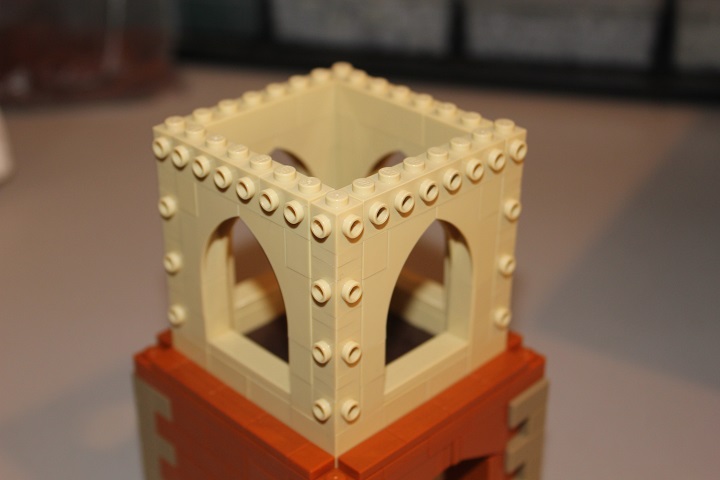
And now we can start adding the brickwork! Some 1 wide plates work for the edges, and 2×3 wedge plates add a slightly arched look over the window.
Then just tile it all off! I then used some 1x1x6 bricks to finish off the corners, though you could try other options as well. If you are looking for a way to cap off the tower, take a look at our large onion dome design ( and a tutorial for a smaller version will be available in the near future).
And here’s what it looks like in a build:
We hope you enjoyed this tutorial, and please let us know of you have any questions or comments about it, or if you have a particular technique you would like to see us do a tutorial on in the future!

