


Believe it or not, the onion domes in my Fabled Fortress of Al-Danah model were what took the most revisions and design time. This tutorial gives a guide on how to build the larger of the two dome designs I came up with. It is one of our most complex tutorials yet, so if you think you can handle it, keep reading!*
*Disclaimer: This tutorial covers an advanced design used by top-level LEGO MOCers. Do not attempt without proper qualifications and safety apparel. Example shown was built by experienced LEGO MOCers in controlled conditions.
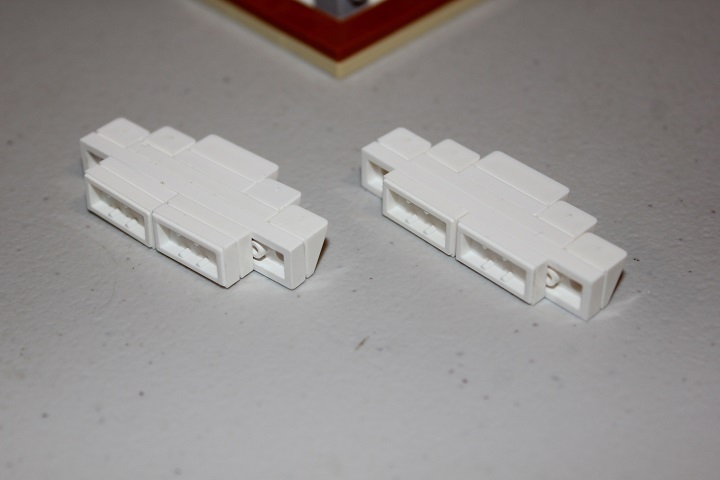
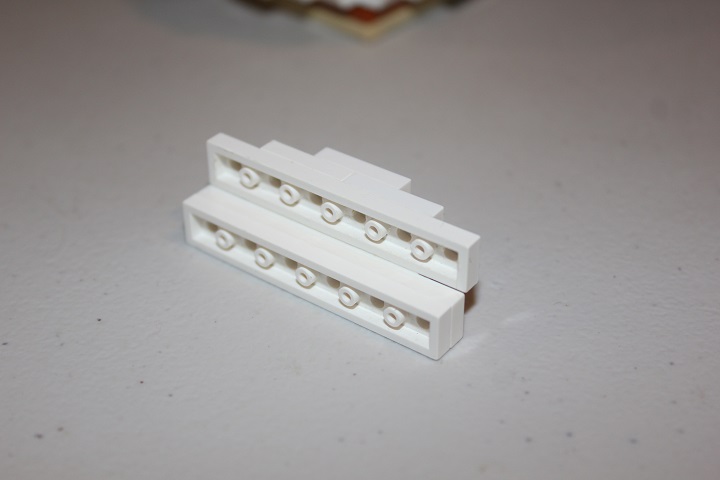
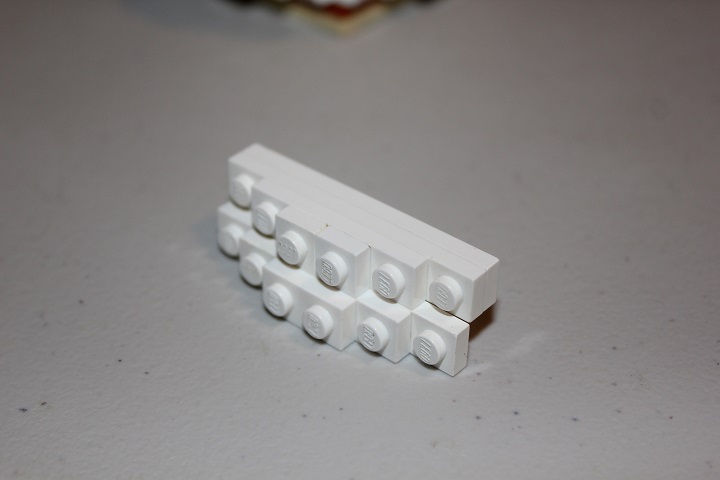
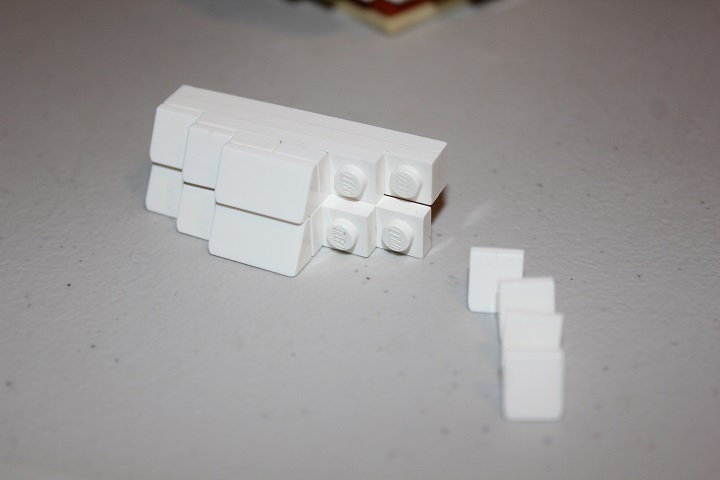
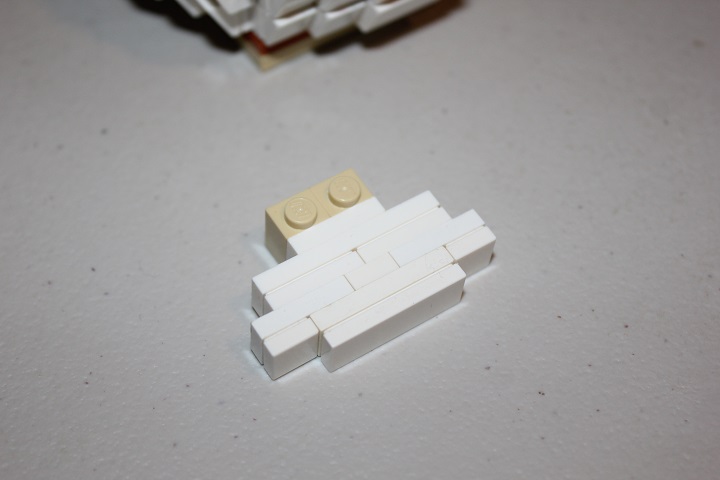
The design is also pretty parts intensive, especially on jumper plates, cheese slopes, and small plates. It starts off with these two 6 stud wide assemblies. Notice that they are not identical – one of them has two stacked plates on the bottom, whereas the other has only one.
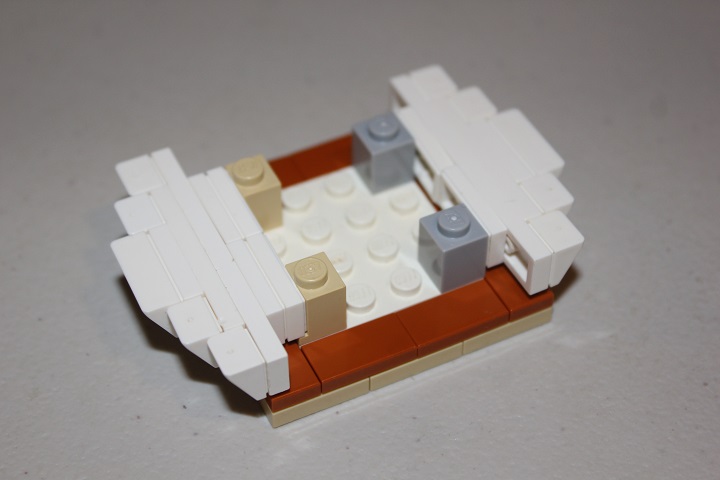
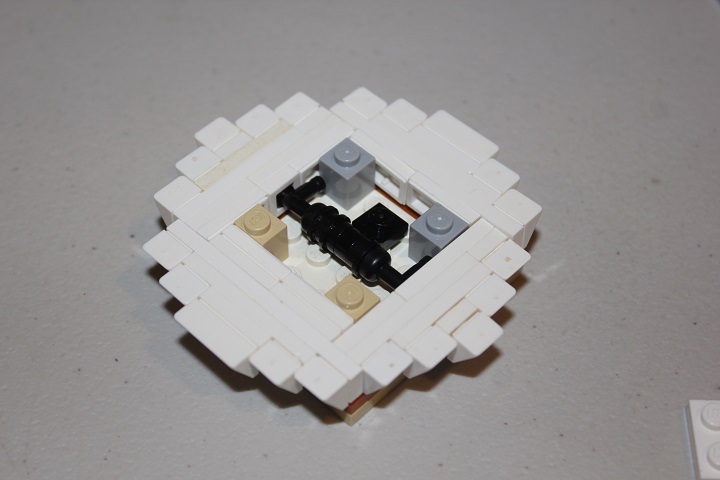
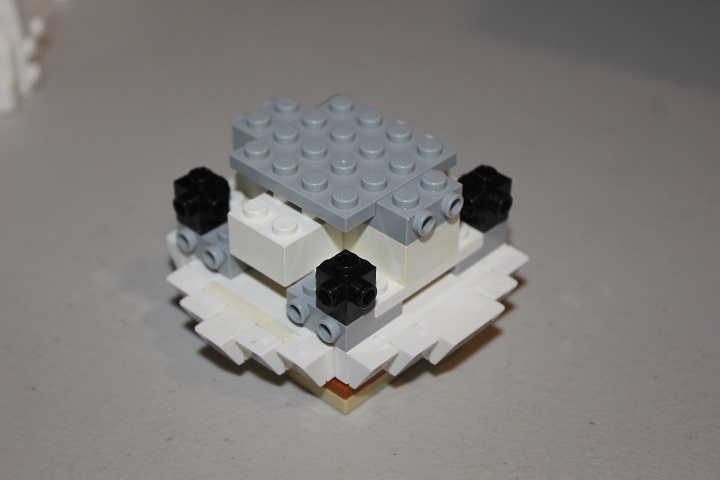
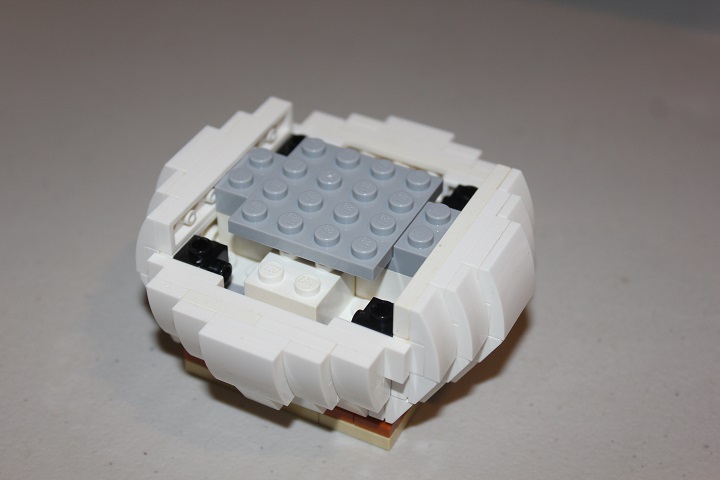
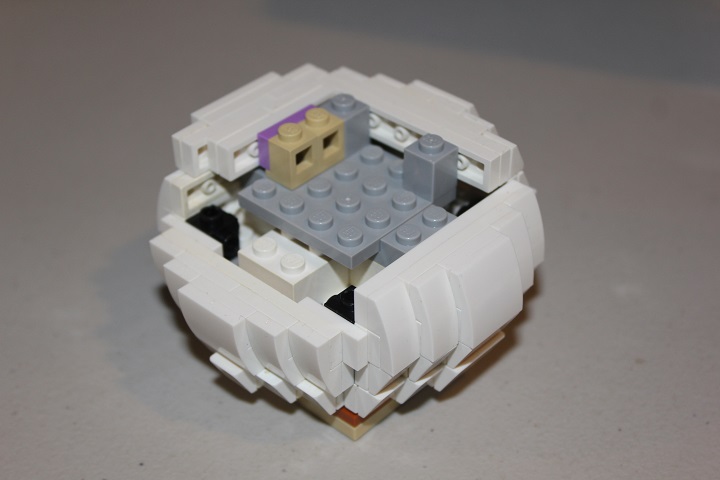
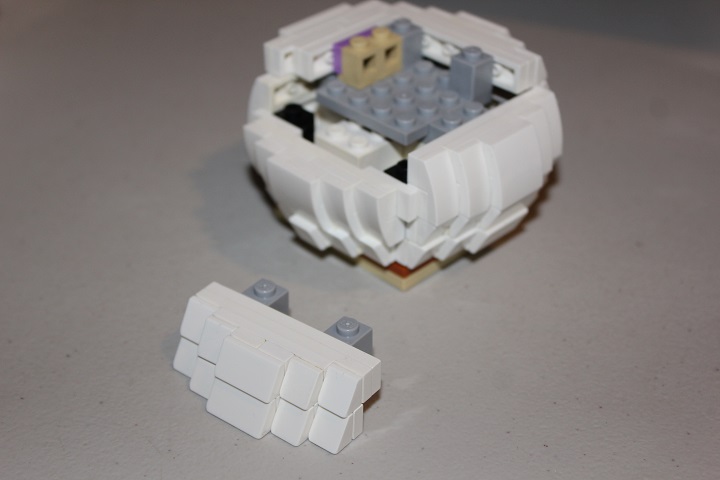
I am using a 6×6 plate, with 4×4 plate centered on top and tiles around the edges as the base for the dome. Some headlight bricks and brick with stud are then used to attach the two sections from the last step.
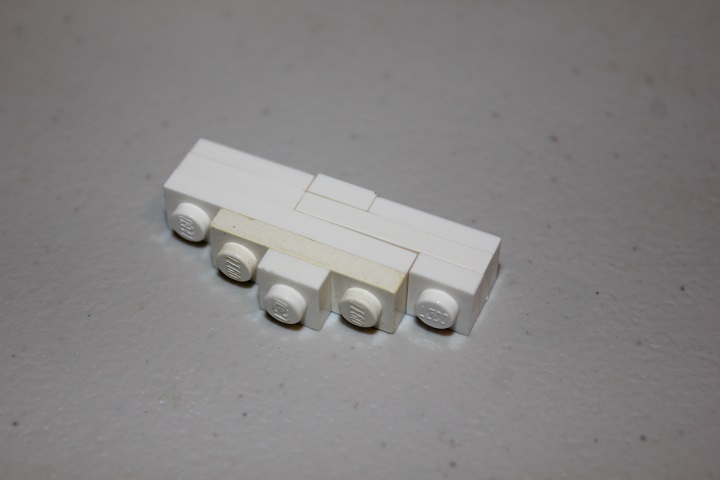
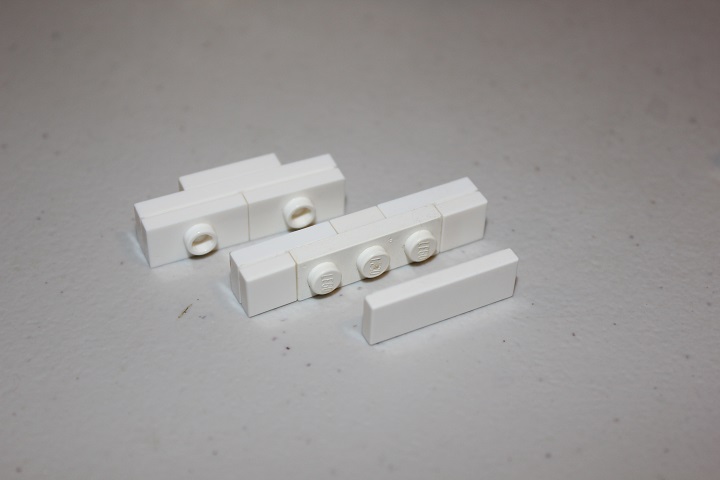
Which ends up leaving a 5 stud gap between those sections, which will be filled by this assembly. You will need to build two of these.
And they will be connected to each other using these parts.
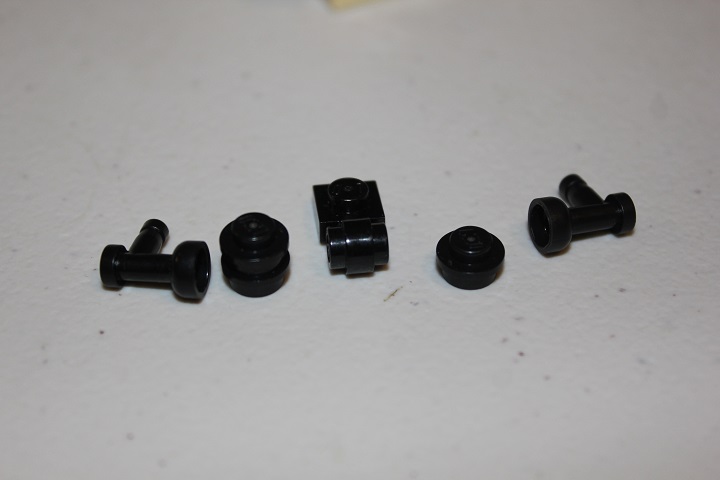
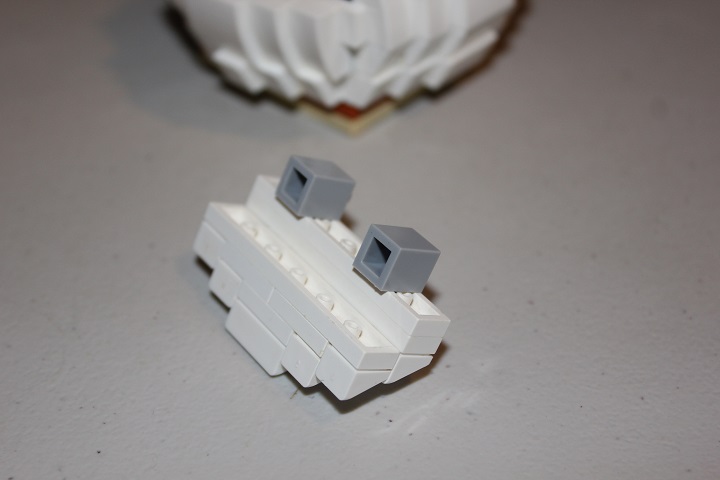
Which go together like shown here. Some 1×1 cheese slopes are also added to the assemblies.
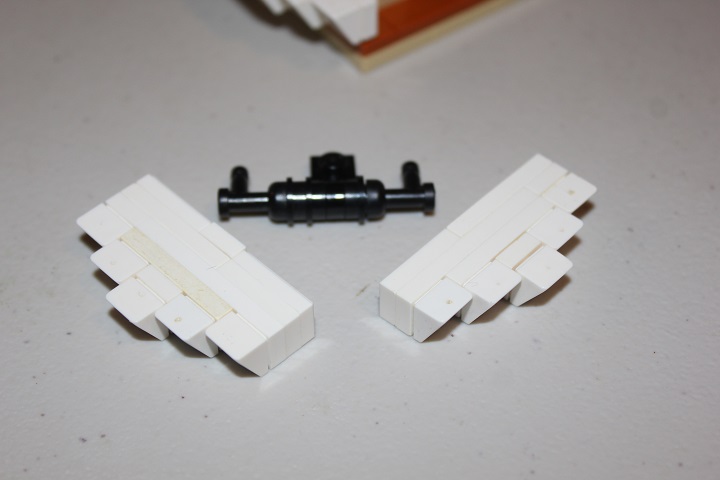
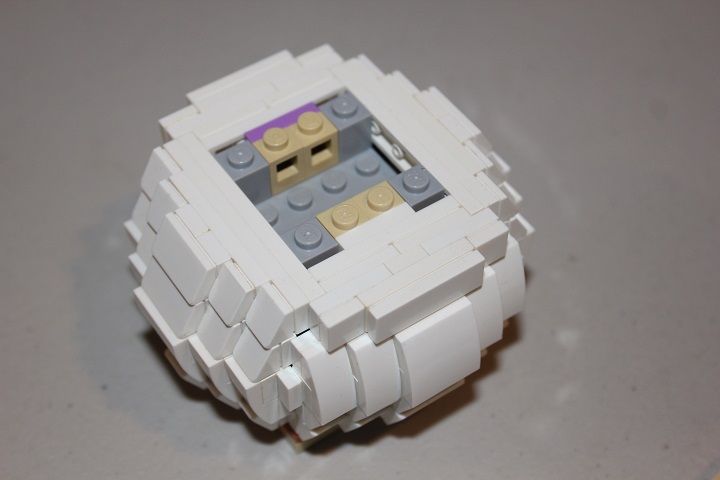
The nozzles attach to the center stud of each module, and then fit inside the dome base.
Some 2×2 plates with studs are then attached off the top of the headlight bricks and bricks with stud.
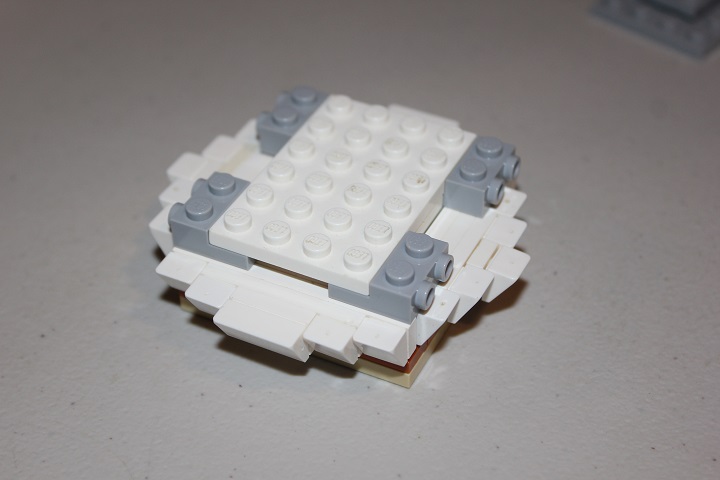
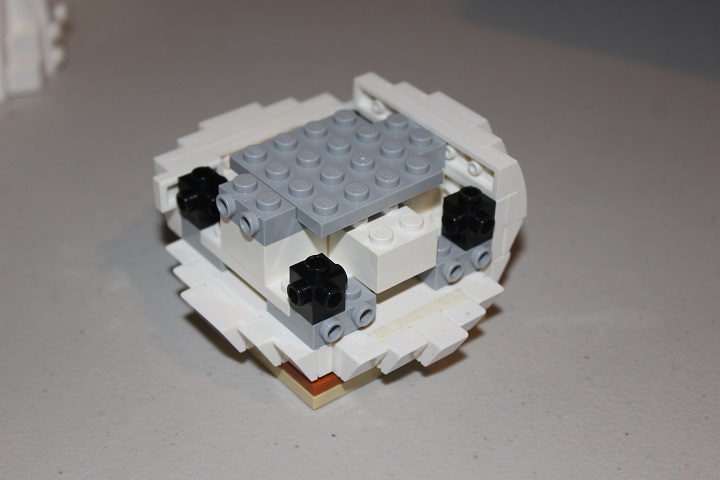
I used travis bricks at the corners, though you could also use more brick with stud so long as you get a few studs facing out on each side.
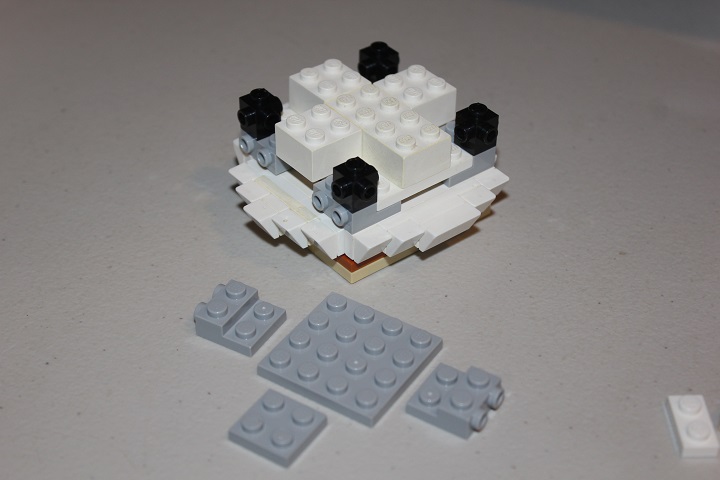
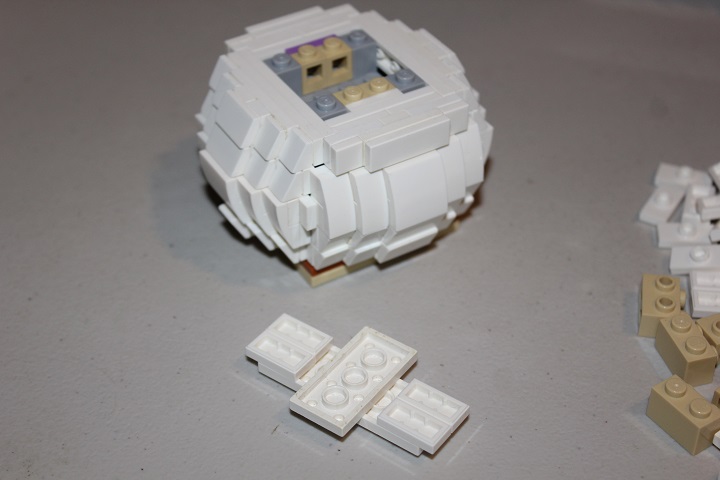
More 2×2 plates with studs and a 4×4 plate are added (the 2×2 plate pictured goes under the middle of the 4×4 plate for strength purposes).
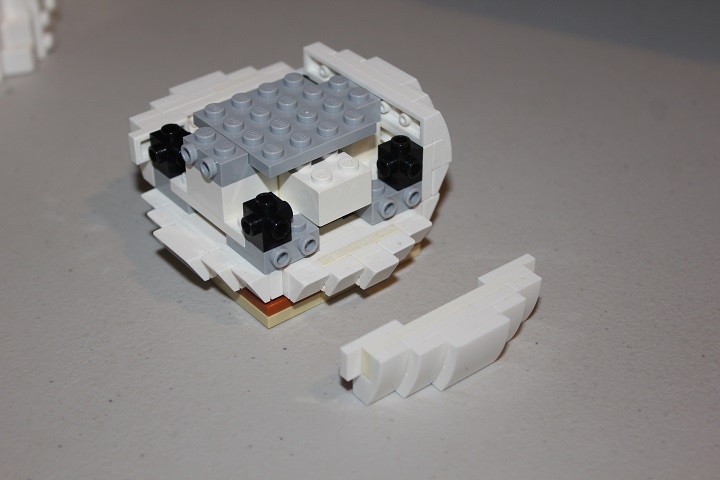
Then we will add some more of the exterior surface of the dome.
Notice the jumper plates extending off the ends of the 1×6 plate here.
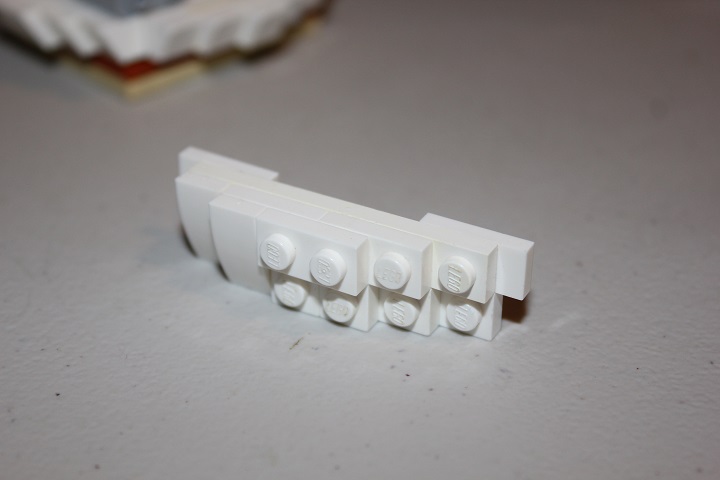
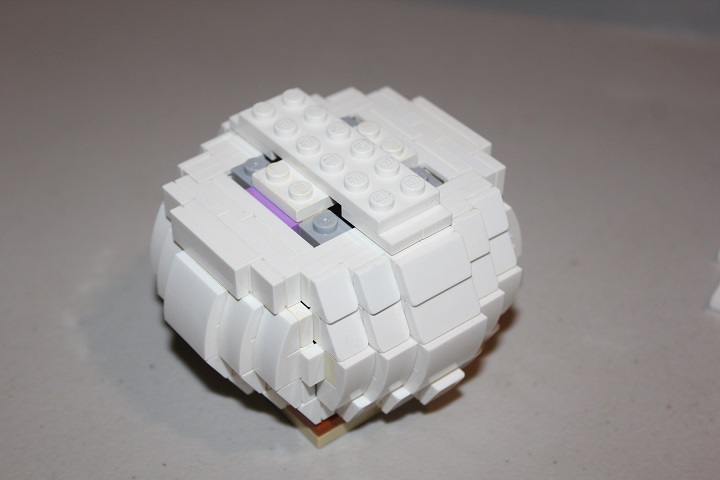
Curved slopes are used to cover all of the exposed studs. Below a picture of the section’s back is shown.
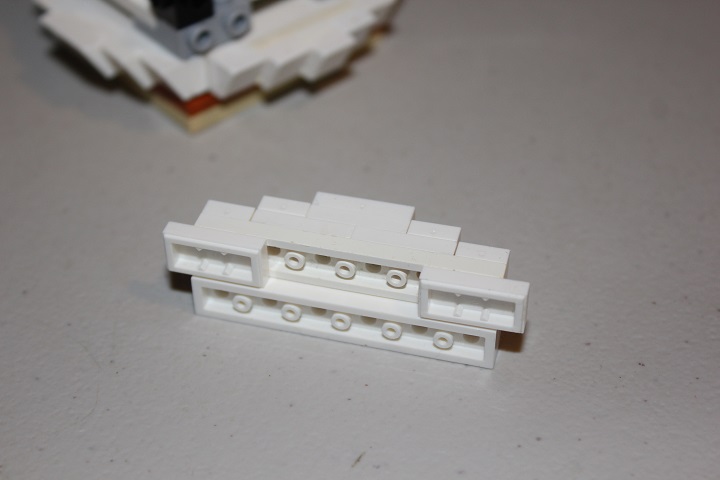
As you can see, a copy of this section is already in place on the back of the dome.
For the other 2 sides, the assembly is 3 studs tall, and consists of just standard plates.
Which are again topped with curved slopes and cheese.

The curved slopes go on the top side.
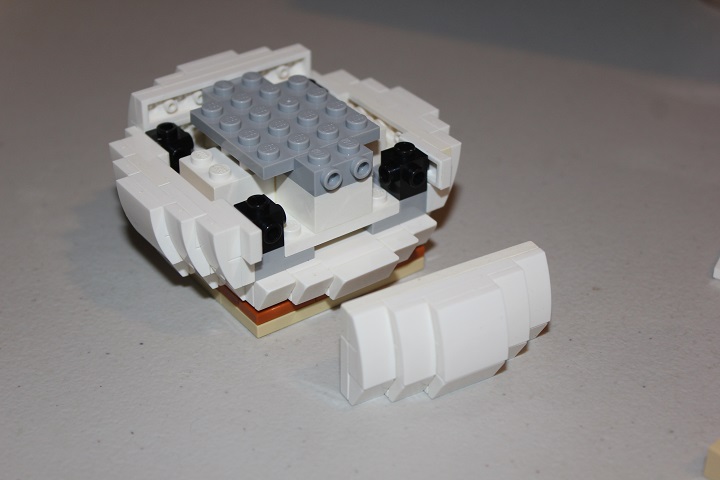
And once you have added all 4 of those sides, it should look like this.
Some 1 and 2 stud deep sections will be put on next, again using brick with stud, and headlight bricks.
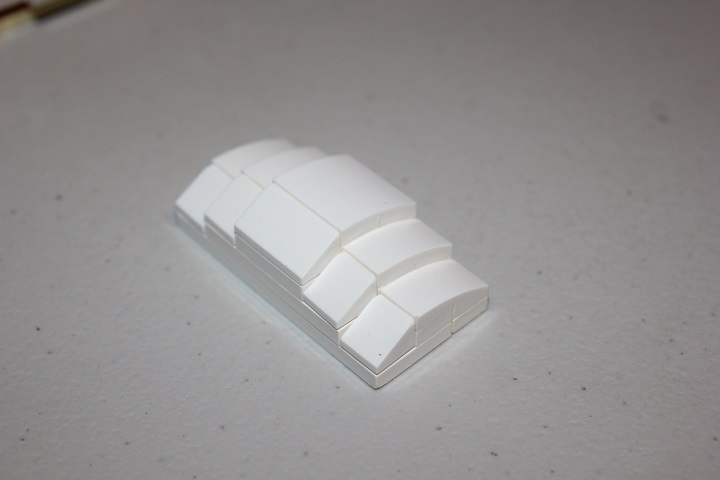
Here is the 2 stud deep assembly which goes on opposite sides of the dome, getting attached by the brick with stud.
Just cheese are used for this portion.
Ready to be put in place!
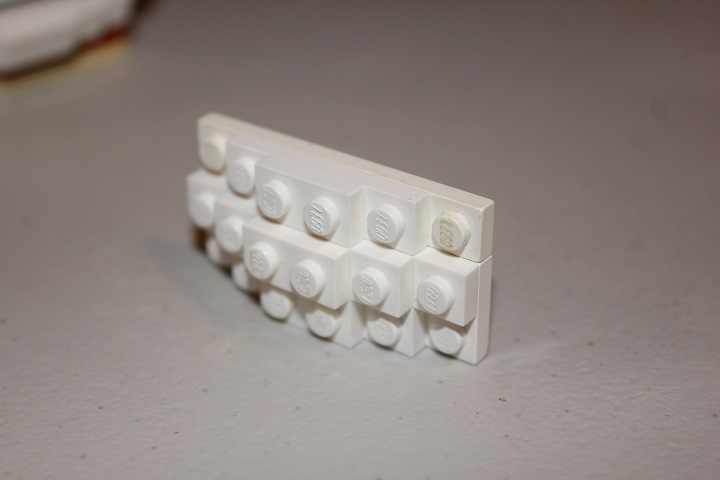
The second assembly used jumper plates to center a 5 stud section. Here I used tiles to cover the exposed studs – not cheese or curved slopes this time!
Complete assembly hooked onto the headlight bricks.
And there it is with all four of those sides added. Starting to come together.
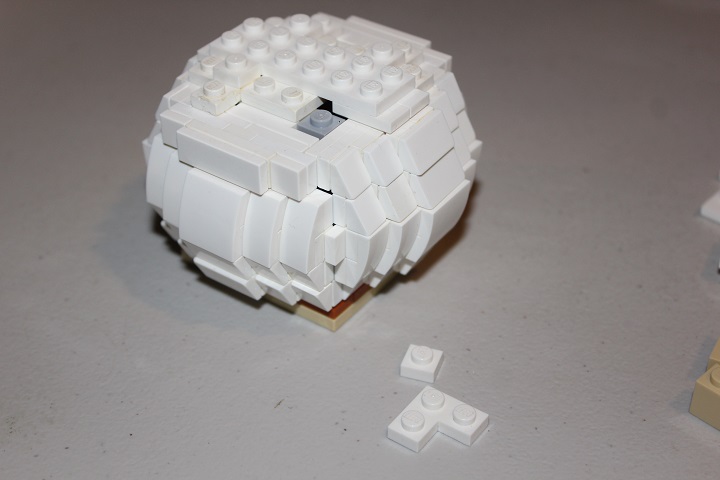
Then there is some studs up building, again using a few jumper plates for a half stud offset. The jumpers should line up with the double wide cheese from the previous layer.
Corner plates and 1×1 plates are used to fill in the corners.
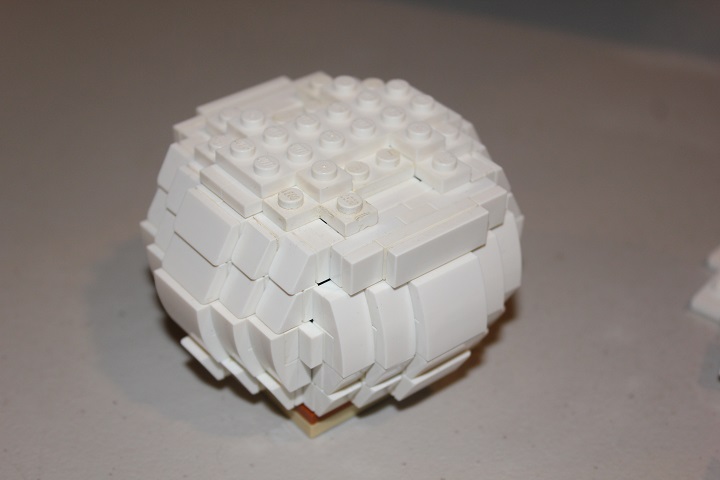
Next we’ll start adding tiles and cheese slopes, to continue the smooth outer surface.
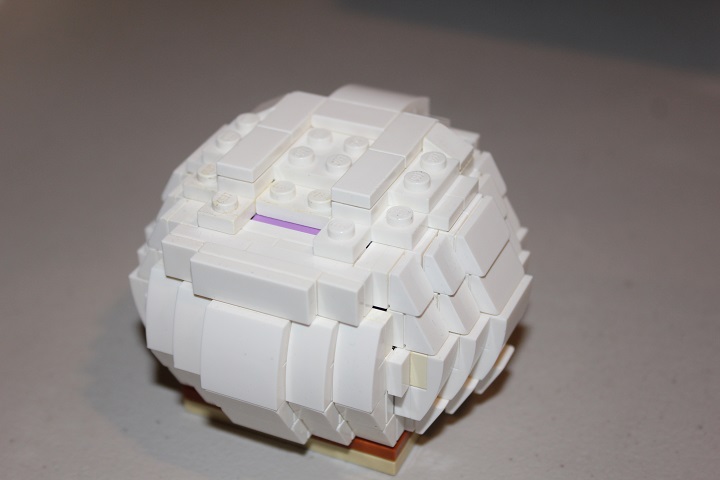
So that you have something like this, ready for the final sections of dome to be attached to the central studded area.
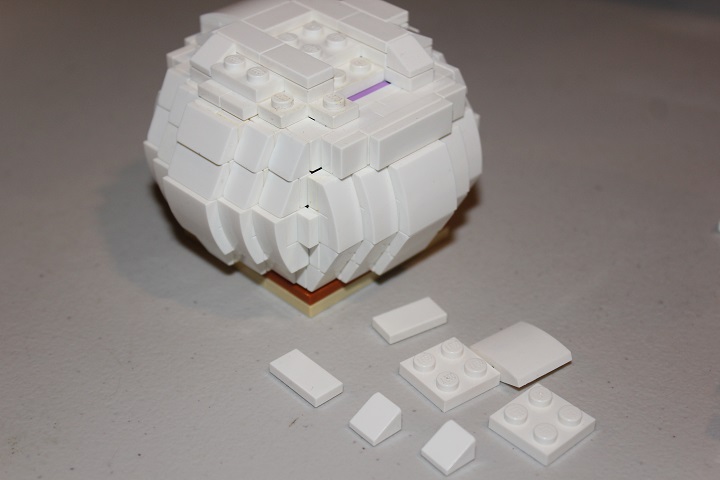
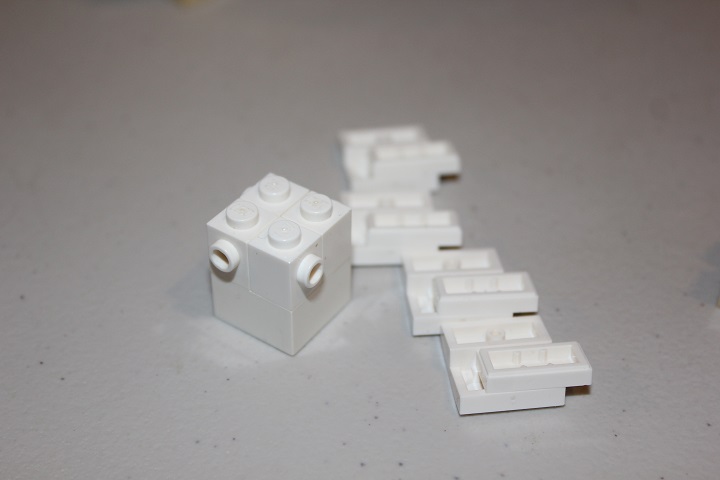
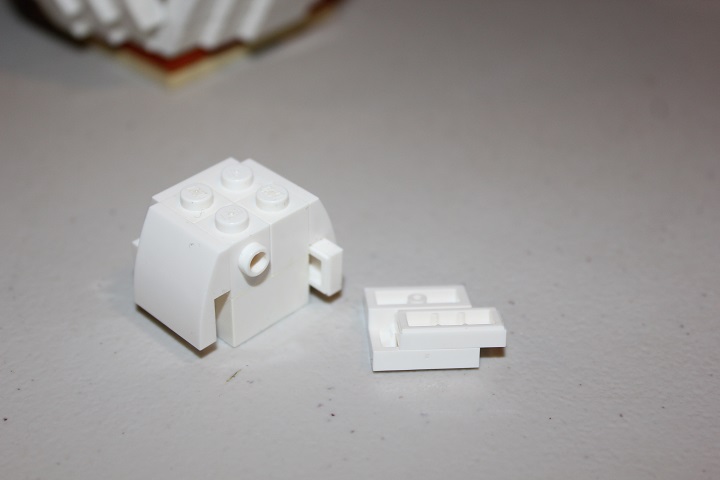
A 2×2 brick has bricks with stud facing off of each side to then attach the 2×2 curved slope and jumper plate combination.
Which overlap each other like shown below.
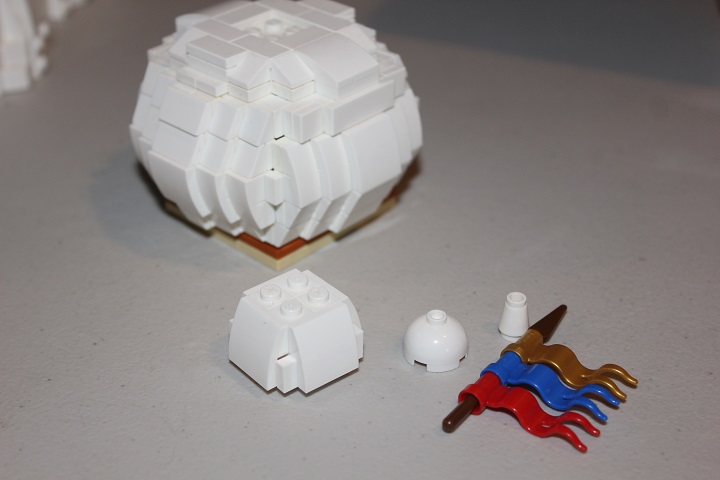
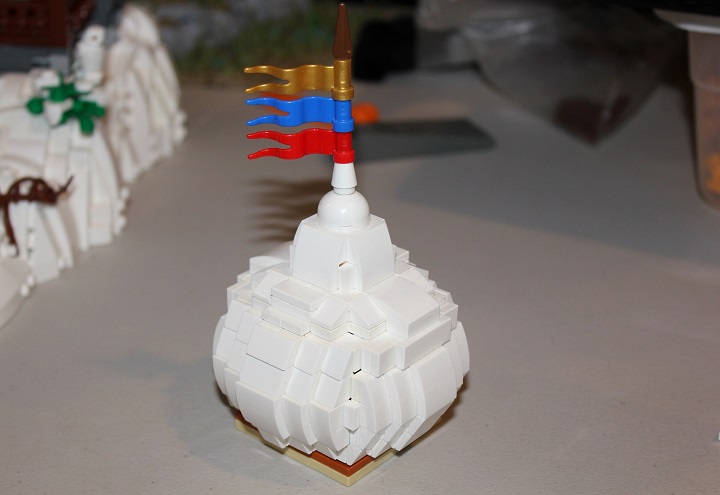
This will then be topped with a 2×2 dome and 1×1 cone. I also added a spear with some flags.
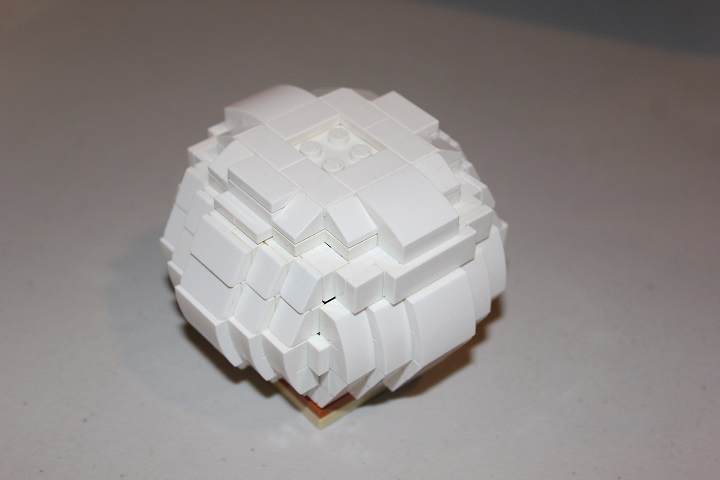
The finished product!
If you managed to make it this far, congratulations on selecting the proper safety apparel, and possessing exceptional MOCing skills.
A longer and more complex tutorial than usual, but hopefully it was still helpful for some of you. We will be posting another onion dome tutorial on the smaller versions of this in the future. Let us know what you thought, or if you have any questions!

