


See behind the scenes in our first build log for an Isles of Aura creation!
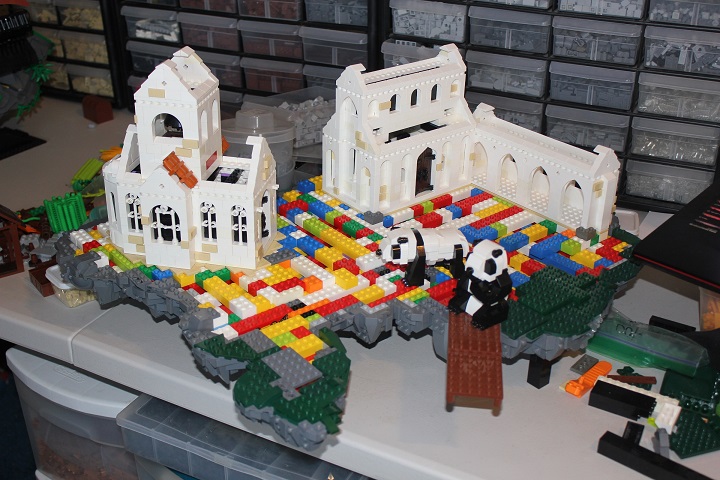
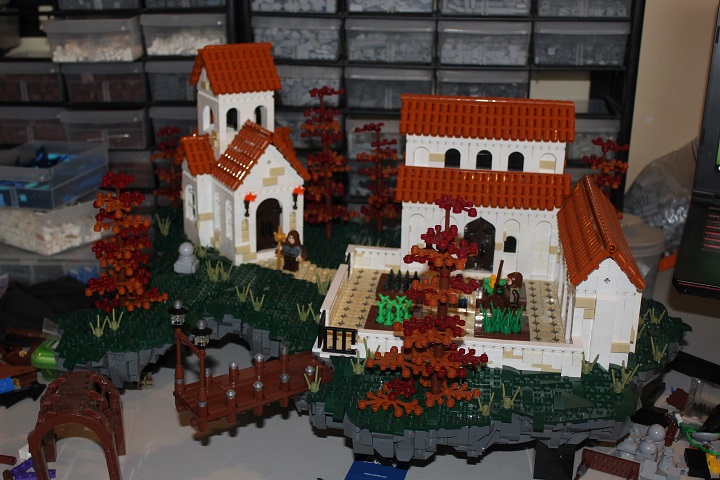
Though I had a good idea of what I wanted the island’s shape and size to be, the first things I built were the monastery buildings. White bricks with a few SNOT tan tiles made for a clean wall that I thought fit well in the monastic setting.
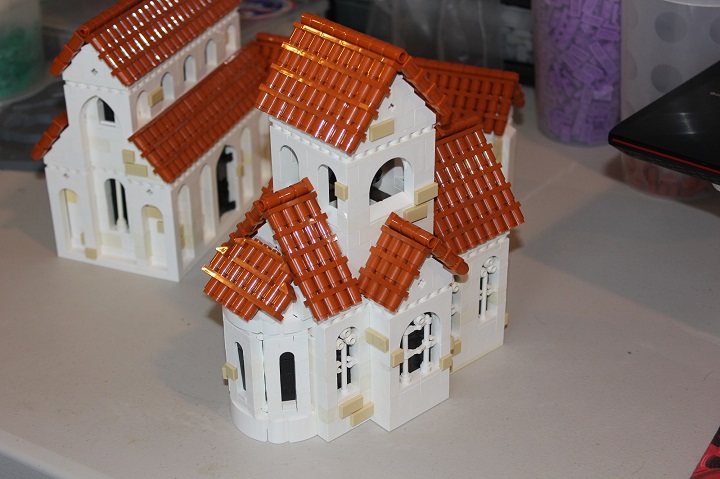
In general I took inspiration from Romanesque architecture for most of the building designs with their fairly small windows and rounded arches. I was particularly pleased with the windows of the chapel, and will cover the design in a future tutorial.
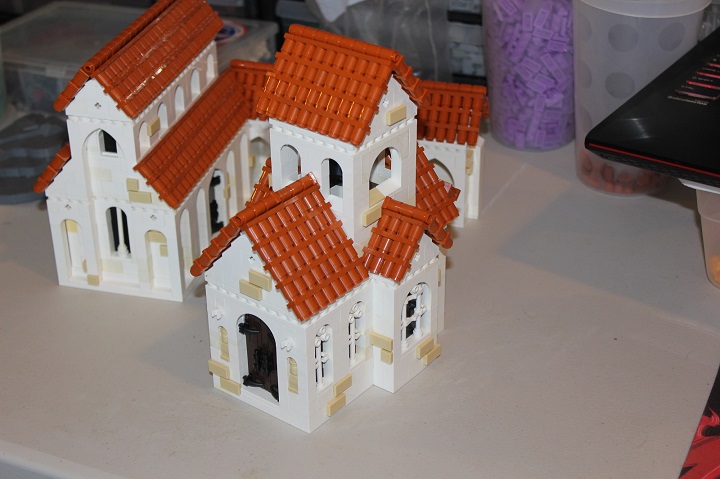
Dark orange roofs made of 1×1 round bricks were something I have had in mind for some time, and was finally able to incorporate after getting several hundred of those parts in LUG bulk.

After finishing the buildings it was easy to lay out the rough outline of the island they would go on. Since the model needed to be transported to Brickworld, we planned on having it split into four modules.
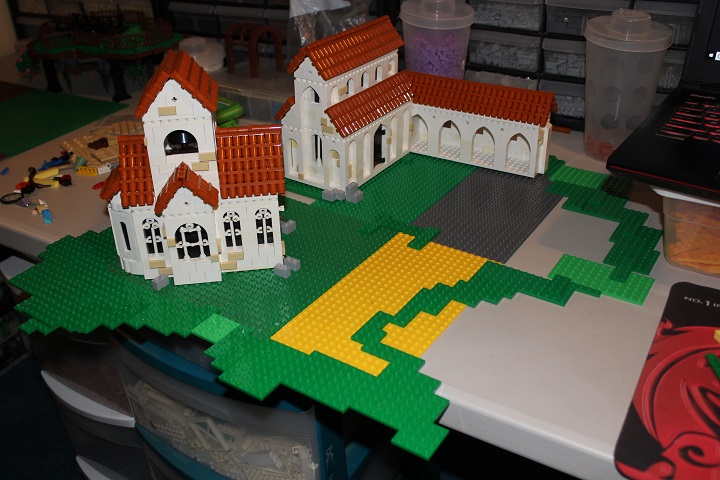
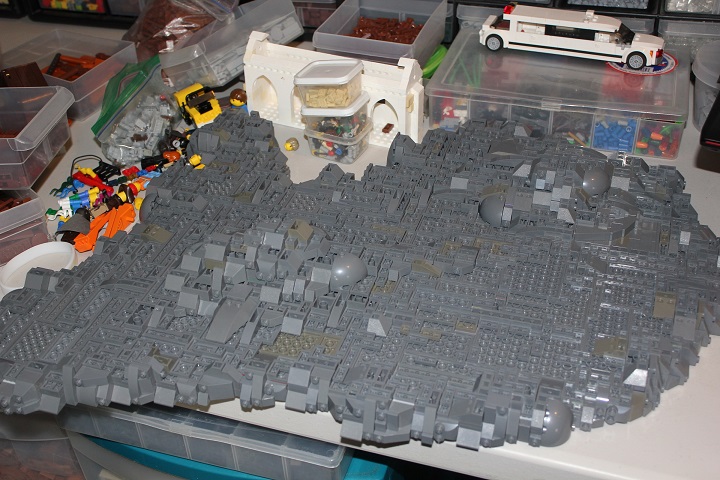
Then I started work on the actual island modules. A skeleton of plates and bricks in filler colors provided structure and then I skinned it with some basic studs up and SNOT rockwork. Some technic brick with cross to serve as connection points between modules were also incorporated at this point.
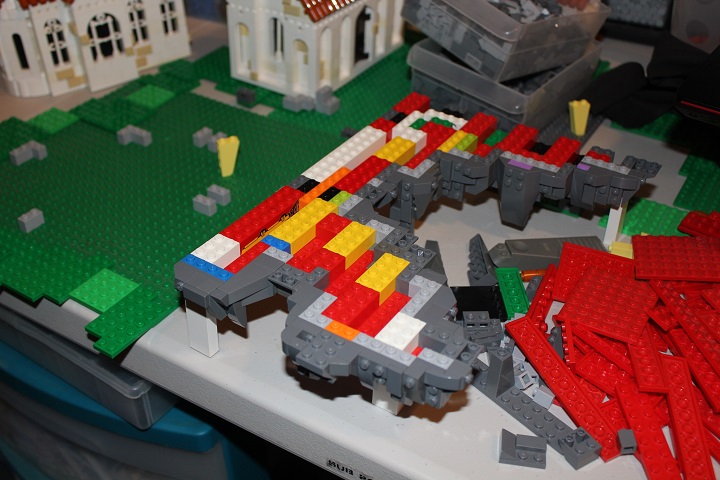
This was a fairly straightforward and quick process. After which the final shape of the island was apparent. I purposefully avoided the typical round or oval-ish shapes which are so common.
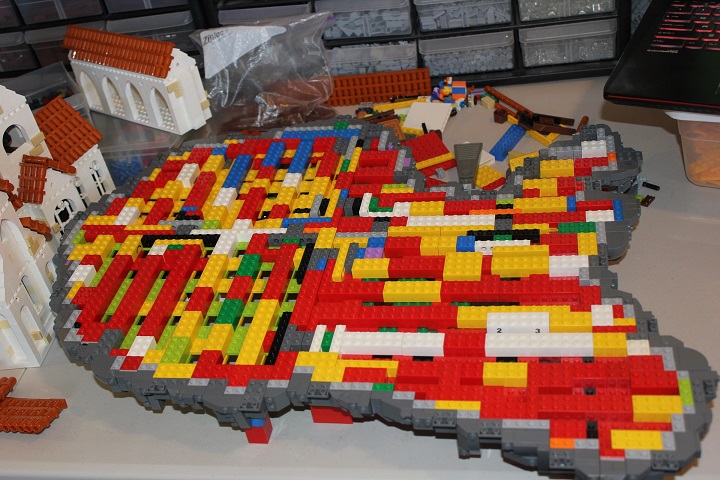
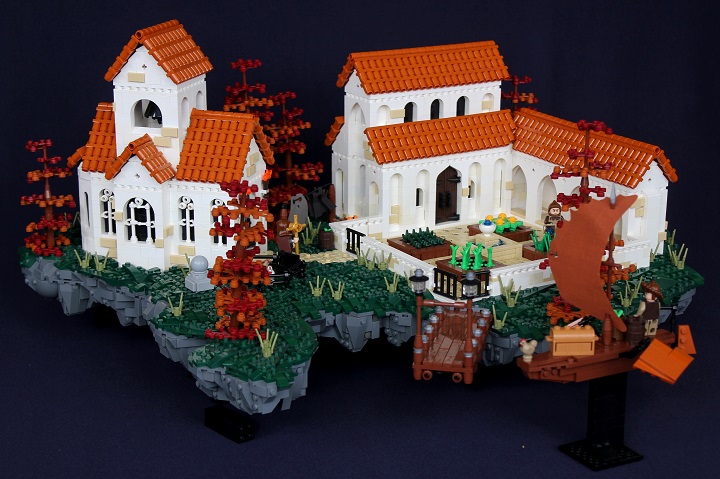
This was the first large island we had done for Isles of Aura, and since the plan was to ‘suspend’ the various builds on stands of black bricks, I took the precaution of covering the entire bottom of the island with more rockwork.
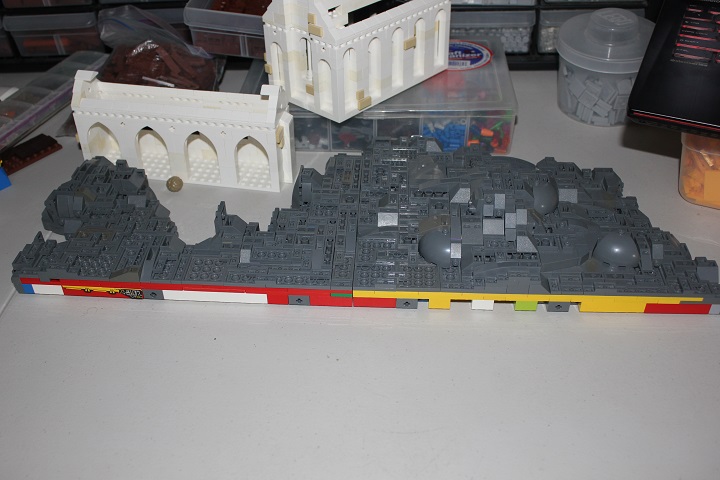
After finishing this build we learned that doing so was by no means necessary, as it’s practically impossible to see under the island when sitting on a table even if ‘suspended’.
Still, it added some nice depth in a few areas for this model.
Underside complete!
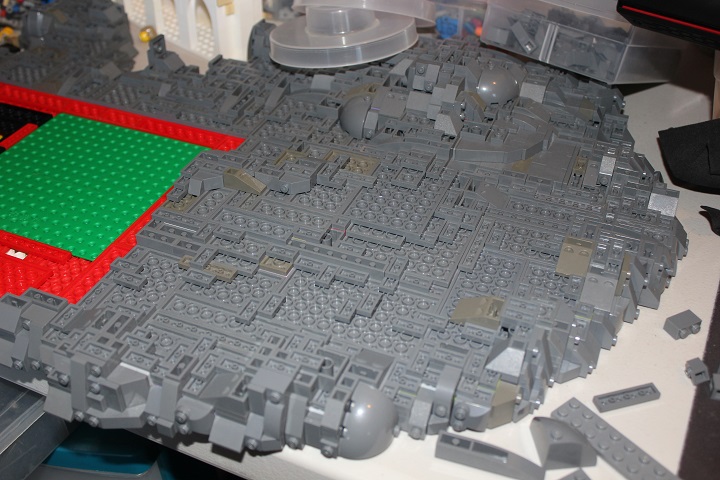
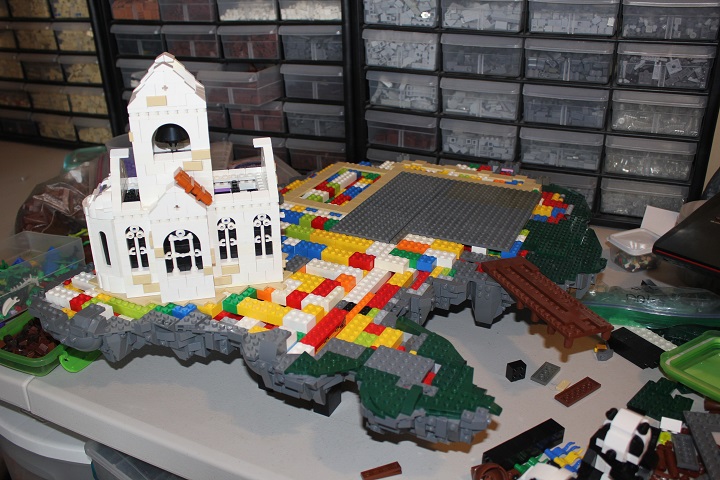
Then we could flip it back up, and try setting the buildings in place again. At this point we learned another flaw in the rockwork design for this particular island: to be able to build on it, you needed stands in place underneath. Otherwise portions of rock which hung down farther would break off when the island was set down.
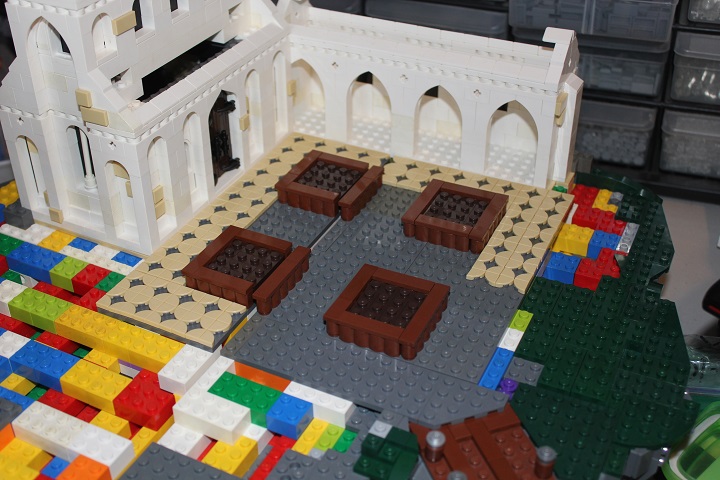
After establishing the final location of the chapel and other structures it was easy enough to figure out the courtyard placement. I went about as big as I could for the island size, to allow for gardens and a fountain to fit inside the courtyard.
You can also see the angled dock incorporated here.
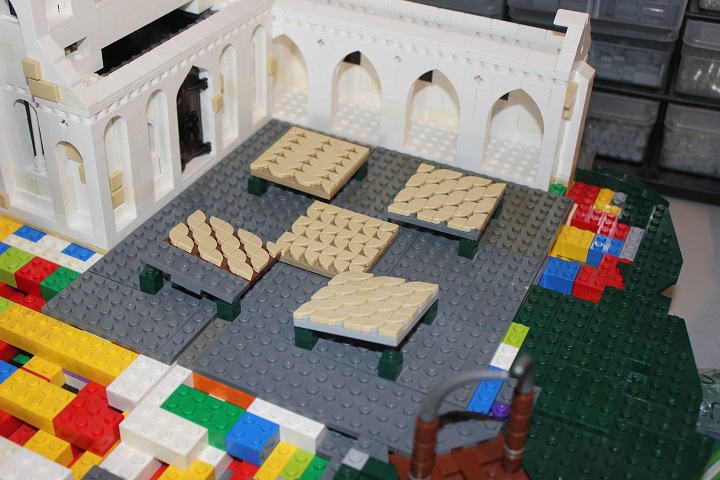
Here are a bunch of patterns we experimented with using the 1×1 quarter circle tiles. None of which ended up being the chosen design, but it’s always fun messing around with the possibilities offered by new parts. These were another item we had got in LUGbulk.
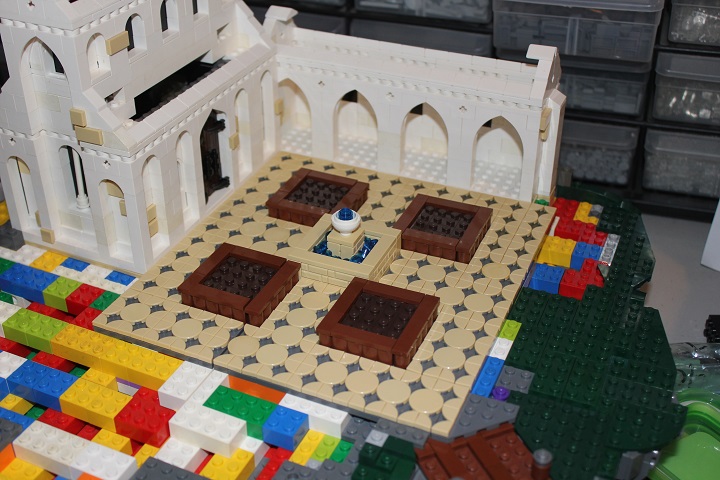
Here is the final pattern and garden setup.
Even with a couple hundred of those quarter circle tiles, we ended up needing to mix in 2×2 round tiles where possible to have enough.
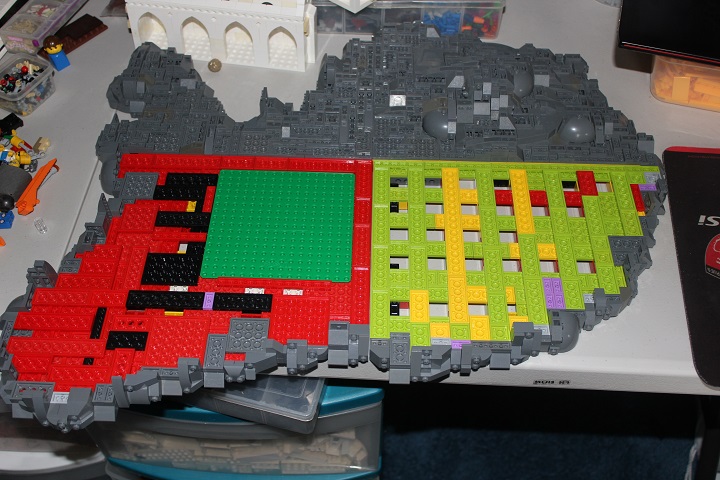
I was unsure how well our dark green parts would hold out in the landscape, so I kept things pretty basic to start with and tried to be as parts efficient as possible.
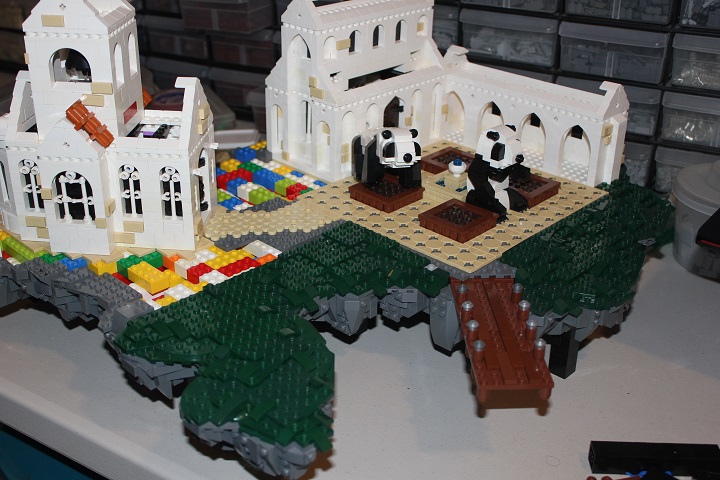
Later I went back through and added a few more small plates and slopes where needed. For the gardens in the courtyard, I tried to show a variety of plants that were all obviously well maintained.
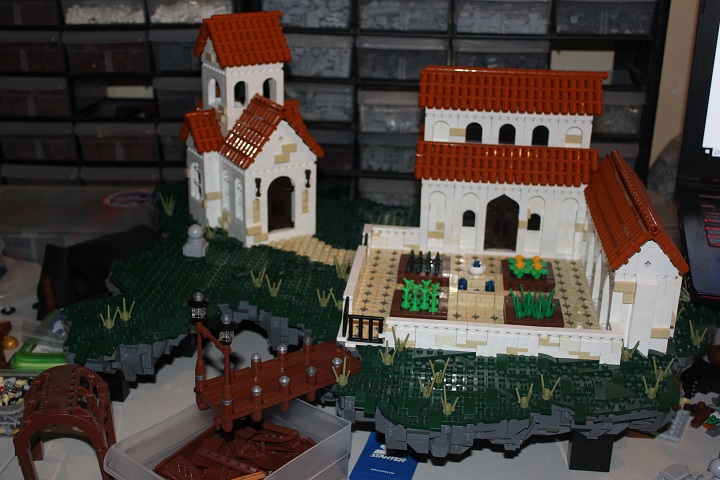
The last touch was to add quite a few fall trees. More dark orange plus dark red tied in very nicely with the roofs, and also gave an obvious fall look. Which was important, as the aim was to portray all four seasons in the group Isles of Aura display.
If you have any questions about the build process, or want to see a tutorial on a specific design, let us know in the comments.


Hi!
My sincere congrats for the build! I was fascinated by the chapel on the left: its windows are sublime!
Could you explain how that open stud can float on the top? 😀 Is there a black background with a snot piece?
Moreover, I’m wondering how you have hinged the cotta roof to the structure. Are there any hooks on the bottom?
And… sorry if I’m bothering you, but I’m in love with this little church and maybe one day I’ll rebrick it with some modifications! :> Could you explain the base of the absid? From your photos I can’t understand which pieces you used to make it round.
Thank you, thank you very much, you are so great! 🙂
Glad you liked the model! We will be doing a tutorial on the window design (that ‘floating’ element is attached) from the chapel, and can cover the roof design as well.
Thank you so much Isaac!
Looking forward to reading your tutorial! 🙂
I’d love to see a tutorial on the roof elements. How are they attached to the structure
There will be a tutorial on that coming this week!
Awesome! Can’t wait. Thank you so much!