


I’ve already covered a large onion dome design in another post, but today we’ll be looking at a smaller design.
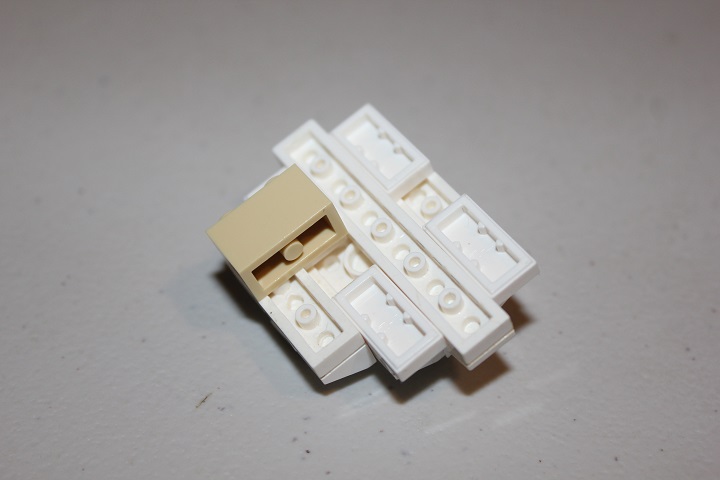
To start off, we’ll need a 2×2 plate, 4 headlight bricks, and a 1×2 brick with two studs on side. 2 of the headlight bricks and the 1×2 brick modified with studs on side will attach directly to the 2×2 plate. The remaining 2 headlight bricks are connected on their backs to the 1×2 brick modified with studs on side.
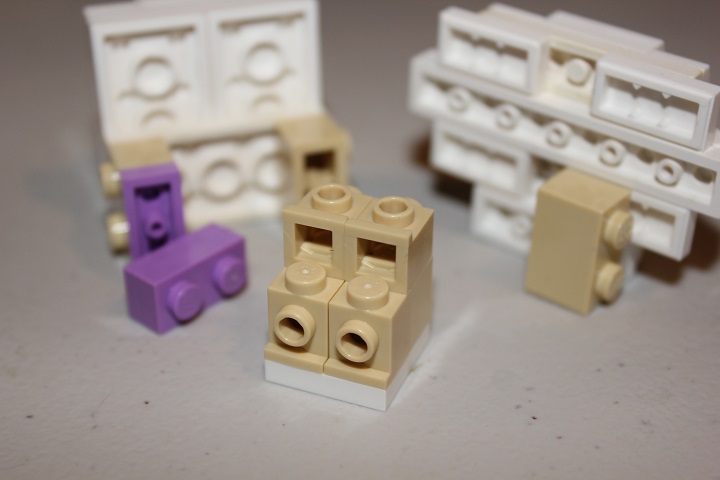
Here’s another view of that assembly.

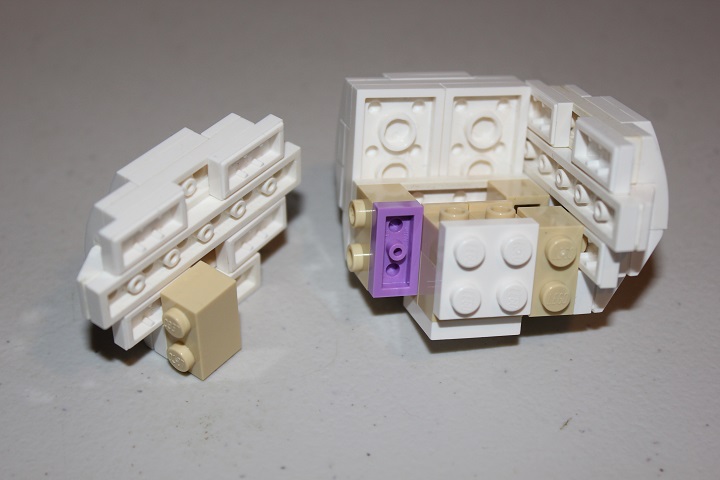
Next we’ll add another 2×2 plate, and 2 stacked 1×2 lavender plates (you can use any color 1×2 plate, we just happen to have a plethora of lavender ones).

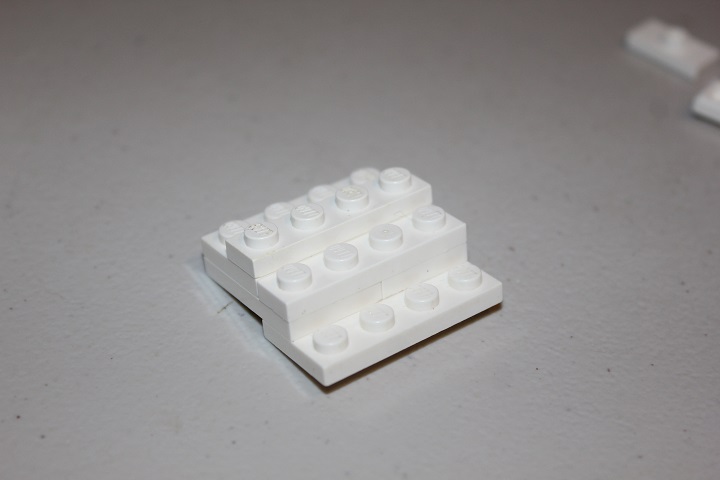
With that core constructed, we can start on the outer portions of the dome. 2 2×4 plates, 2 1×4 plates, and 2 2×3 plates make up the base for this section.
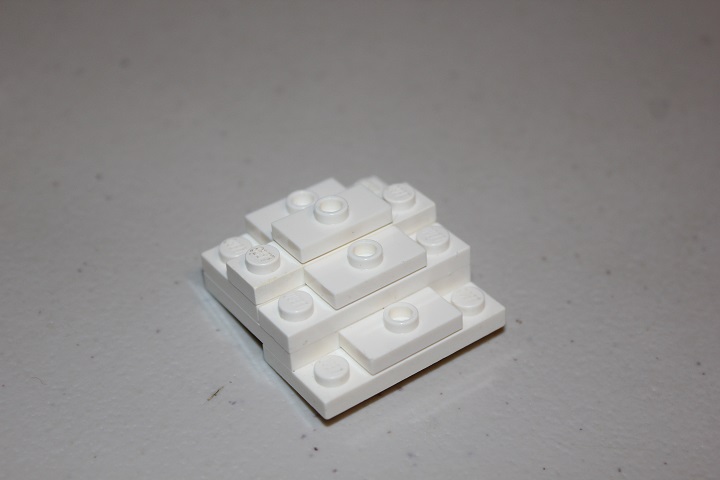
Next we’ll add 1×2 jumper plates, as seen below. You could also use regular 1×2 plates, but we were running short on them at the time I made these.
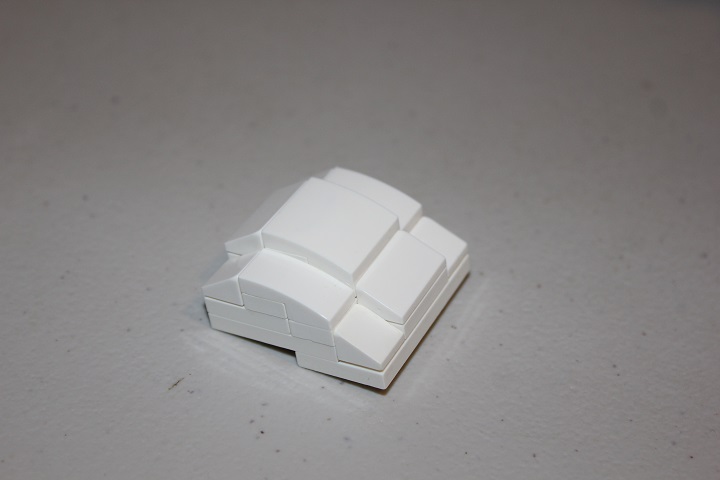
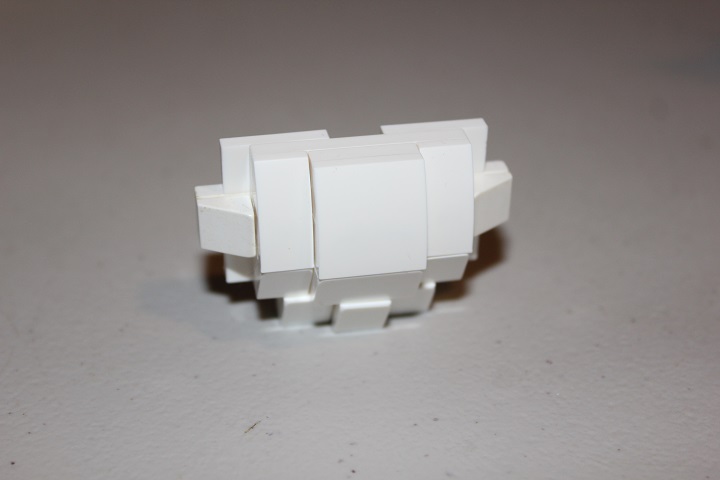
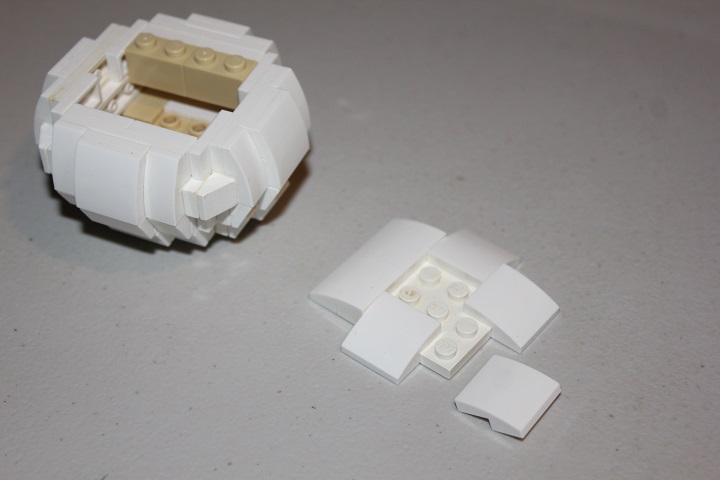
On top of the jumper plates we can put on the curved slopes and cheese wedges.
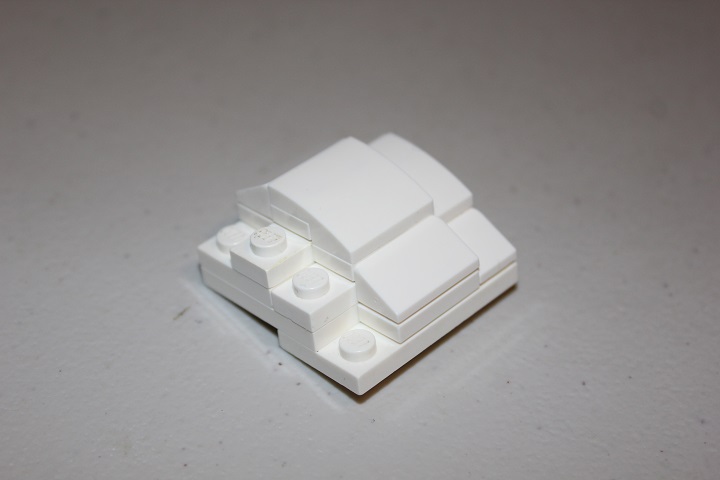
And it should end up looking like this. You’ll need 2 of these assemblies.
The other two sides use an assembly that starts like this.
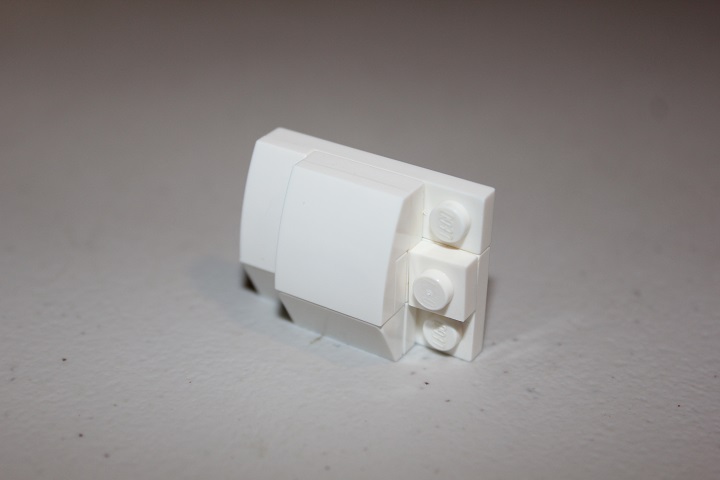
Some 1×2 jumper plates and a 1×6 plate with cheese on either end are added to give some nice offsets at the ends.
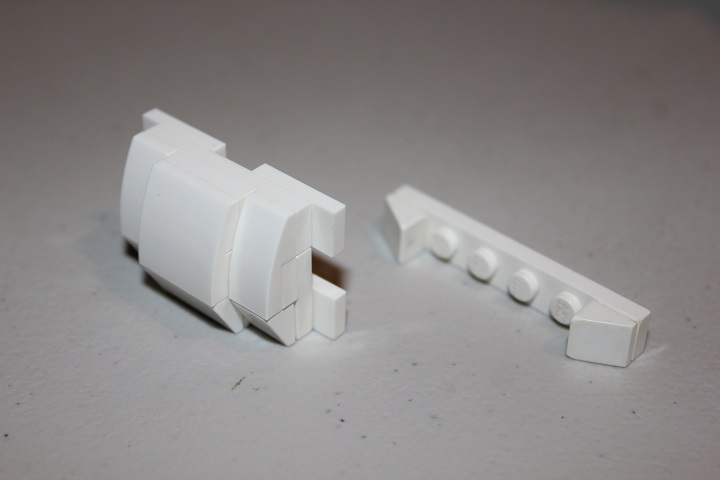
And finally a 1×2 brick modified with two studs is used to put on another 1×3 plate plus 1×1 plate and 3 more cheese slopes.
The empty stud of the 1×2 brick with studs hooks onto a jumper plate to connect it to the bottom of this side.
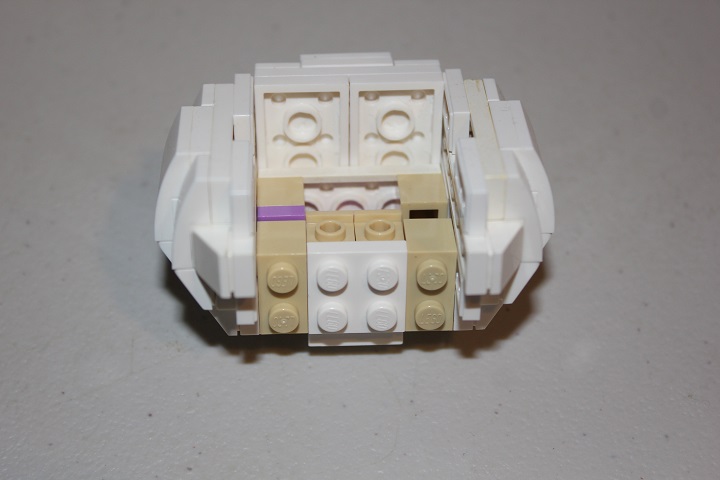
Here’s a view of that completed assembly from the front.
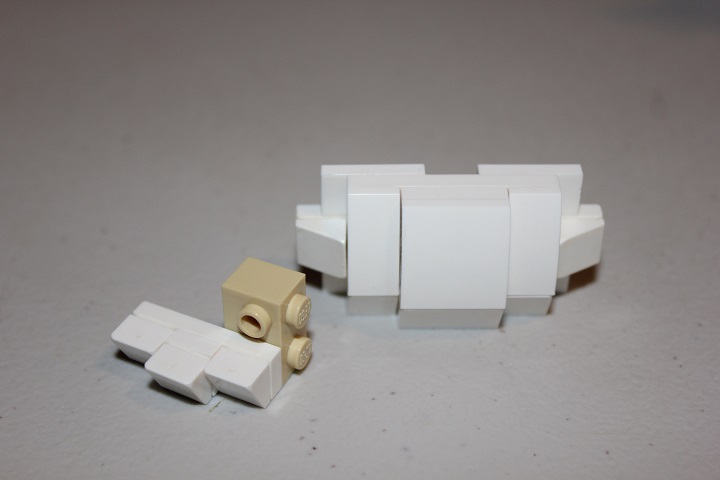
The next step is to attach the various assemblies to each other.
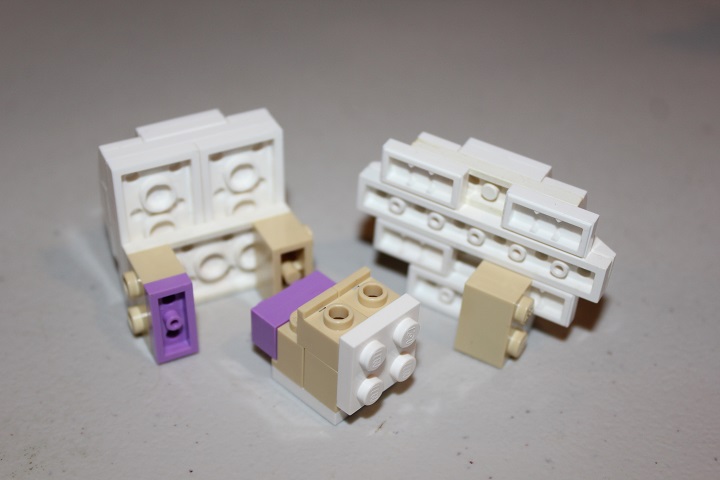
They come together as pictured below, and two more sides identical to the ones already built will complete the main portion of the dome.
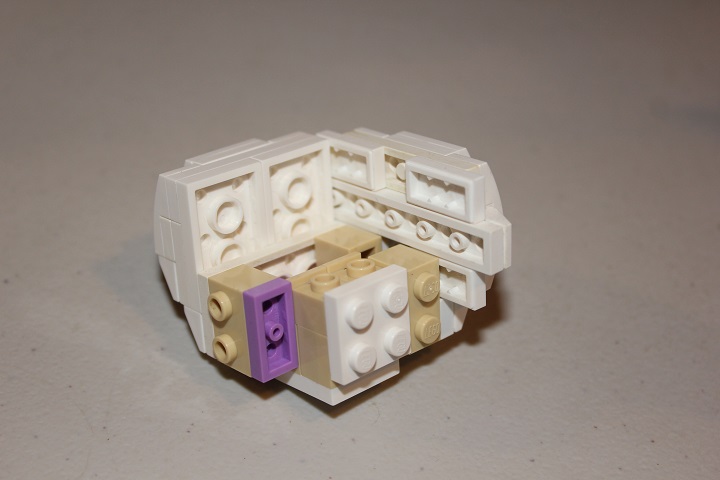
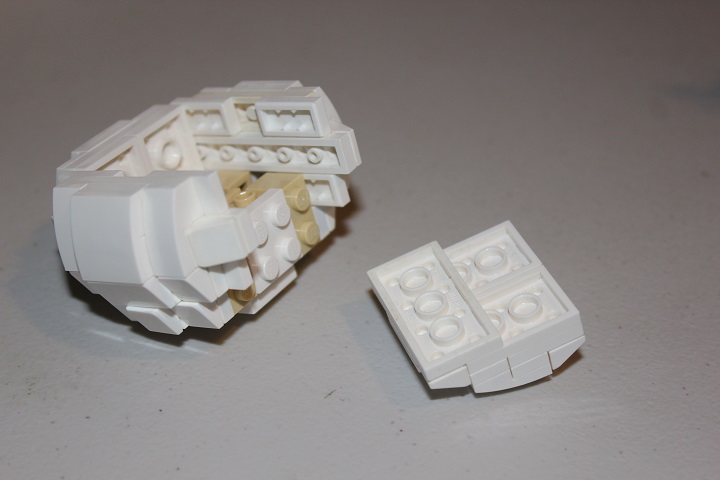
Here the third side is about to be placed.
Which then leaves 8 SNOT studs to attach the final side with.
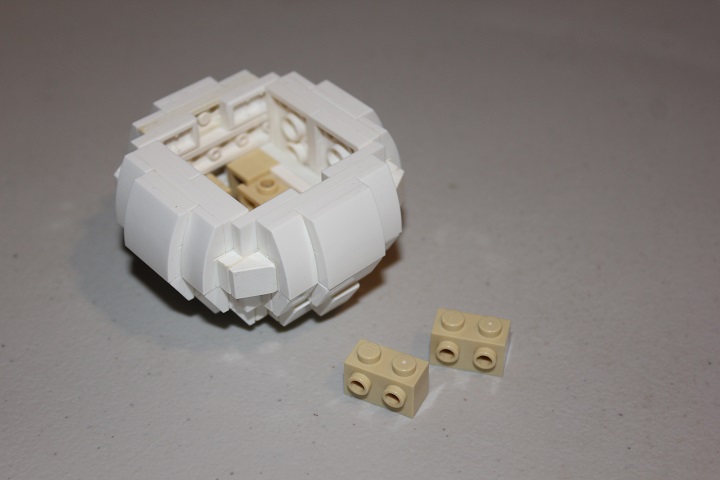
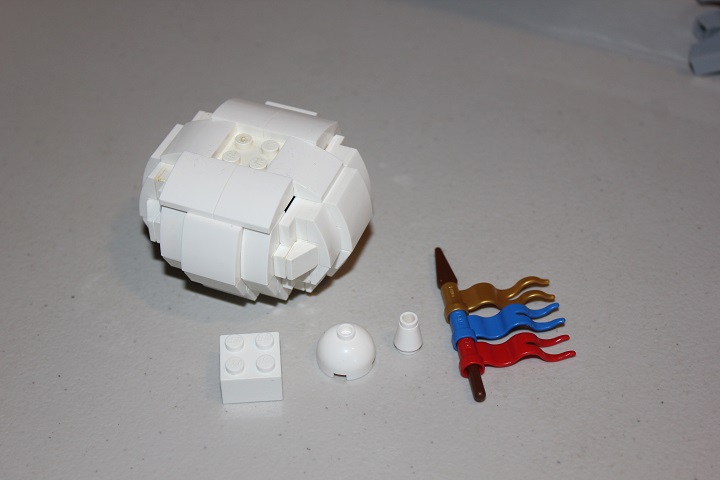
Afterwards some more brick with stud are used to get back to regular studs up building, and a ‘cap’ is built.
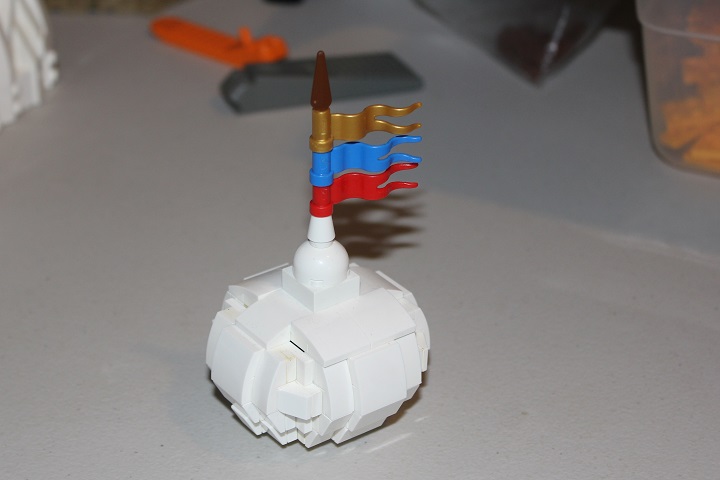
Lastly, you can top the dome with a simple 2×2 brick, 2×2 cone, and 1×1 cone. I also added a spear with flags for my scene.
This design took me way longer than I would like to admit, but hopefully is of use for you!
Thanks for reading, and if you have any designs you would like to see tutorials for in the future, let us know in the comments!

