


This is a rather straightforward design that I used for a small cottage in our Town of Khevroa build.
It mixes some sideways wall portions with studs up columns.
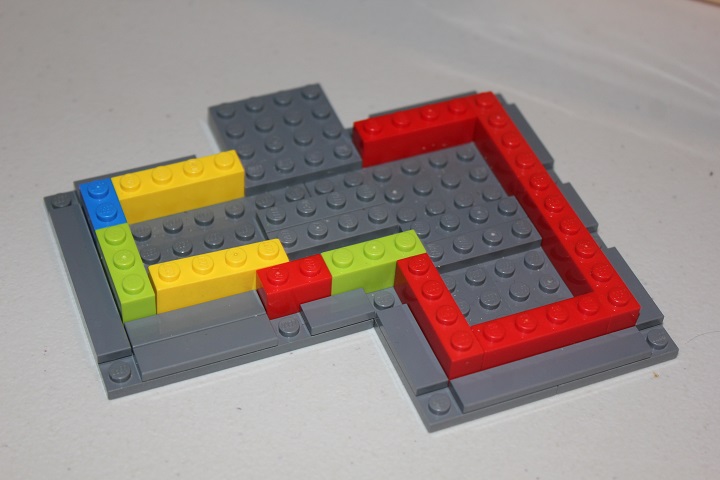
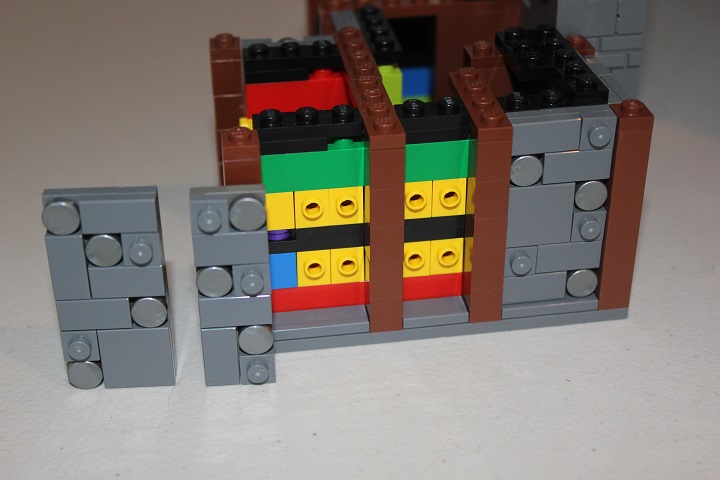
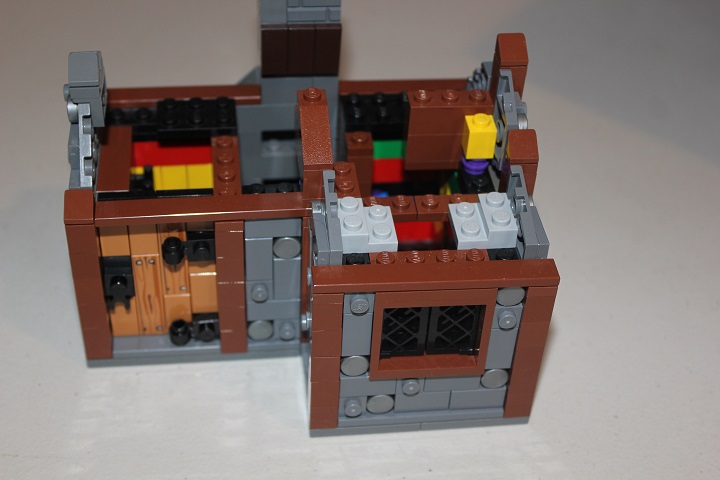
Here is how I setup the base of the small cottage I was building. The tiles show where SNOT portions will be built, while the exposed studs are where the timber columns will go.
Brick modified with stud are added to hold the SNOT sections on.
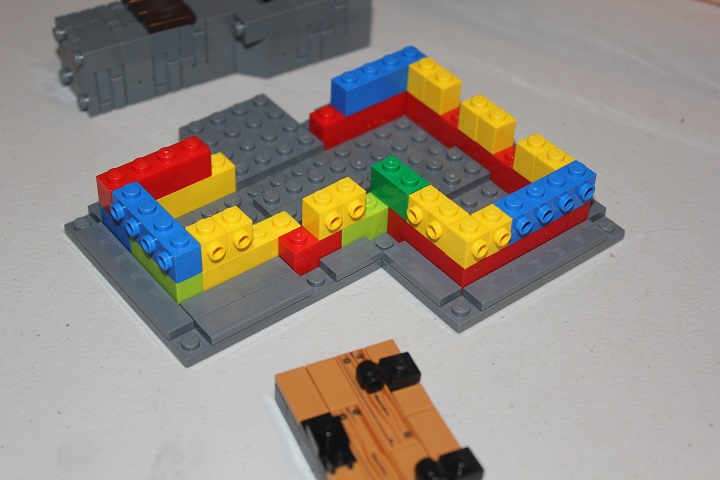
Including a door, as shown here.
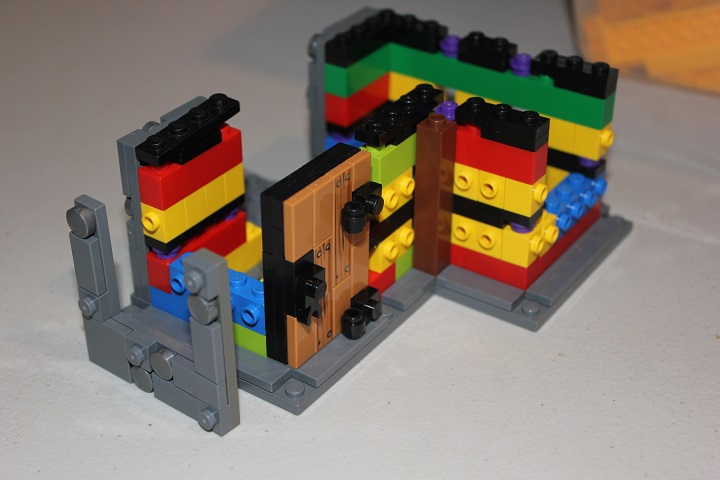
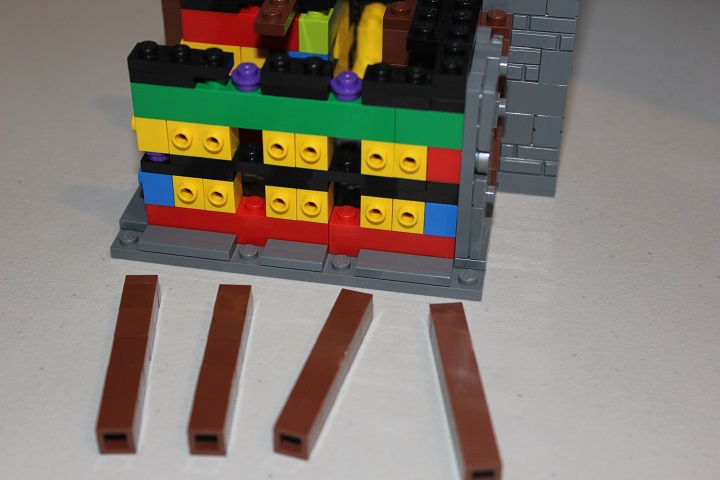
Then you can continue building up the filler wall, adding more brick modified with stud as you go. Stacks of 1×1 bricks in reddish brown are used to make the wooden beams.
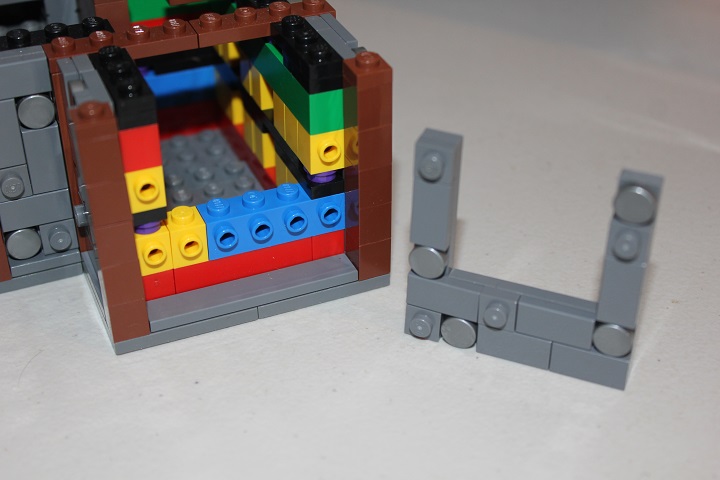
As for the stone wall sections, I chose to use dark bley plates covered with various small dark bley tiles and plates.
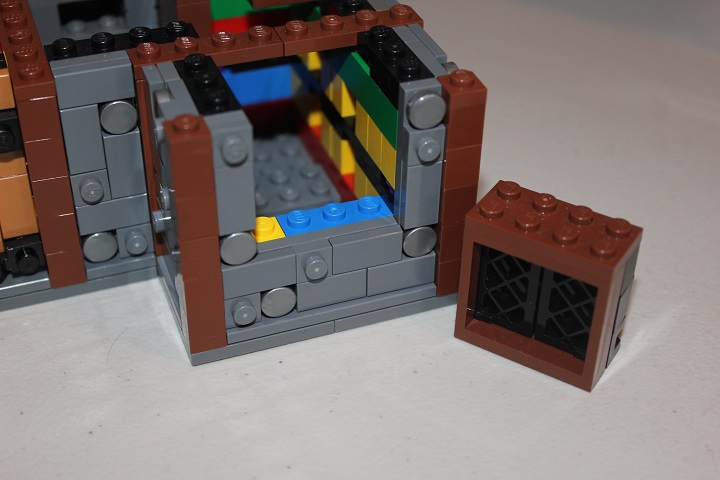
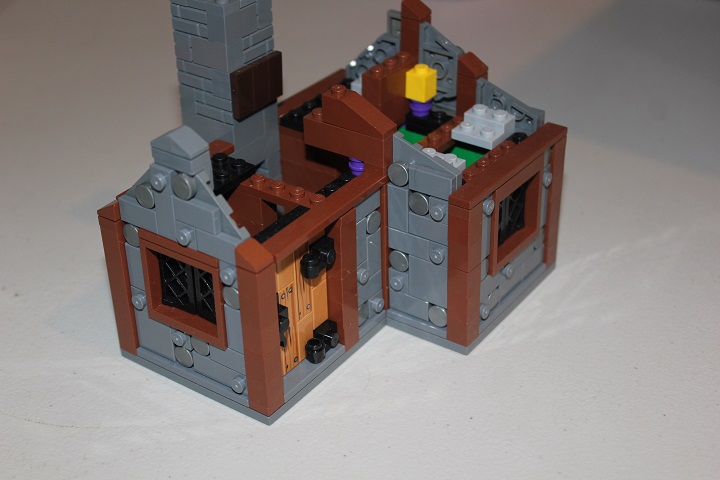
An assembly like this allows for a window to be added in.
Since this house had no interior, I used black bricks behind the window to keep the filler brick from being seen. The 2×4 plate across the top of the window attaches it nicely the black bricks.
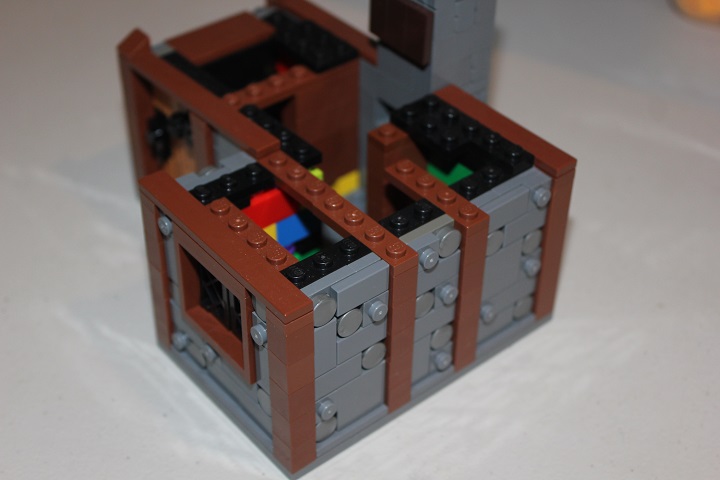
Next tiles are added to cap off this level -except where the stone walls need to continue further to fill up under the roof-line.
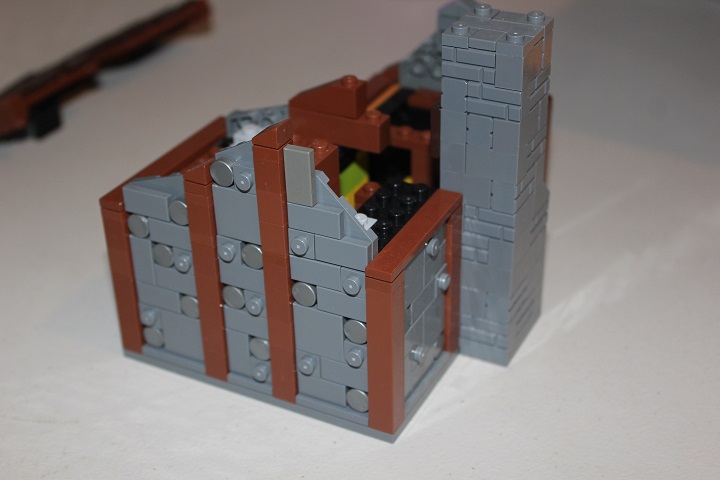
I used wedge plates to try and match the slope of the roof as closely as possible, while maintaining a consistent texture with the previous stone wall.
On the near end you can see where I used a bracket to switch back to studs up building so that I could use a few cheese slopes at the peak.
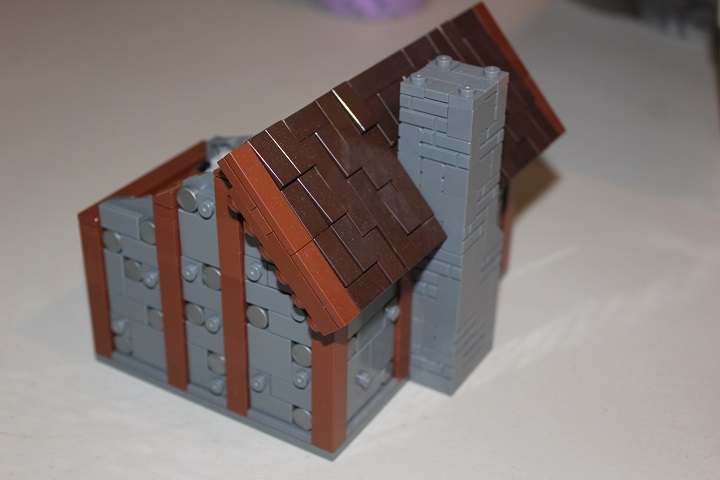
Afterwards the roof fits on smoothly.

This design is quite quick to build, and fairly parts efficient. So I hope you find it useful for some of your own models.
Let us know if you have any questions on the design, or have an idea for what we could cover in our next tutorial!


Simple to grasp, yet beautiful and useful. Thanks guys!