


Market stalls are often useful for medieval builds, and having a variety of designs to work with keeps your vendor areas from getting boring.
The first design just uses 1×2 curved slopes, a few basic 2-wide plates, and 1×1 plates with vertical tooth. I used bright light orange and white here, but of course you can use any color combo that fits your specific build!
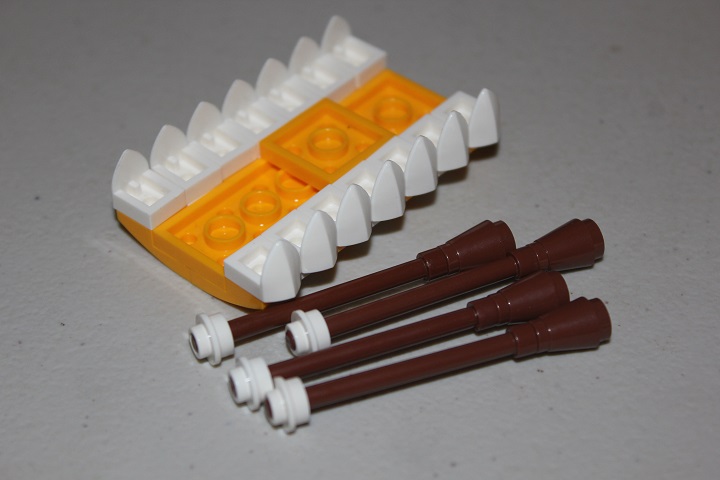
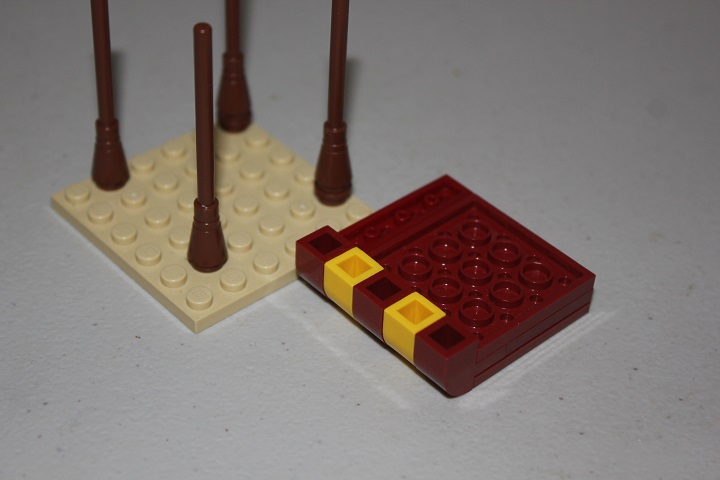
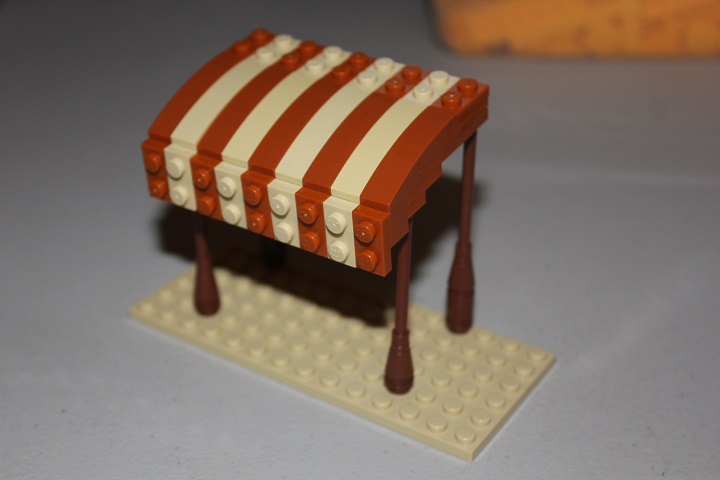
With the canopy constructed, you just add the poles, which are made up of 6 long bars, a cone, and a 1×1 plate round with hole.
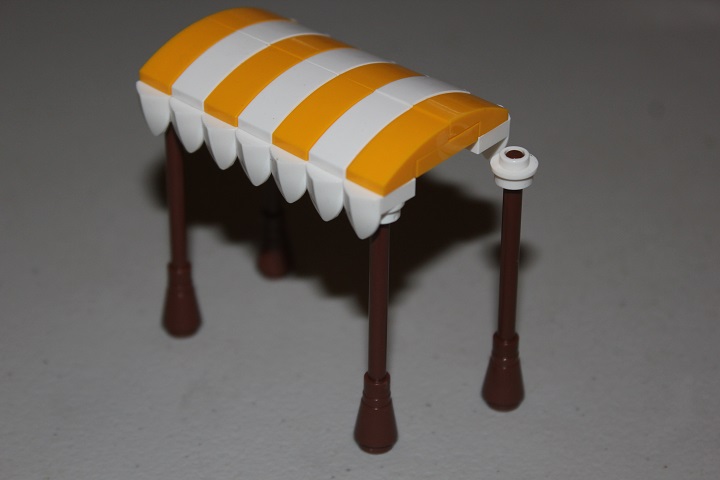
And it should end up looking like this.
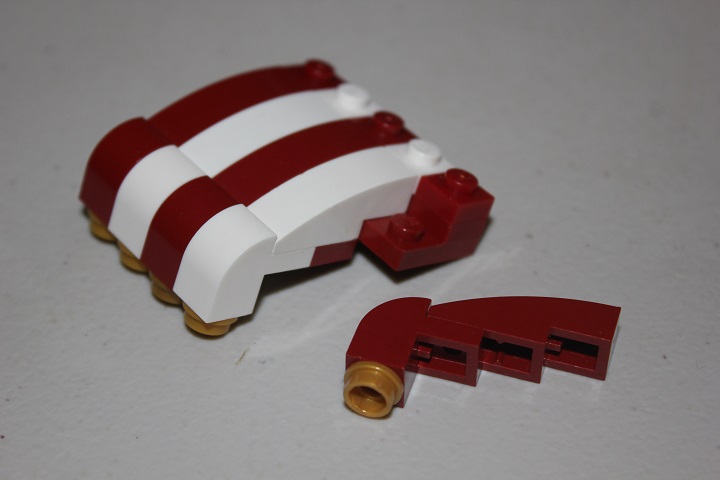
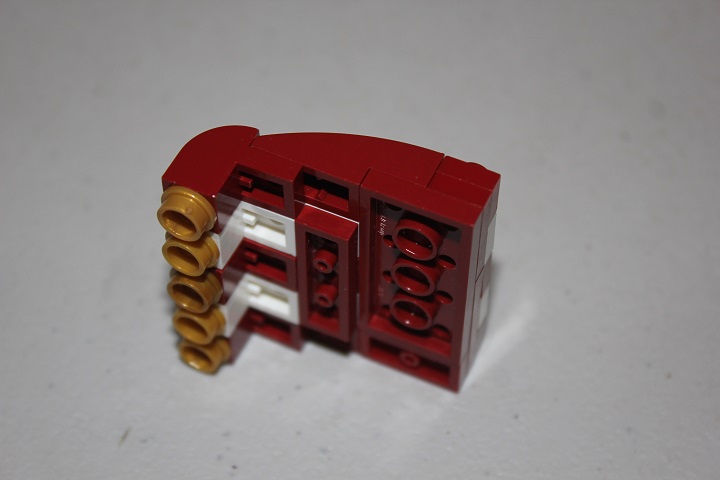
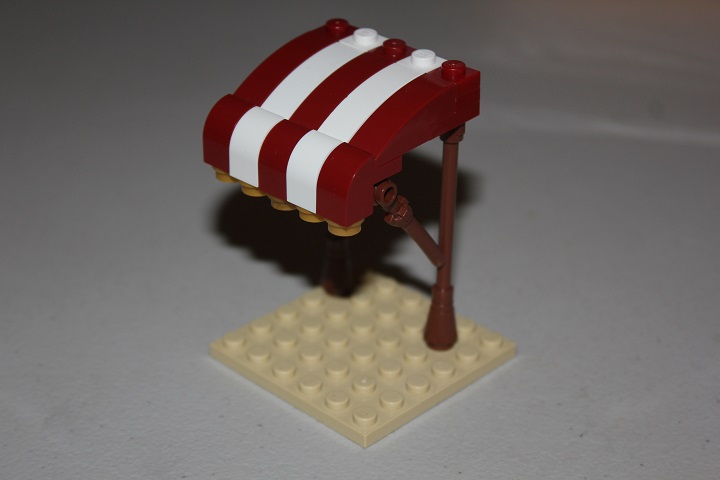
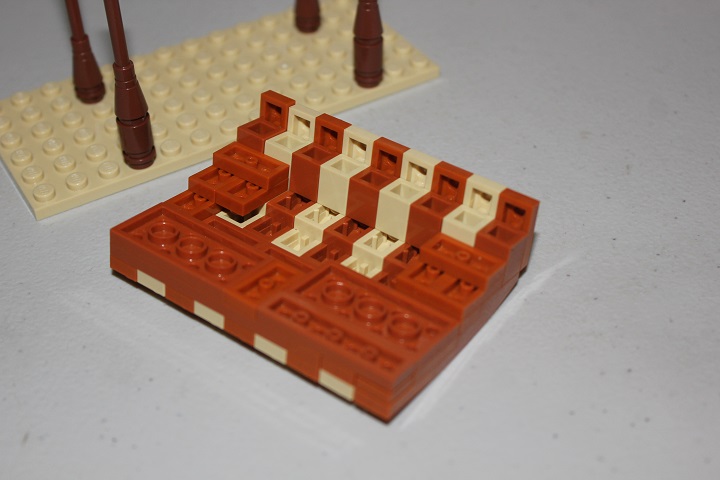
For this next design I made the canopy an odd number of studs wide so that I could have the same color stripe on each end. As with the previous design, the core is made up of basic plates, and then is finished off with 1×3 curved slopes and 1×2 bows. Some gold 1×1 round plates add a little extra decoration, if desired.
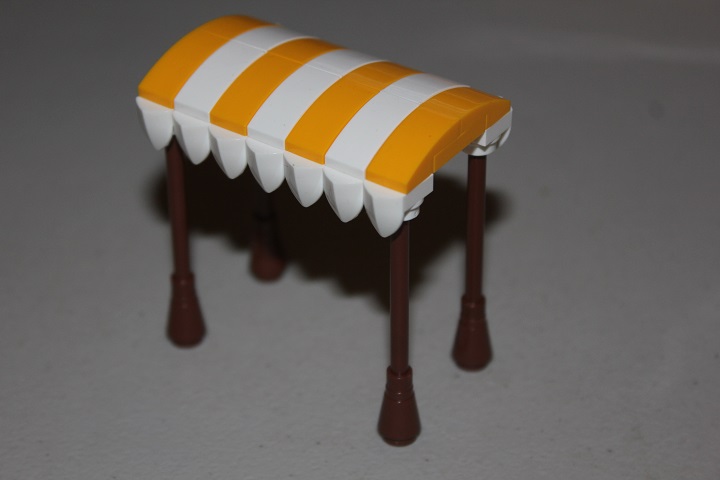
What the assembly looks like from the bottom.
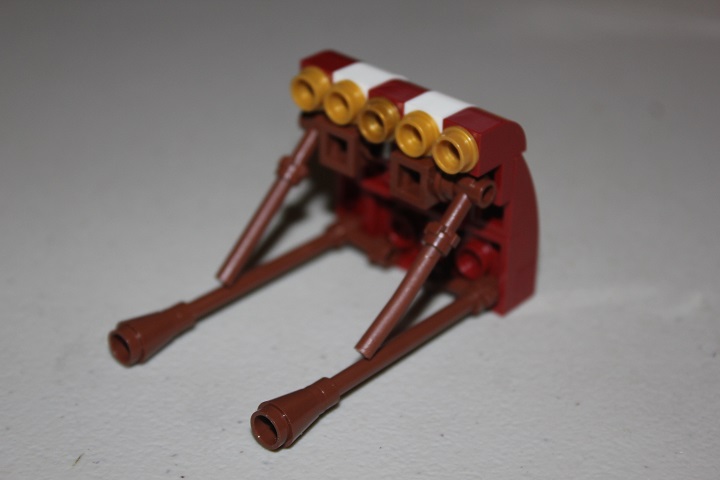
The poles for this stall are a little different. I still used a few 6 long bars and cones, but this time they are topped with light saber hilts.
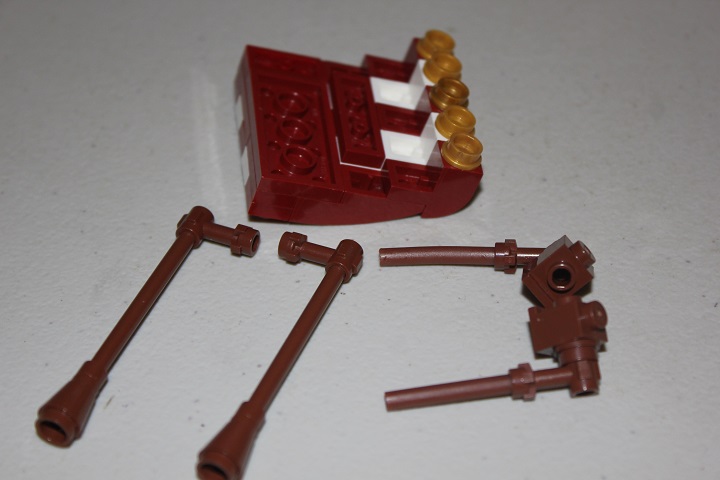
Assemblies made up of headlight bricks, 1×1 plate rounds, more light saber hilts, and three long bars make up the front poles.
With the back poles in place, it’s easy to rotate the front poles so that the bars rest against each other.
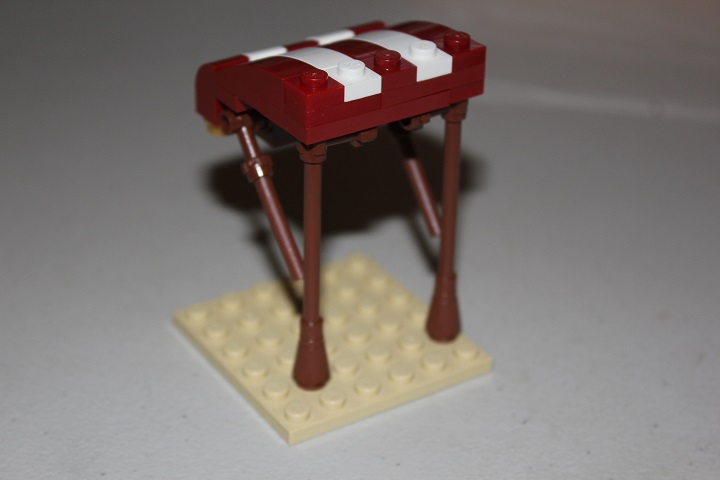
This gives more space for goods under the tent.
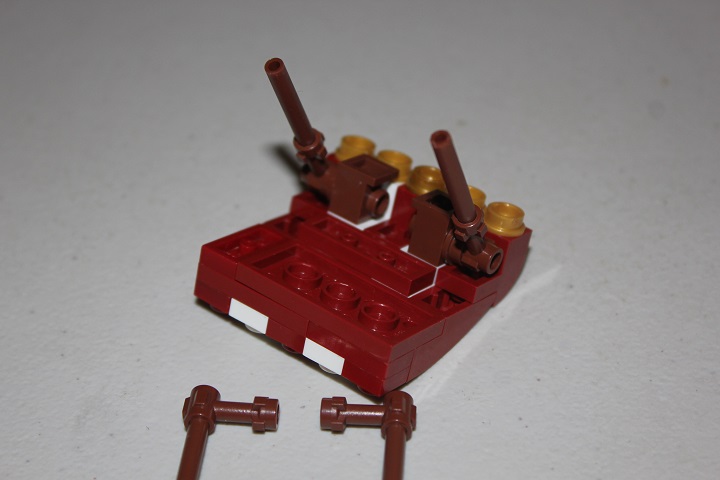
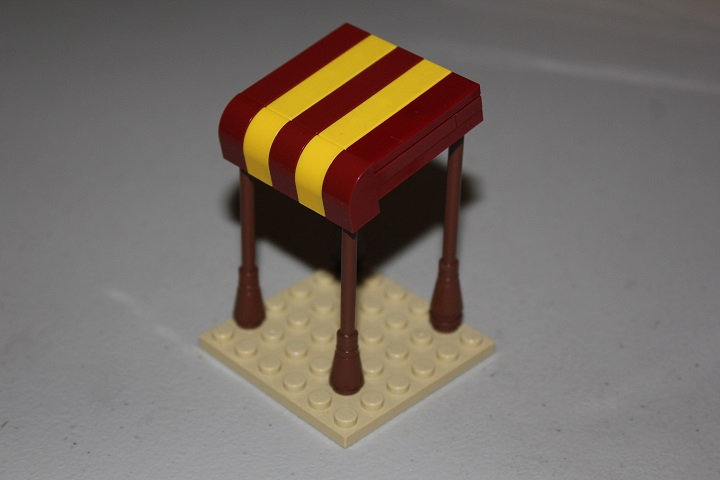
This next design is probably one of the simplest, and yet still very effective designs that I’ve come up with. Start off by attaching four 6-long bars to cones. 2 of those will also get a 1×1 round plate on the bottom. Once the poles are in place, you just rest the canopy on top of them.
Which should look like this. It gives the whole stall a nice slanted roof, and is still quite sturdy.
The last design we’ll be looking at today was inspired by Mark of Falworth’s market stand that he used in his creation, The Grand Bazaar.
Once again, the bases consists mainly of plates. On top of those, we’ll be adding 1×4 curved slopes in whatever color you want your stall to be. Under the curved slopes, attach 1×1 brick modified with stud on side. 1×2 plates matching the slope colors are then added to the brick with stud.
Then you can put it on the poles.

If you want, you can also add 1×1 round gold tiles to the bottom studs of the row of 1×2 plates in the front.
Thanks for reading, if you have any questions, comments, or suggestions for future tutorials, let us know in the comments!

