


ShoelaceAglet on Eurobricks requested a tutorial covering small footbridges, so here are four different stone footbridge designs.
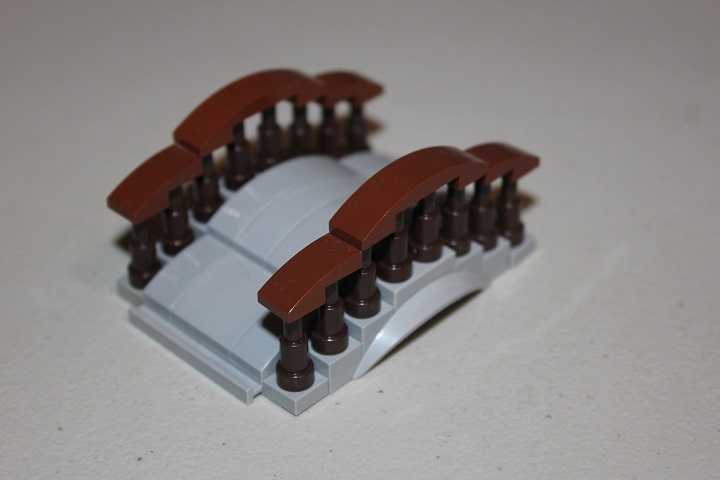
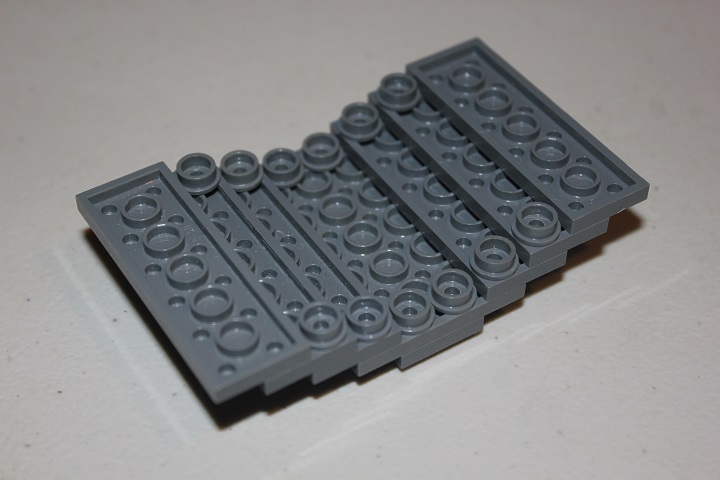
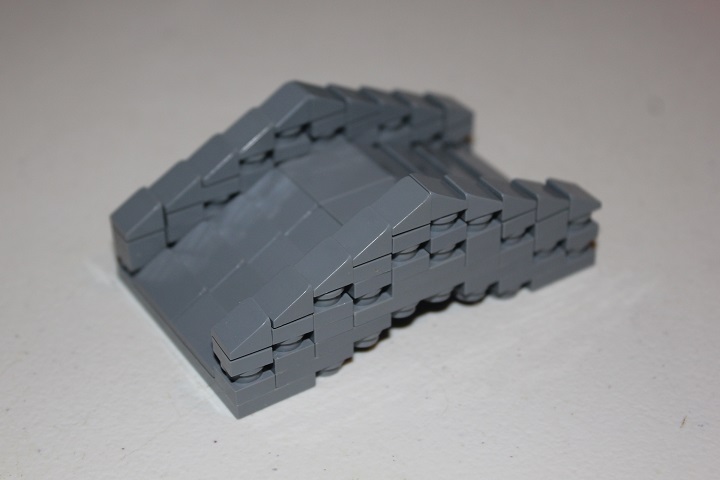
We’ll start with one that was used in our Town of Khevroa build. The 1×6 mudguard element makes up the main skeleton for the bridge.
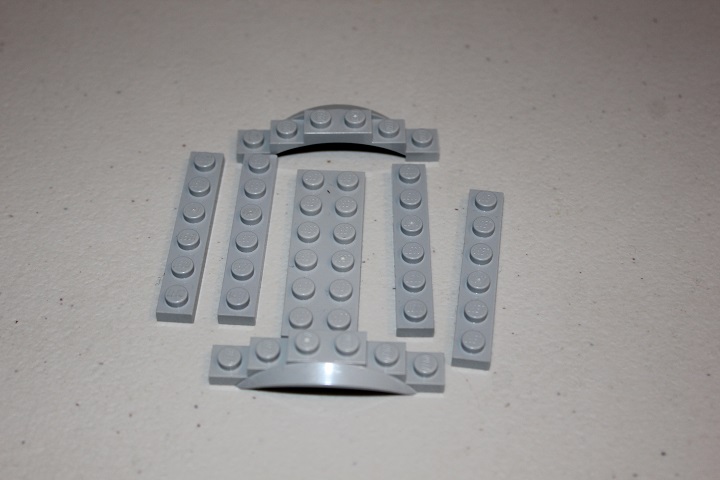
And then the 1×6 and 2×6 plates connect the two mudguards. Some 1×2 plate with rail work nicely at either end to make a smoother transition to the ground.
Curved slopes give a nice smooth walking surface.
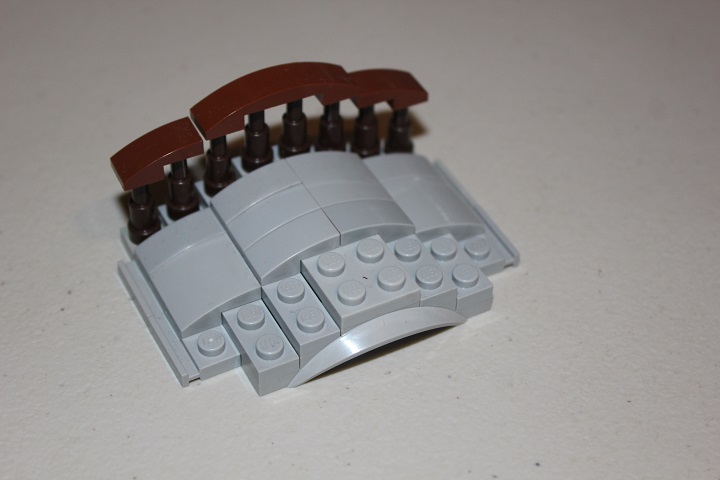
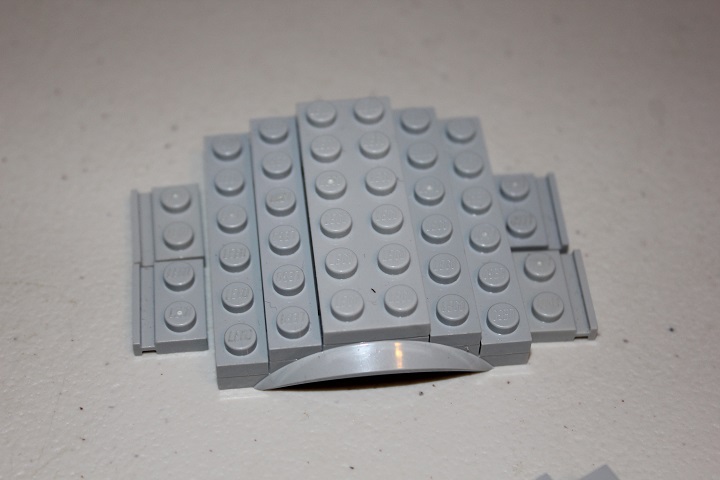
Dark brown telescopes and reddish brown curved slopes are used for the railings.
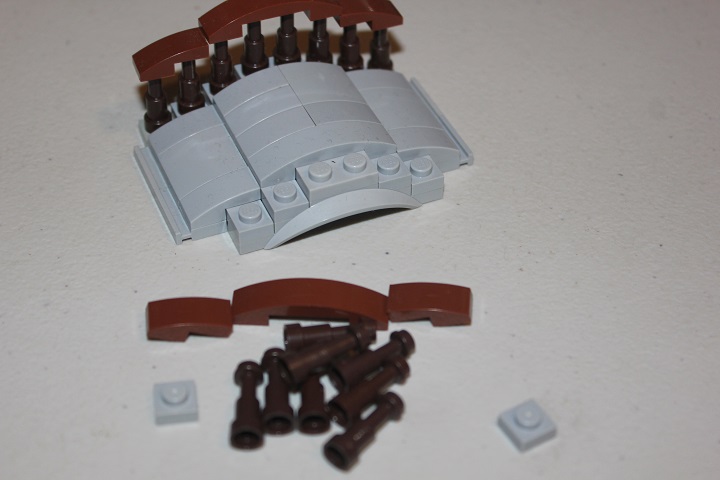
Here you can see how the 1×1 bley plates are attached, which finish off the bridge.
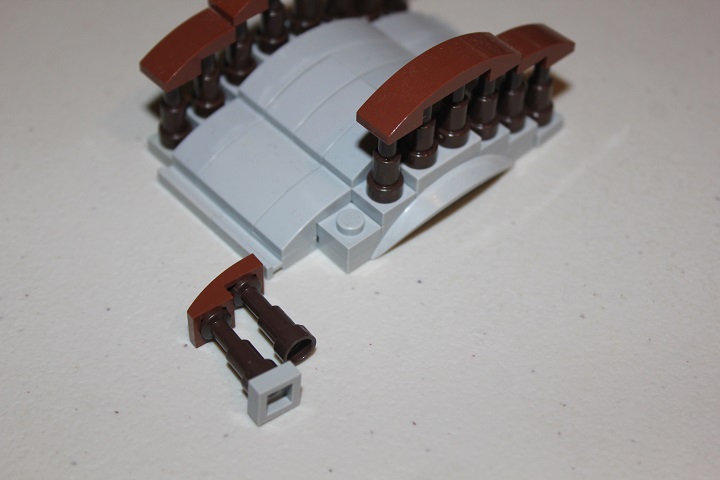
This design maintains a pretty slim profile and is very straightforward to build.
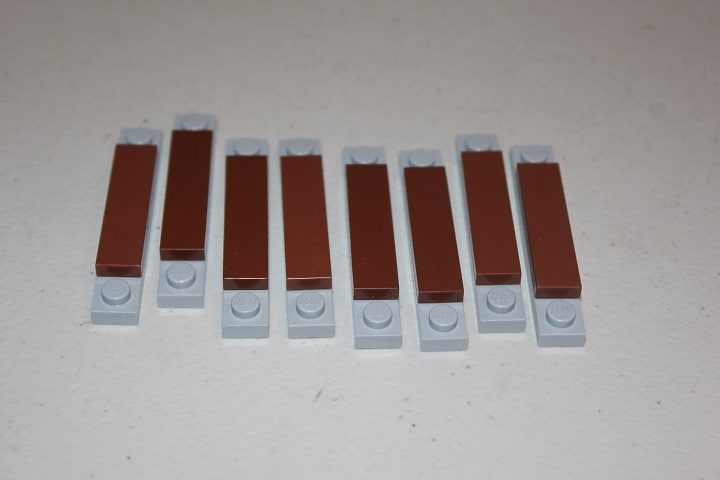
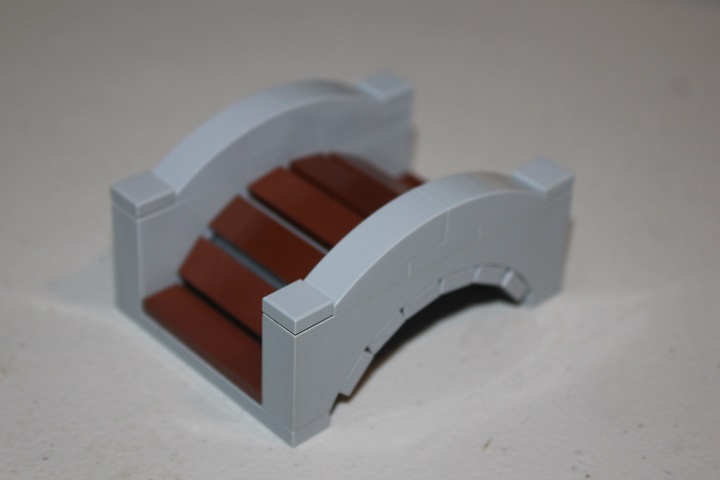
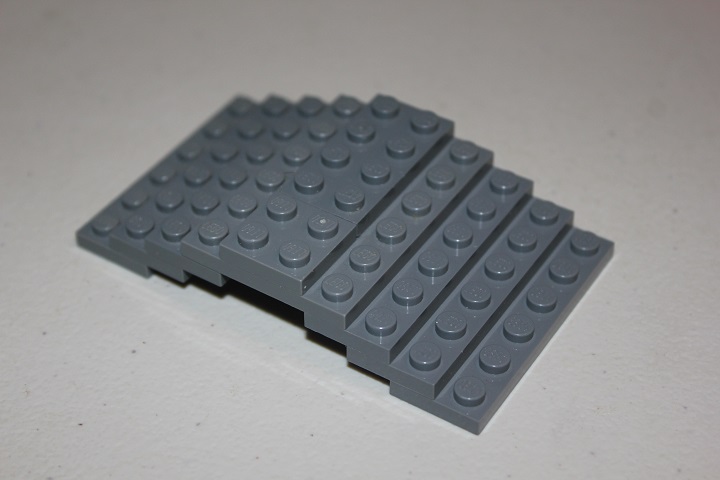
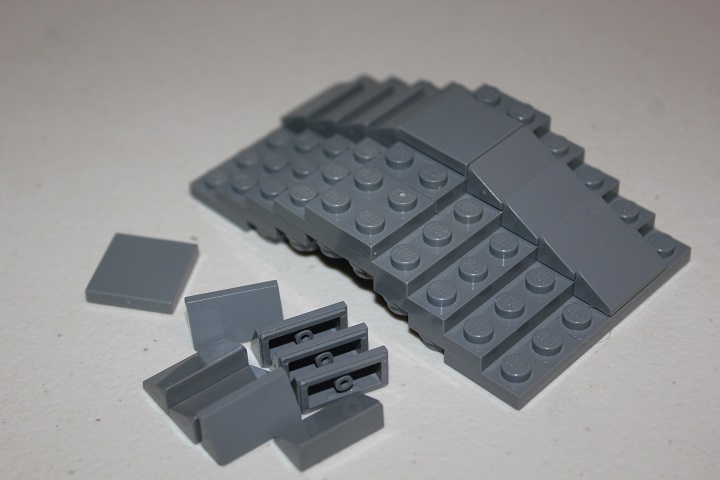
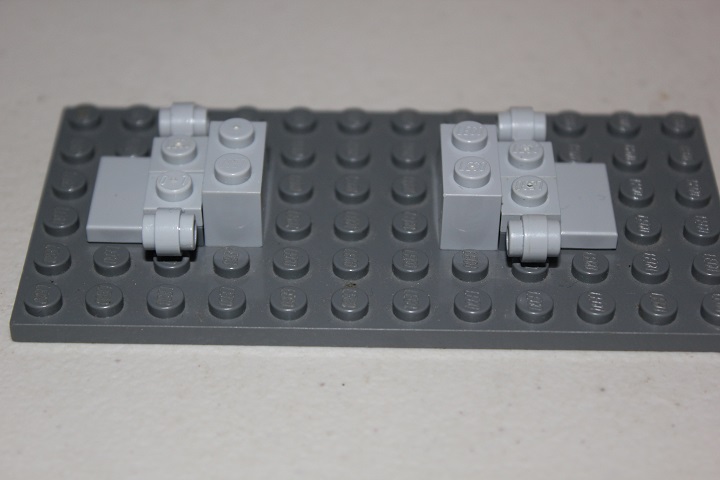
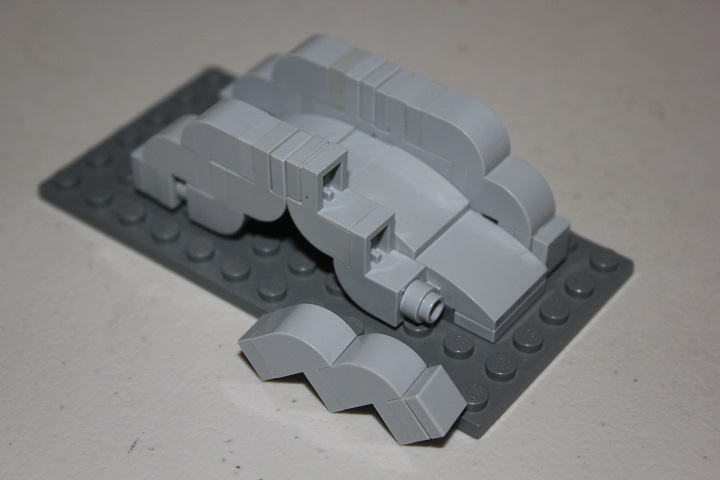
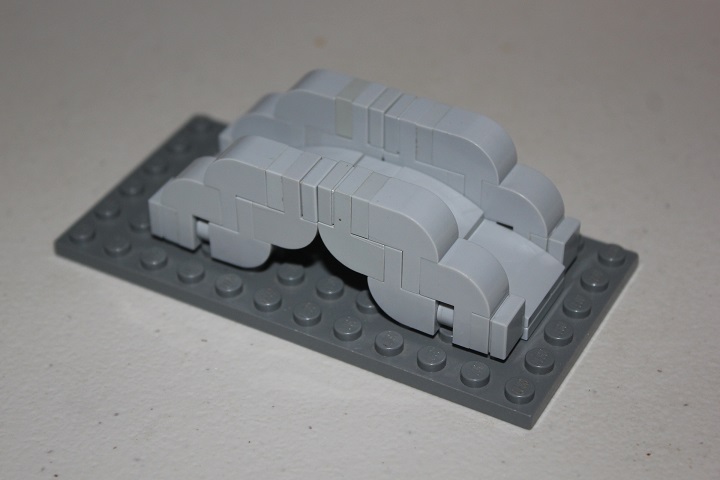
Our second technique starts with 8 1×6 bley plates each topped with a reddish brown 1×4 tile.
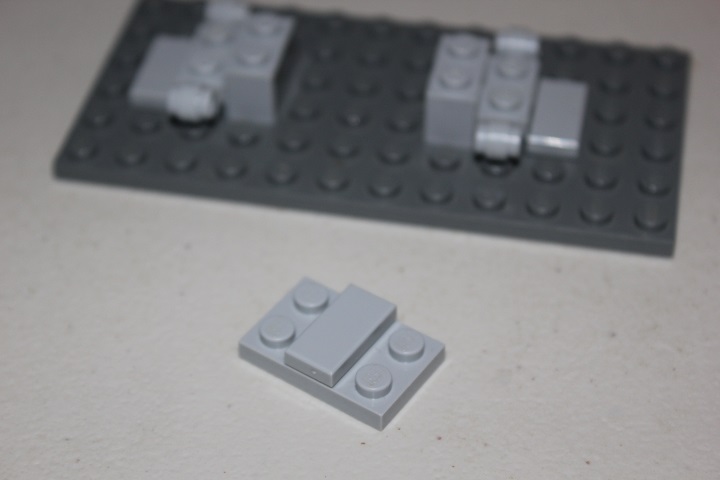
Attaching all of those plates to the bottom of 1×8 arches gives a smooth curve to the walkway. This design has been around for years and years, and is one of our favorites.
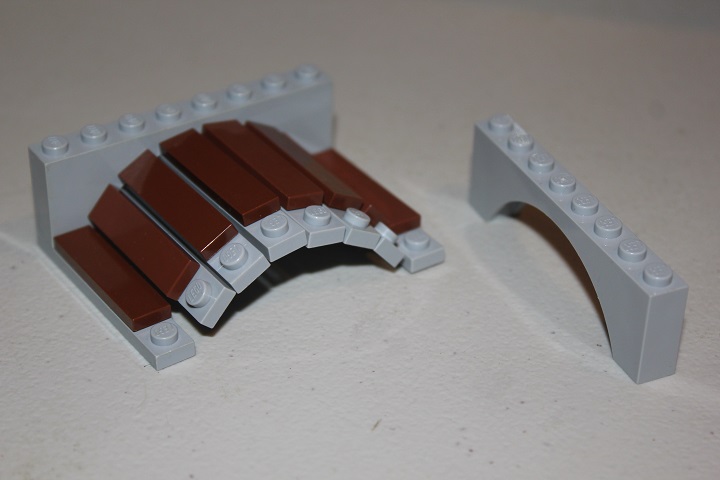
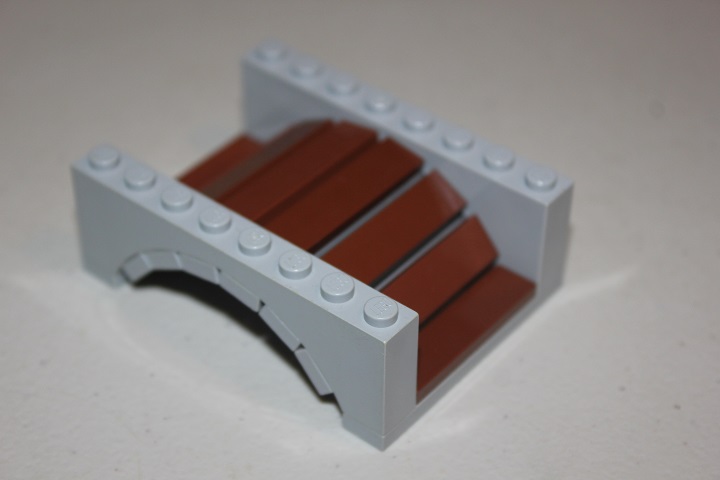
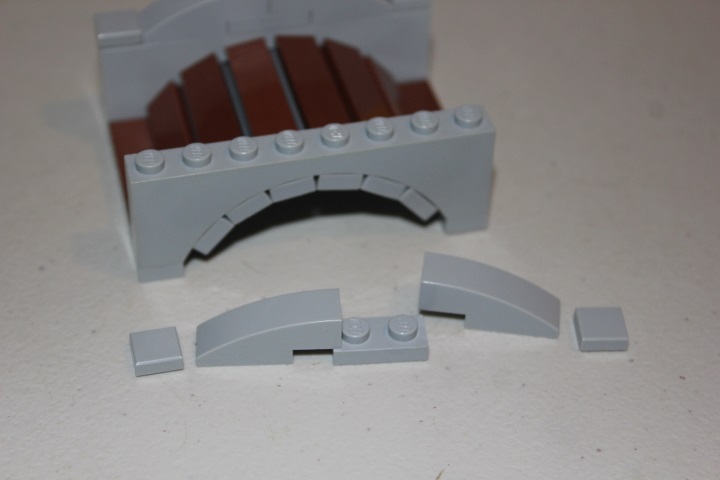
Some 1×3 curved slopes reflect the arch below, while 1×1 tiles cap the ends.
Giving a parts efficient design that smoothly spans 6 studs.
Next is a super basic footbridge that still works pretty well. Stacked 2×6 plates give the basic shape.
1×1 round plates added on the bottom edge makes the steps look less blocky.
Here we chose to use cheese slopes, though more curved slopes would also work well.
To give an irregular stone texture, we used stacks of 1×1 plates and 1×1 round plates a brick high. Though if you wanted a more uniform look and to save some parts, you could use 1×1 bricks or 1×1 round bricks.
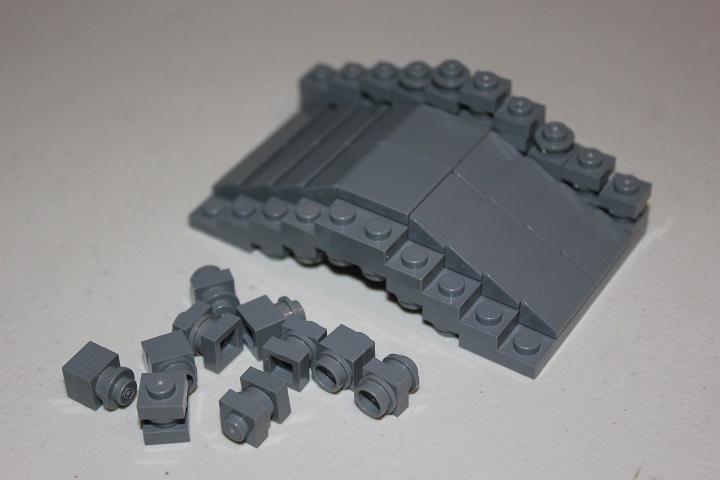
Last are some more cheese slopes to finish it off.
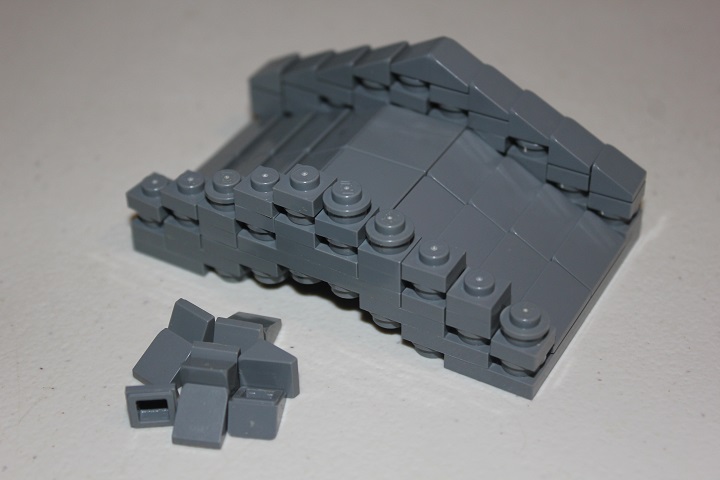
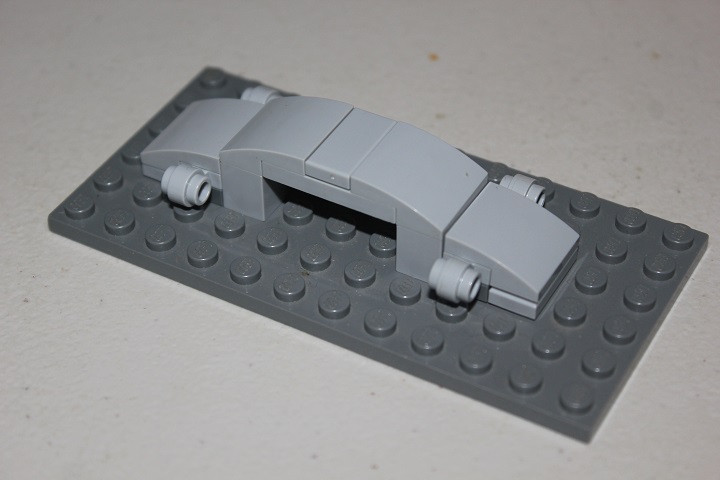
Our fourth design is the most complex of the group. Plate modified with ring will be used to attach the sides.
This 2×3 plate with 1×2 tile makes up the center portion of the walkway.
And is held in place by 2×2 curved slopes.
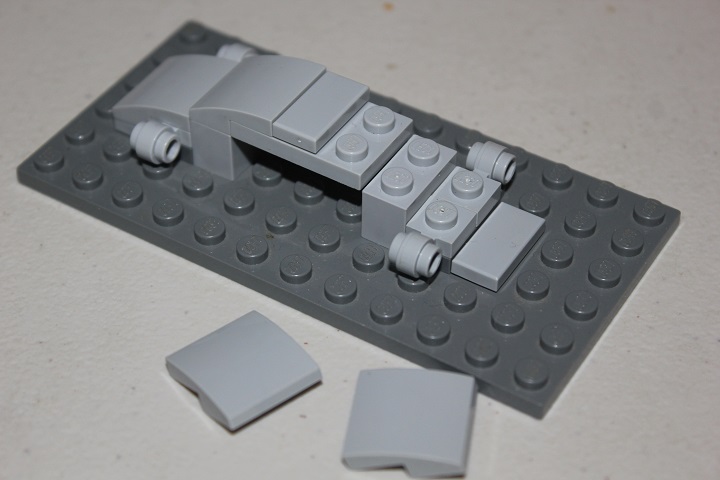
At this point it looks pretty silly, but now we’re ready to put on the sides.
1×2 bows with 1×1 tiles make a fancy arch.
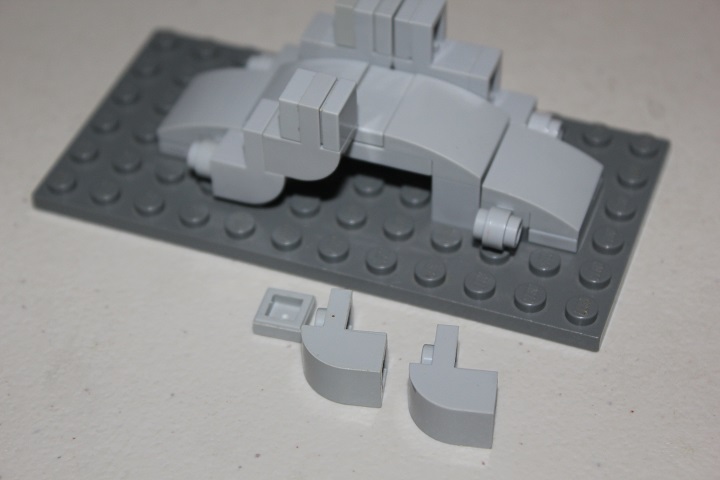
And more bows with 1×1 plates and tiles mirror the arch below for the railing.
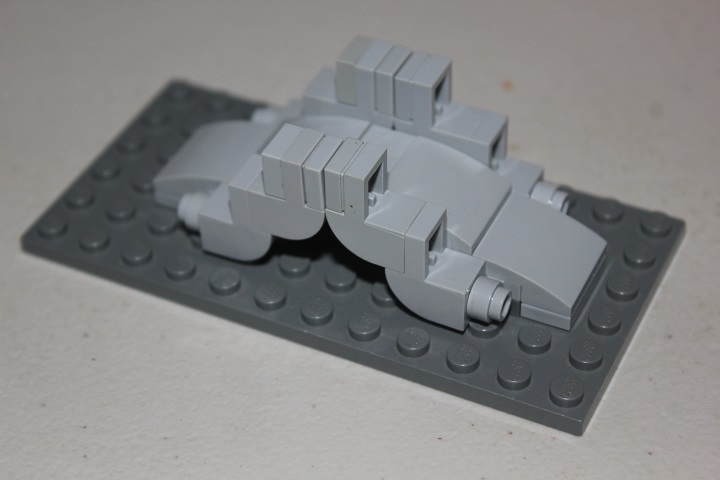
Naturally you could modify this design to give a larger bridge if you wish.
Enjoy using these techniques, and see how you can modify them or come up with your own new footbridge designs!
Plenty more tutorials to come, and we’d love to hear your input on what we should cover in the future.


I think you should make a tutorial telling how you made the dark green and brown house in Avalonian Village. I looks quite interesting if you ask me. Thanks for the build log. I just love it.😁
Thanks! And maybe we will cover that design eventually 🙂
Okay, how is the CCC going. My userid is “Bishons if you want to check out my entries.
It’s over now, and we’ll just have to wait patiently for the results!
I did take a look at your entries, and you had some cool builds 🙂
Good story telling with your logging scenes, and I like your winter cabin.
Thankyou!