


Here are six more furniture designs that I came up with when working on my carpenter’s shop vignette. If you’re interested in seeing more furniture techniques, check out our previous 10 tutorials.
The first designs uses clips and a boat tile to give a very slim profile to a table.
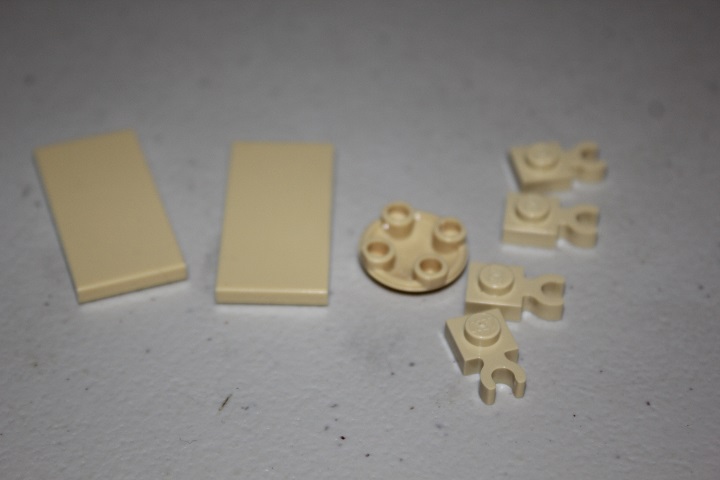
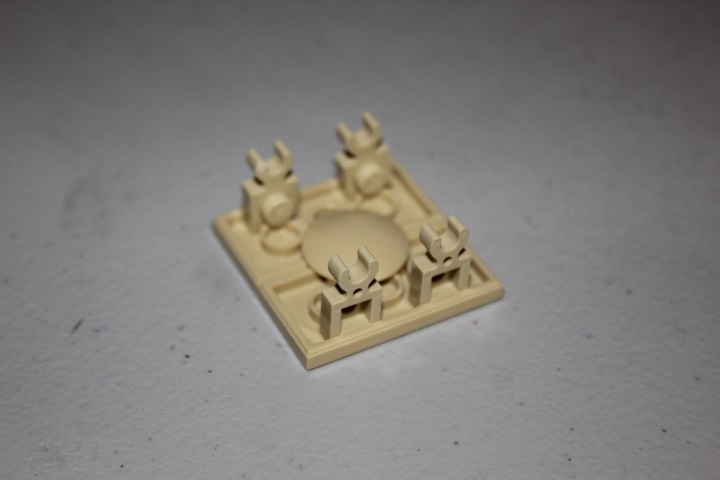
Fitting the clips into the bottom of the 2×4 tiles as shown gives a stable connection.
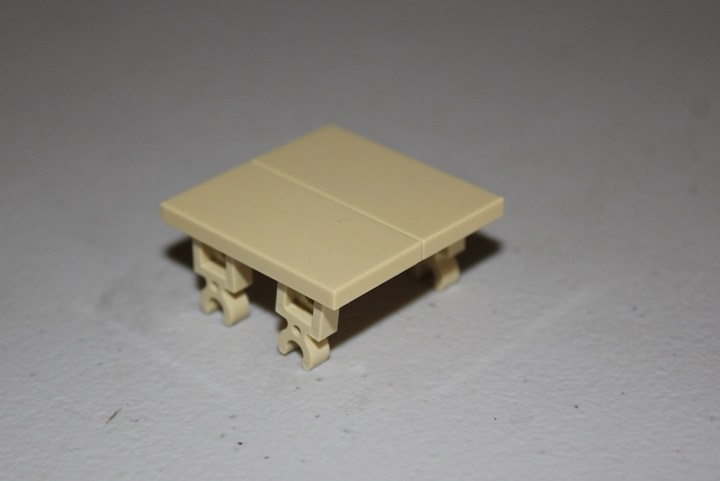
And when flipped back upright, the table looks to be only 1 tile thick.
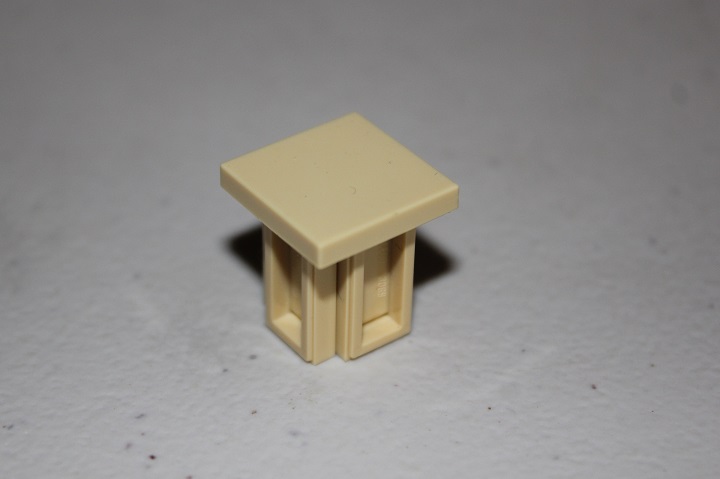
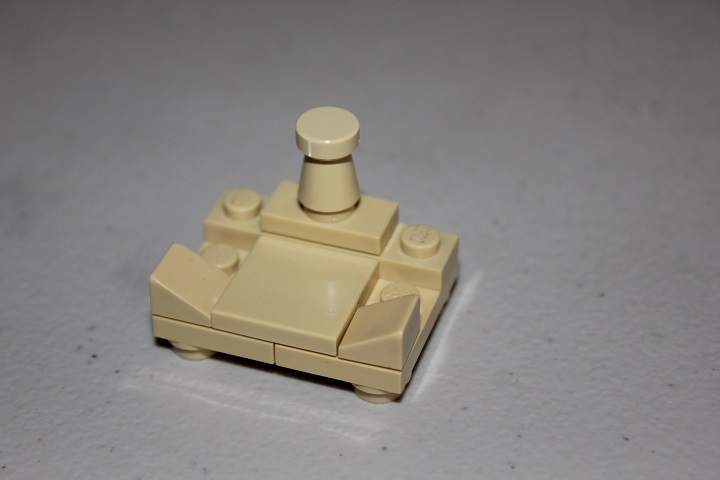
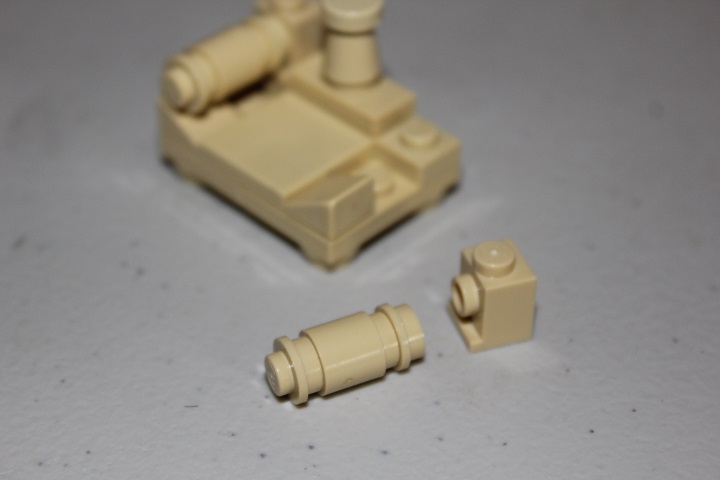
Playing with a similar method of sliding pieces into the bottom of a tile led me to make this small end table.
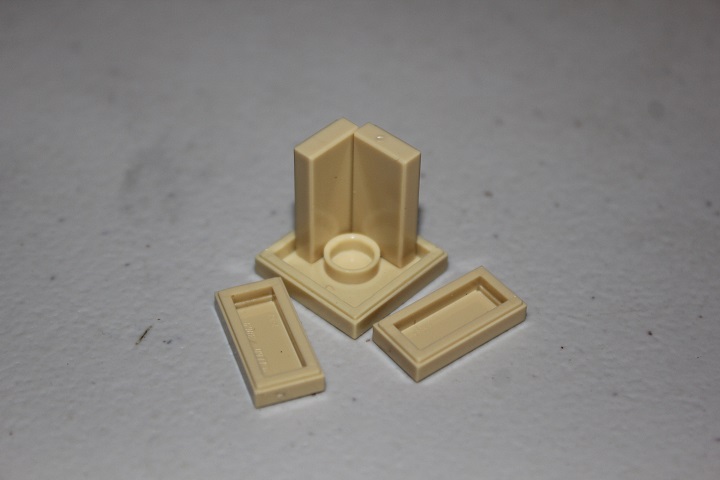
You could also reverse the direction of the 1×2 tiles for a cleaner appearance.
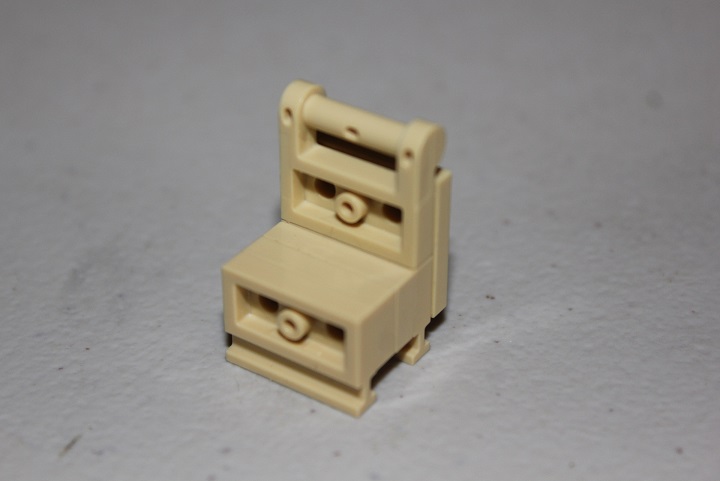
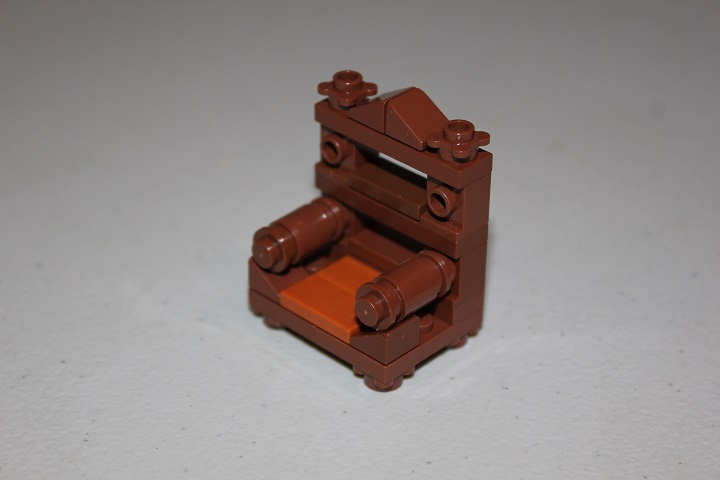
Brackets can be extremely useful for furniture, which is this case with this chair technique.
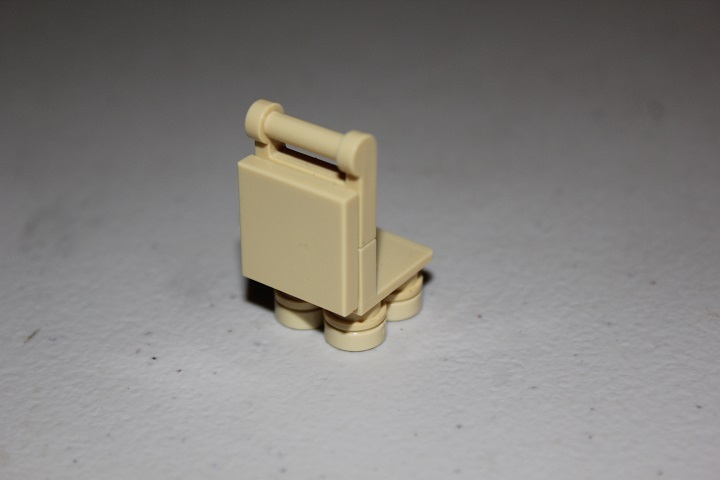 \
\
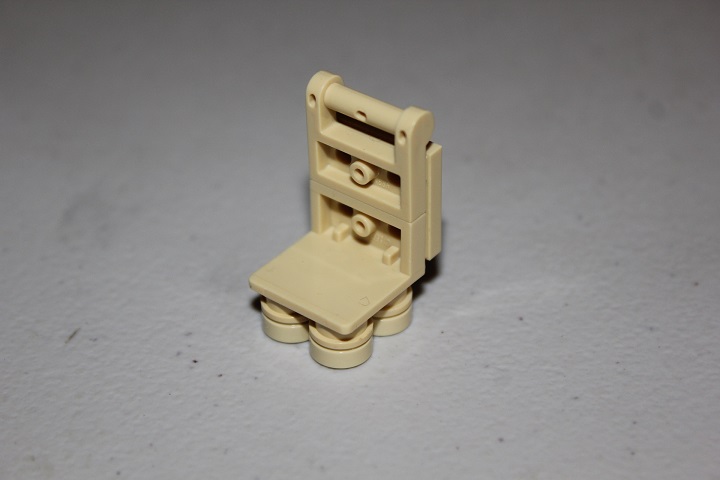
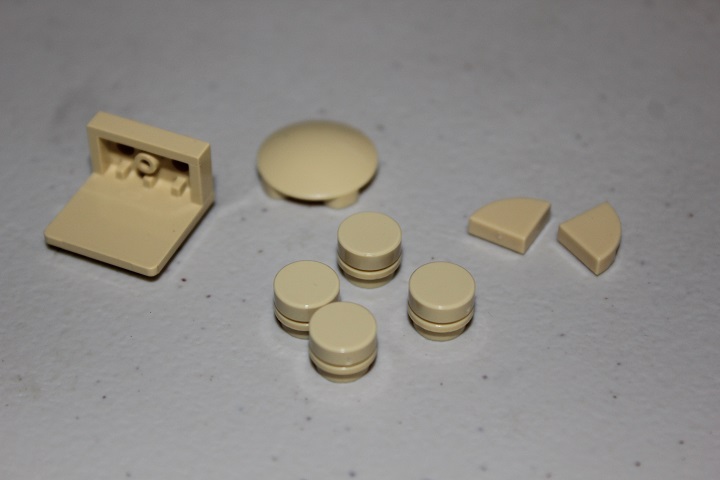
Our fourth design is another chair, this time one that is rather small.
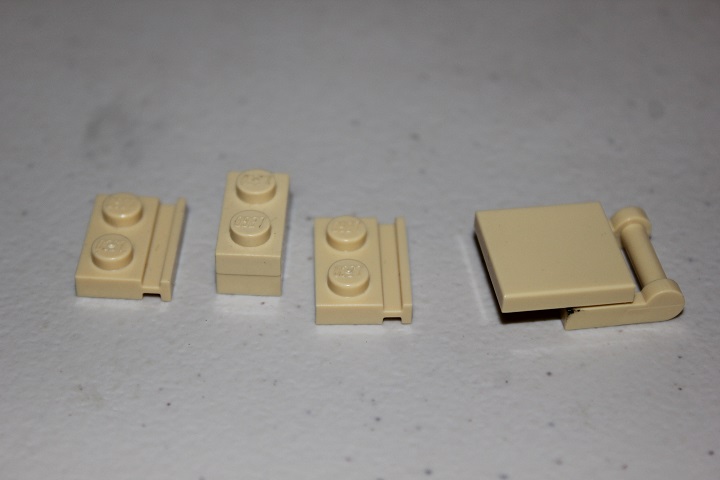
Plate with rail for the legs make it sit a bit lower than most chairs.
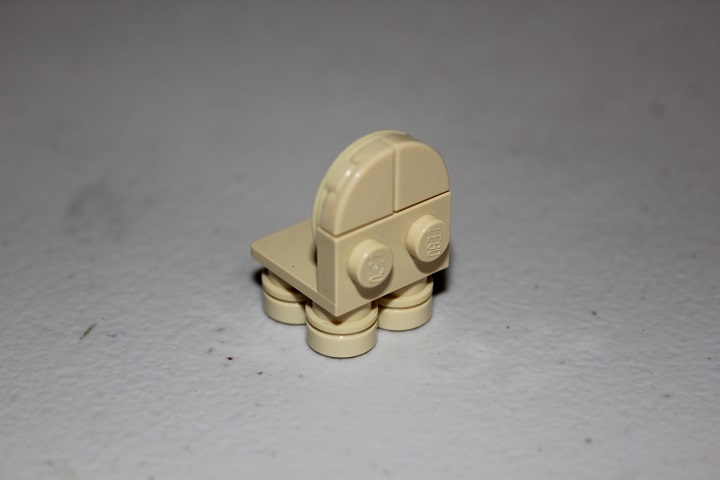
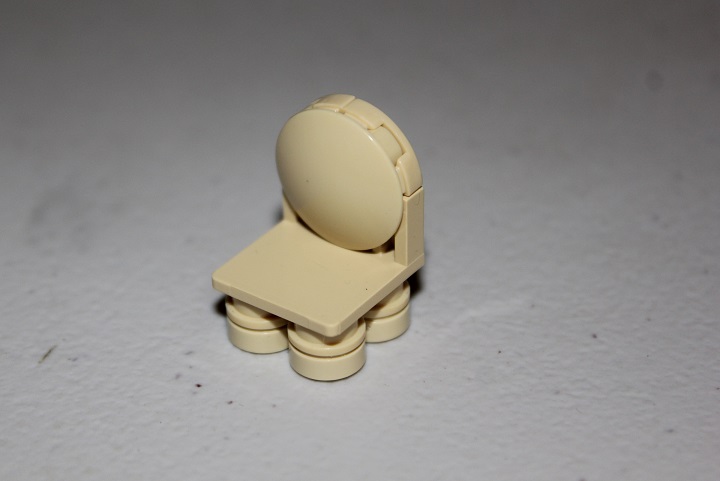
Next is my favorite design of this tutorial.
It uses some 1×1 quarter circle tiles in combination with a boat tile to give a nice rounded top to the back of the chair.
Last is a variation on a chair design we’ve explained previously:
This version is built entirely of tan and looks more modern.
Same arm design as before.
But using some 1×2 bows gives a lower sleeker back for the chair.

And here’s one last variation on that basic design.

Let us know if you have questions about any of the designs, or if you have a technique you would like to see us make a tutorial on.


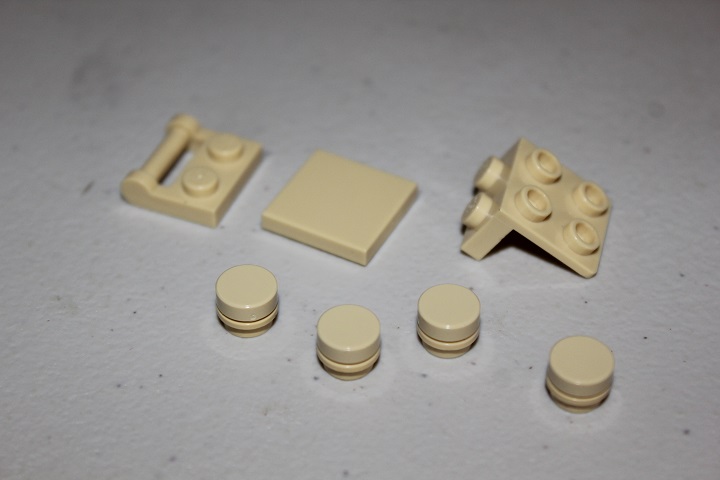
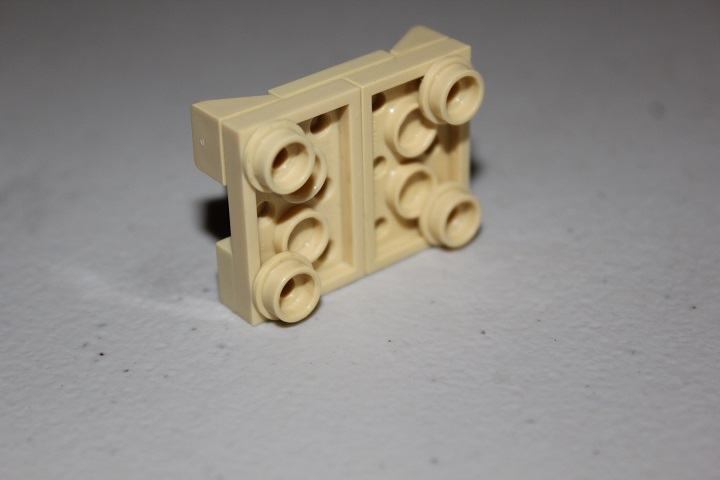
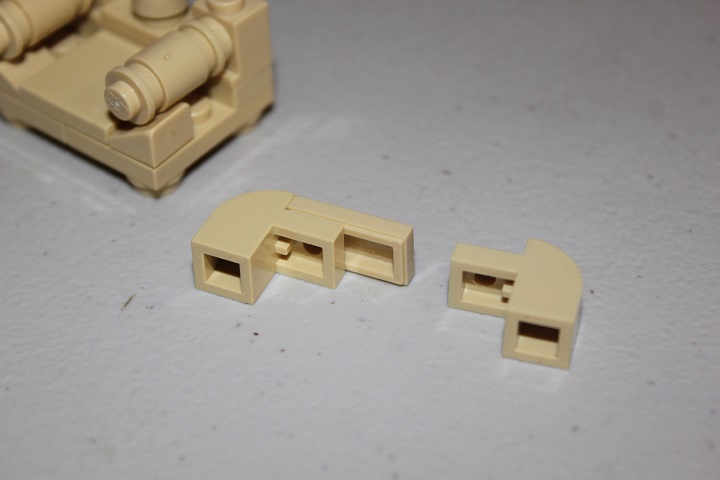
Photo 4 & 5 …
With the 1×2 tiles facing this way … how did manage to fit all four of it under the 2×2 tile?
I’m finding it near impossible to do that.
You want to slide each 1×2 tile a bit towards the corner of the 2×2 tile. So they step after each other, rather than each being centered on a side.
See this image: