


This installment of our furniture tutorials includes two chairs, storage rack, wardrobe, end table, and chest. See the 1st, 2nd , and 3rd furniture tutorials for other designs.
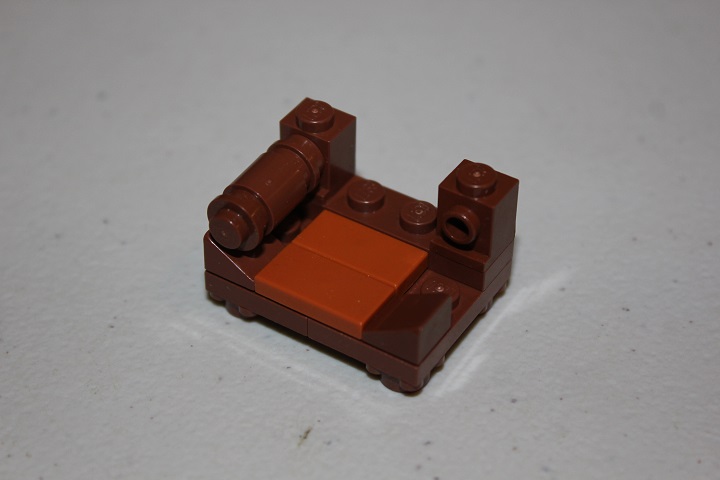
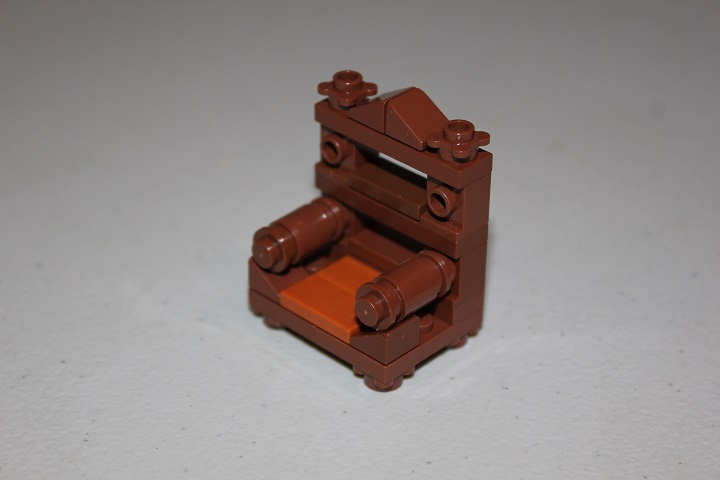
First up is a medieval high backed chair. Friends flowers for the legs give some added decoration.
Next the seat plates are attached by a 1×3 plate and the chair’s back is started.
Any color tiles can be used for the cushion, or if you want a minifigure to be held in a seated position, switch out the 2×2 tile for some 1×2 jumper plates.
This fancy armchair also uses Friends flowers for the legs.
The SNOT 1×1 round brick and plates fit nicely over the front cheese.
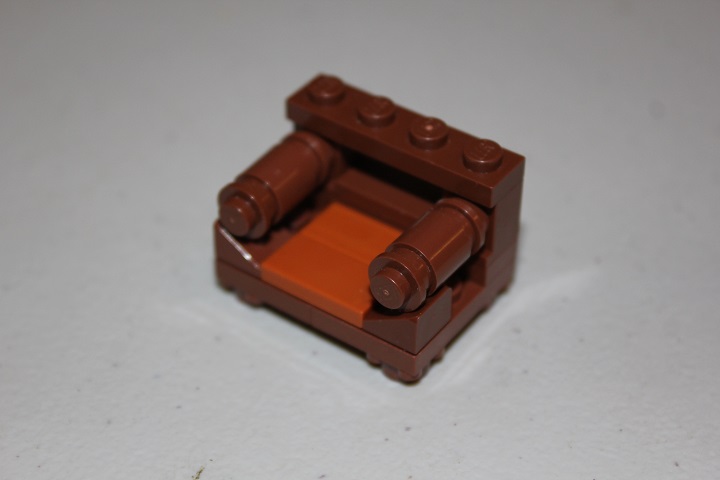
And with some more detail added to the back, the chair is completed.
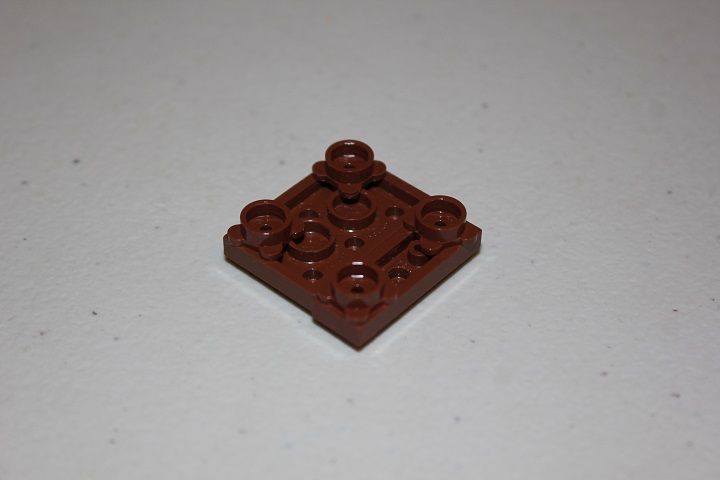
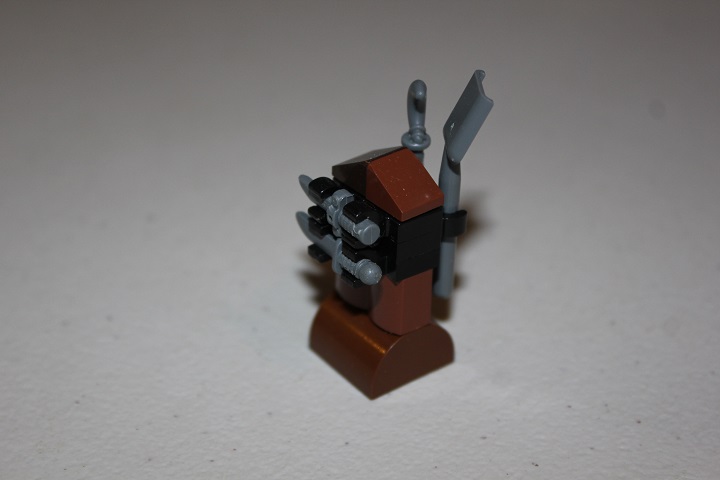
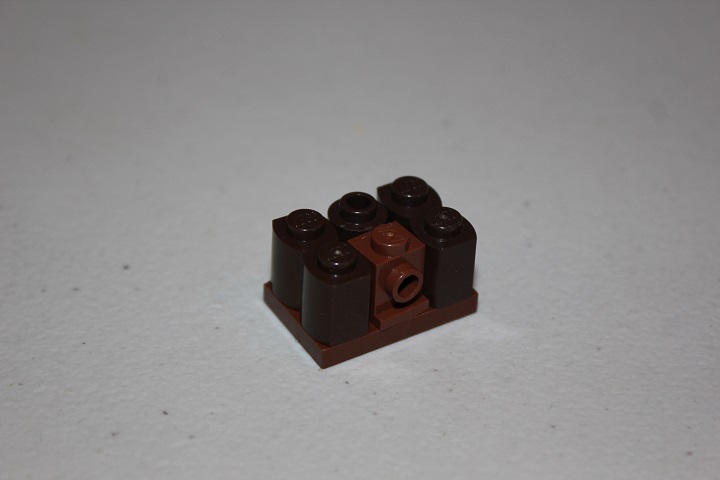
Next is a simple rack to hold tools or weapons. If you don’t have the modified 2×2 brick for the base, some regular plates and jumper plates would work as well.
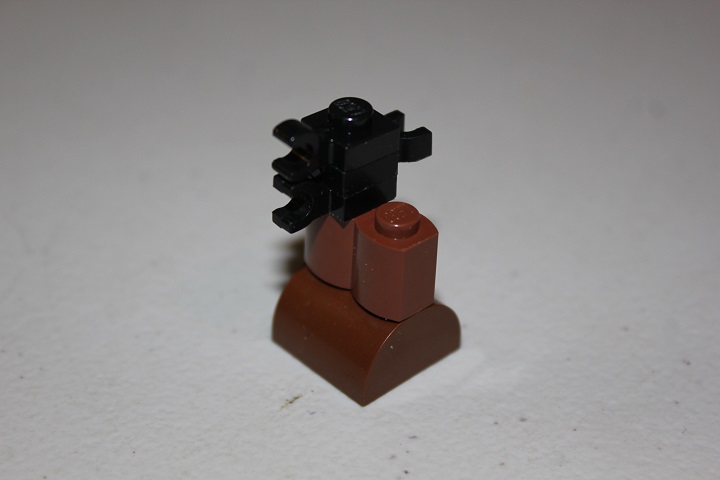
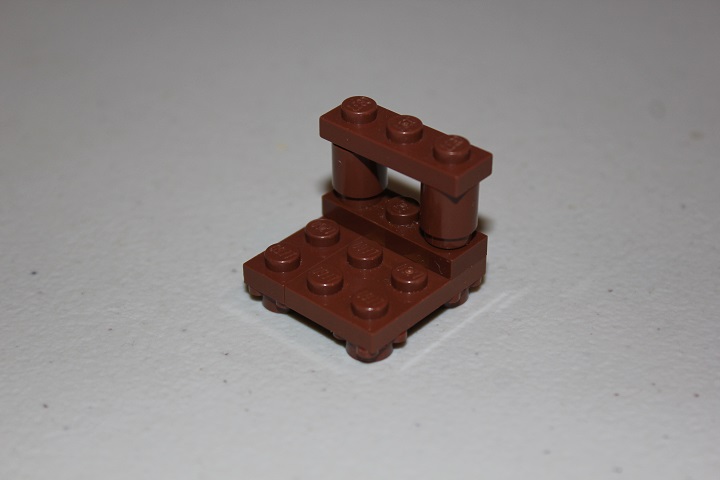
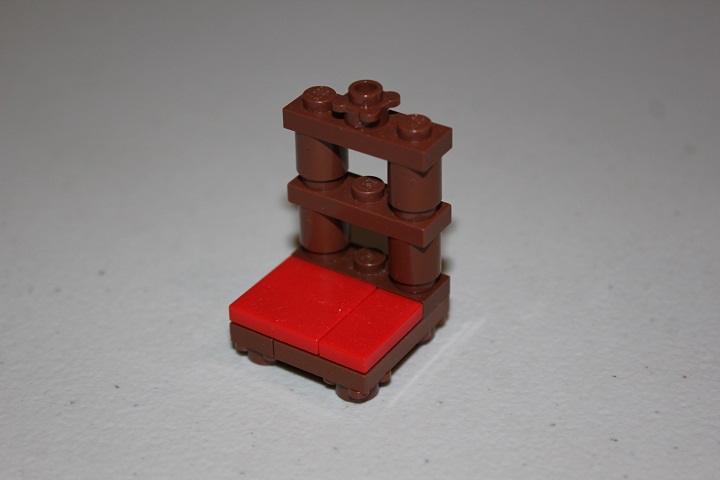
Alternating the style and orientation of the clips allows for accessories to be held vertically or horizontally on the front and back of the rack.
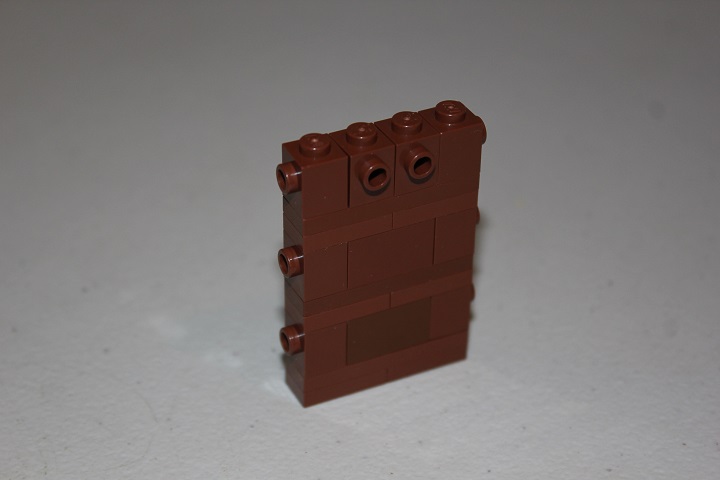
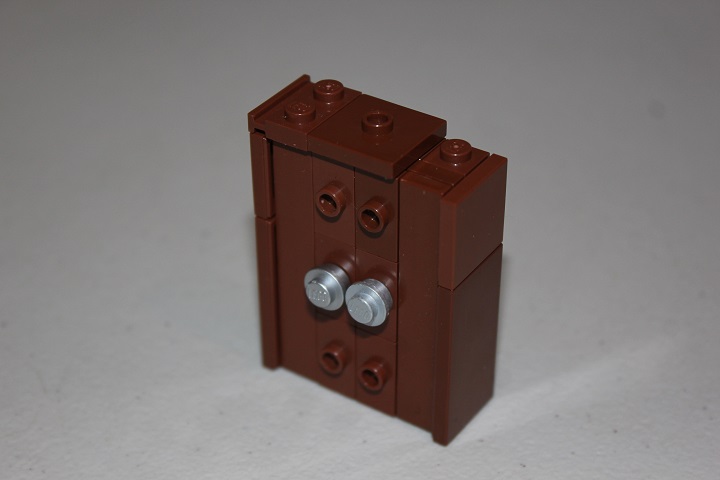
The wardrobe is based off of a 1×4 column using brick with stud after every two plates.
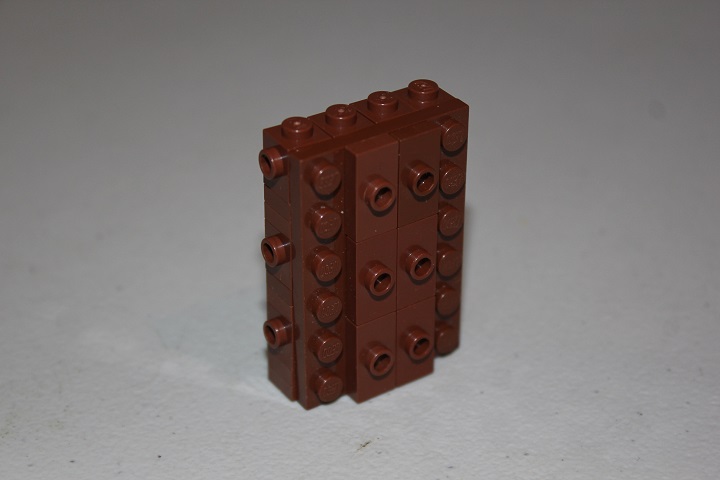
A 4×6 plate is added to the front face, with some 1×2 jumper plates running down the center.
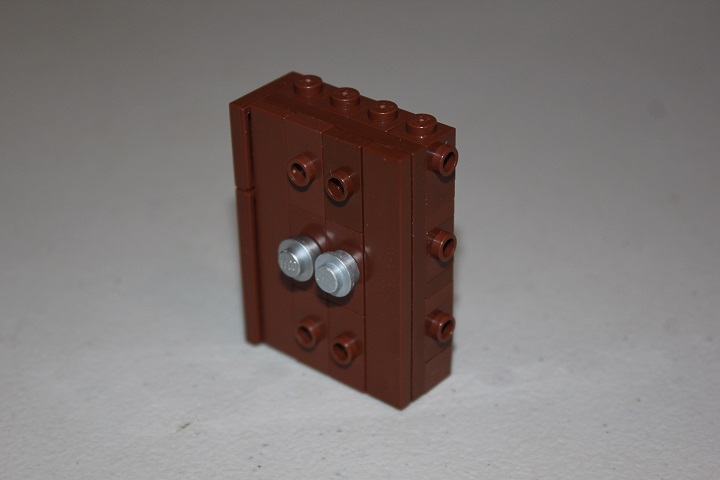
2×4 and 2×2 tiles attach onto the sides of the wardrobe, while 1×6 tiles and some silver plates complete the front.
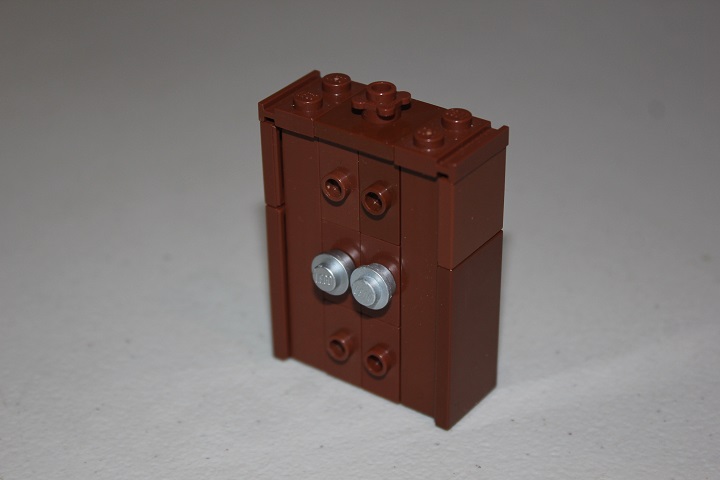
Using a plate with rail fits well on the top, while a 2×2 jumper plate will hold some ornamentation.
The design is quite flexible and could be easily adjusted to achieve different aesthetics.
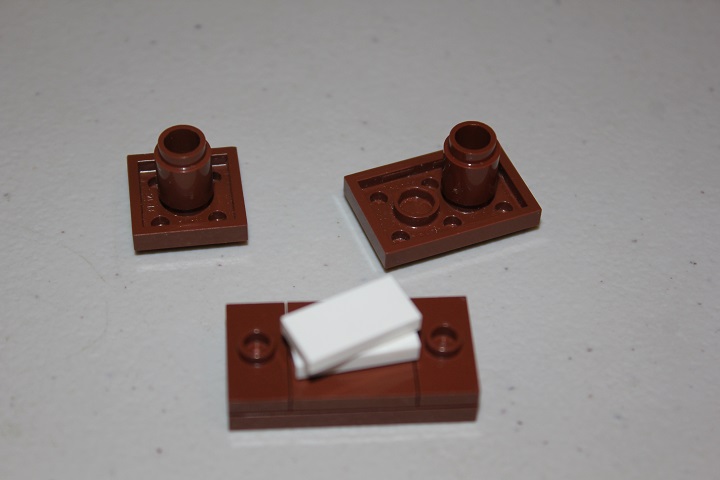
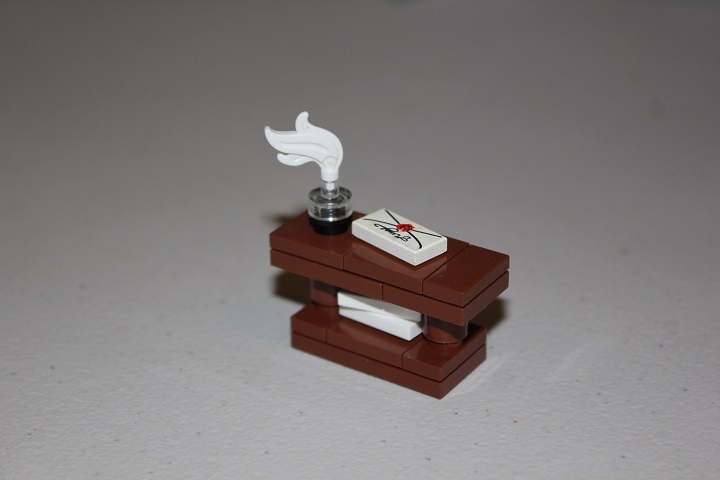
This end table uses half stud offsets to achieve its shape.

The white tiles represent sheets of paper here, but you could add any detail you like between the legs.
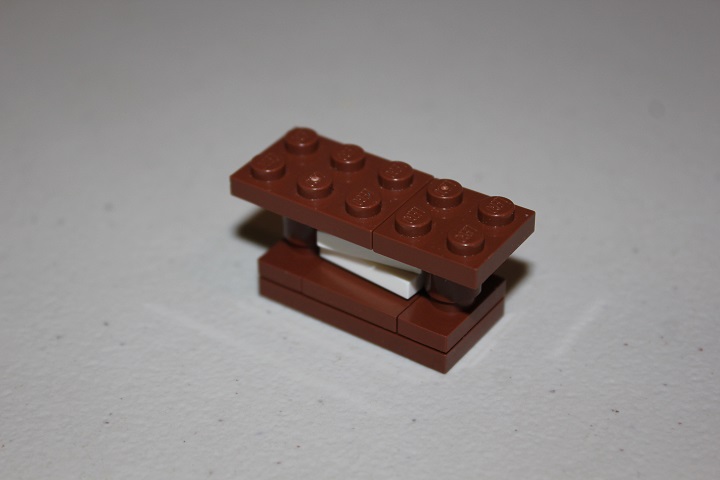
A few more details on top finishes it off.
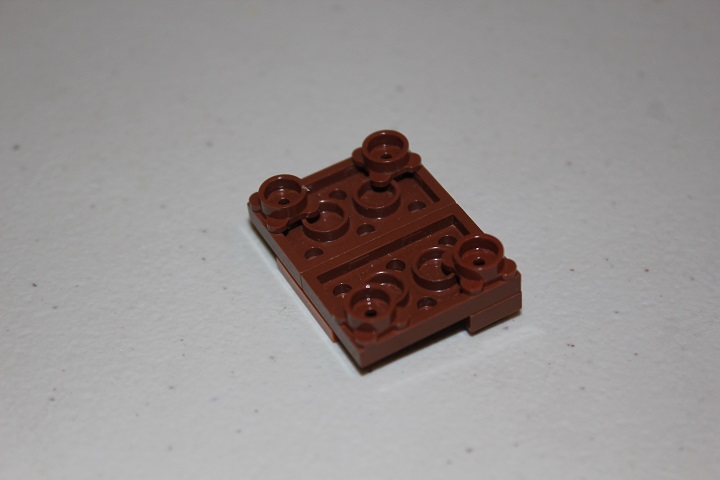
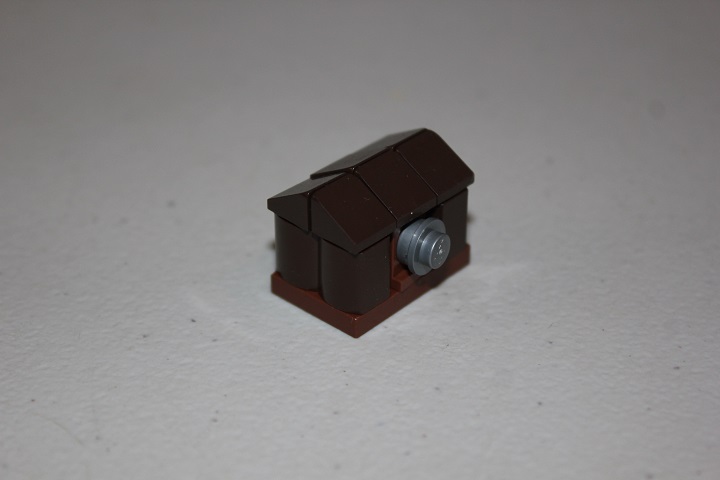
Last is a little chest design that works nicely when you don’t have space, or don’t like the look of a prefab chest.
Let us know if you have questions about any of the designs, or if you have a technique you would like to see us make a tutorial on.


Awesome! I absolutely love these tutorials… Although, for the most part I don’t do interiors, they are still pretty inspirational! 😀 Keep it up! 😀
Cool! My favorite is probably the wardrobe 😀 Thanks again for another awesome Tutorial!! 😀
Thanks! I have ideas for several cool new tutorials, when I get some free time to put them together 🙂