


Four sided roofs can be a real pain to build, so in this tutorial we’ll take a look at a design I found to work well for my Streets of Daydelon creation.
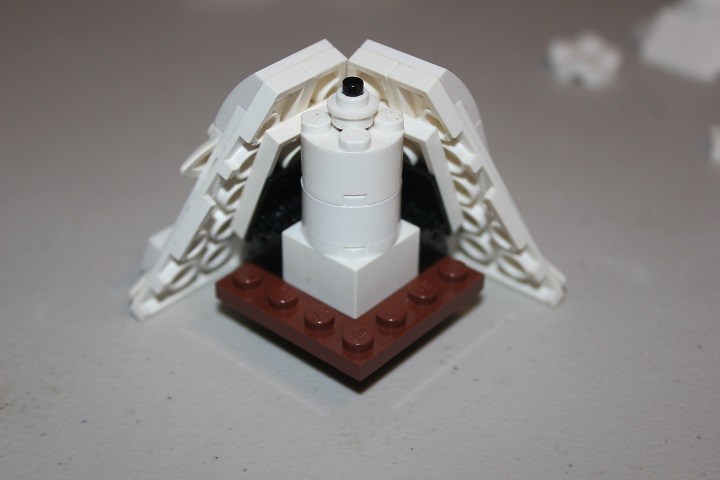
It starts off with a 4×4 plate, and on top of this goes a 2×2 brick with a stack of two 2×2 round bricks. The three long bar has a 1×1 round plate with hole on top, and this bar will slide inside the 2×2 round bricks.

Each of the four sides will be attached via hinge bricks like shown here.
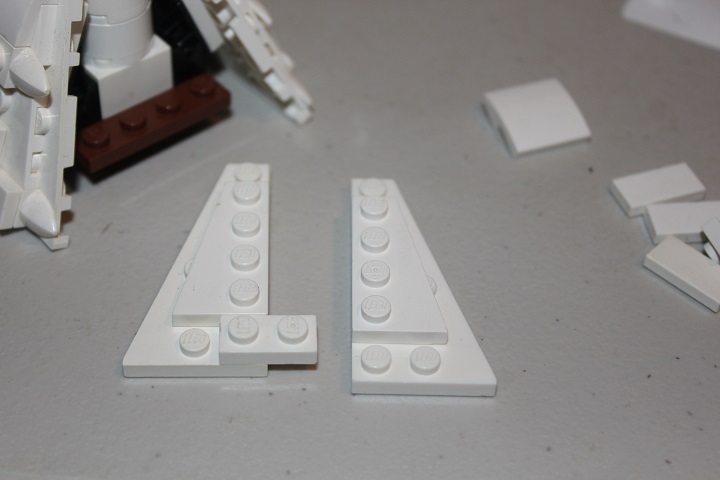
But first, we need to build the sides! 3×6 wedge plates are connected to each other by a 1×2 plate. And then some 2×4 wedge plates are added.
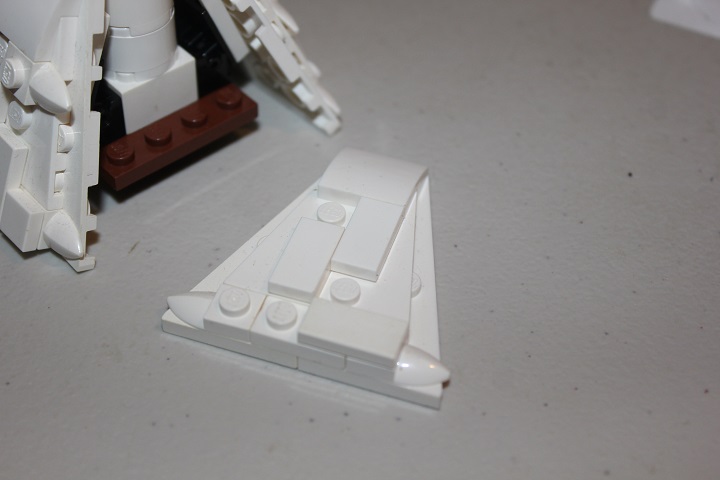
I found that tooth plates fit nicely in the corners.

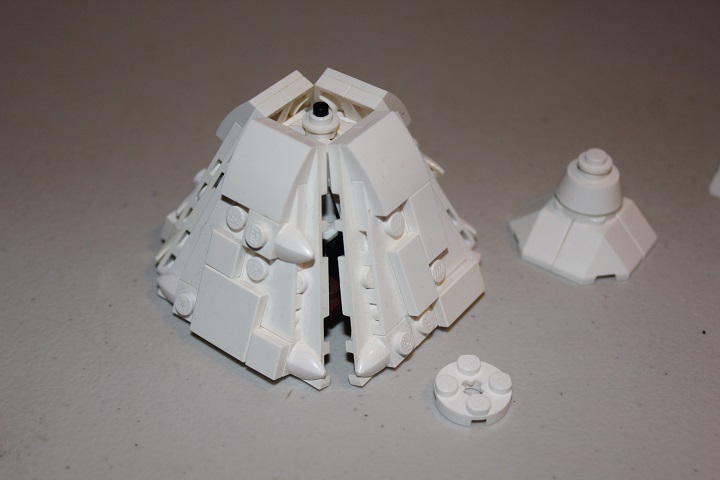
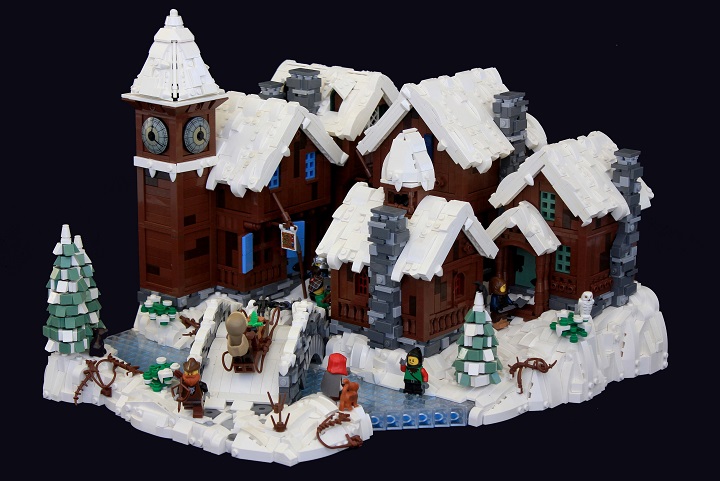
And since my build was set in winter, I added some more slopes and tiles to give snowy look. Each of the four sides getting slightly different patterns of parts. Though if you wanted to use this design for a not so snowy roof, then you could just tile all the studs and keep all four sides uniform.
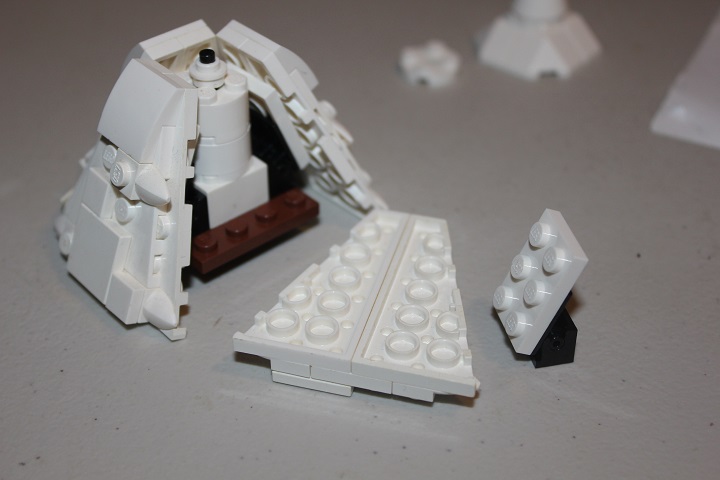
Placing a 2×3 plate on a hinge brick with 2×2 top gives a nice solid connection for each side.
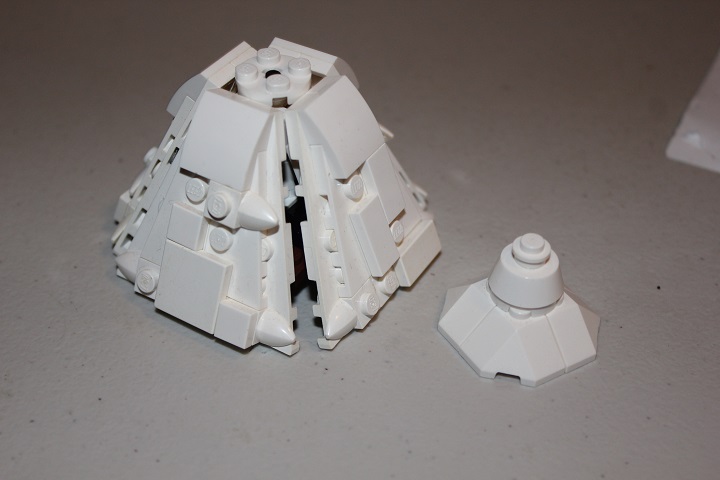
After the sides are all on, the cap assembly will be attached to a 2×2 round plate which then slides onto the bar and 1×1 round plate with hole.
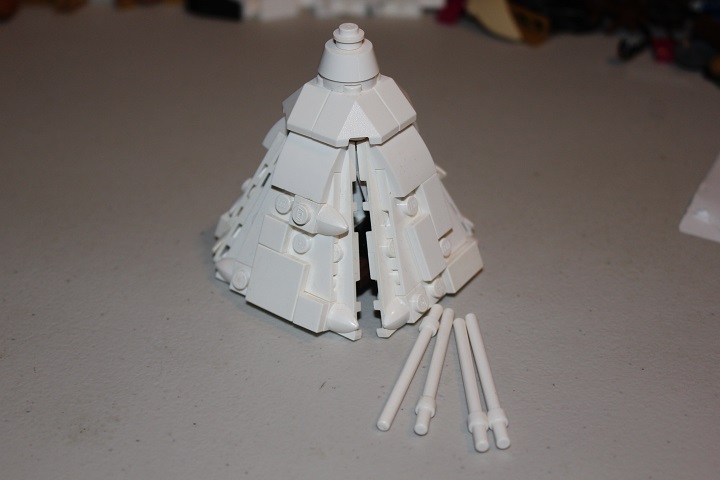
Which you can see here. Using the bar attachment allows the top assembly to slide down till it fits perfectly flush against the slides below.
Next we’ll take care of the gaps at the corners using 6 long bars in white.
If you fit them in like shown here, the ring on the bar rests nicely in the gap of the wedge plates and that combined with the slight angle holds the bars in well.
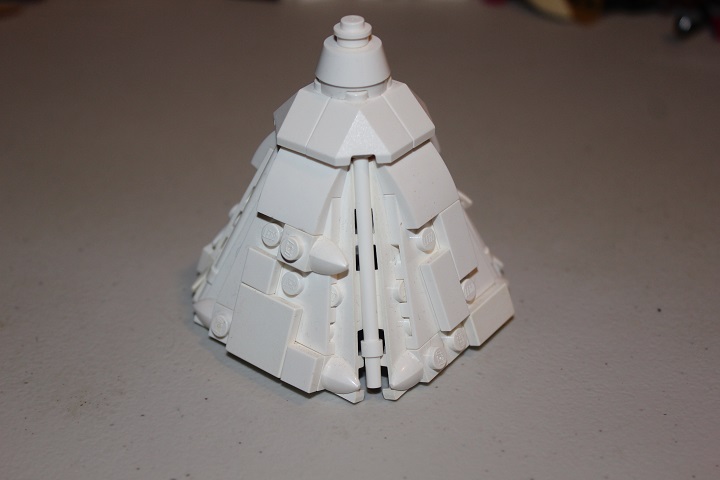
The roof was made to fit over an 8×8 space.
Hopefully you’ve found this design useful, and we’ll have more tutorials covering techniques used in my Streets of Daydelon build in the future!

