


As promised when I first posted the build, here’s the build log for my Ship’s Bane creation.
After building several ‘regular’ floating islands for the 2018 InnovaLUG display at Brickworld, I decided I wanted to try something a little more unique. While thinking of possible ideas, Isaac suggested a shipwreck island. It seemed like a perfect idea to me, so I started work on it.
The first step was to make a solid frame for the entire island. I wanted the shipwreck to have split the island, so to achieve that effect I angled the sides using an extremely rugged technic base. To make it easier to transport, I also made the build split into two halves, which were connected via technic axles.
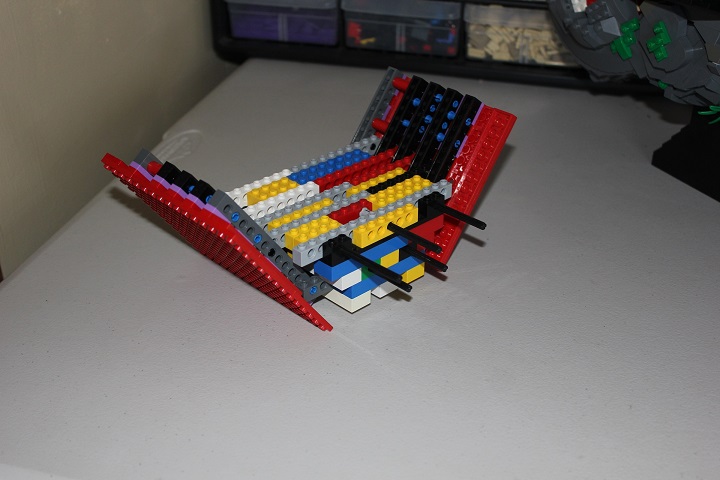
With a sturdy frame together, the next step was rockwork. Lots and lots of rockwork. Before going too far though, I needed to attach the wrecked stern of the ship. To add to the wreck feel, I angled it as well. You can also see some spots of olive green as moss in this picture – I ended up switching it to regular green, as I thought it would fit the overall model better.
Having the sides of the island angled did make for some tricky building at times, particularly when it came to making smooth transitions between flat and angled sections. This was the case for the bottom of the island, though fortunately a few slopes and inverted slopes fit rather nicely.
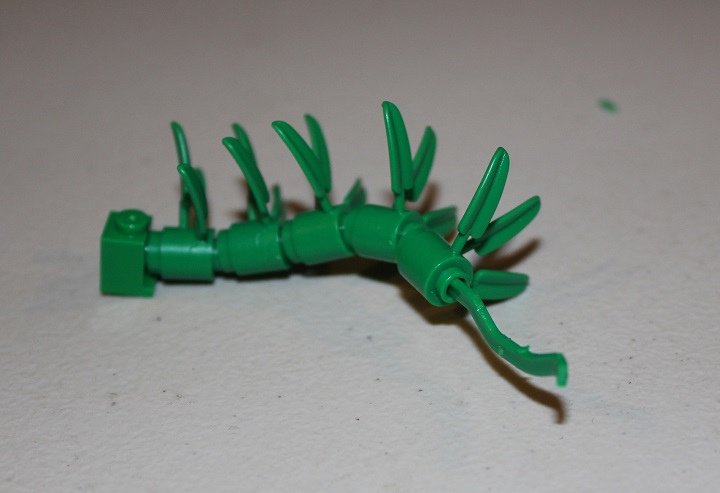
The first half is shaping up nicely! To add a little more interest to an otherwise plain rock face, I experimented with some vines. The first of these utilized string running through bamboo leaves, to create a natural curve.
And yet more rockwork and moss. You can also see several more vines here – though these are a slightly different design than the other.
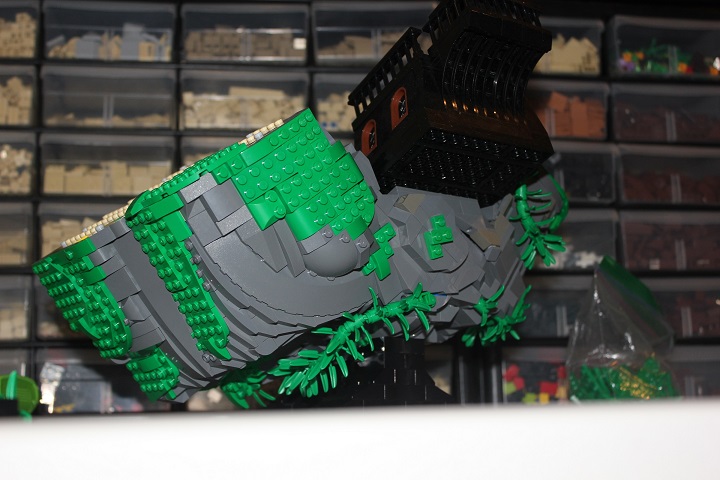
The sprues of 3 leafed foliage pieces work very nearly the same as regular string does, allowing me to have a lot more vines than I otherwise would have.
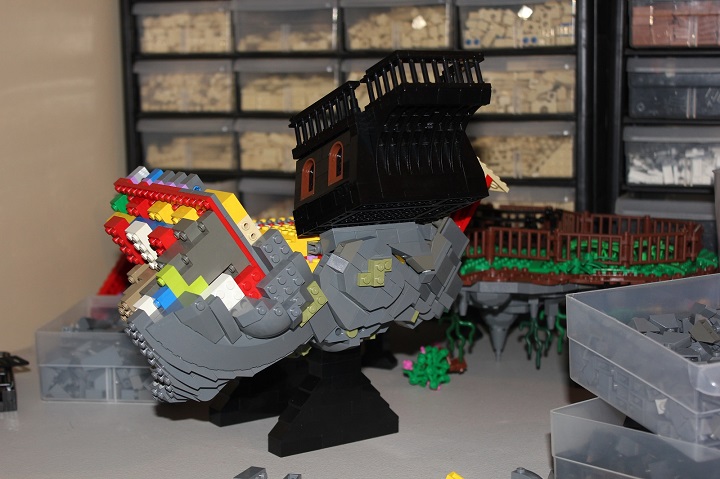
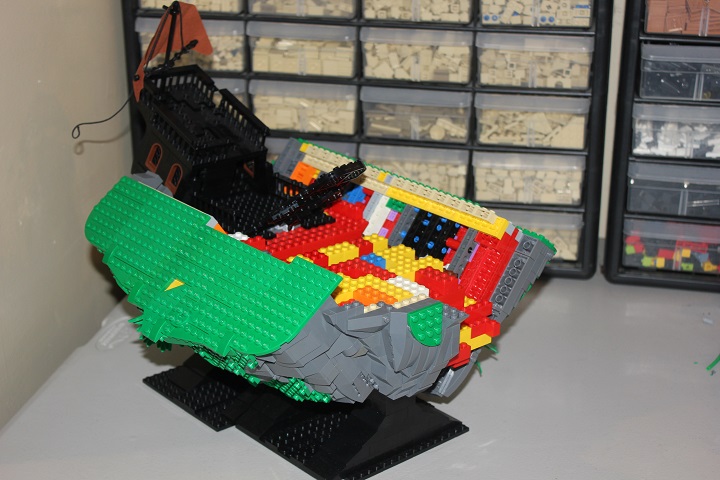
A shot with both halves of the build connected. Almost halfway done with the rockwork now!
You’ll notice that one side of the island is a lot larger than the others, which made it a bit unbalanced for awhile.
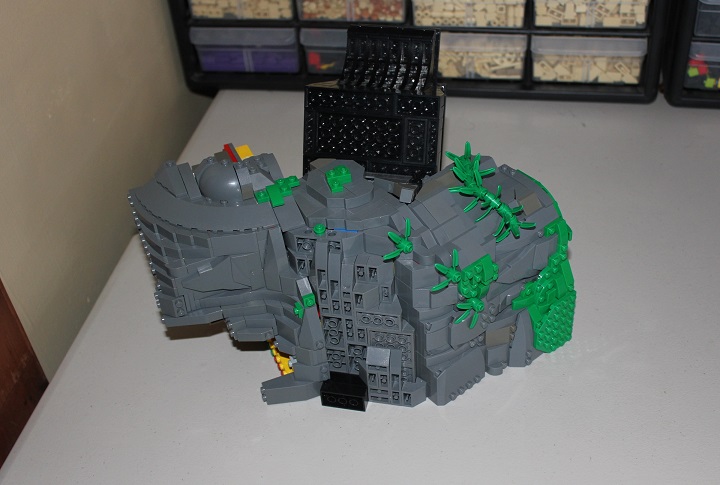
Lots of progress here! Much of the rockwork for the second half is done, and I also roughed out the rest of the shipwreck.
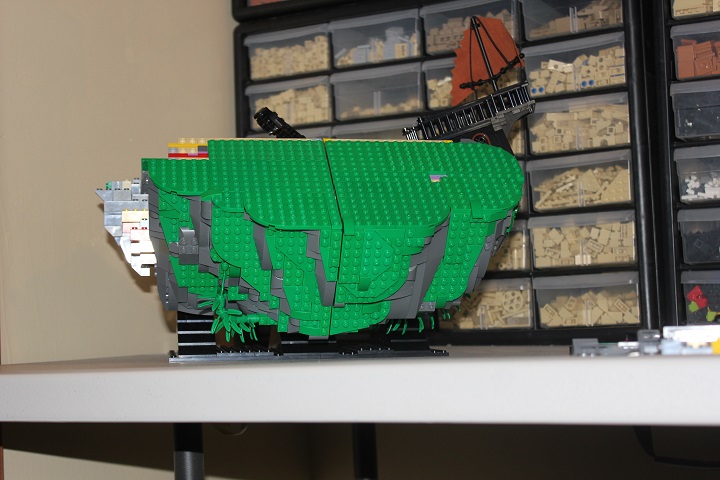
I roughed out the landscape with large green plates.
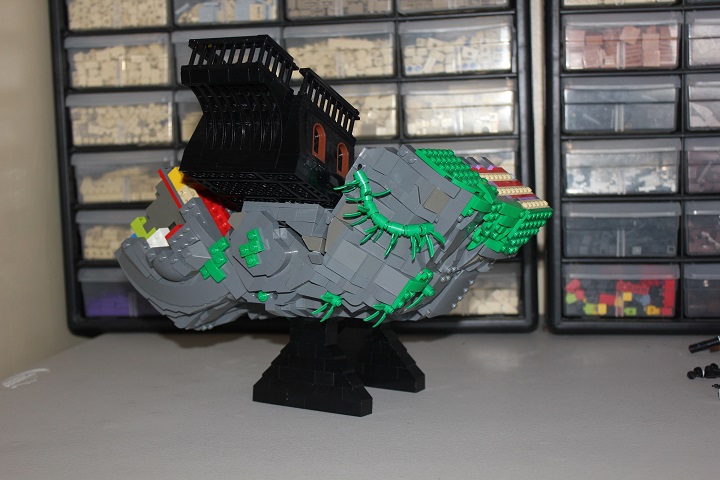
At this point, I was thoroughly sick of building rocks. But alas, there was still a bit left to complete…
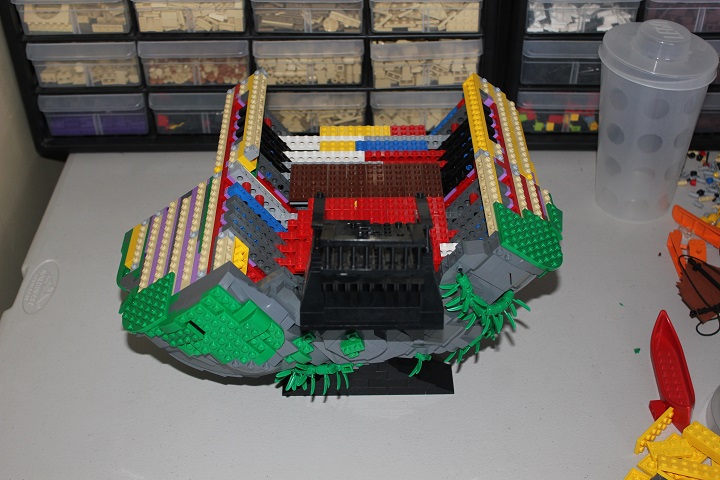
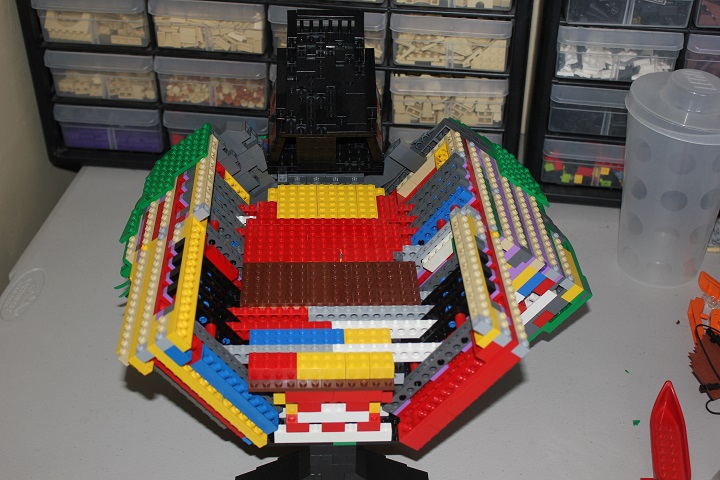
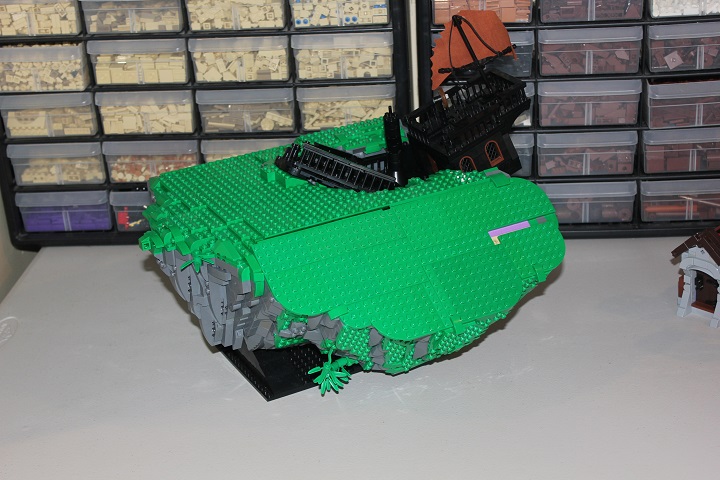
Finally! After what seemed like weeks and weeks of building, the rockwork was done. Now came the task of creating a smooth transition from the angled grass to the regular studs up grass.
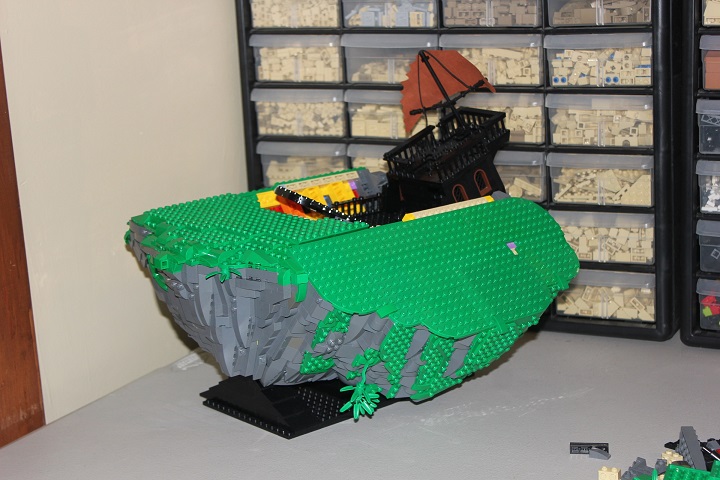
It ended up work rather nicely I think, with very minimal gaps. And now that I had a nice base, I could start work on the buildings!
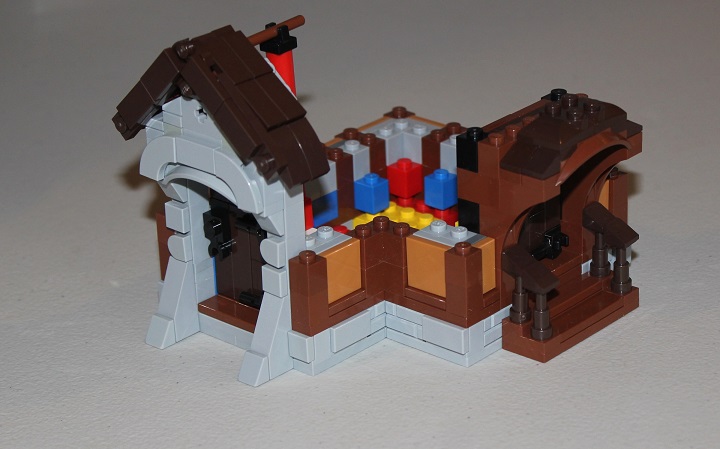
Creating the buildings for this model was an incredible amount of fun, and I still love how they turned out. To add a little more visual contrast, each of the buildings had a stone foundation. I also had a ton of fun with the doorways here, and used them as a way to add some depth change.
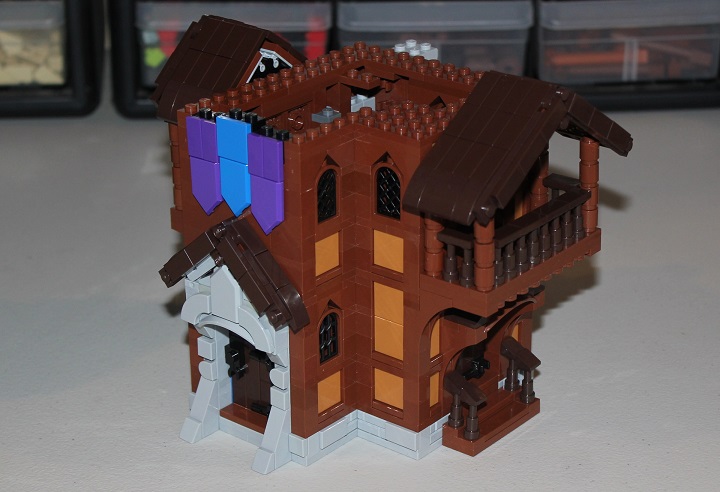
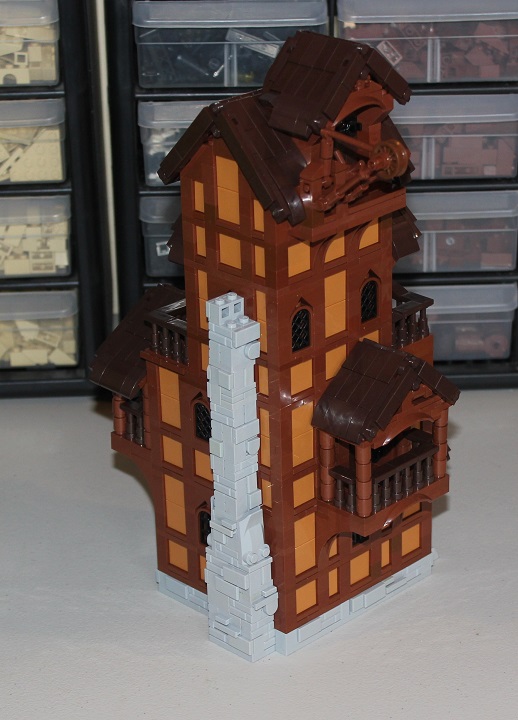
Onto the second story! I had a personal goal with this building to see how many balconies I could fit onto one house. As you can see here, I already added two. Some banners on the front added a nice pop of color, as well as allowing me to put some of our NEXO knight shields to use.
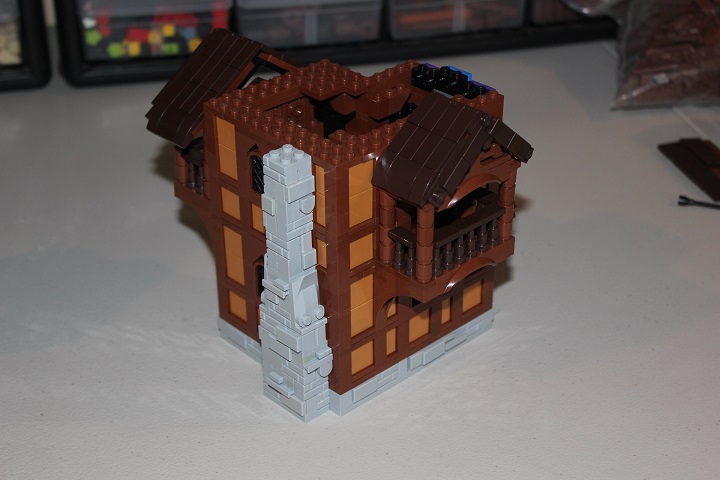
A view from the other side. Here you can also see how the chimney is progressing.
And this one is pretty much done! I managed to squeeze in 8 different roof sections and five balconies (yes, that little platform next to the crane counts!)
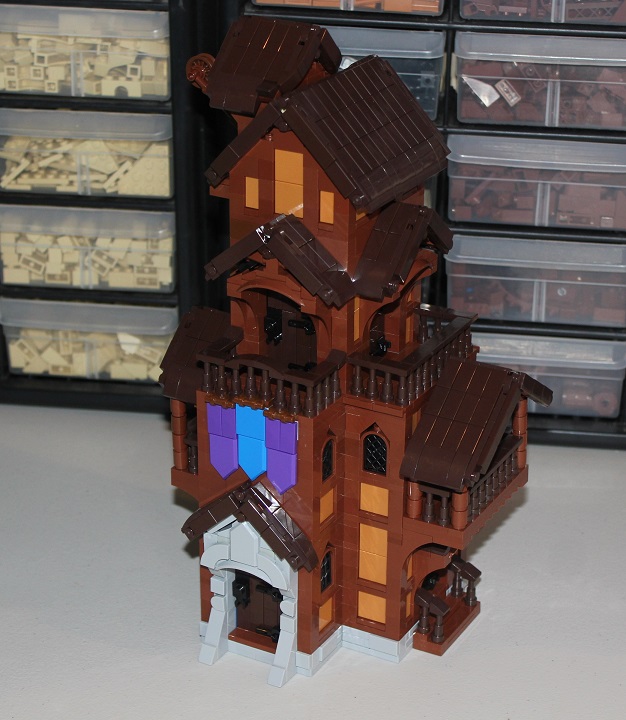
All that’s left now is to finish off the stonework for the chimney.
So that’s that, right? The building is all done, and it just plops right onto the landscape? Well, not quite. Given that a large percentage of the island is angled outward, placing the buildings required a bit more work to make a flat surface for them. You’ll see better what I mean with the blacksmith’s shop.
This came together pretty quickly, so I don’t have any in-progress shots, but here’s a look at the (mostly) completed building (I made a few small changes for the final build).
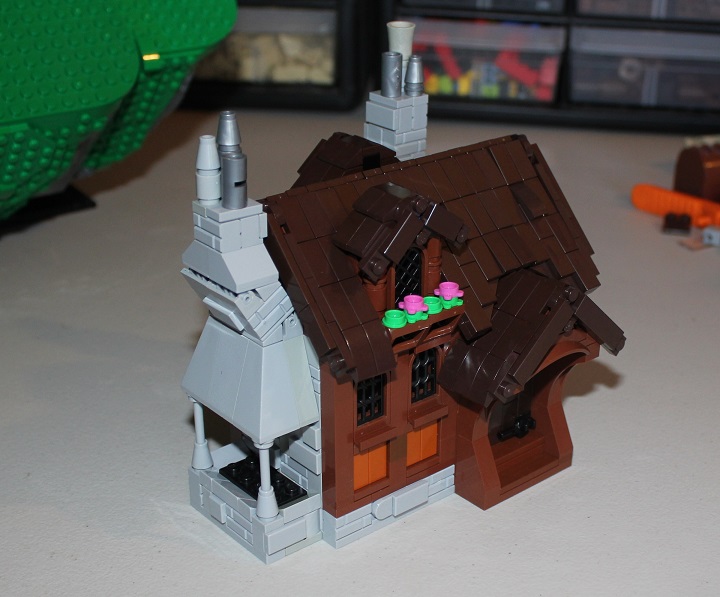
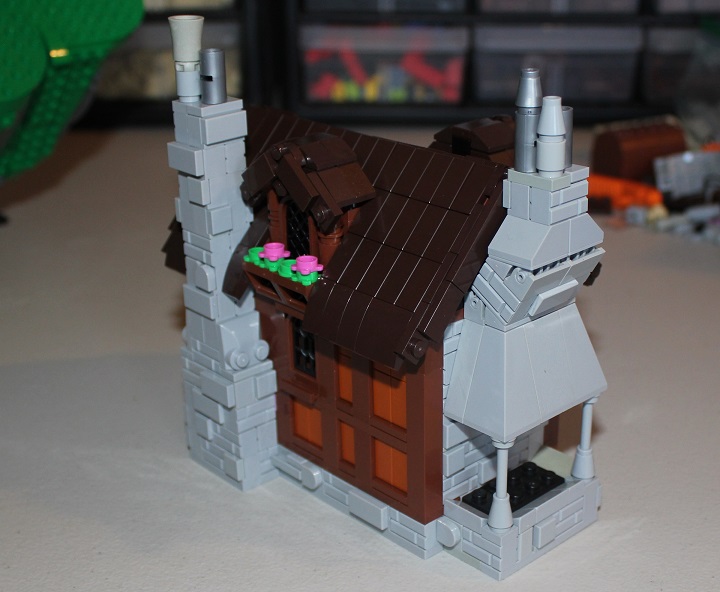
This picture gives a better view of what I mentioned earlier with making a level surface for the buildings. I used 1×2 hinge bricks to get back to regular studs-up building, and then used inverted slopes to try and match the angle of the grass as closely as possible. I was quite pleased with how this ended up working – there were very few gaps, and the ones that were there were minimal in size.
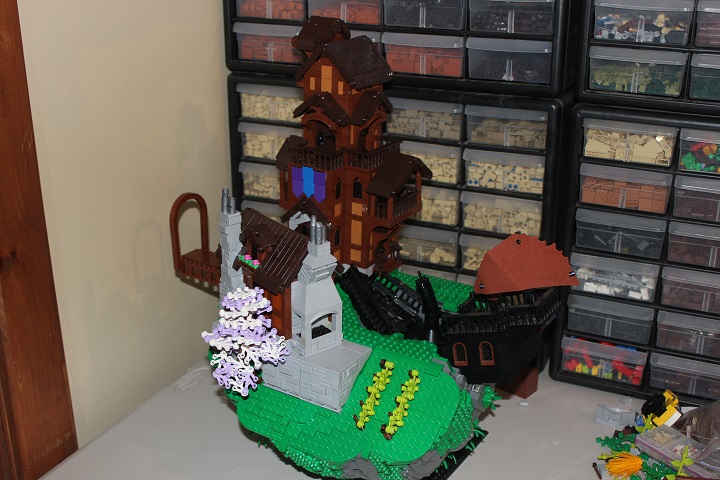
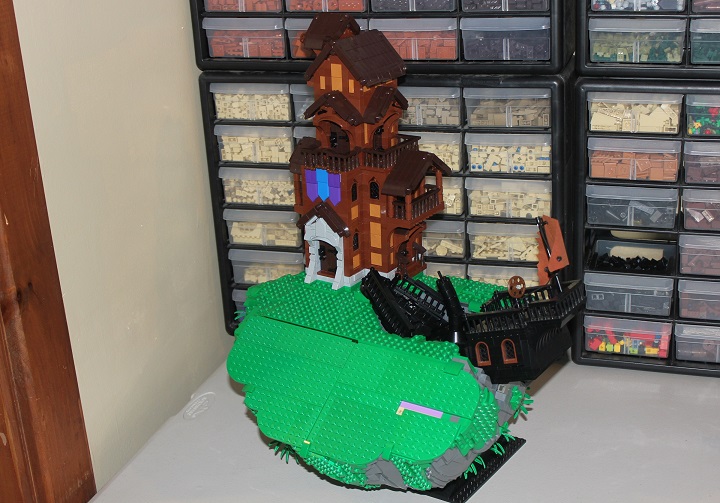
With the buildings placed, it was time to move onto landscaping and finishing details! I had fun with the docks here, and got to use some large curved slopes to create a more fantastic look.
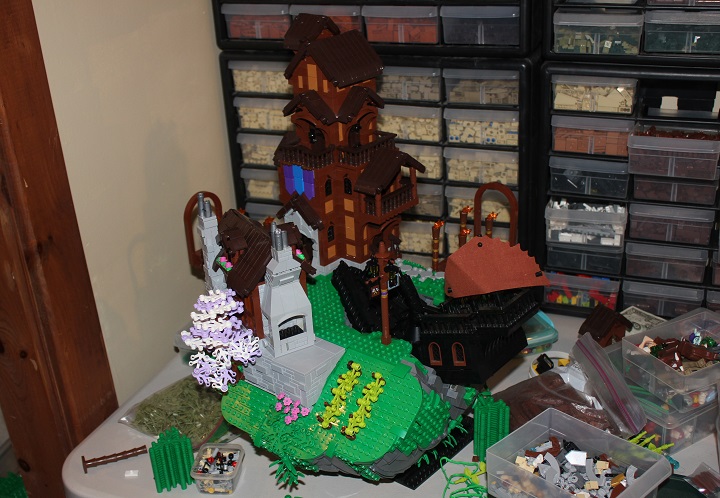
And because I wanted this island to be set in spring, I got to put some of our white and lavender leaves to use. With a few cobblestone paths, minifigures, and a little more foliage, it was done!
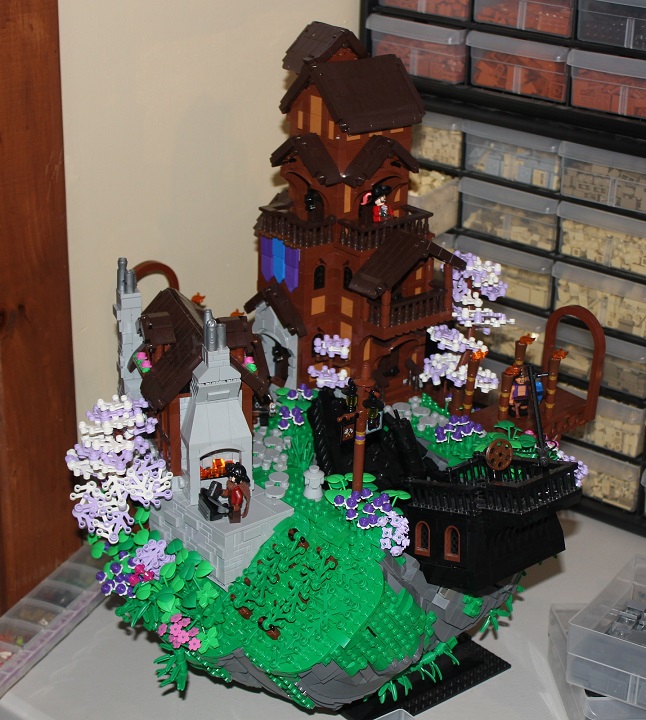
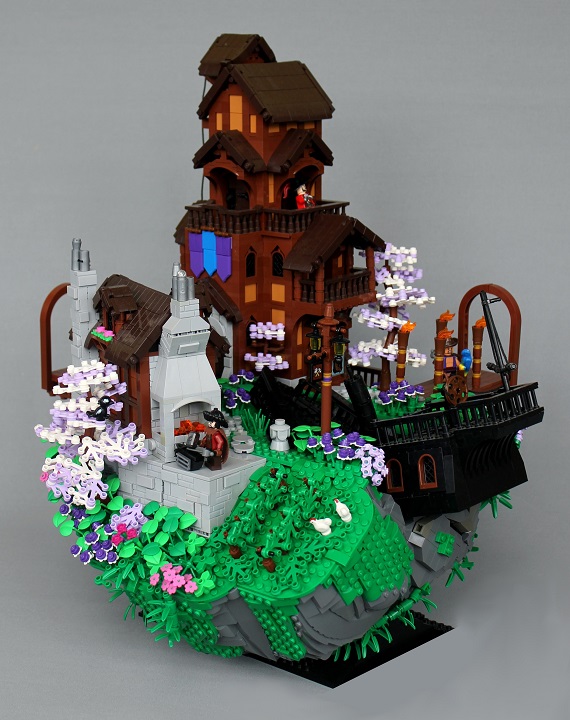
The finished product:
I really hope you enjoyed this look at what it was like creating this build, and if you have any questions or comments about it, don’t hesitate to ask!


Really neat and out of the box idea! and of course the execution is perfect as always 🙂 In general I like the contrast between reddish brown and medium dark flesh used in the first building but what catches my eye the most is the blacksmith shop’s doorway. The continues curvature starting from the ground with the mudguard used at the top looks exceptionally good.
Based on the Beyond the Brick’s footage from the this year’s Brickworld I think that this creation realy stands out among the others 🙂
Thank you very much Lech, glad to hear you like it! I had a ton of fun designing the doorways for this build, so it’s great to hear you like how they turned out. 🙂