


All three of these animals were used in my Winter Serenity model.
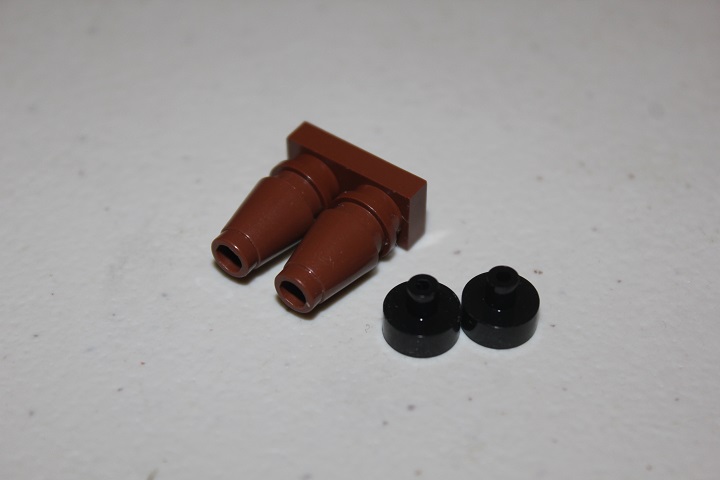
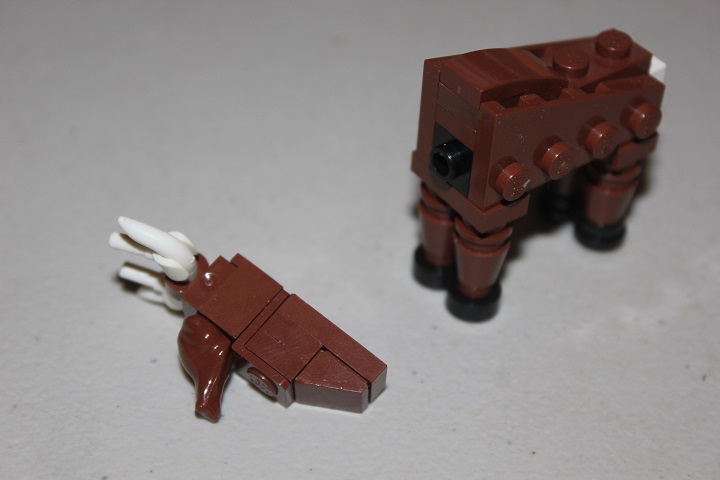
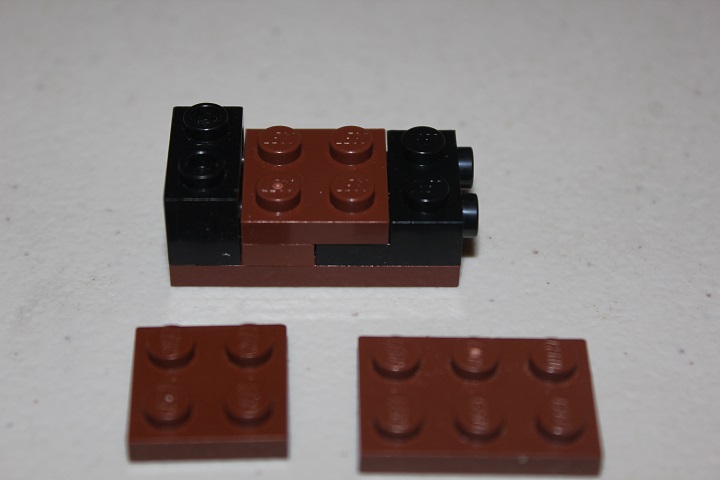
We’ll start with the elk, which was actually modeled after white tail deer, but ended up being a bit on the large side compared to the other animals. To allow it to easily be attached to the landscape, I used some ‘inkwell’ elements and cones to reverse stud direction.
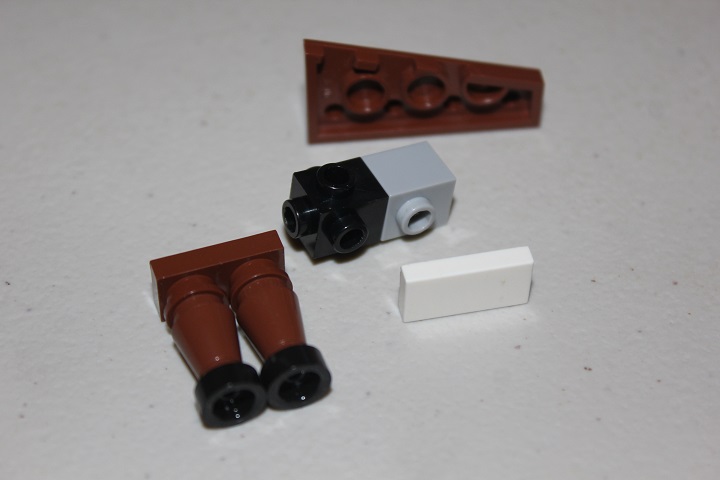
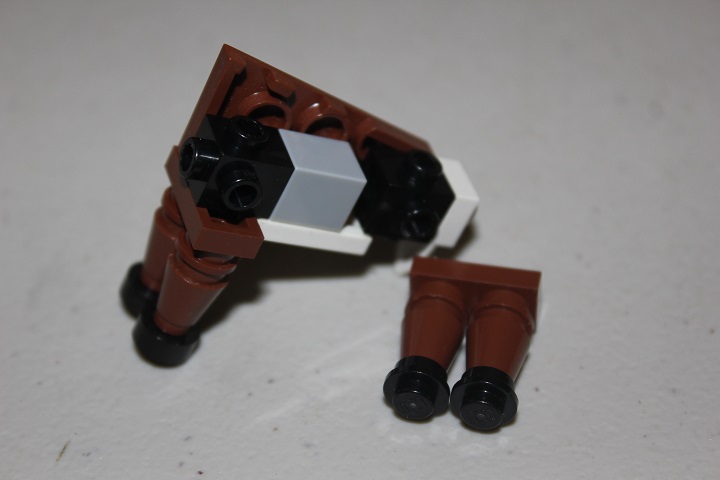
That assembly makes up the front legs, and will then be connected to the body. The start of which can be seen here.
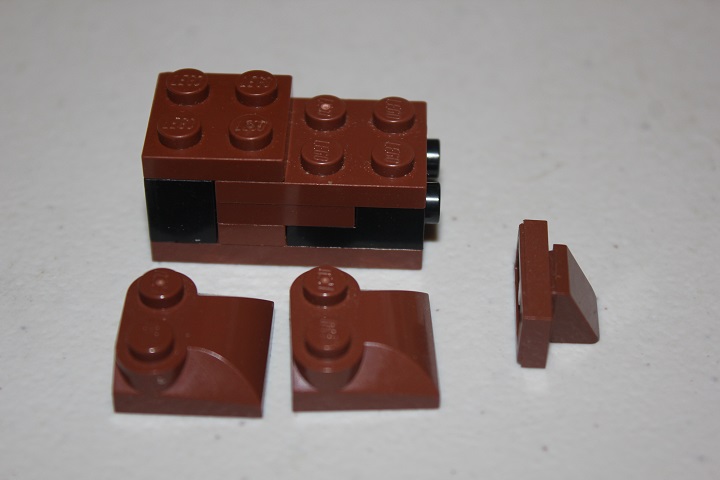
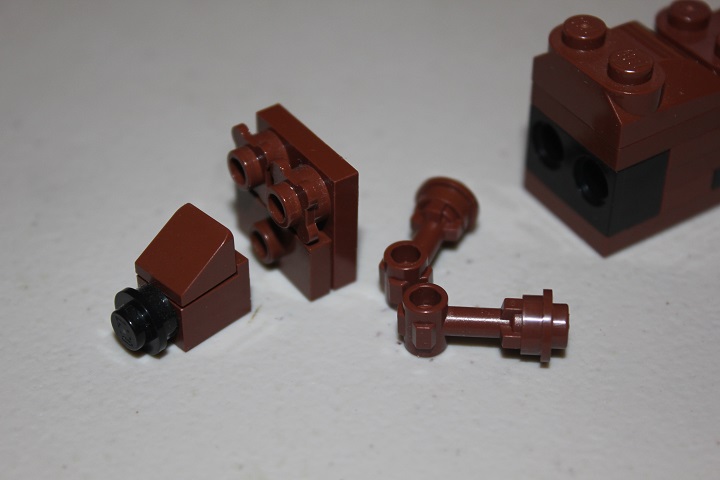
Another travis brick is used at the rear of the body in the opposite orientation to attach the tail.
And the back legs use 1×1 round plates instead of inkwells.
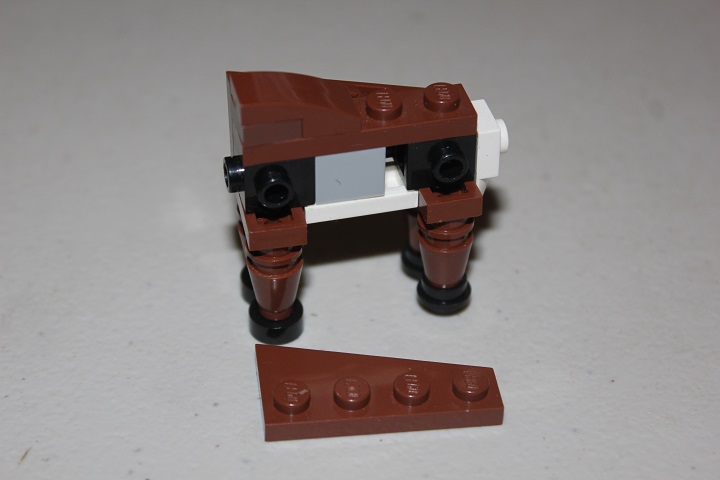
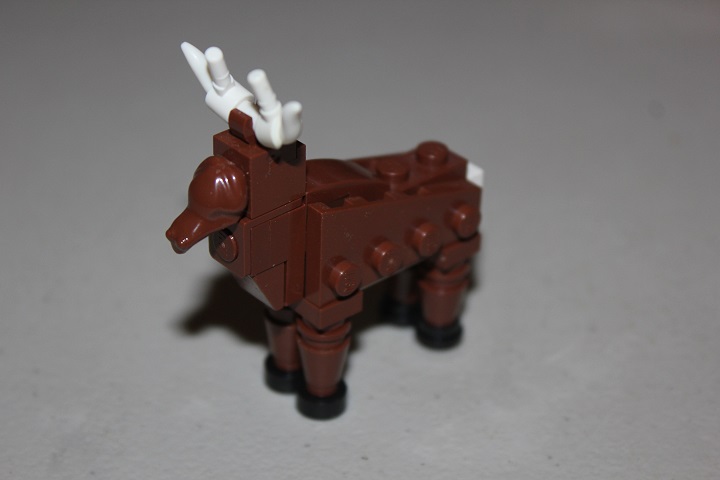
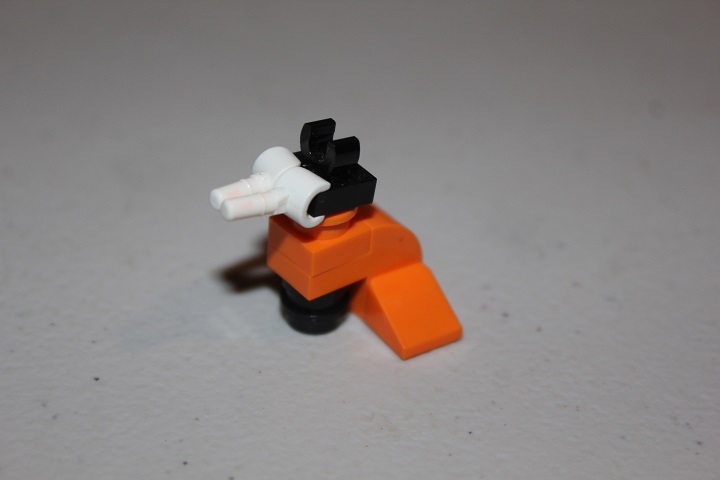
A 1×4 plate with 1×2 curved slope makes up the elk’s back.
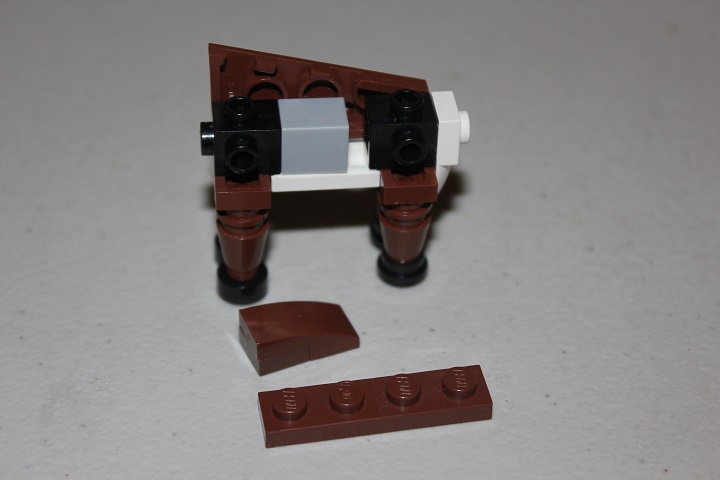
And then another 2×4 wedge plate is added.
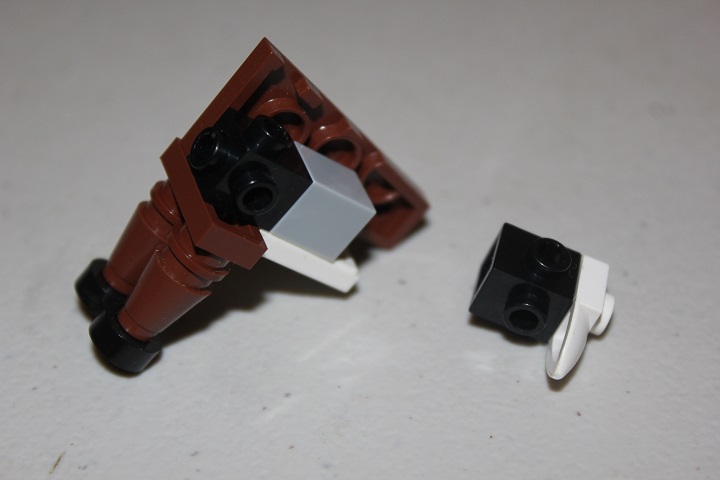
The idea of using a frog for the face of a deer I borrowed from Dathil. A minifigure neck bracket and headlight brick allow everything to connect smoothly.
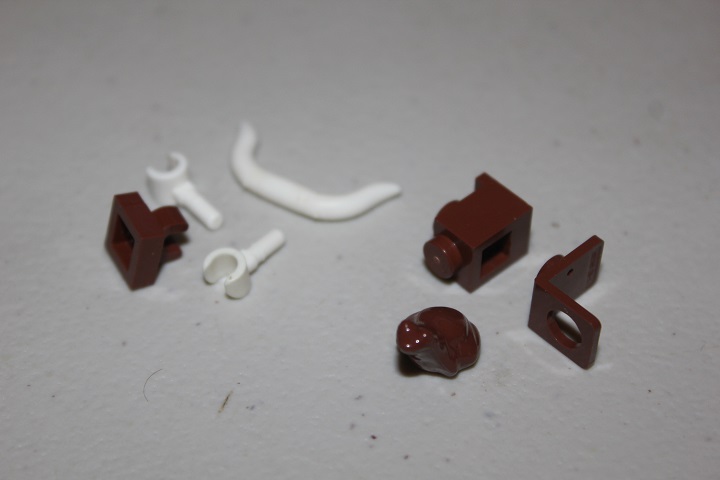
While the neck is made up of one 1×2 plate, two 1×1 plates, and a cheese slope.
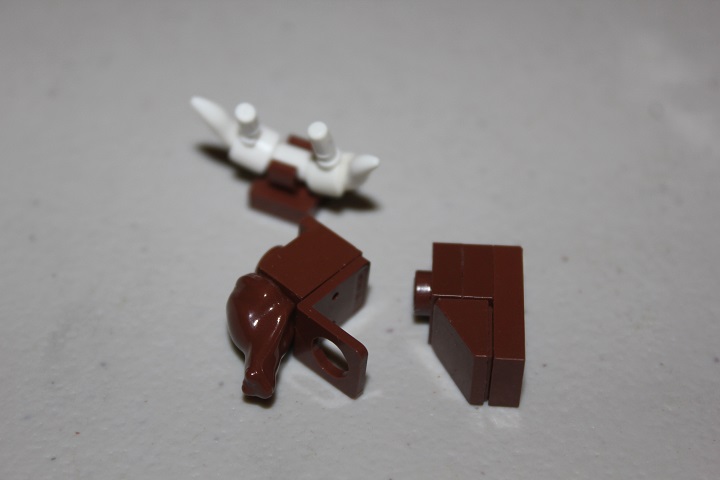
Then the neck and head fit onto the exposed stud of the travis brick in the body.
The fox is much simpler, and was based off of Markus‘ design.
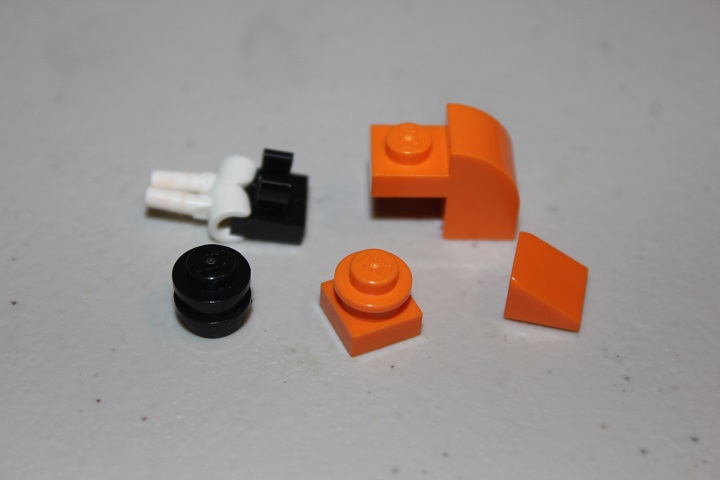
While the 1×1 tile with clip doesn’t attach fully to the round plate underneath, it’s a snug enough connection to hold in place easily. And it gives nice tilt to the fox’s head.
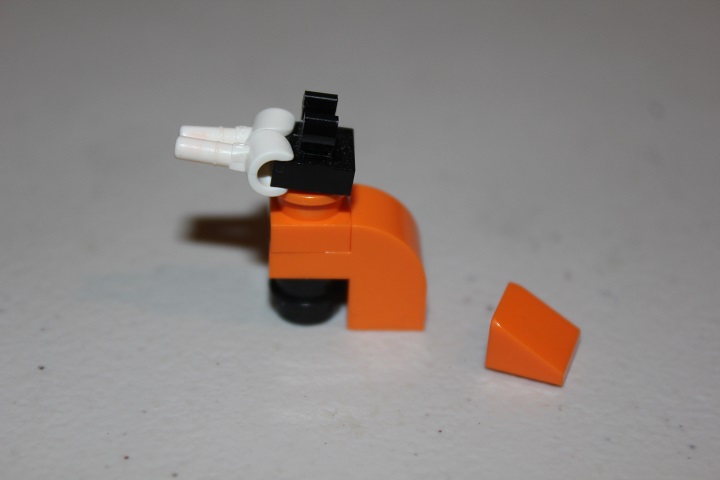
A cheese slope gives the impression of its tail pulled tightly around its body.
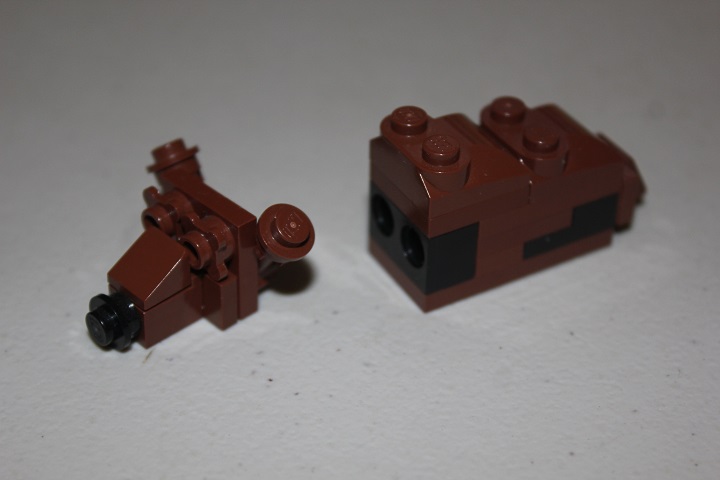
And last is the slumbering bear. Some plates make up the core of the bear.
And a jumper plate with cheese slopes gives him a nice stumpy tail.
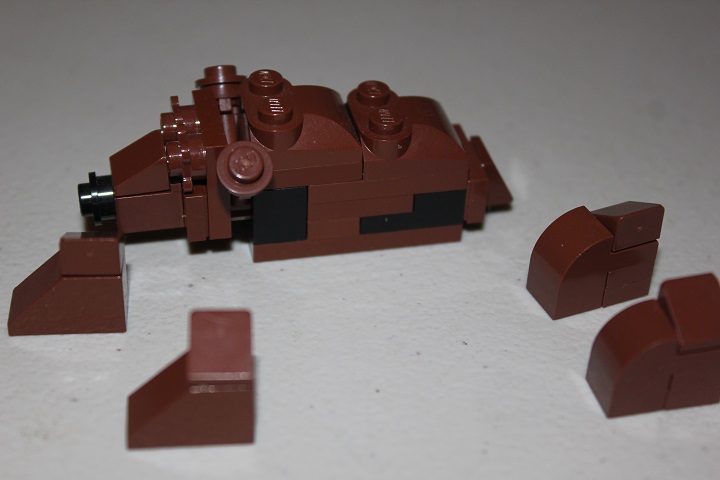
The head is where things get more interesting, and it took me a little while to figure out a satisfactory design that included his ears.
Some more slopes and cheese are used for his folded legs.
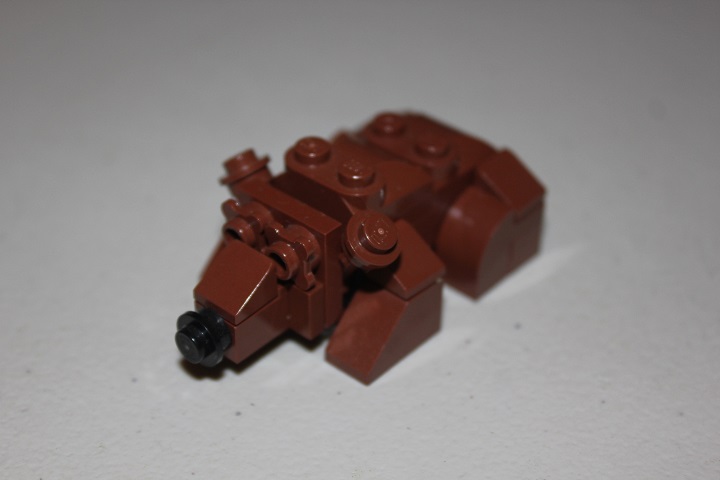
And here he is completed.
We hope you enjoyed this tutorial, and feel free to let us know if you have any questions or comments about any of the designs shown!

