


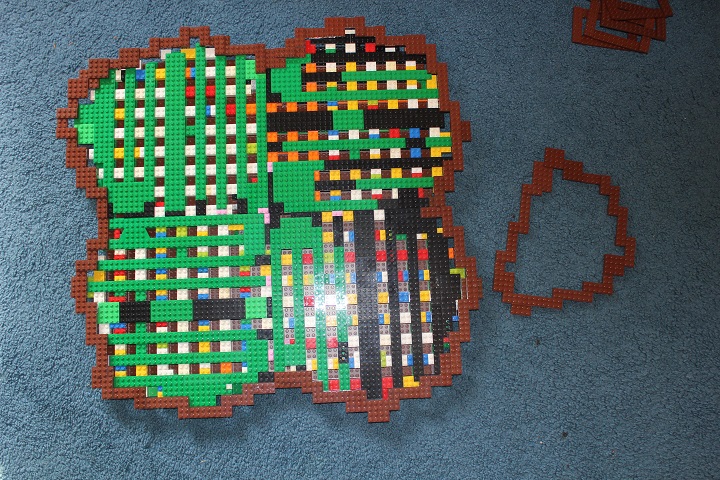
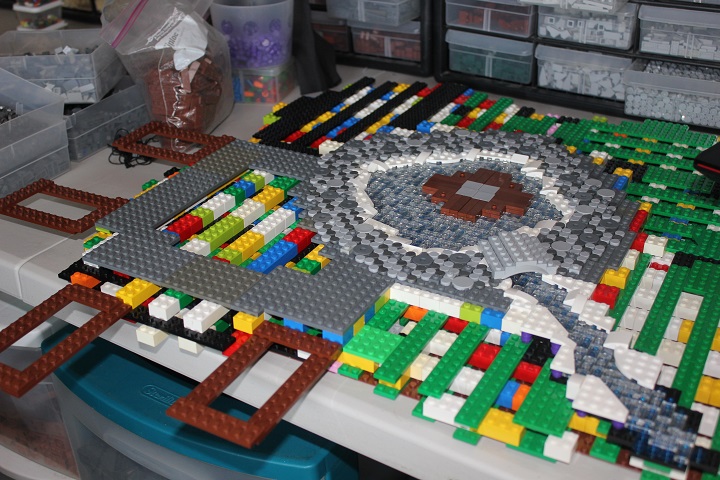
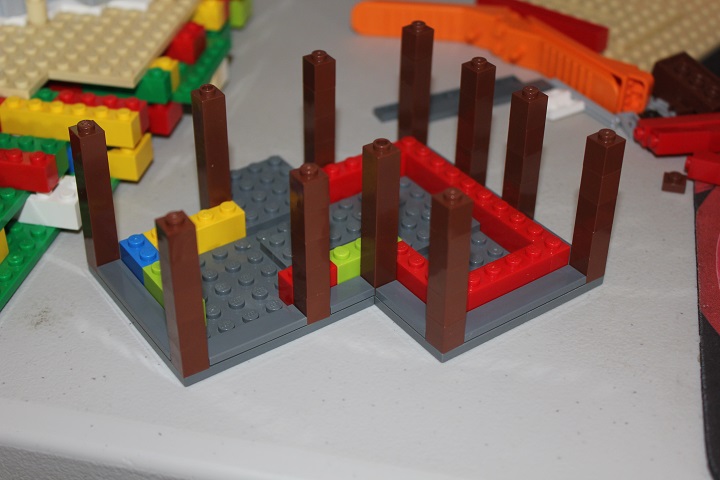
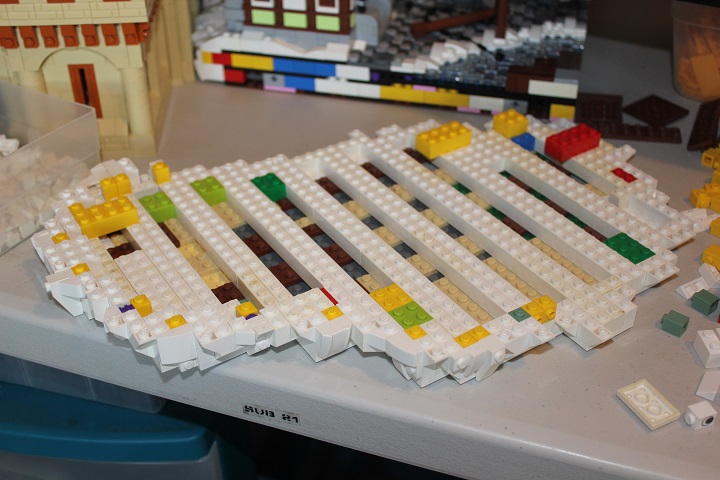
We started the Town of Khevroa by figuring out the four modules layouts. 32×32 baseplates gave a sturdy base for each portion though it limited the shape a bit. On the left you can see a smaller irregular base beginning, that was the separate island to hold a fort, that would then connect to the main island via bridge.

Next I used plates and bricks to give a solid core for the island, staying a few studs inside the reddish brown outline which is where the actual edge of the island would be.
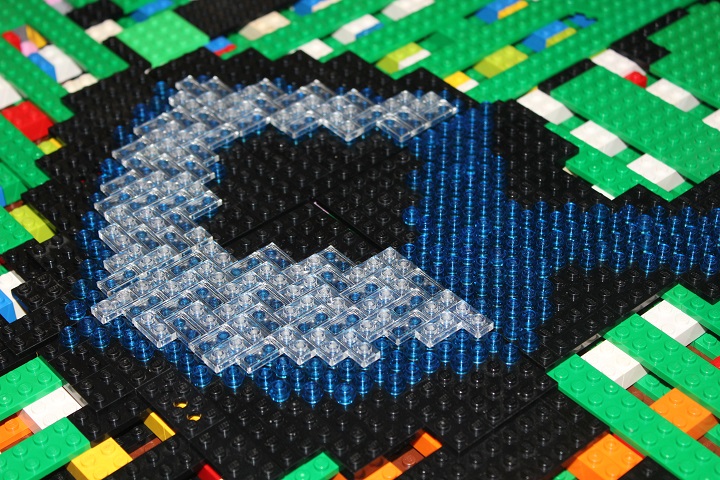
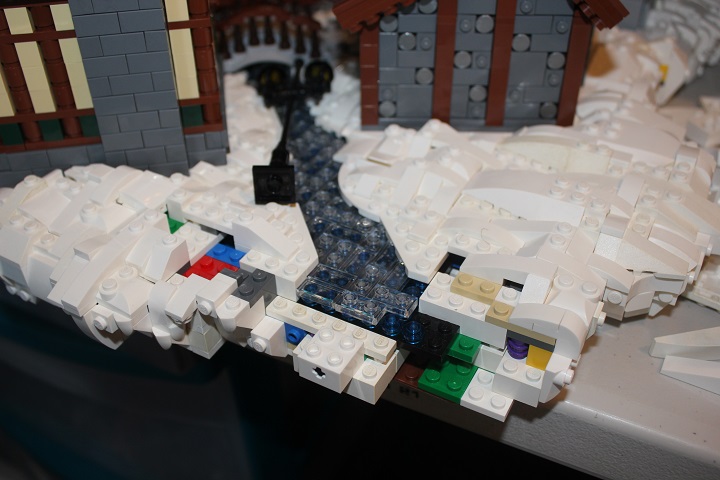
At the center of the town is a small pond and gazebo. Black plates gave the illusion of depth underneath trans blue 1×1 round plates.
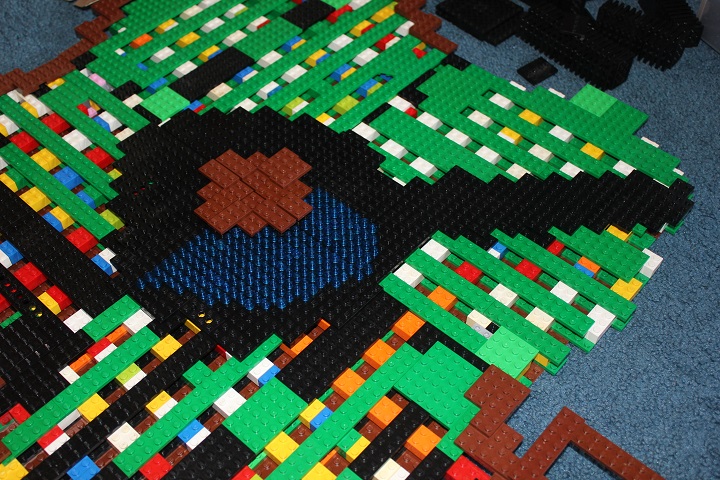
Which were then covered by plates and 1×2 tiles in trans clear. I made the outline of black plates a bit bigger than I thought I needed, just to be on the safe side.
Originally I had the pond quite symmetrical in shape, but John pointed out that an irregular configuration would probably work better and give more options for building placement. Dark bley plates at a plate higher level than the water served as the base for the street.
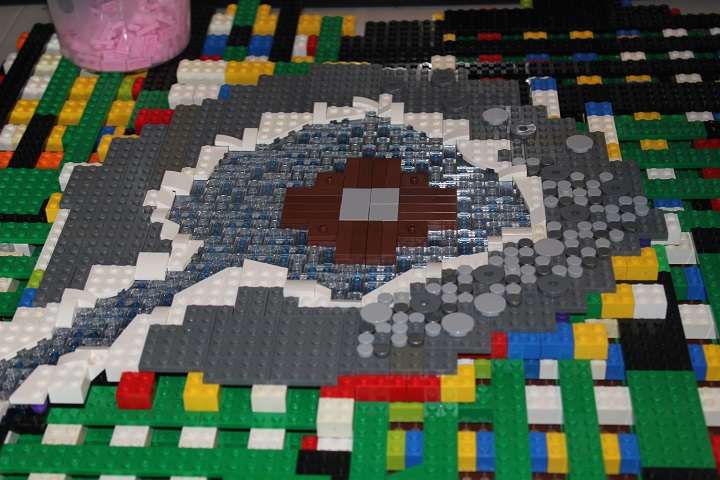
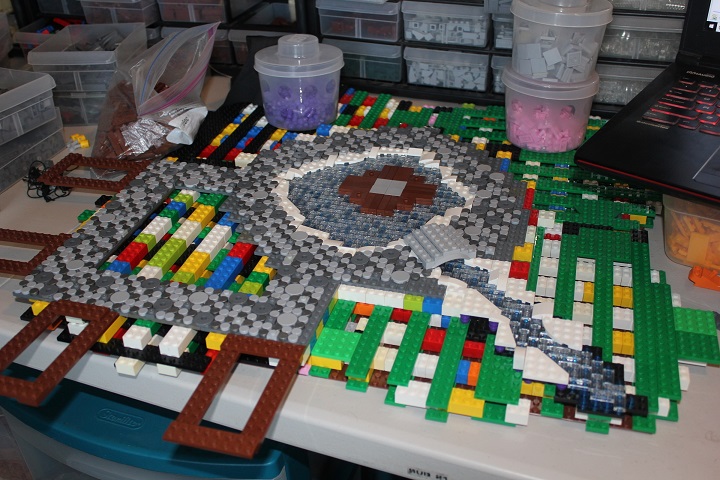
The pond has a small stream giving an outlet, over which a little footbridge completes the circle of the street. Opposite the stream is the harbor area, with four docks.
And of course the cobblestone needed to continue over to those docks. I chose to use very straight paths this time, giving the most space for a large official town building in that area.
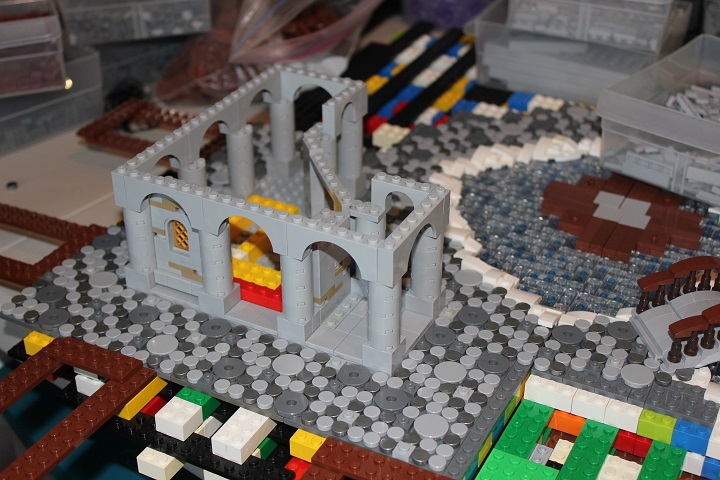
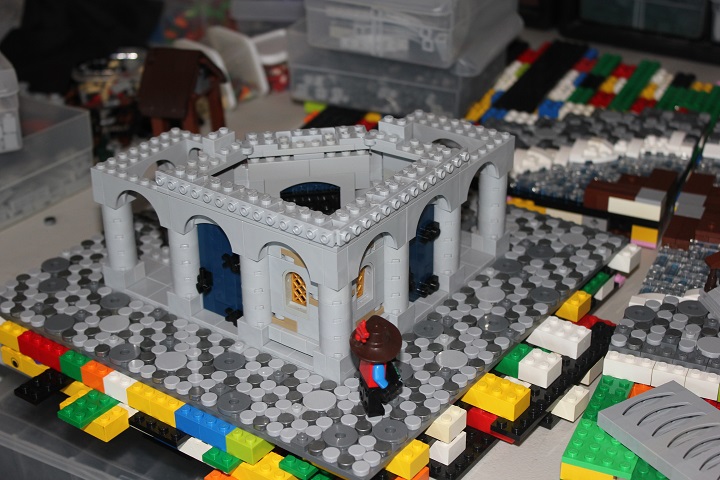
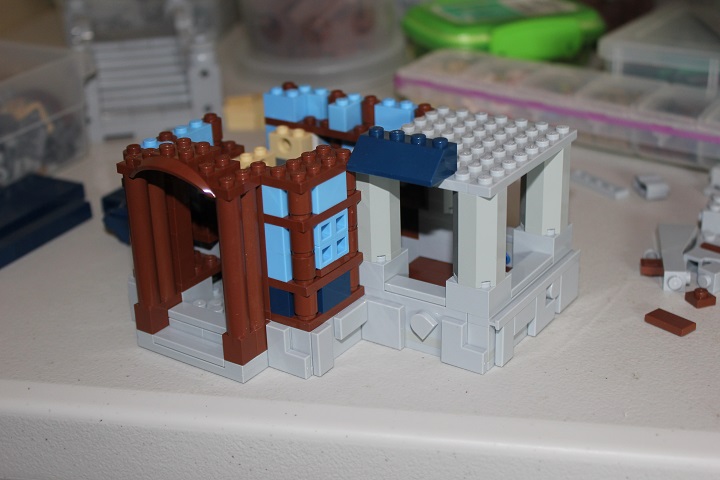
I tried several different colorschemes before settling on bley with dark tan for the first building. 2×2 round bricks are a part I enjoy using, and I incorporated them with arches above, trying to create a very orderly, official look to the structure.
John’s first building for the town was The Sleeping Dragon Inn. Sign and banners from the Elves theme fit nicely on the building, and he used some layered nexo knight sheilds for the small roof over the second entrance.
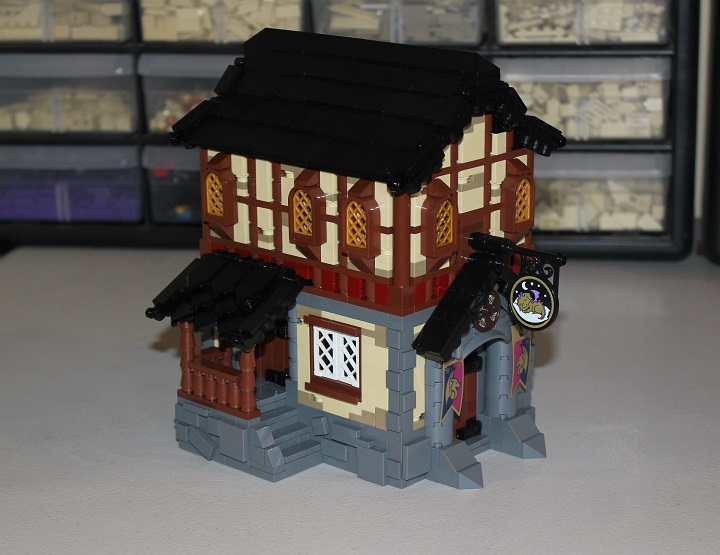
On the other side was another little addition to store firewood in.
And finally on the very back, the beginnings of a chimney.
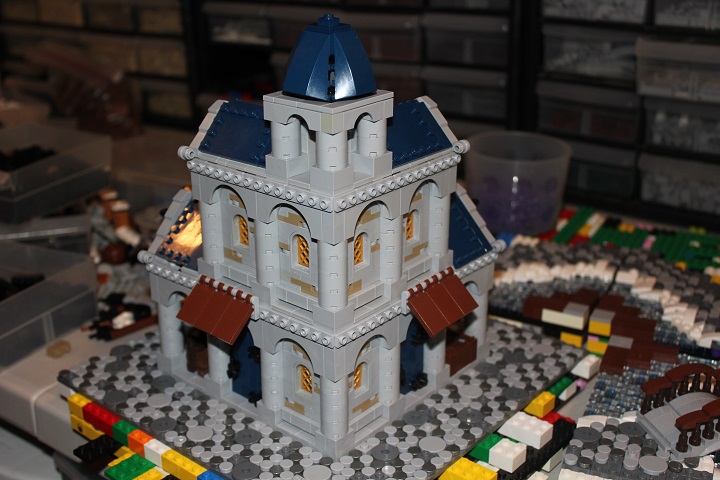
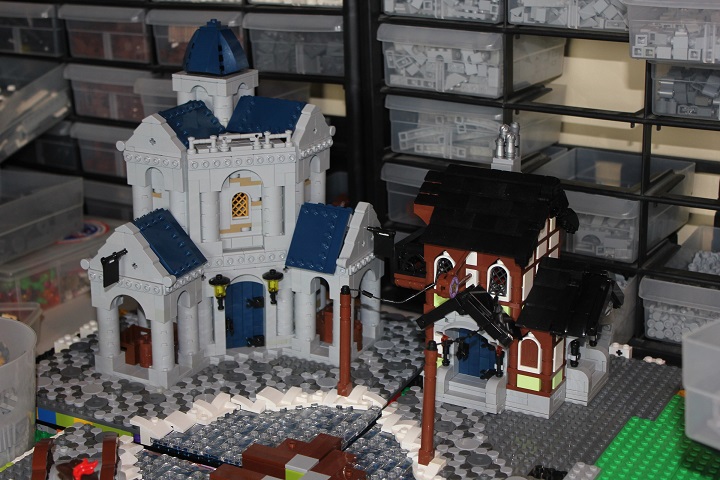
Dark blue for the doors gave some nice color to the town hall, and by this point the first story was nearly completed.
Since this was quite a large building, I made each floor modular to allow for easy transport to Brickworld. The second story repeated the same patterns as the first.

Dark blue roofs finished off the town hall and tied in with the door color below.
Next was a small laundromat built by John. Again he used some elements from the Elves line, this time basic bricks in the new light green.
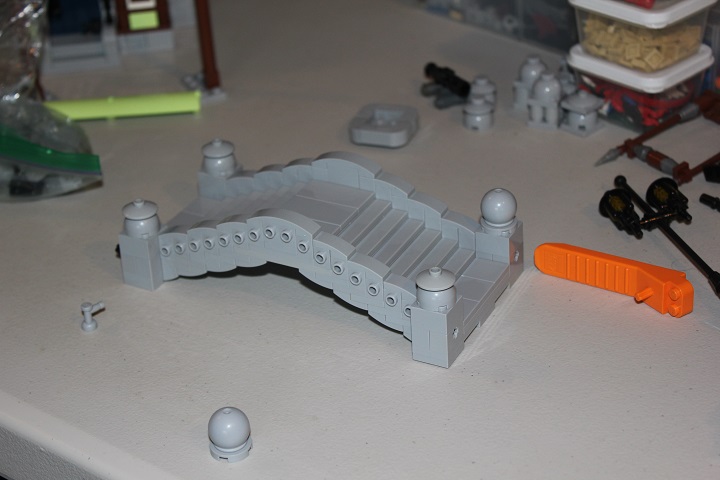
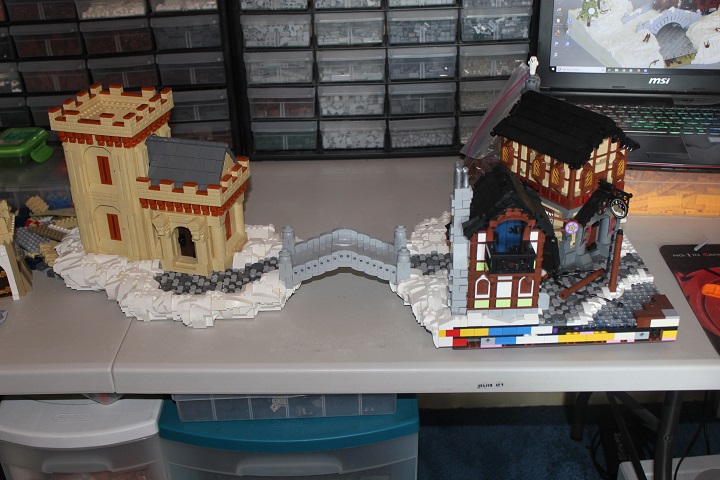
While he continued work on that building (still slightly visible in this picture), I designed a bridge to connect the main island with its small neighbor.
And here’s a look at the back side of the town hall which shows its angled main entrance. And John continued having plenty of small additions and extra roof lines on building’s different sides for his laundromat.
And since a town needs plenty of houses and shops, John quickly started work on an apothecary. Again using parts from Elves sets, picking up on a pattern here? This one was a bit smaller and had a bit more of a fantasy style.
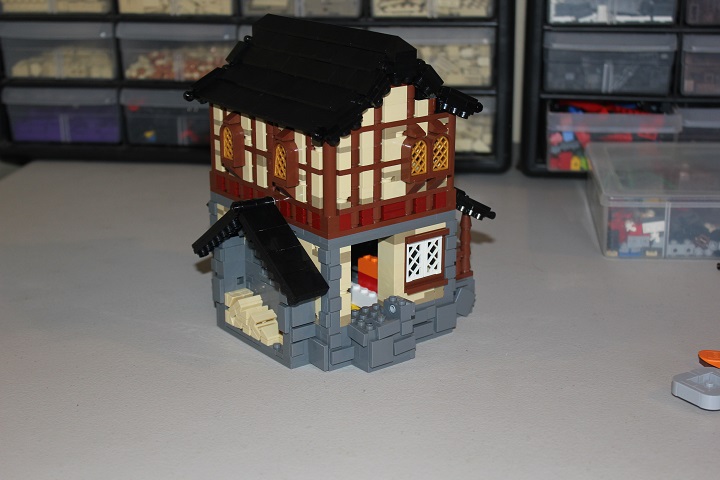
Starting to come together! Right next to the stream is a small house I built. Something to note for that buildings is that all of the stonework was SNOT 1×2 and 1×1 tiles.
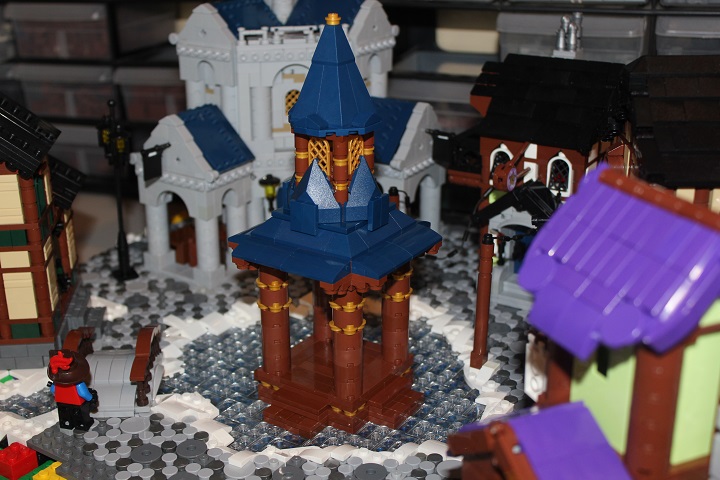
I had a lot of fun building the gazebo for the middle of the pond, and incorporated some fun dark blue elements.
John’s last building was quite possibly my favorite of the town, its main rival being The Sleeping Dragon Inn. Medium blue and dark blue were both used for this bakery which is a color scheme I would certainly like to work with again.
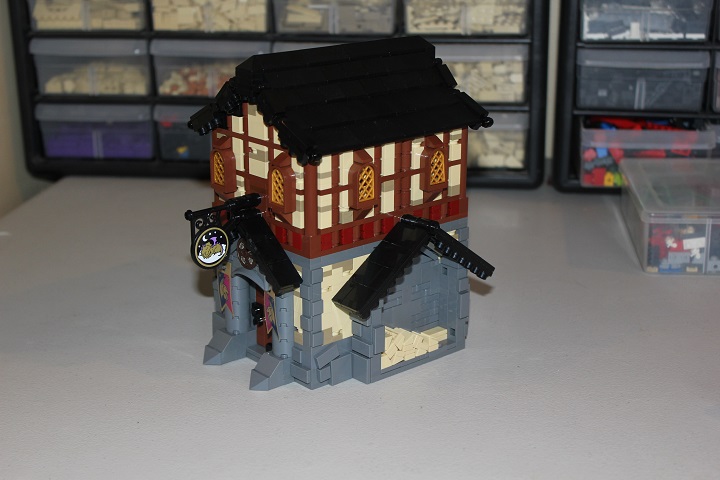
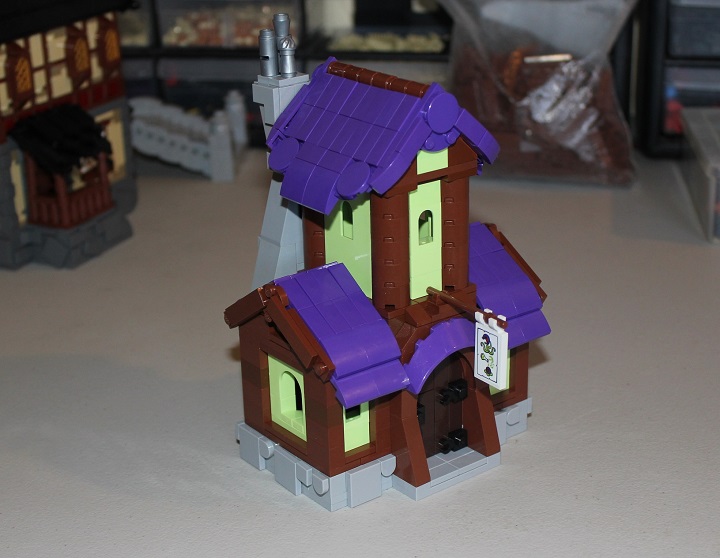
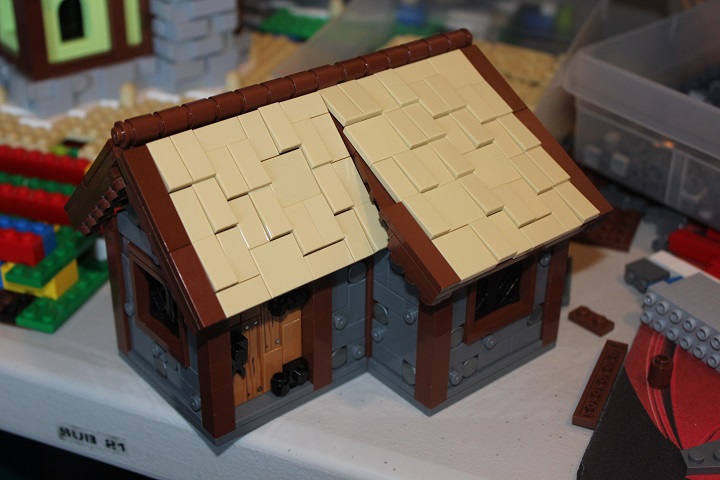
My final building was the only one in town not to have a second story.
I’ve already posted a tutorial on the wall design of this cottage, but what ended up taking most time was the roof. I tried tan, dark tan, and medium dark flesh before settling on dark brown tiles for the shingles.
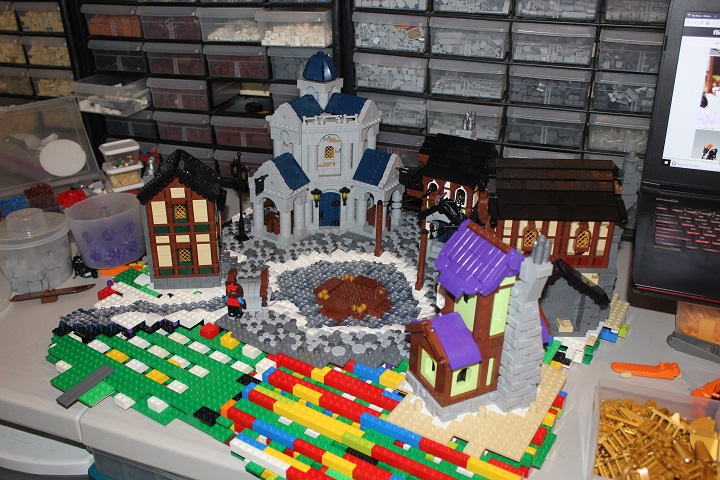
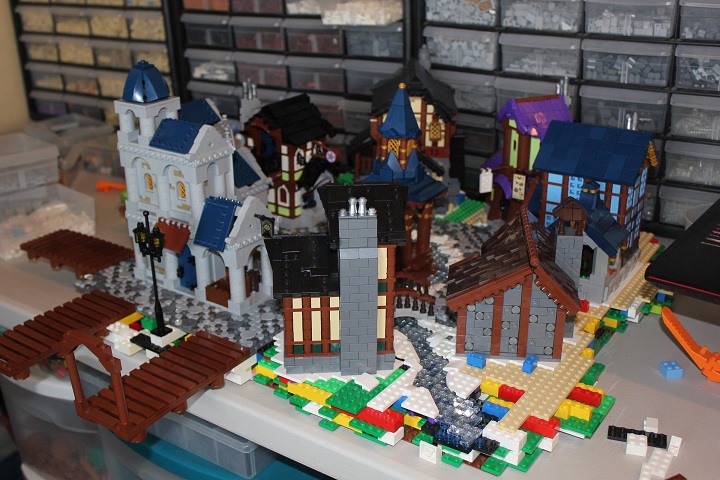
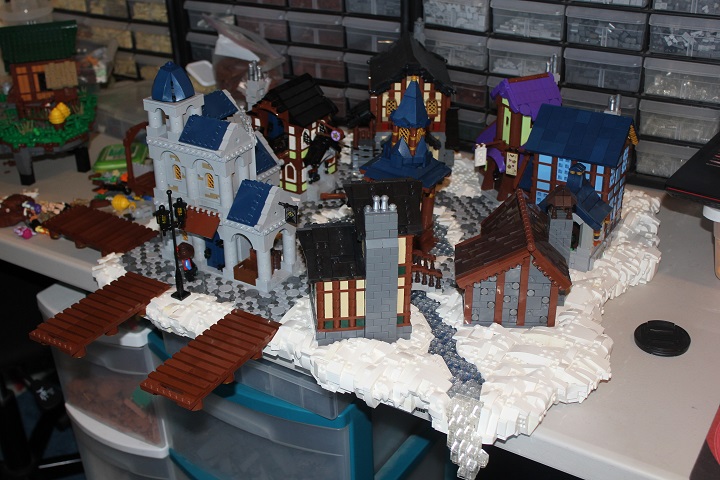
All 7 of the town buildings in place! I also added the docks, which like each of the buildings could be popped off easily for packing purposes.
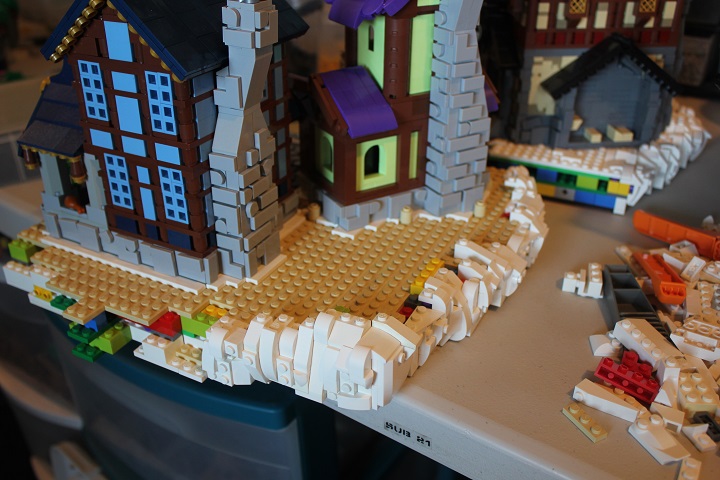
Next I started work on the large amount of snow around the island’s edges.
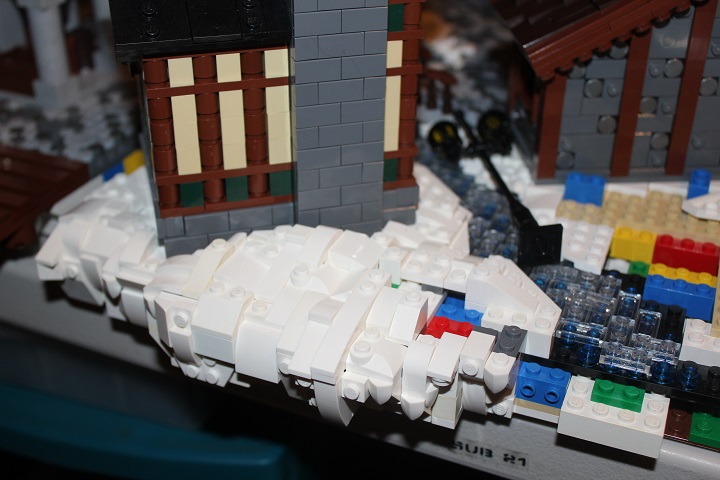
This went pretty quickly, and I purposefully kept the snow a uniform depth across the bottom to allow each module to sit flat on the table. Later we would add more inverted slopes and tooth plates around the bottom edge before taking pictures or when setting up the display at Brickworld.
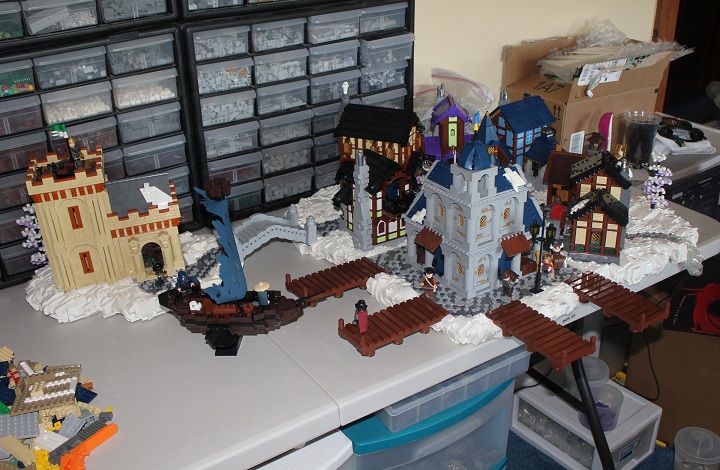
Right from the start we knew we wanted the stream to end in a waterfall hanging off the island. It needed to be easily removed though, in order to keep a flat bottom on the base. I achieved this via technic brick with cross.
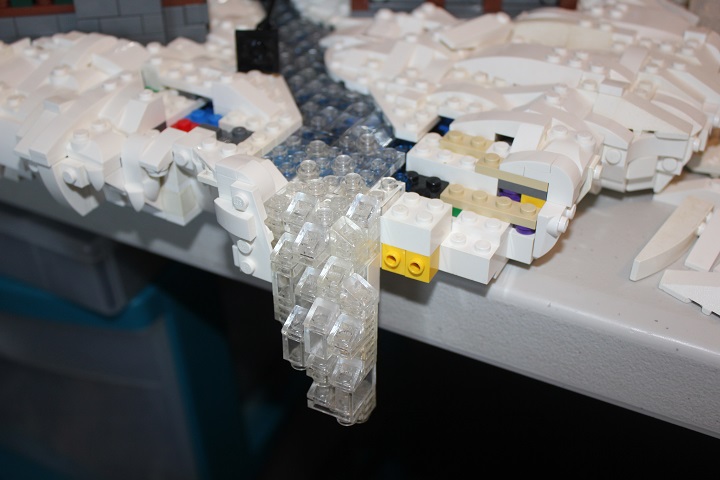
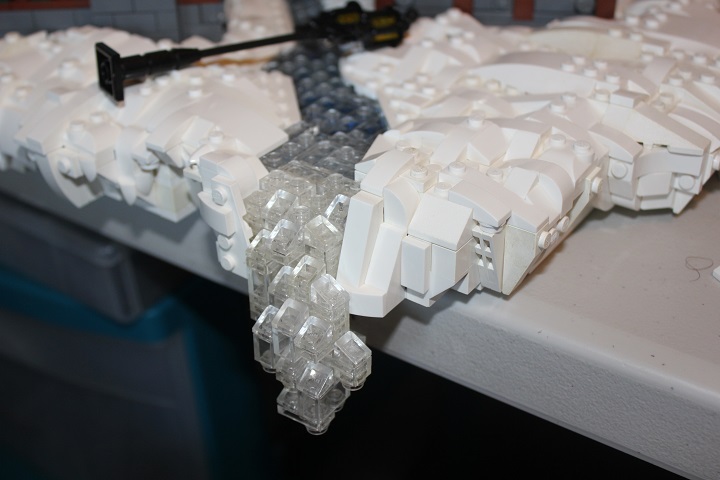
Here’s what the back of the finished waterfall looked like.
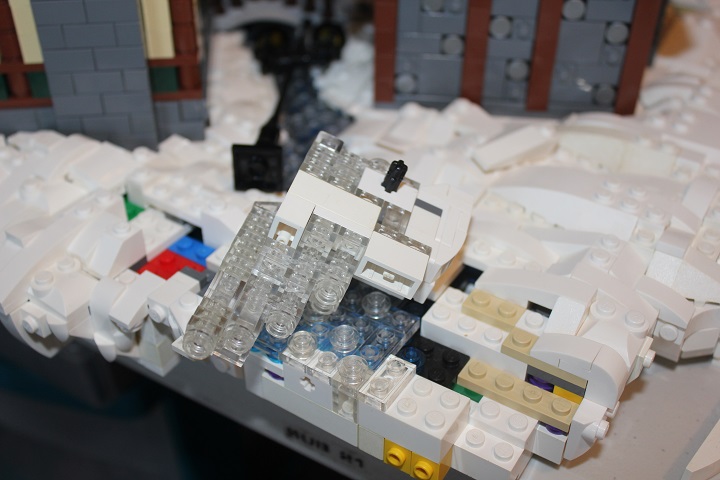
Pretty happy with how it worked out. I would have made the waterfall a bit taller, but knew the taller it was the taller the black brick supports to make the island ‘float’ would need to be.
Looks pretty much done, right? Well no, still need the second island with fort.
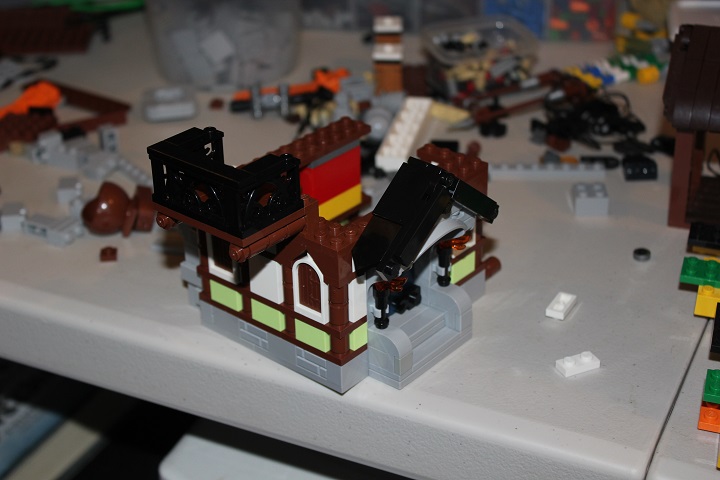
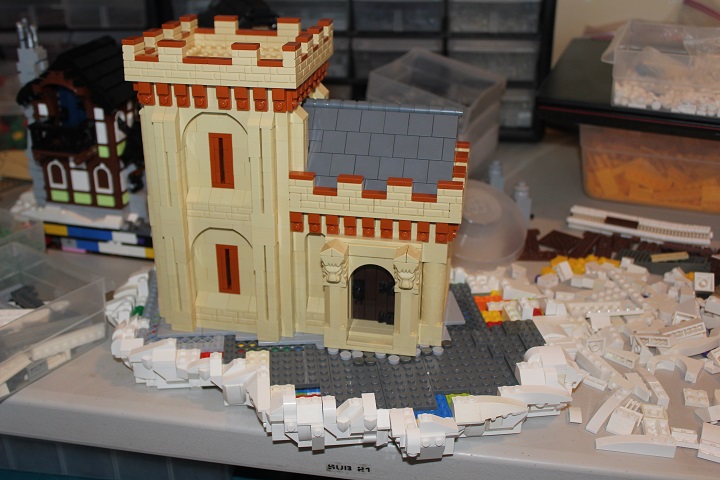
By this point we had a lot of builds together for Brickworld, and our bley and dark bley collection was being used quite a lot. So I decided on a rather unconventional winter color scheme of tan and dark orange for the fort.
Building the fort first allowed me to make the island sized appropriately, and it was based off the same basic structure as the main island.
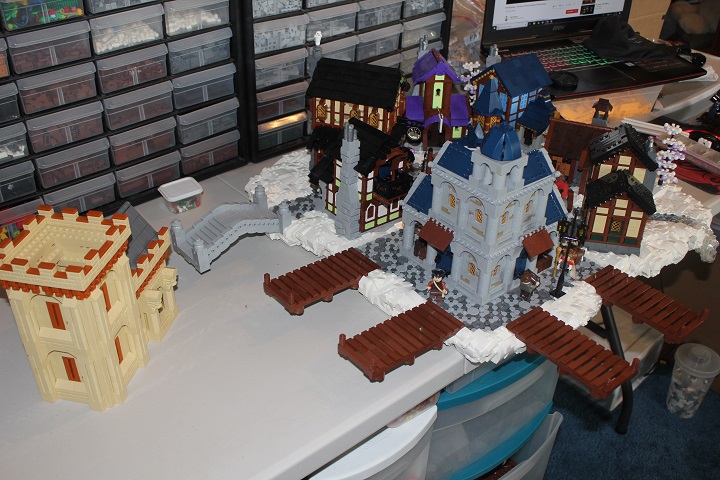
Like several of the buildings in town, the fort is angled. And there’s another small section of street leading over to the bridge.
Bridge in place!
Now the big things were all done, and it was time to add the various small details like trees, bushes, and minifigures.
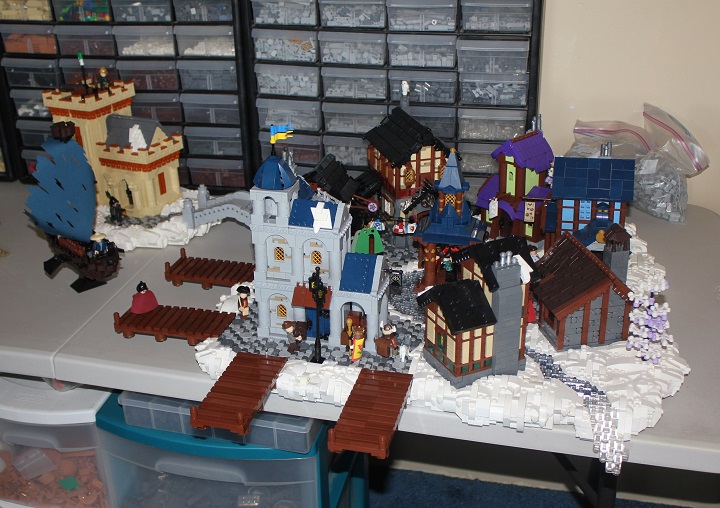
We threw some various crates and barrels of goods onto the docks, hid a few animals in various spots around the display, and then were ready to photograph.
Which was a challenge due to the size of the model, but fortunately our Ikea roller curtain was large enough.
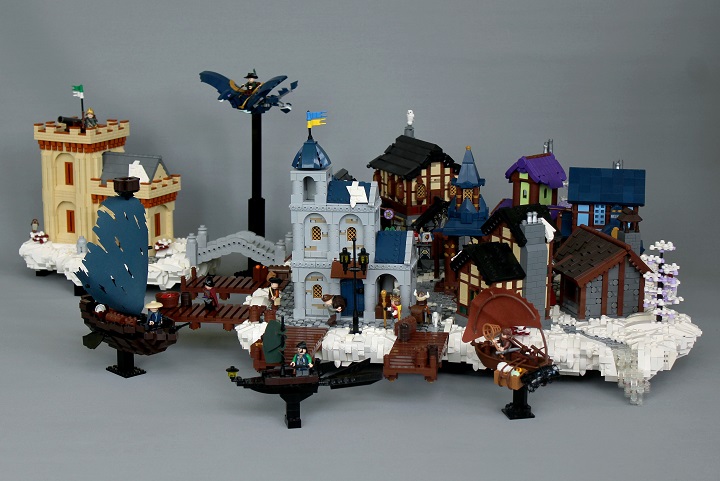
Thanks for reading, as always we appreciate hearing your feedback and suggestions for new posts!


Fabulous build, thanks for sharing your amazing techniques!